Overview
When an employee submits a leave request, the request will be sent to their direct manager
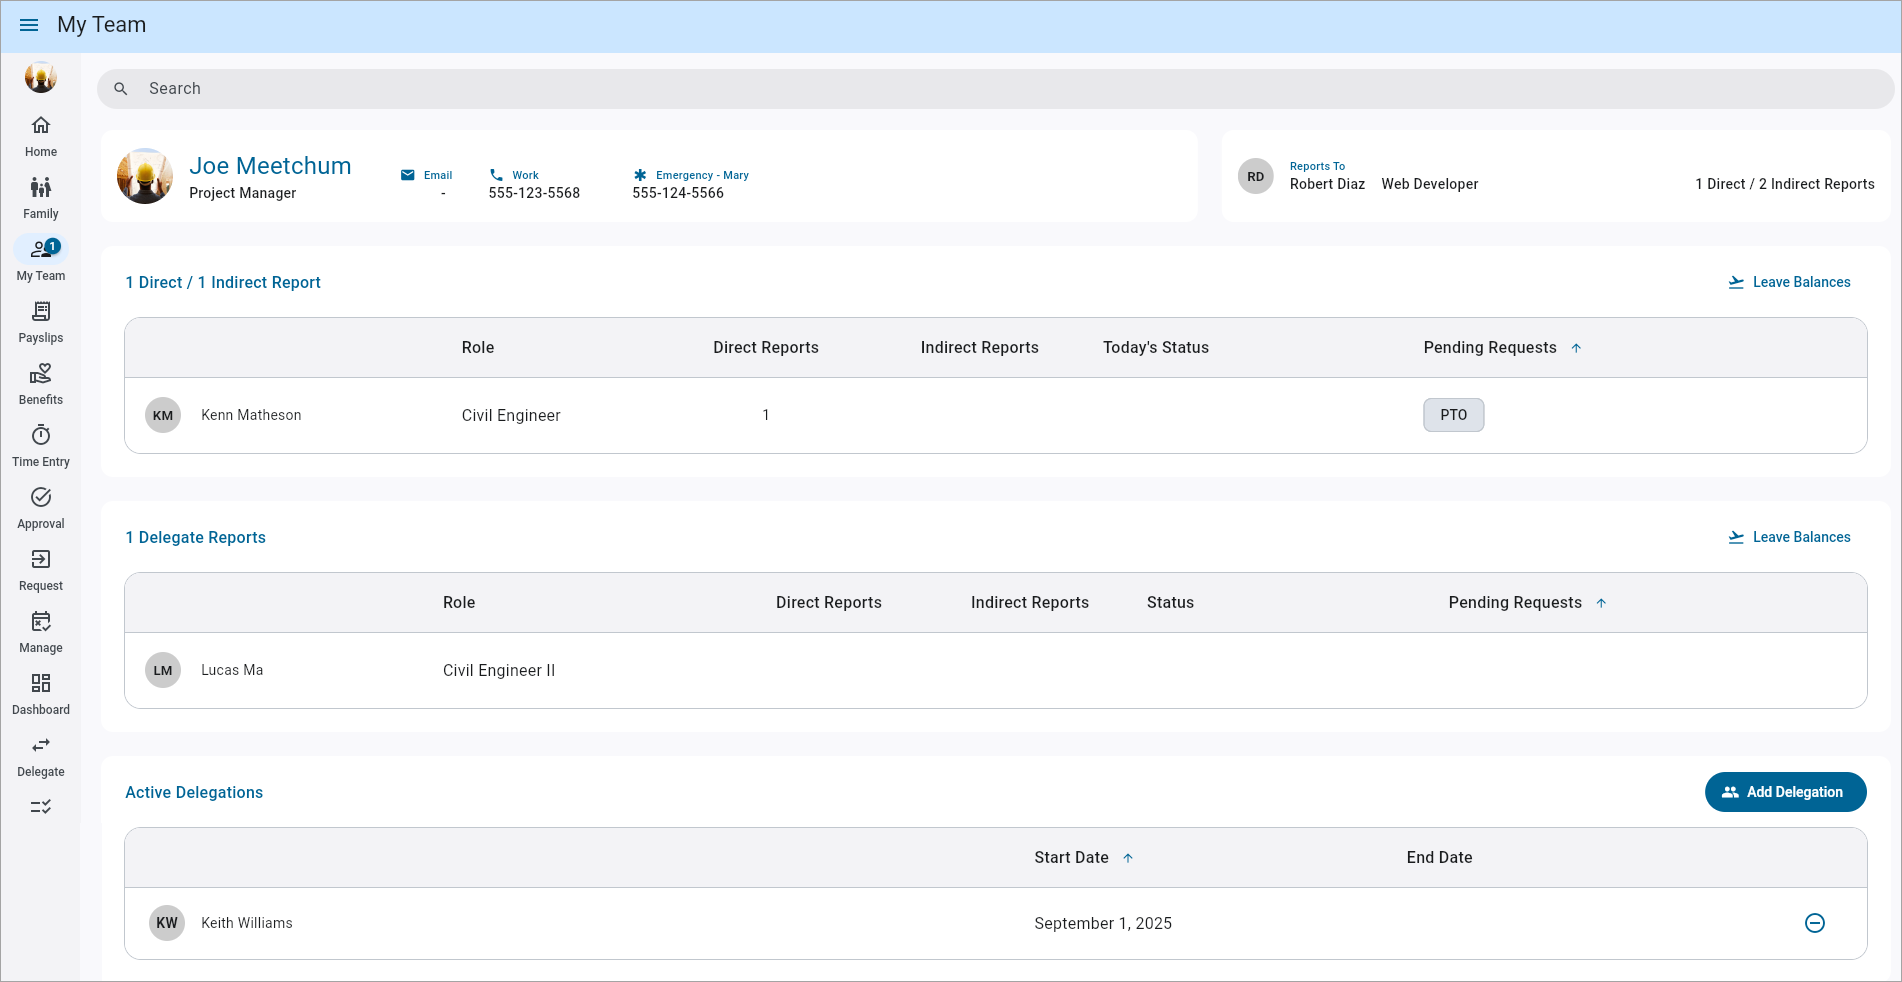
My Team in Construct ESS
In addition to being sent to a direct manager, any submitted leave request is also sent to HR, where it can be reviewed in the Leave Management screen. Delegations can also be handled by HR in the Delegation Management screen.
Organizational Chart Setup
There are two ways to set up employee hierarchy with CMiC software:
-
In the Human Resources module using HCM positions.
-
In the Payroll module using the Job Classification and Direct Reports To fields.
System Options
How employee hierarchy is set up depends on the below checkbox, located in the
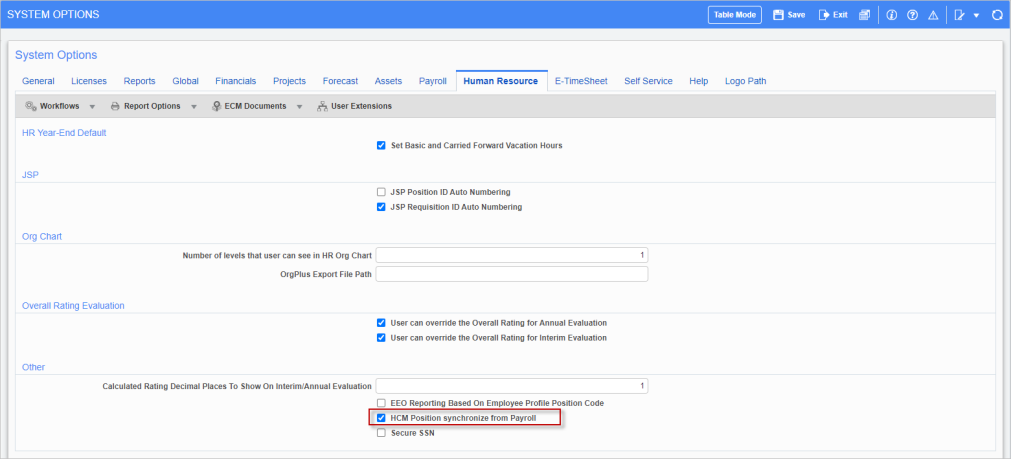
Pgm: SYSOPT – System Options; standard Treeview path: System > Setup > System Options – Human Resource tab
HCM Position Synchronize from Payroll - Checkbox
Check this box to allow for the automatic synchronization of employees with a corresponding position code within the organizational structure.
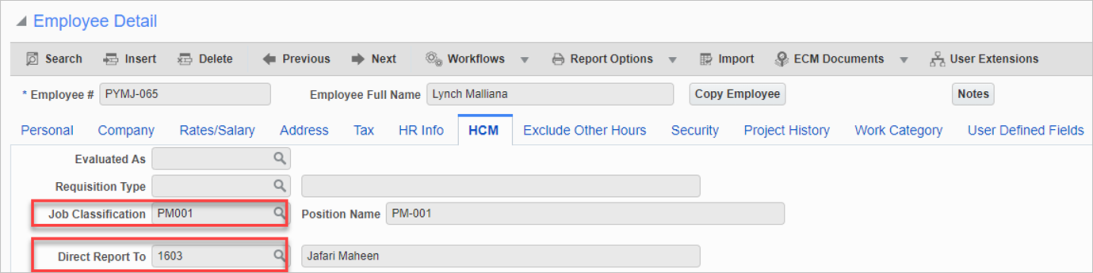
Under the HCM tab of the Employee Profile screen in the US Payroll module, once the Job Classification field is filled, employees can be assigned positions. Only open positions are displayed in the Position field’s LOV for the specified job classification. The Direct Manager and Senior Manager fields in the Employee Profile are automatically populated based on the controlling position ID set up in the Reports To field in the Positions screen in HCM.
If this box is checked then it is required to create a position through the HCM module. If this box is unchecked then the user's job classification and direct report should be entered in the Employee Profile screen.
HR Setup
If the 'HCM Position Synchronize from Payroll' box is checked, further setup should be done in the
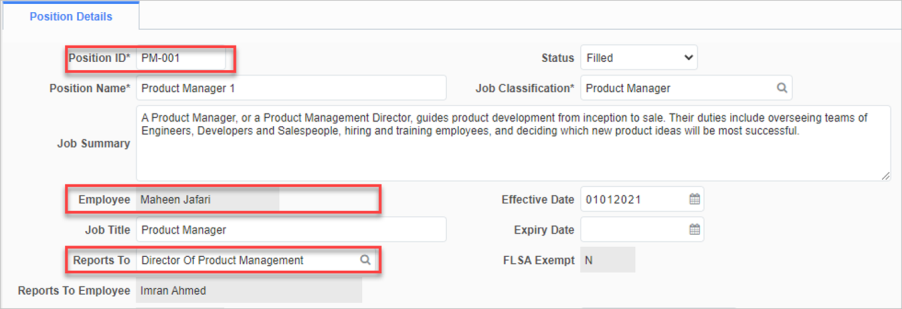
Positions; standard Treeview path: HCM > Position Control > Positions – Position Details tab
Here, assign the employee to a position and job classification and select who the employee reports to. Once saved, these details are shown in the HCM tab of the Employee Profile.
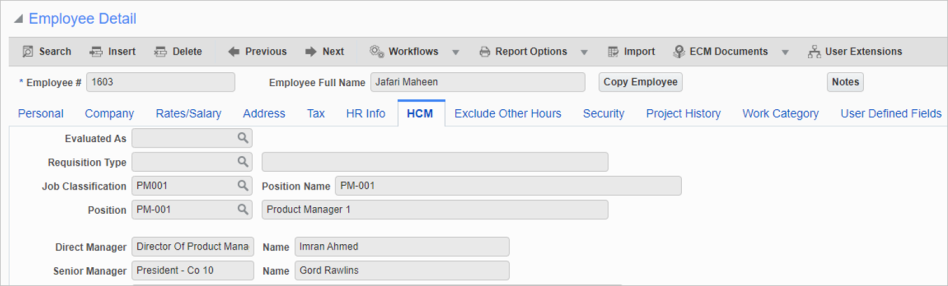
Pgm: PYEMPLOY – Employee Profile; standard Treeview path: US Payroll > Setup > Employees > Employee Profile – HCM tab
Payroll Setup
If the 'HCM Position Synchronize from Payroll' box is not checked, the Job Classification and Direct Report To fields should be entered directly in the Employee Profile in the Payroll module.
Pgm: PYEMPLOY – Employee Profile; standard Treeview path: US Payroll > Setup > Employees > Employee Profile – HCM tab
Search Employees
Users can search for other employees in the company.

Use the Search bar to search for a particular employee or scroll through the list to review all employees in the company.
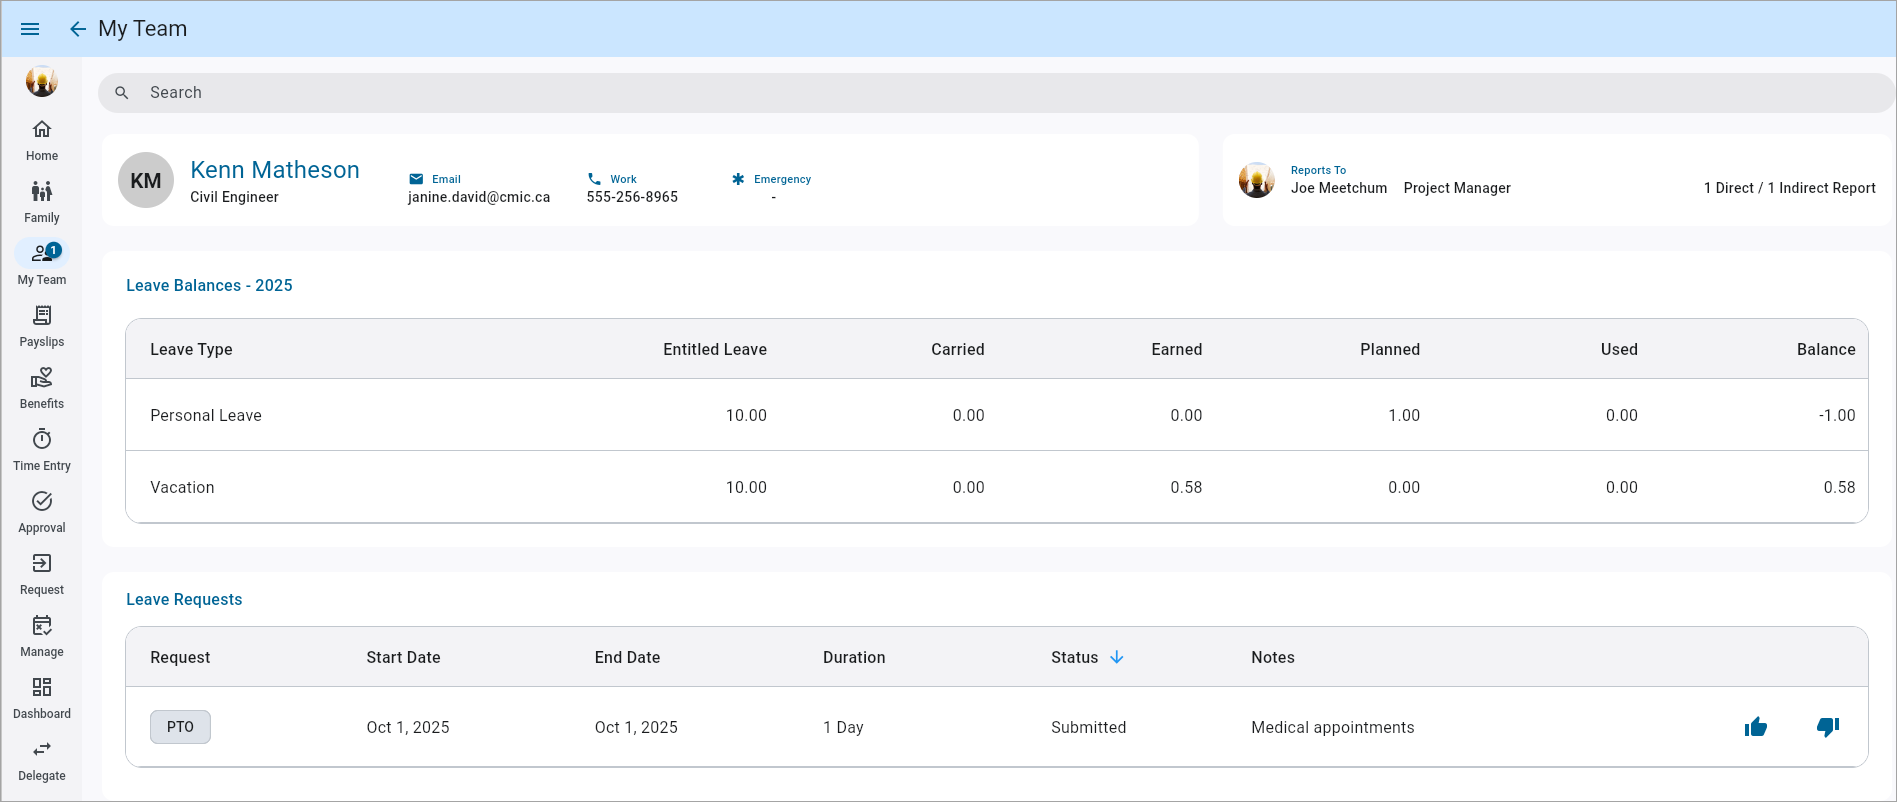
Once you click on an employee, their reporting structure and contact information will be displayed.
Emergency Contact Display
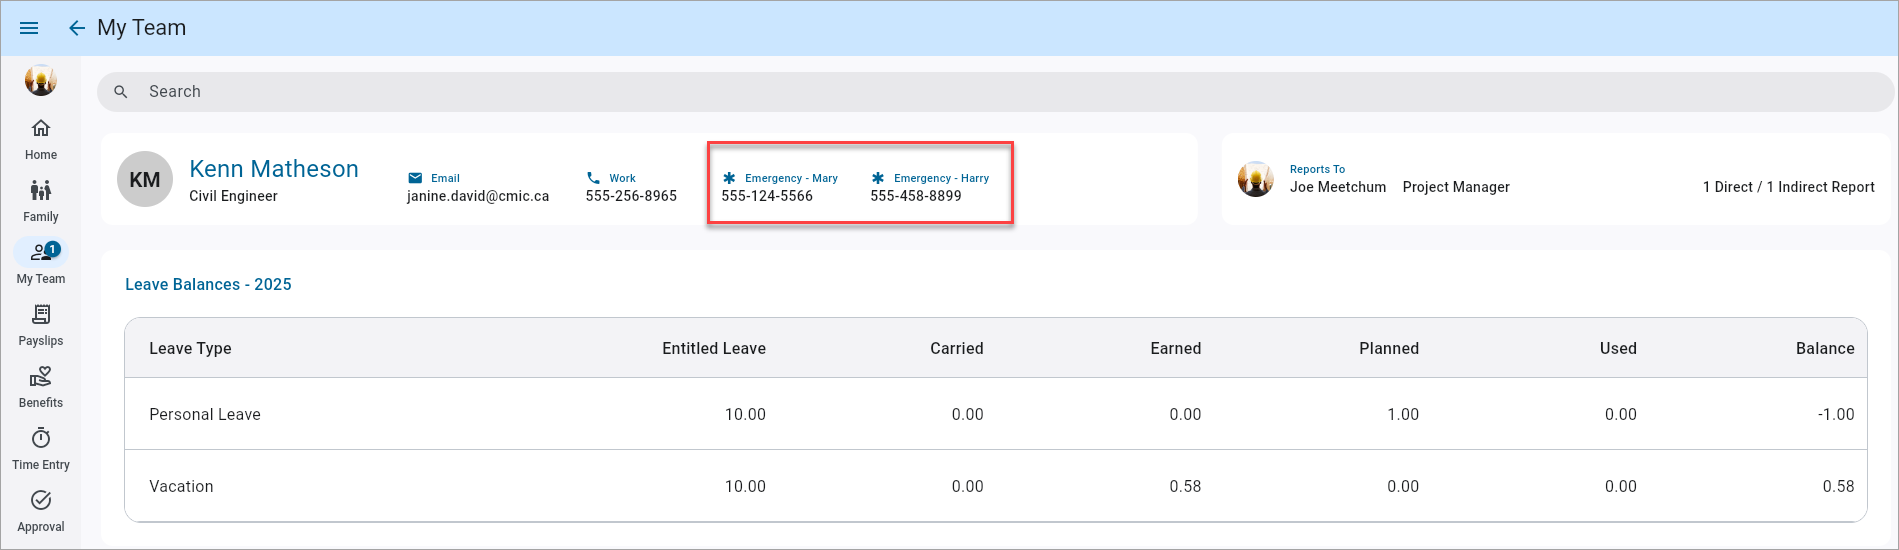
Emergency contact details are available in the My Team screen for logged-in users and their direct reports. Managers can view the names and contact details for their direct reports and quickly reach out to them in case of an emergency.
Only active emergency contacts will be displayed (i.e., contacts with an active status in the Relatives screen in the Human Resources module).
This feature can be enabled/disabled for privacy or security reasons with the system privilege 'Enable Emergency Contact Display for Direct Reports in ESS My Team' on the Self-Service tab of the System Options screen. For more information, please refer to System Data - System Options - Self Service - Tab.
Managing Leave Requests
Manager Email Notification
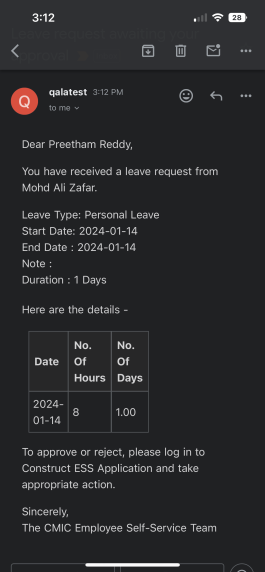
When an employee submits a leave request, their manager will receive an email, similar to the one shown above.
Approve or Reject a Leave Request
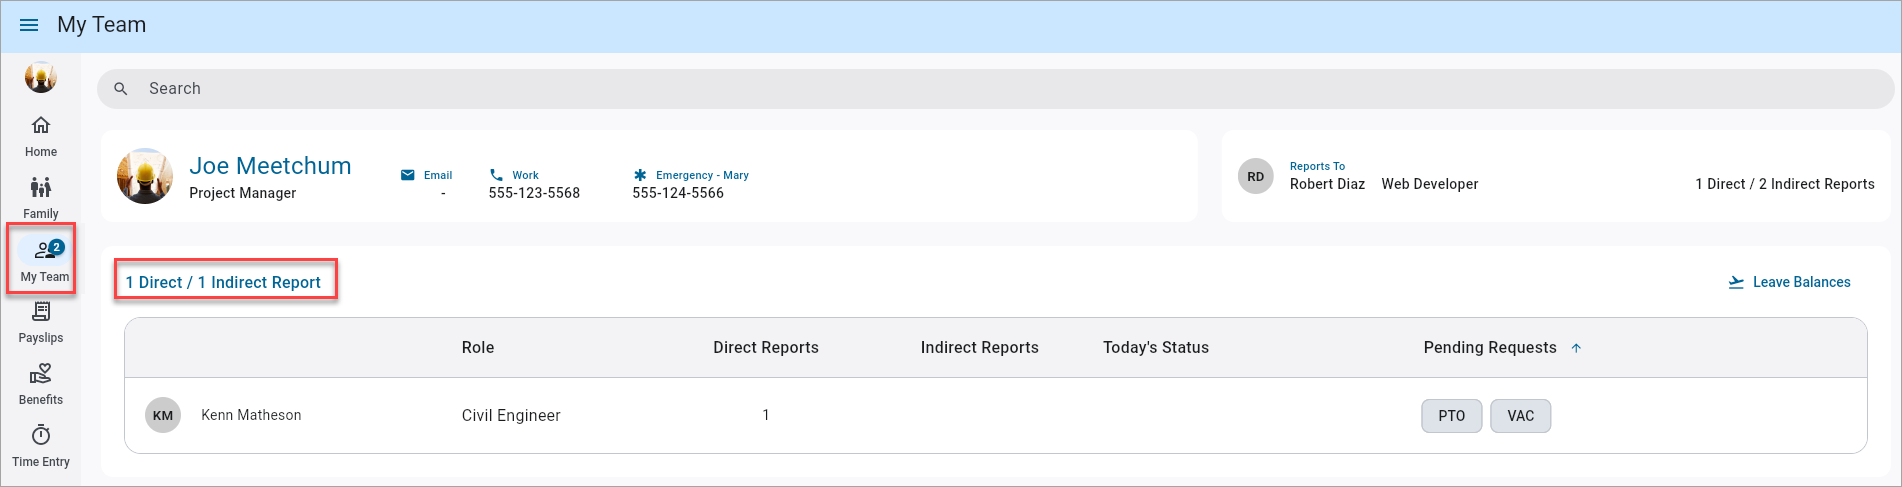
The app displays the My Team icon ( ) with a number badge to notify the manager that there is a leave request awaiting their approval. The manager will be able to view all pending leave requests that require their approval.
The Direct
The Pending Requests column displays pending leave requests that require approval.
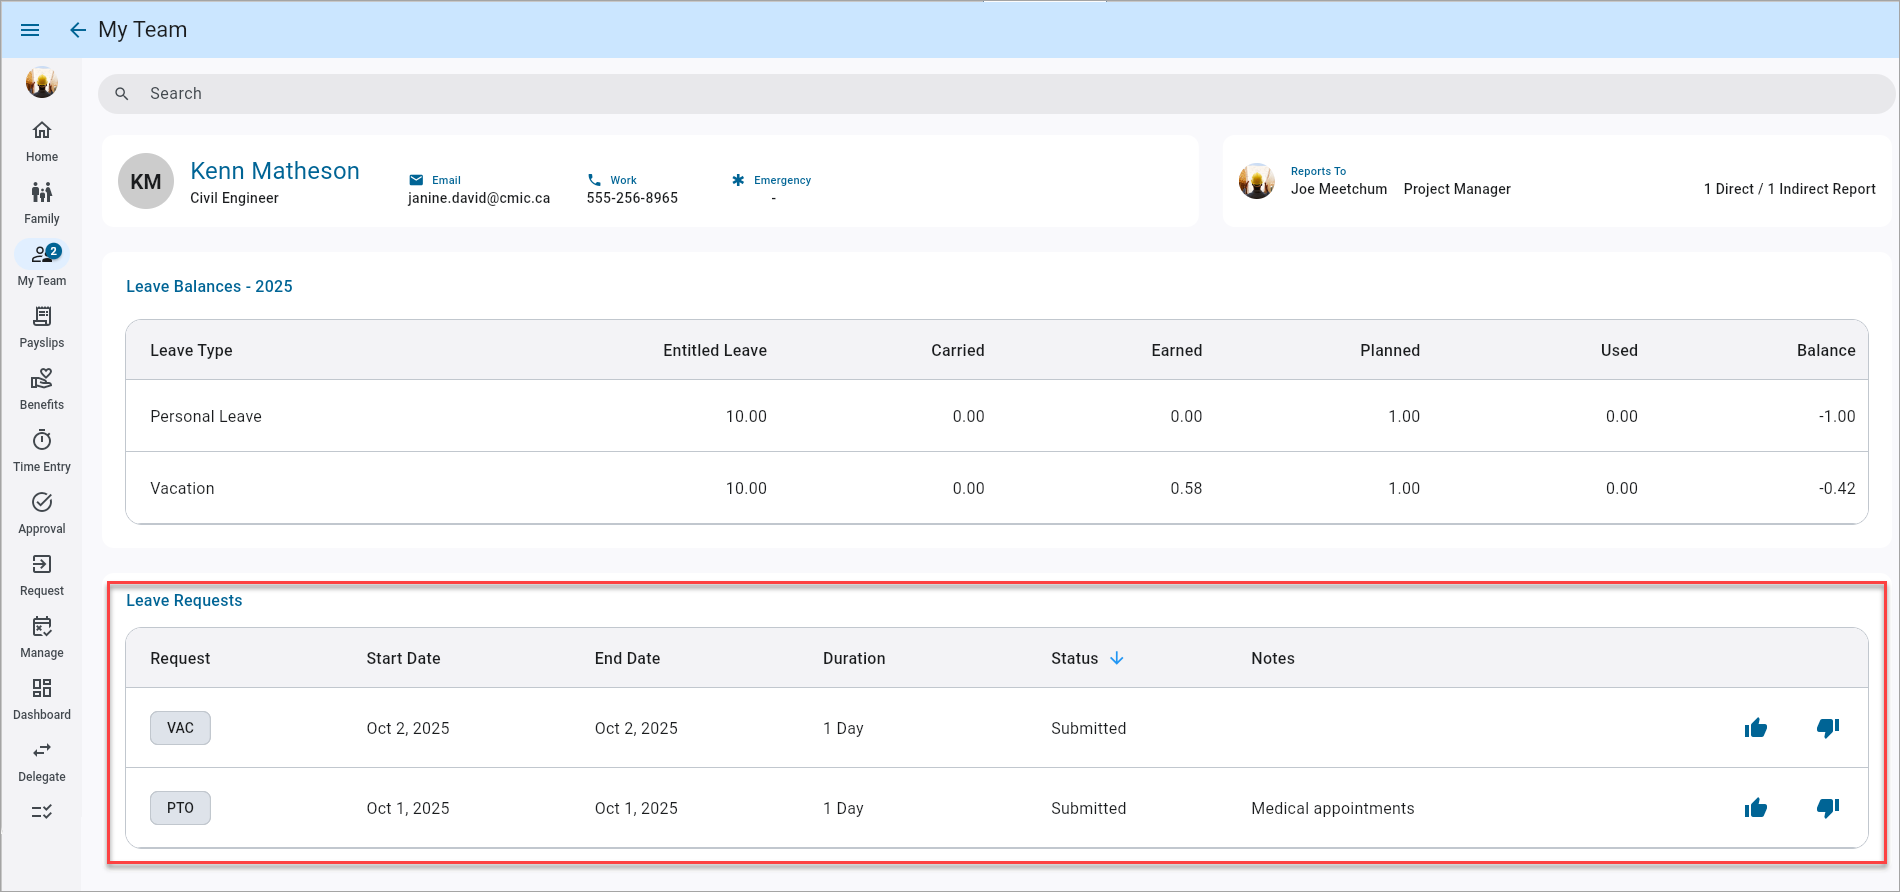
The manager can access an employee's leave requests by drilling down on the employee's profile.
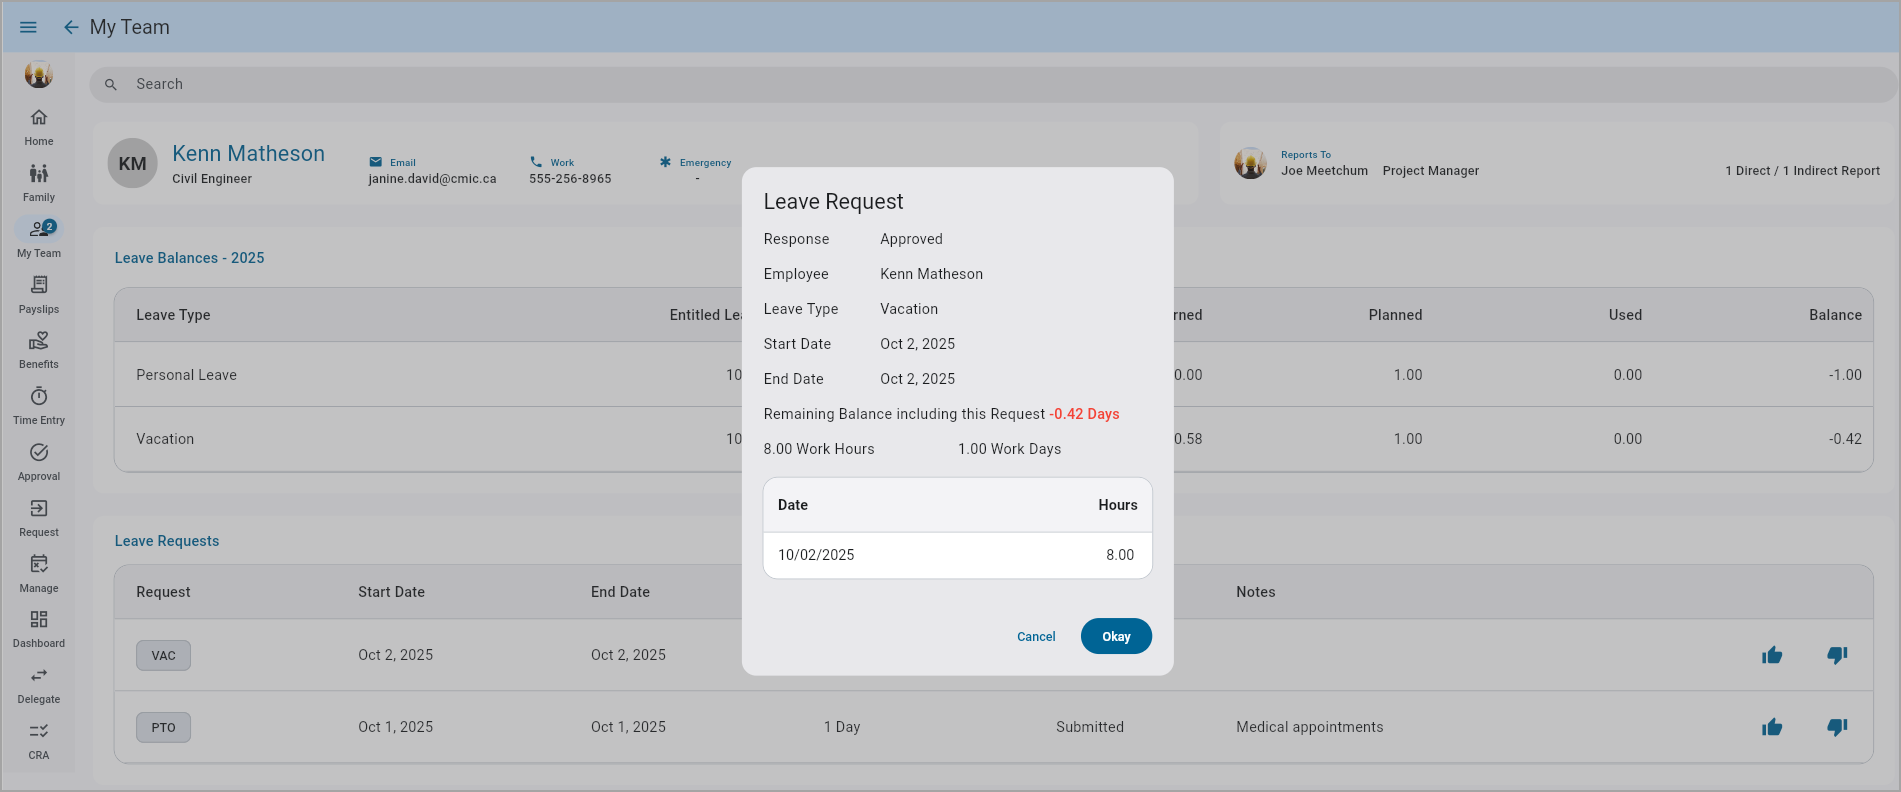
Click on a specific request to view its details in the Leave Request pop-up.
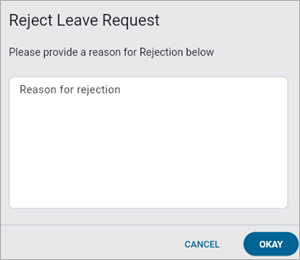
When a leave request is rejected, a Rejection Note text box appears as a mandatory field and managers must enter a reason for rejecting the request before submitting the decision. The rejection note will be included in the leave request detail, ensuring the employee is informed of the decision and its justification.
HR also has the ability to approve or reject a leave request. Refer to the Leave Management screen for more information.
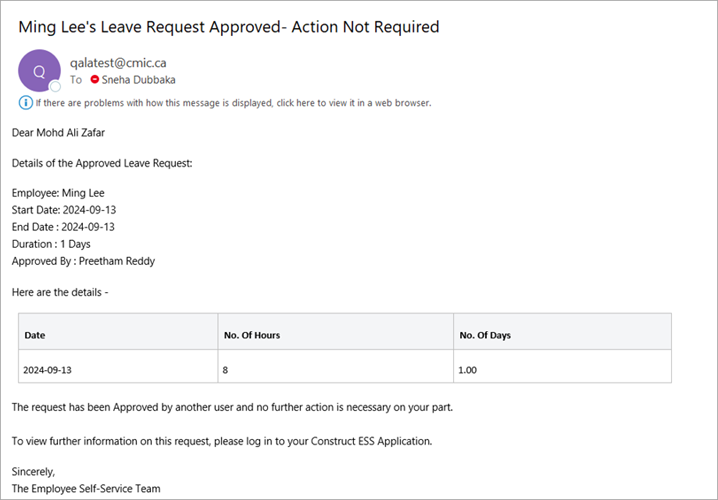
If a delegated manager approves/rejects a leave request on behalf of the direct manager, the direct manager is notified of the action taken, as shown below:
Employee Email Notification
The employee will receive an email notification once the request has been approved or rejected.
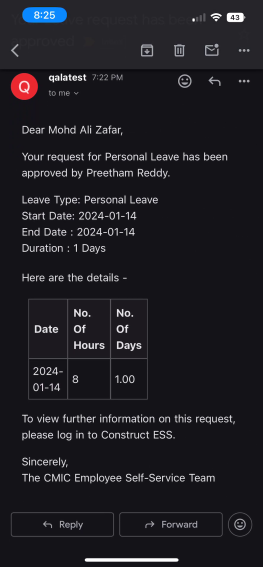
If the leave request is approved, the status will be updated accordingly, and a timesheet will be generated.
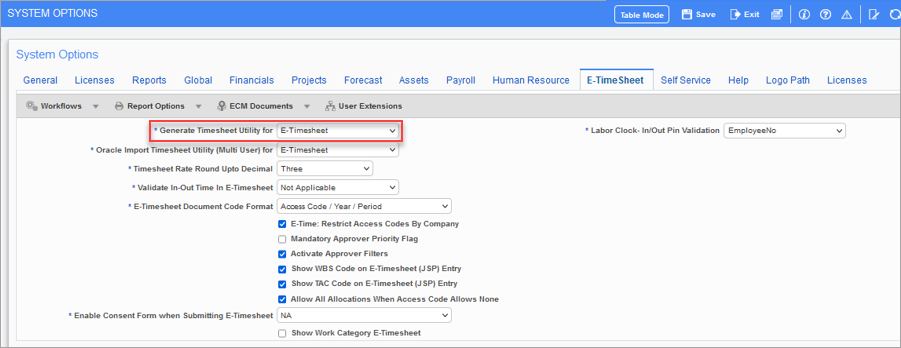
Pgm: SYSOPT – System Options; standard Treeview path: System > Setup > System Options – E-TimeSheet tab
The timesheet will be created in either the E-Timesheet or Regular Timesheet program, depending on the option selected in the Generate Timesheet Utility for field, located on the E-Timesheet tab of the System Options screen in the System Data module.
When selecting the "E-Timesheet" option, ensure that the 'E-Time' checkbox is checked in the US Payroll - Hour Types screen in the US Payroll module.
Reportee Leave Balances
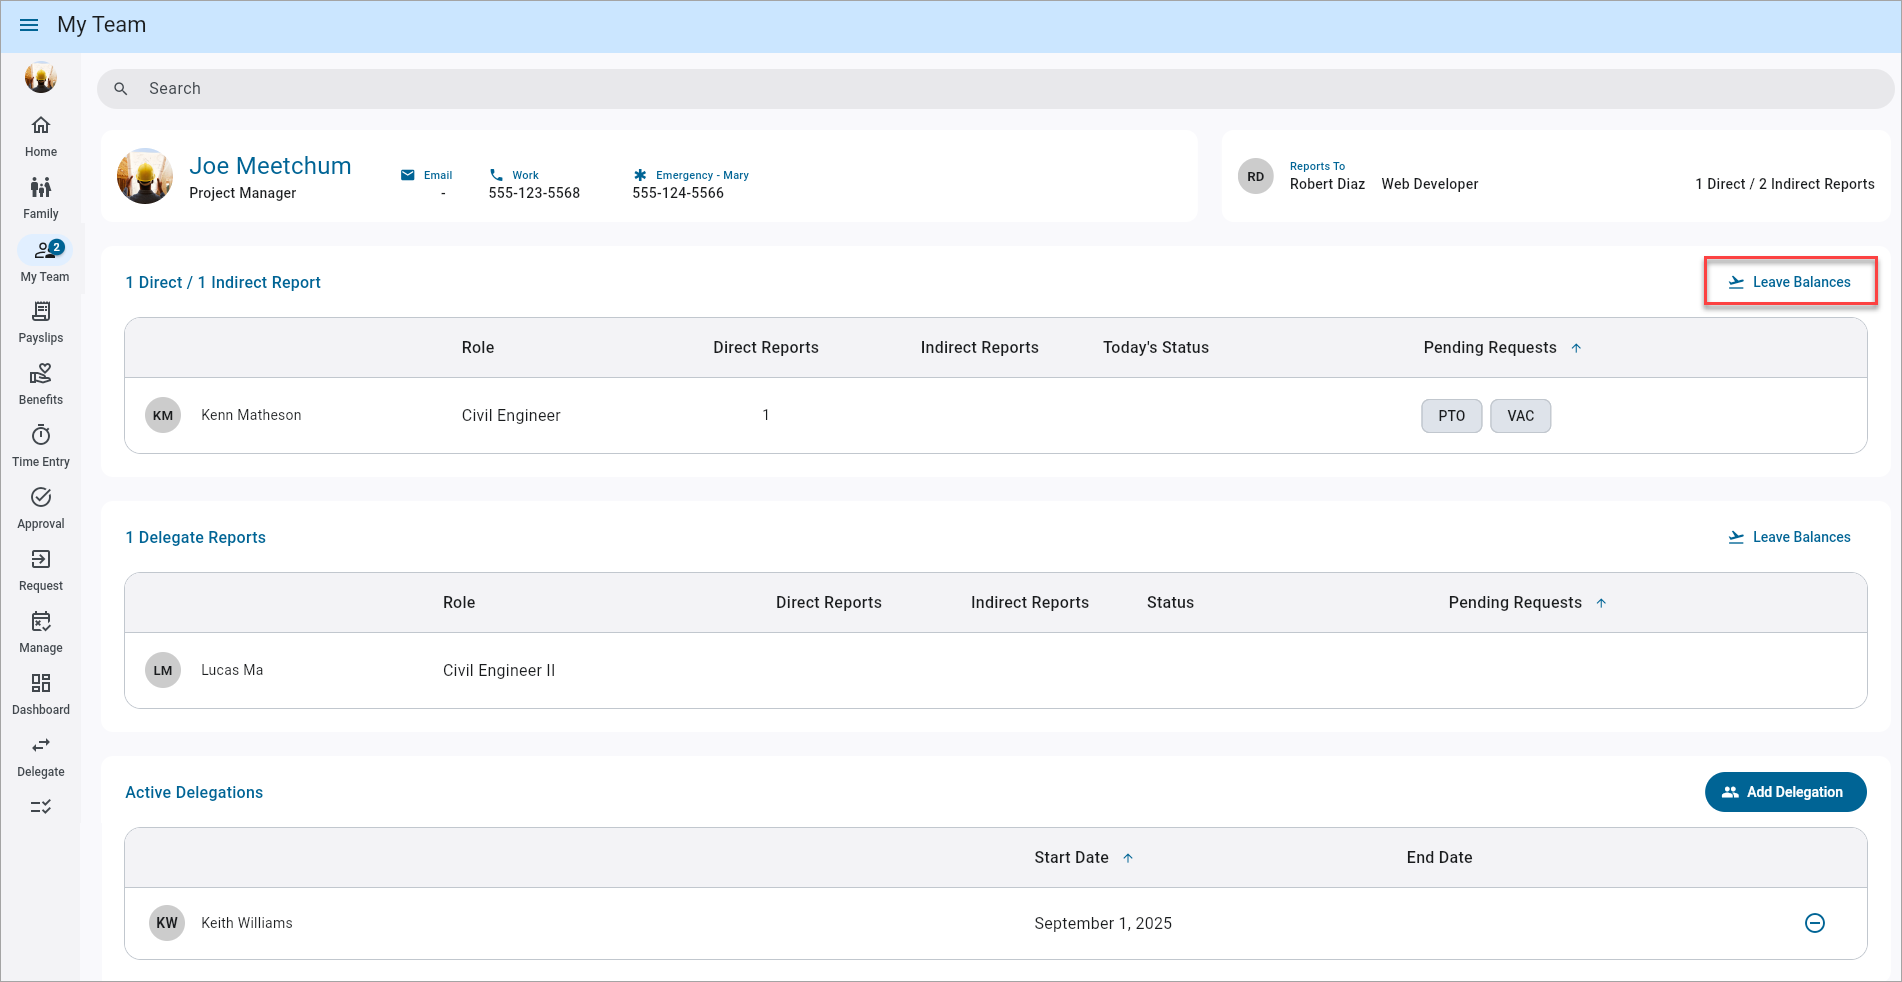
Managers can review their reportee's leave balances using the Leave Balances link.

Review the leave balances in a list view and drill down for more information. Managers may find it helpful to review this information before approving/rejecting any new leave requests.
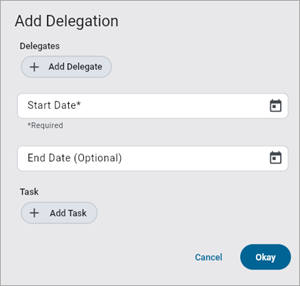
Delegate a Leave Request
Managers have the option of delegating all the leave requests assigned to them for approval to other managers. HR also has the ability to delegate leave requests. Refer to the Delegation Management screen for more information.

This is done in the Active Delegations section of the My Team screen.
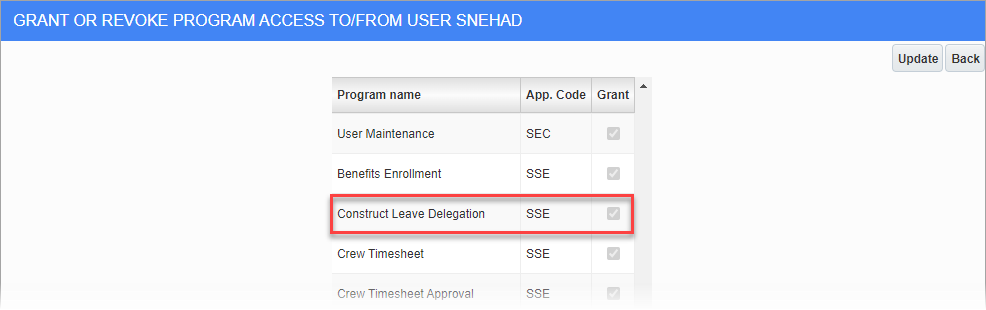
Security Roles; standard Treeview path: Employee Self-Service > Security > Role Maintenance
For this
In the

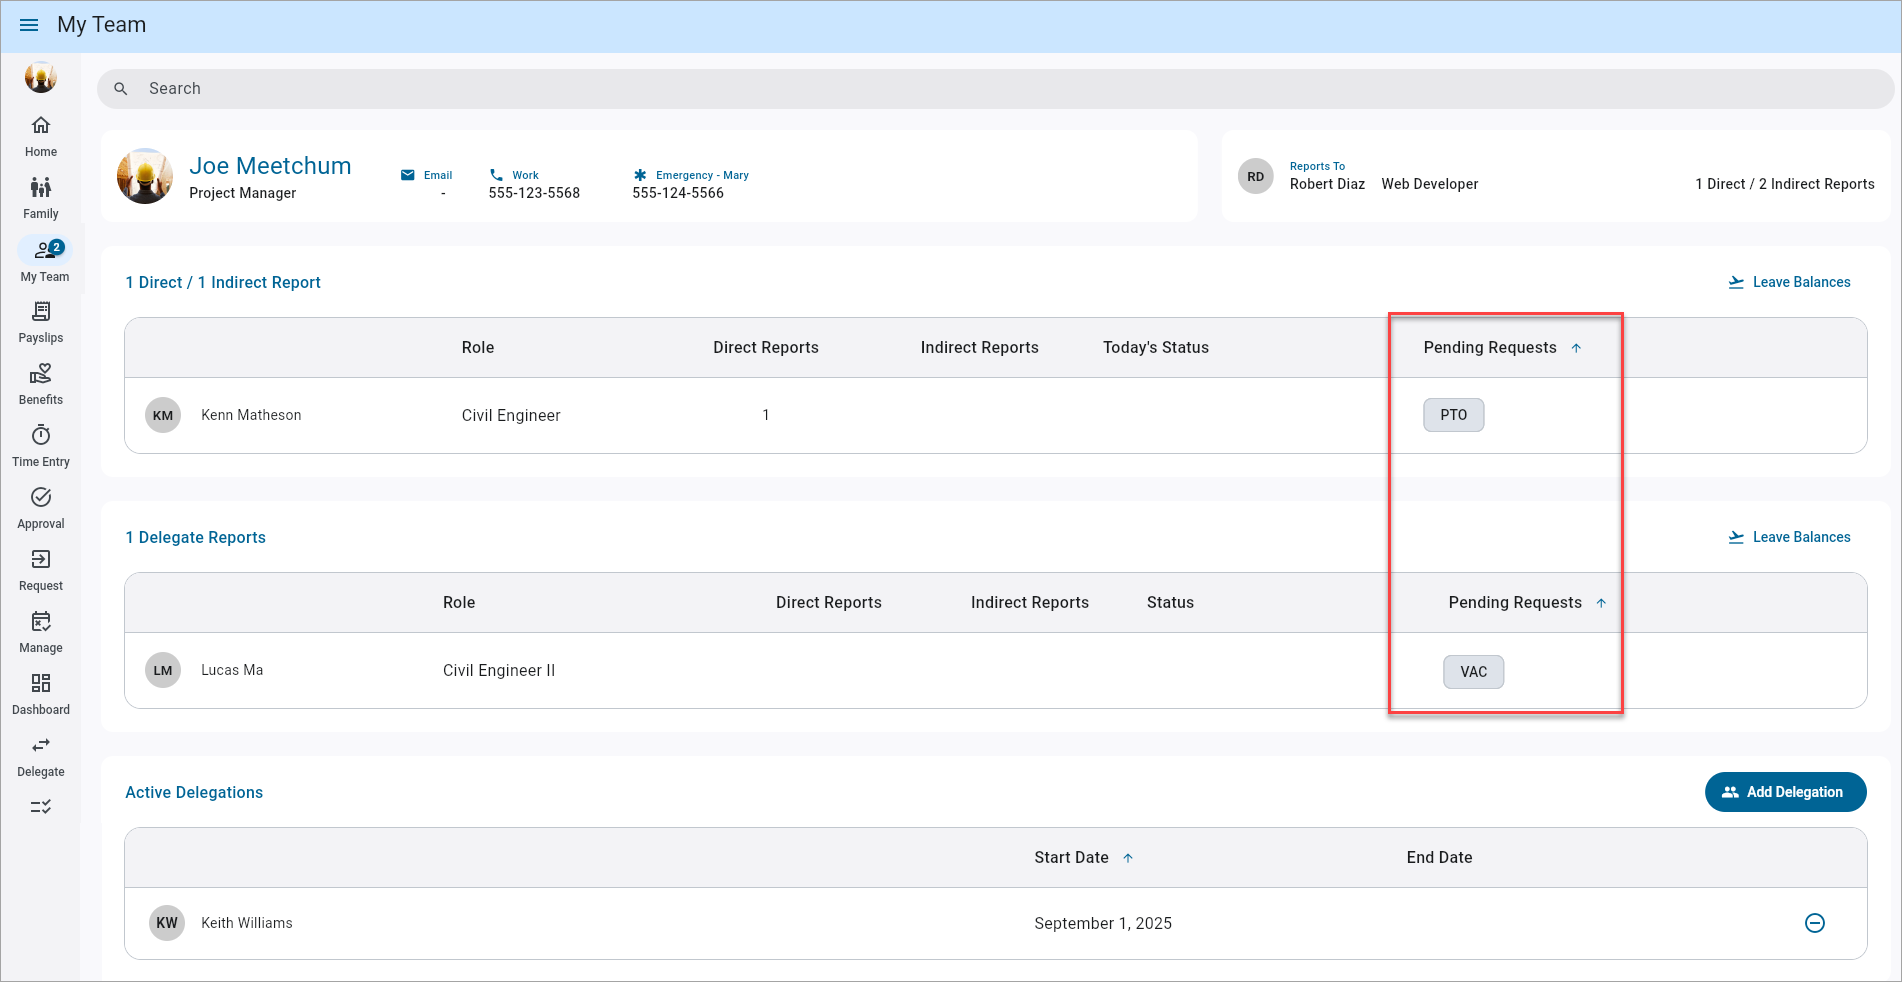
After delegates have been assigned, the selected delegates will have access to view and approve/reject the leave requests under the Delegate Reports section of the My Team screen.
The approval process for delegated requests is the same as for direct reports. They can also view the leave balances of the delegate reports.
Away on Leave
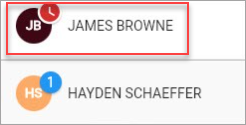
While the blue number badge notifies the manager that there is a leave request awaiting their approval, the red clock badge is used to indicate that an employee is away on leave for the current day.