
Pgm: PMSCFM – Subcontract Maintenance; standard Treeview path: Subcontract Management > Contracts > Enter Subcontract/Change Order – Schedule of Values tab
This tab displays the Subcontract’s Schedule of Values (tasks), which make up the Subcontract total. These SOVs are used with the RFP and Schedule Level Release of Retainage functionality. For instance, the Request for Payment screen allows the user to create Vouchers against Subcontracts through a Schedule of Values.
Users are able to import subcontract SOV lines in the current subcontract using the [Import] button on the Block Toolbar. For more information on the import functionality, see Exporting and Importing Data.
Once the Subcontract is posted, this tab’s SOVs are no longer editable.
NOTE: The user will need to enter/verify the tax codes and retainage percentage for each SOV line.
Sort Order
The Sort Order column is visible only when “Sort Order” is selected in the SOV Sorting field in the Contract Defaults tab of the Subcontract Control file. For more information, refer to Contract Defaults – Tab.
Task (SOV Line)
The task code is a user-defined alphanumeric identifier.
There is no need to keep track of task line numbers across Change Orders, as each Task Change Order is associated with its Change Order number and displayed in sequence by Change Order numbers.
Task Description
Enter the description for the task that is being defined.
Job Code
Subcontracts can only be associated with a single job. The allocation of tasks to a cost element may however apply to the sub-jobs associated with the controlling job. For this reason, the job code defaults from the Job Code field in the Selection Criteria section of this screen, however it will allow the user to change job code to sub-jobs of the controlling job.
Cost Code
Enter/select the cost code representing the cost element of this task.
The LOV will only display cost codes with the Available on SC/AP field set to "SC" or "Both" in the Maintain Cost Category screen in the Job Costing module. For more information, please refer to Job Costing - Enter Category.
Cat.
Enter/select the category code for the cost element being entered in this line. The category entered must have been previously set up in the Job Costing application and associated with the cost code entered in the Cost Code field.
If a default category is entered for the Default Category Code field on the Contract Defaults tab of the Subcontract Control file, it defaults to this field upon entry of a new task line. This may be changed as desired on a line-by-line basis.
Quantity
Enter the quantity being allocated, if applicable to this cost element. An entry might be made here if this cost element is budgeted in units, and it is important to measure the contribution of the Subcontract in units rather than dollars in the Job Costing module.
WM (Weight/Measure Code)
Enter/select the weight/measure code for this cost element. A valid weight/measure code must be entered for each job cost allocation.
Rate
Enter the rate of the quantity for this cost element. The system will automatically calculate the contract amount from the task quantity and rate for this cost element.
Amount
Enter the amount to complete the task (before VAT taxes). The total Subcontract amount will be the total amounts entered for each task.
Long Description
(Optional) Enter a long description for the task being defined. This field is used when printing the “Change Order” document.
Tax 1, Tax 2, Tax 3
Each SOV line can have taxes applied. The system may have defaulted values from either the job or the vendor into these fields if the ‘Default Taxes’ checkbox is checked in the General tab of this screen. These are defaults and can be changed on a line-by-line basis. There is a maximum of five unique tax codes per contract.
Taxable
The Taxable fields are used to indicate if their corresponding taxes are taxable for the task.
Ret% (Retainage Percentage)
Enter the retainage percentage applicable to the specific task line being defined.
If a default retainage percentage is entered for the Default Retainage % field on the Summary tab of this screen, the system will default that value to this field upon entry of a new task line. This may be changed as desired on a line-by-line basis.
Expense Code (Prepaid Insurance)
If the Prepaid Insurance/Expense feature is being used and this subcontract has prepaid insurance, then enter/select the expense code from the LOV. If entering an expense code, make sure that the Ret% (Retainage Percentage) field is set to zero, as prepaid insurance cannot have retainage applied to it.
For details about the Prepaid Insurance/Expense feature, please refer to Subcontract Management - Prepaid Insurance (Contractor Controlled Insurance Program).
JB Bill Code
For details about the functionality for which this field is relevant, please refer to Job Billing - Create Separate Invoices for Each Customer on Single JB Contract and Job Billing - Allow SC Request For Payment Creation From Billing Invoice.
Fully Purch (Fully Purchased)
This field is relevant to the functionality enabled by the ‘Auto-create PCI Line for SOV Line Not Fully Purchased’ checkbox on the Bid Management tab of CMiC Field’s Company Control screen (standard path: CMiC Field > File Maintenance > Company Control).
For further details, please refer to the Tracking Remaining Amount – Subcontract versus PCI subsection under the Potential Change Items section of the CMiC Field reference guide.
This field is used to indicate if the remaining amount on a Bid Item (linked to a buyout item), if not fully purchased, is to be kept as “yet to buy” or the remaining amount is to be closed. If the remaining amount is to be kept as “yet to buy”, when the Subcontract (or Subcontract Change Order) is posted, the system will create a new Bid Item for the remaining amount. This new Bid Item will be a copy of the original line (with a suffix ‘- 1’), but only the "Estimated Pricing Set" will have an amount.
The estimated pricing set of the original Bid Item is reduced by the amount of the purchase in both the Bid Item and Bid Package screens. The newly created Bid Item reflects the remaining amount.
WBS Code 1, 2, 3, 4
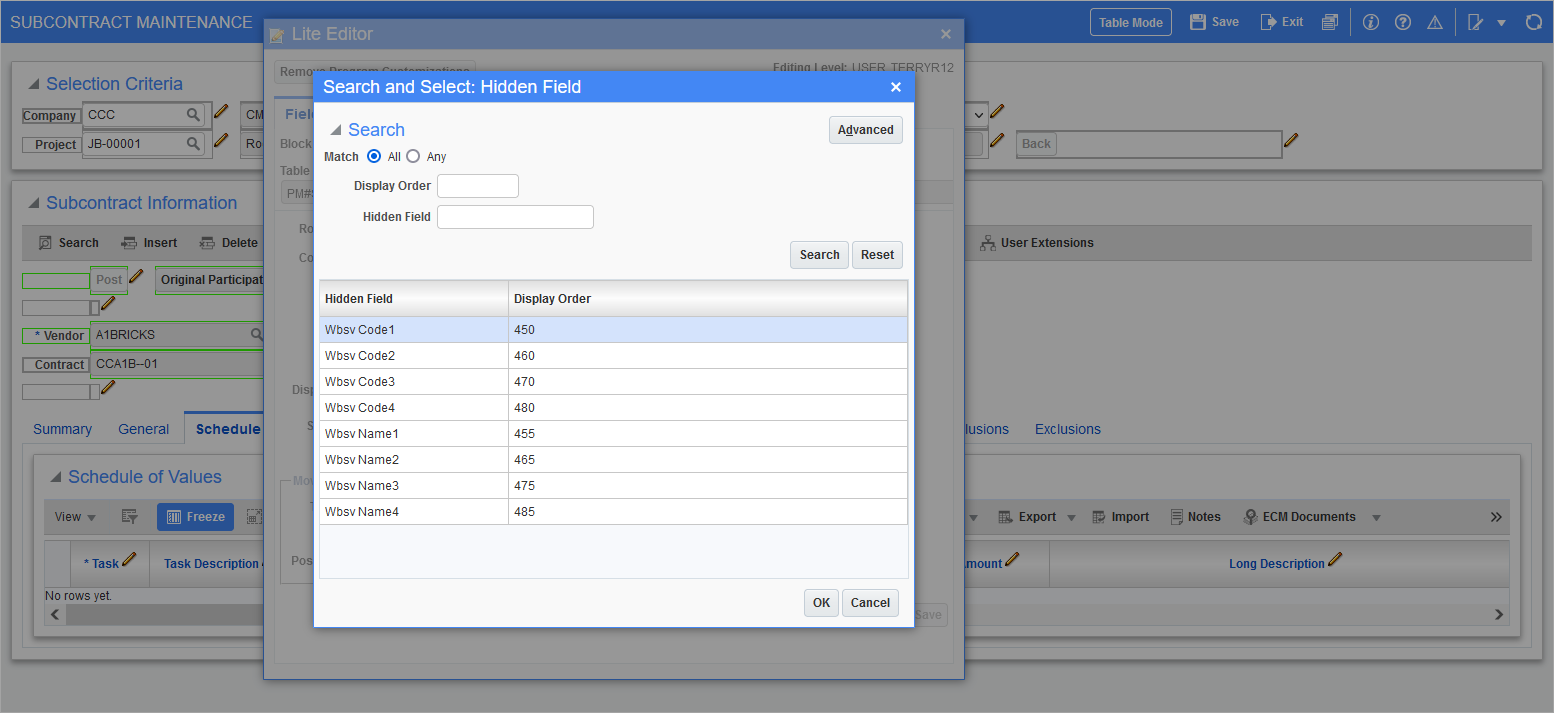
If the WBS Code and Name columns are not visible, they can be added using the Lite Editor. Subcontracts can be directly linked to WBS codes using this field. After a subcontract has been created and saved, and WBS has been set up on a PCI and saved, the WBS Code LOV on the subcontract will allow the PCI to be selected. After the subcontract is saved and posted, it will be linked with the PCI as WBS. The WBS codes will display on the Enter Cost Transaction screen and the posted transaction will show the linked WBS codes. For more details on WBS functionality, see Job Costing - Using WBS Capabilities.