Press the [Print Report] button on a CMiC Field screen to bring up a pop-up like the one shown below. From here users can select which reports to print and whether to embed attachments within them. Some report types will allow the user to select a template.
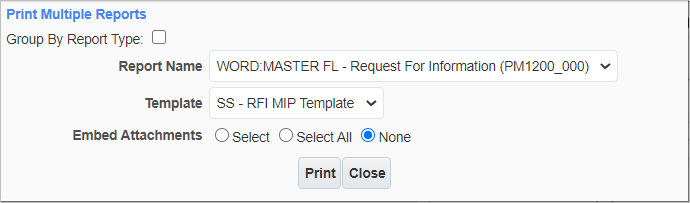
The Print Report pop-up as launched from the RFI screen
Print Multiple Reports
Press this link to bring up the Multiple Report Selection screen. Please see Printing Multiple Reports for more information.
Group By Report Type – Checkbox
Check this box to reveal the Report Type field. Use this field to sort the available reports into their report types.
Report Name
Select the report to be printed.
Template
Certain reports have associated templates that can be selected here. Templates can be created by pressing the [Report Default] button in the CMiC Field - Reports & Form Letter Assignment screen.
Embed Attachments – Radio Buttons
Select whether to allow embedded attachments on the report. For more information, please refer to Print Options for Embedding Attachments
Press the [Print] button to bring up the Report Config pop-up.
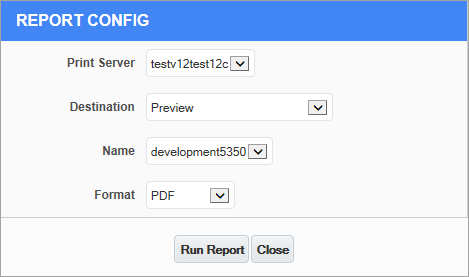
Use this pop-up to select the server from which to print the report, along with the format.
The server type is defaulted, based on whether the report name that is selected is a Jasper report or an Oracle report. The possible options listed are:
-
Oracle Report Server
-
Jasper Server
-
Oracle and Jasper Servers
If a report can be run via both server types, the “Oracle and Jasper Servers” option will be available.
The Destination field allows for the following options:
-
Preview: This option displays the report in PDF format, which you can then decide to print or email.
NOTE: Avoid using keyboard symbols (e.g. #, ?, &) in the Document Name, Report ID, Report Title, and Description fields as this may generate an error.
-
Printer: This option sends the report directly to the selected printer.
-
File: This option saves the report in a format chosen from the Format drop-down menu. This report is then saved on the Enterprise server to the folder entered in the Scheduled Reports Outputfile Path field in System Options (standard Treeview path: System > setup > System Options – Reports tab). The name of the saved file is taken from the Name field below.
-
E-mail: This option opens a new window where the user may select multiple contacts from a LOV. The Report File Name (which has the main file attachment as the default name) can be changed by the user to a more user-friendly name. The file extension MUST be kept. Please refer to the article on CMiC Field - Emailing Reports for more information.
-
Fax: This option opens a popup screen from which the user can select multiple contacts to send the report.
-
Preferred Contact Method: This option allows users to directly e-mail or fax the report to the selected contacts according to the contacts’ preferred contact method.
-
Preview with Cold Storage: This option is only available if the third-party software, Cold Storage Software, has been purchased and integrated with CMiC Field. Select “Preview with Cold Storage” from the Destination drop-down list. In the Cold Storage Information pop-up window, select the document type, and edit the description fields as preferred. Use the [Send] button to create and preview the report through Cold Storage.
-
Cold Storage: This option is only available if the third-party software, Cold Storage Software, has been purchased and integrated with CMiC Field. Select “Cold Storage” from the Destination drop-down list. In the Cold Storage Information pop-up window, select the document type, and edit the description fields as preferred. Use the [Close] button to close the window, and the [Send] button to create and send the report to the configured Cold Storage destination.
-
E-Sign – Hide signature tags : This option is only available if the third-party software, DocuSign, has been purhcased and integrated with CMiC Field. This option allows users to hide signature anchor tags. For more information, please refer to DocuSign Integration - DocuSign Setup.
Print Options for Embedding Attachments
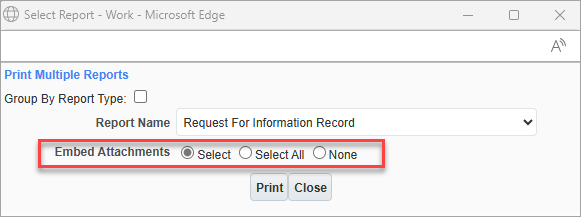
The 'Embed Attachments' radio buttons are active when the report is an Oracle report (.REP or form letter) or Jasper report.
The following are details about the Embed Attachments options:
-
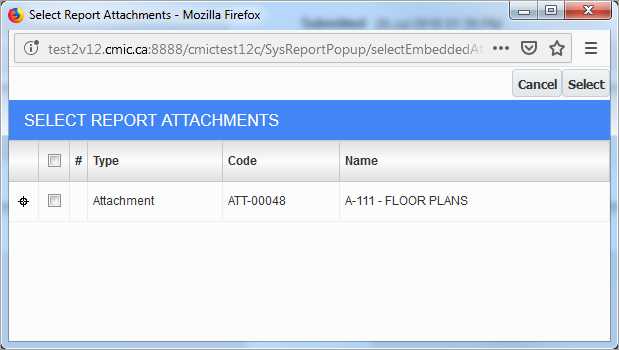
Select – When [Print] is clicked, a pop-up window will display all the attachments associated to the record, allowing the user to select the attachments to include with the report/form letter.
-
Select All – Automatically appends all the attachments attached to the current record to the report.
-
None – No attachments will be appended to the report, even if there are attachments associated with the current record.
All the standard printing destination options are available including the option “Preview With Attachments”.
-
The “Preview With Attachments” option displays the report/form letter as a PDF with the attachment(s) at the end.
-
The "E-mail" option allows users to send the report as a PDF, including embedded attachments, as well as additional attachments separate from the merged report.
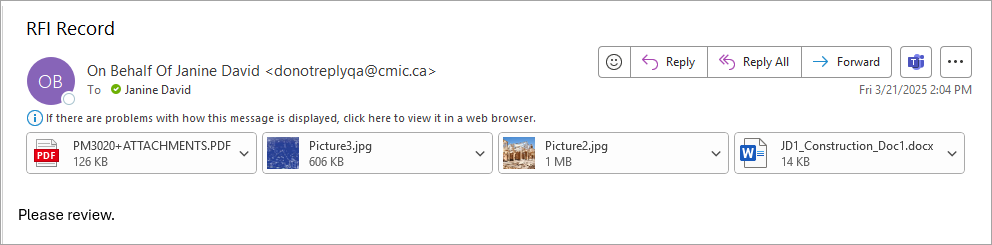
Sample email with separate attachments