Overview
This process describes how to print standard and customized AP checks at their full scale/actual size. Check printing can be done via a PDF viewer's print functionality, using the print settings to ensure the check is printed at its actual size.
For information about setting the default check format and selecting payments to be included, refer to Accounts Payable - Printing Checks. To learn more about standard check formats and customization options available, refer to Accounts Payable - Standard AP Check Formats and Accounts Payable - Customization Options for AP Checks.
Process
Step 1: Preview Check
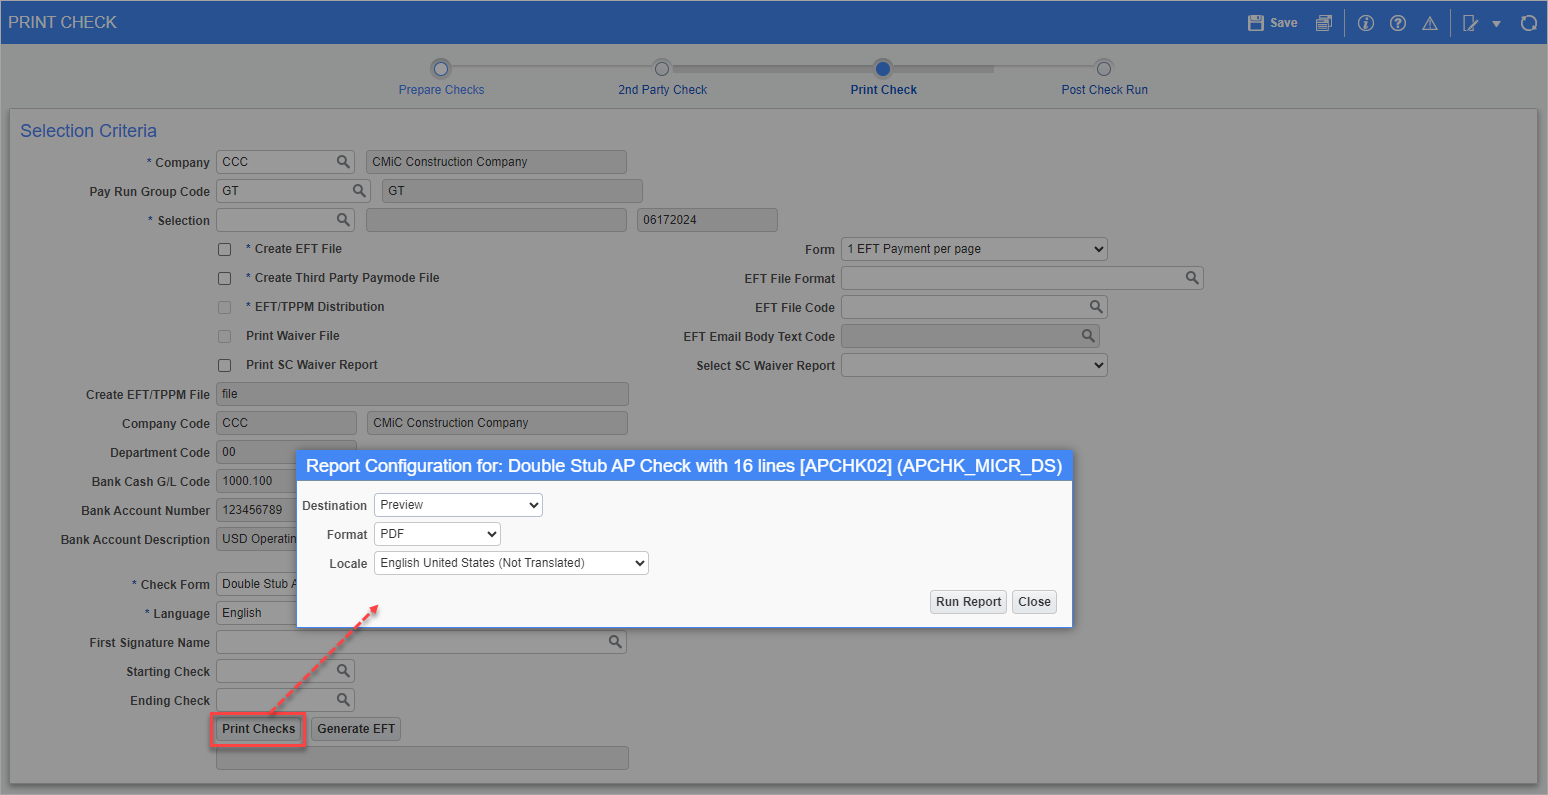
Pgm: APCHQPRE – Prepare Checks; standard Treeview path: Accounts Payable > Check > Print Check – Print Check node
The [Print Checks] button on the Print Checks screen is used to initiate the printing process. The first launched pop-up is used to select the printing destination and format. For more information, please refer to Print Check.
Select "Preview" to display a preview of what will be printed. Actual printing can then be done via the viewer’s print functionality.
NOTE: The preview will either open in the browser's built-in viewer or a default application, such as Adobe. For more information on how to set a default application, please refer to Change Default PDF Viewer.
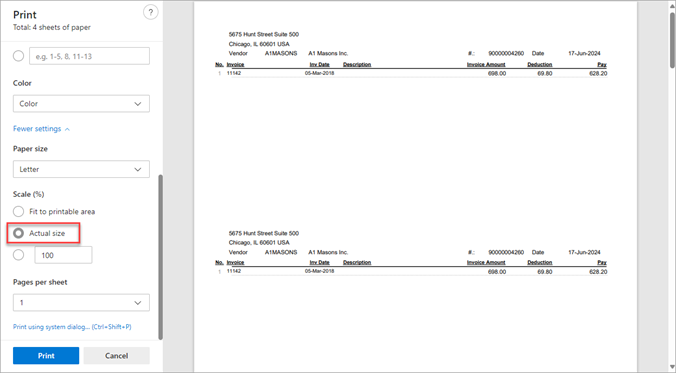
Step 2: Print Actual Size
Use the viewer's print settings to ensure the check is printed at its actual size, as outlined below:
-
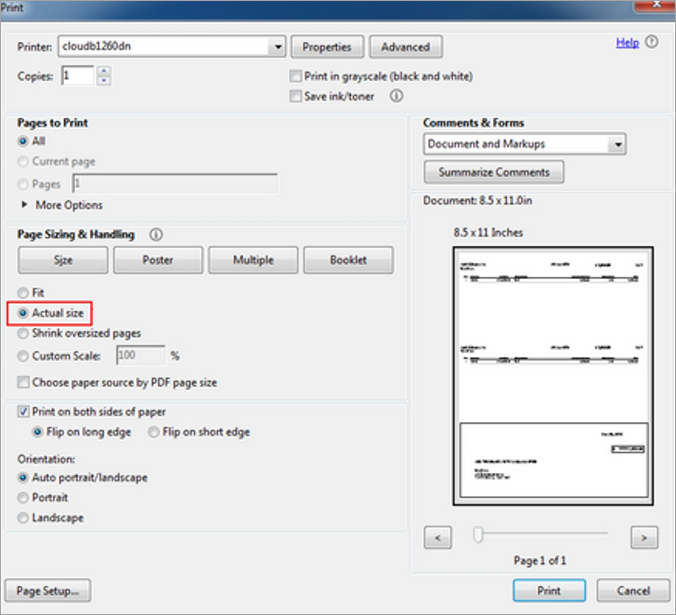
In Adobe: Select the [Actual size] radio button in the Page Sizing & Handling section.
-
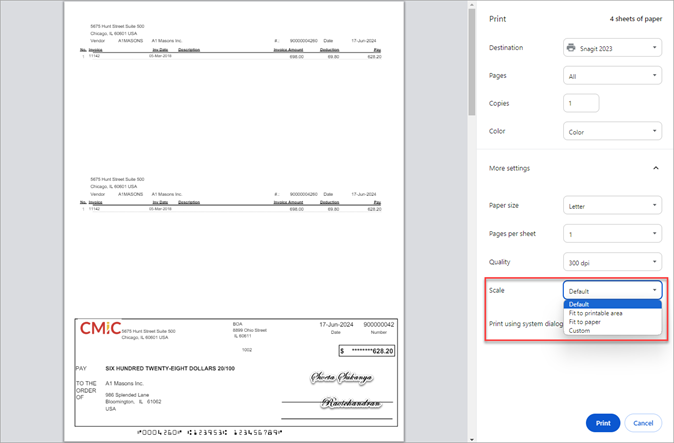
In Chrome: Select the More settings drop-down and then select "Default" from the Scale drop-down list. Alternatively, select "Custom" and set the percentage scale to "100".
-
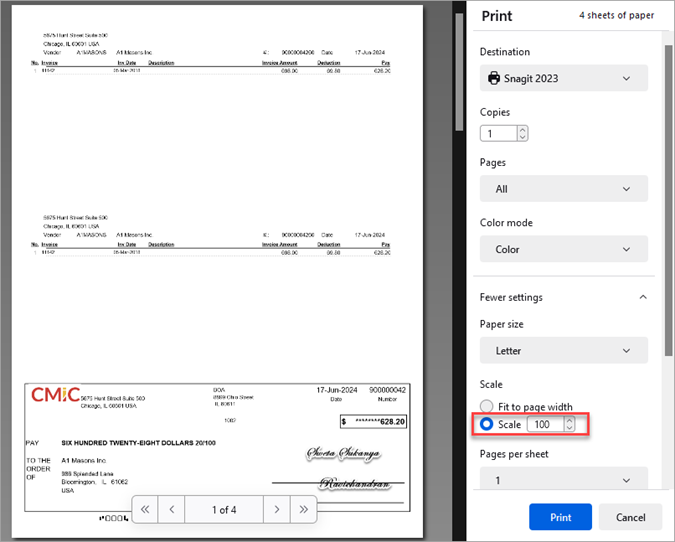
In Edge: Select the More settings drop-down and then select the [Actual size] radio button in the Scale (%) section.
-
In Firefox: Select the More settings drop-down and then select the [Scale] radio button in the Scale section with the percentage set to "100".