Overview
Construct PM allows users to quickly and easily access their project punch lists. Extra items can be appended to existing punch lists or create completely new punch lists, all in app.
Punch Lists Log
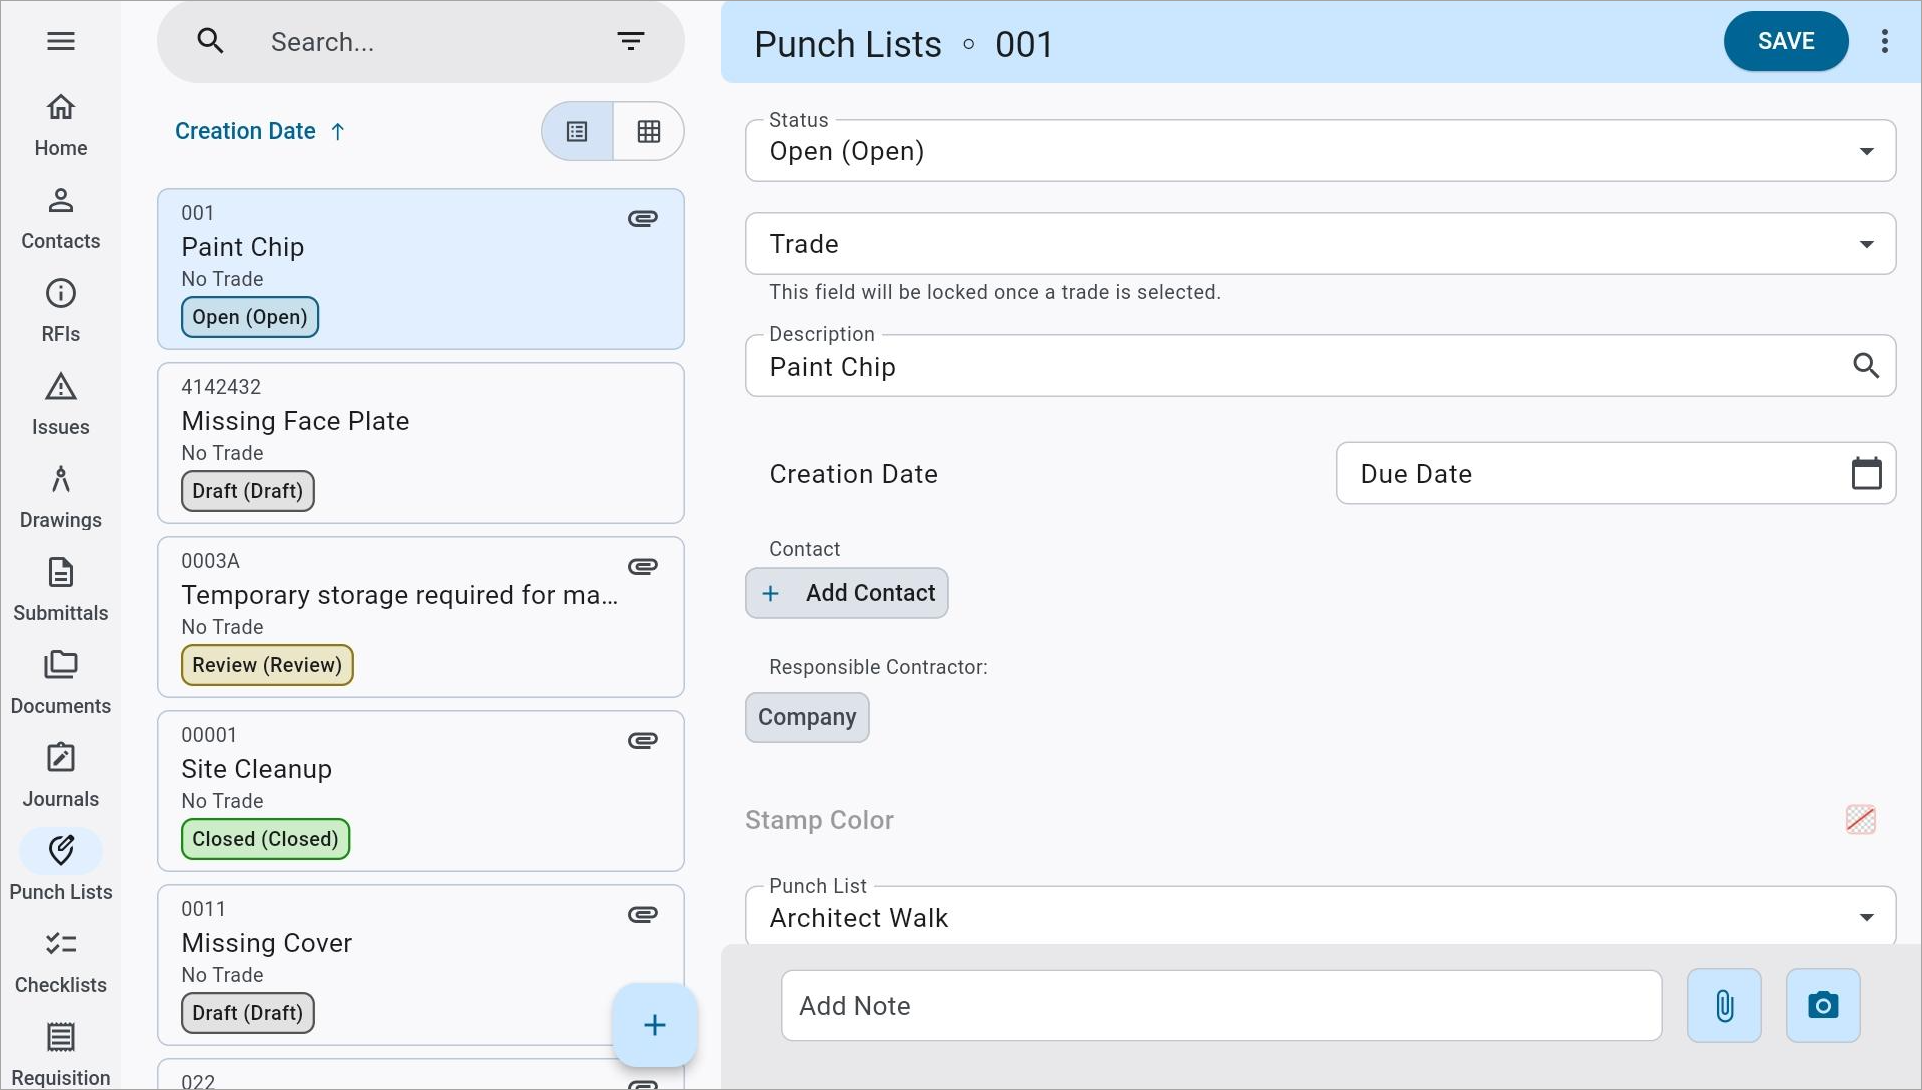
The Punch Lists log
The Punch Lists log screen appears after the user selects Punch Lists from the main menu.
Search
Press the Filter icon (![]() ) in the search bar to filter the search results. Punch Lists can be filtered by the author (mine), status, punch list, trade, company/responsible contractor, and location code.
) in the search bar to filter the search results. Punch Lists can be filtered by the author (mine), status, punch list, trade, company/responsible contractor, and location code.
NOTE: The Search feature is currently only available for the following fields: Record Number and Description. Please use the available filters and Group By option as alternatives where applicable.
Sort
Press the icon that reads, "Creation Date" to sort records by punch list, status, creation date, or due date. Press the arrow next to the sort option to sort in ascending or descending order.
[Group By] – Button
Press this button to group the log by punch list, status, due date, creation date, company/responsible contractor, or current responsibility. Press the arrow to sort the results in ascending or descending order.
NOTE: This option is available via the Search bar for mobile devices.
Delete
Press this link to delete the issue record from the project.
QR Code
Click on the Search icon (![]() ), select the Location Code filter, and press the [Scan] button to use this feature.
), select the Location Code filter, and press the [Scan] button to use this feature.
List/Grid
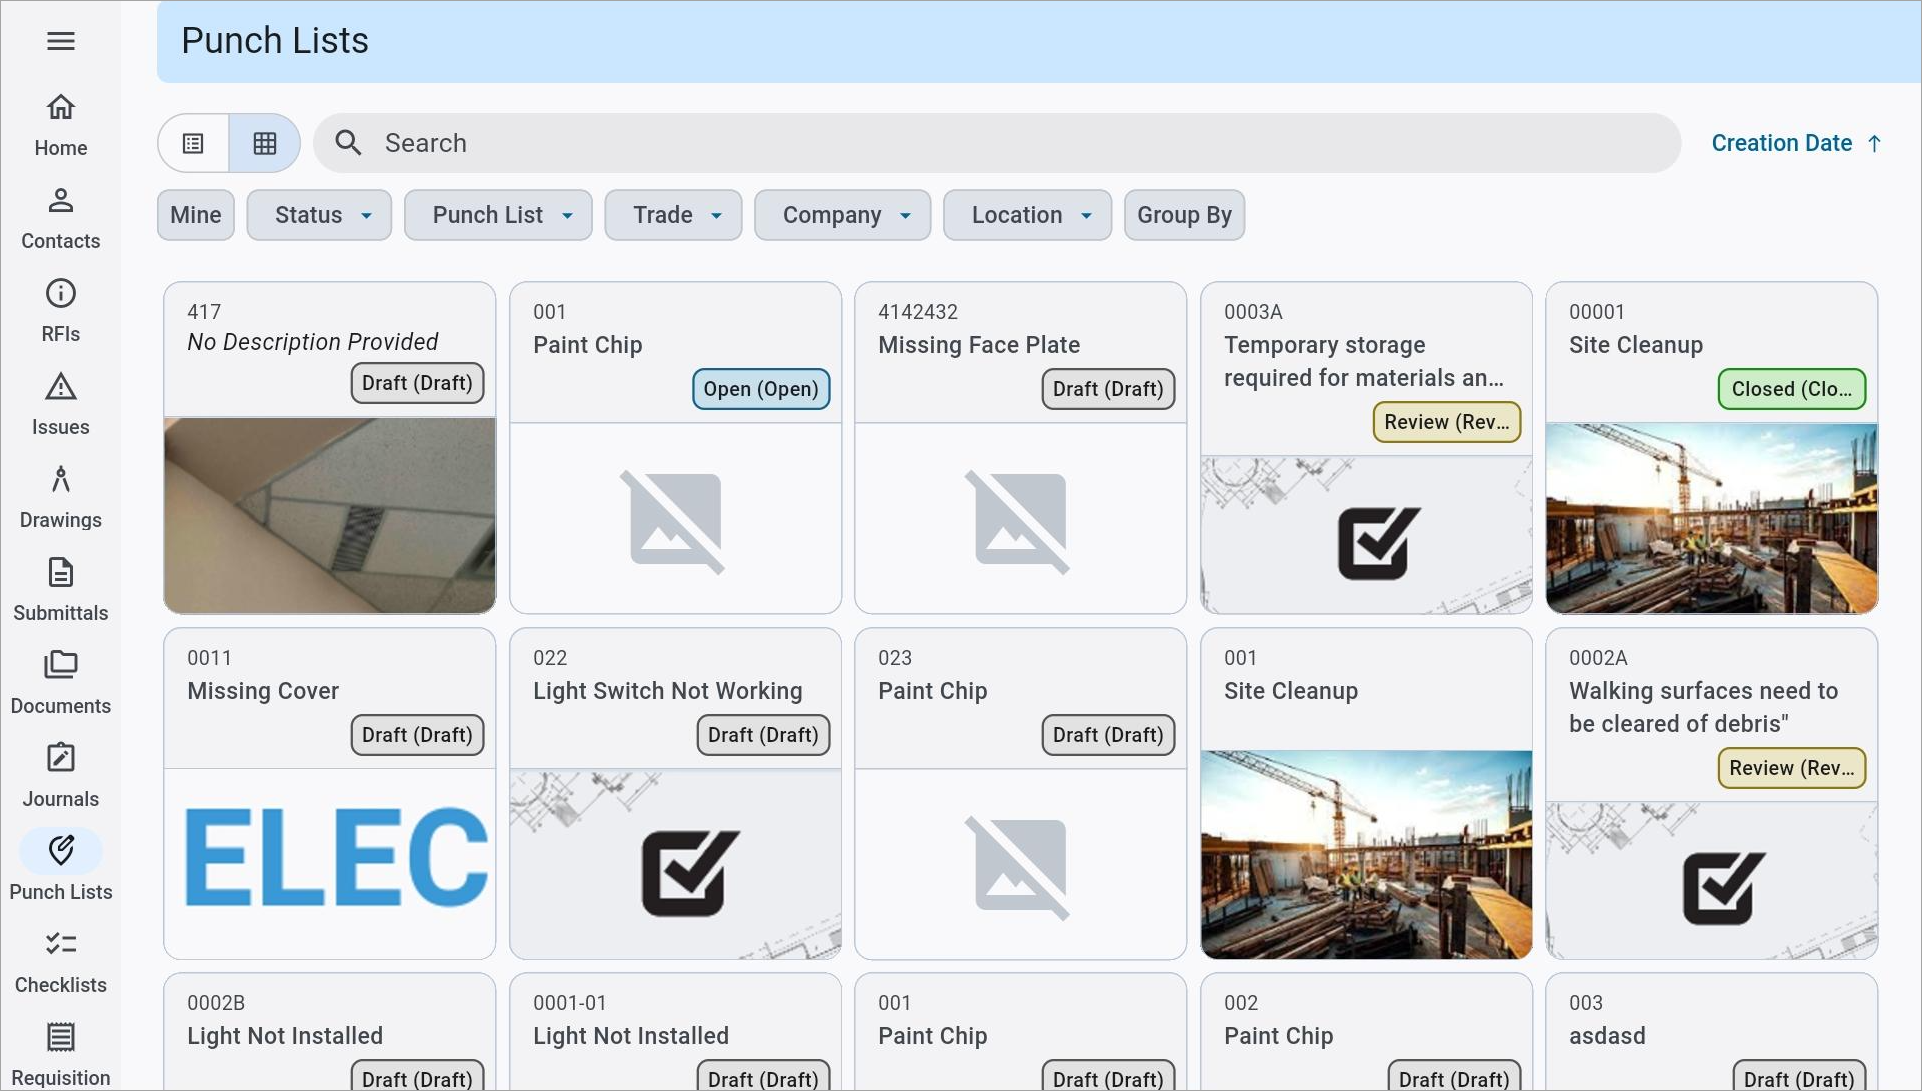
The Punch List log screen in grid mode
Press the Grid icon (![]() ) in the top left hand corner of the screen to change the view of the Punch List log screen. Press the List icon (
) in the top left hand corner of the screen to change the view of the Punch List log screen. Press the List icon (![]() ) when in grid view to change back to the list view.
) when in grid view to change back to the list view.
Dwg (Drawing) Ref
This column displays the sheet number for any drawing sheet that the Punch List record is linked to (if applicable).
NOTE: This column is only available on Construct PM web.
Creating a Punch List Item
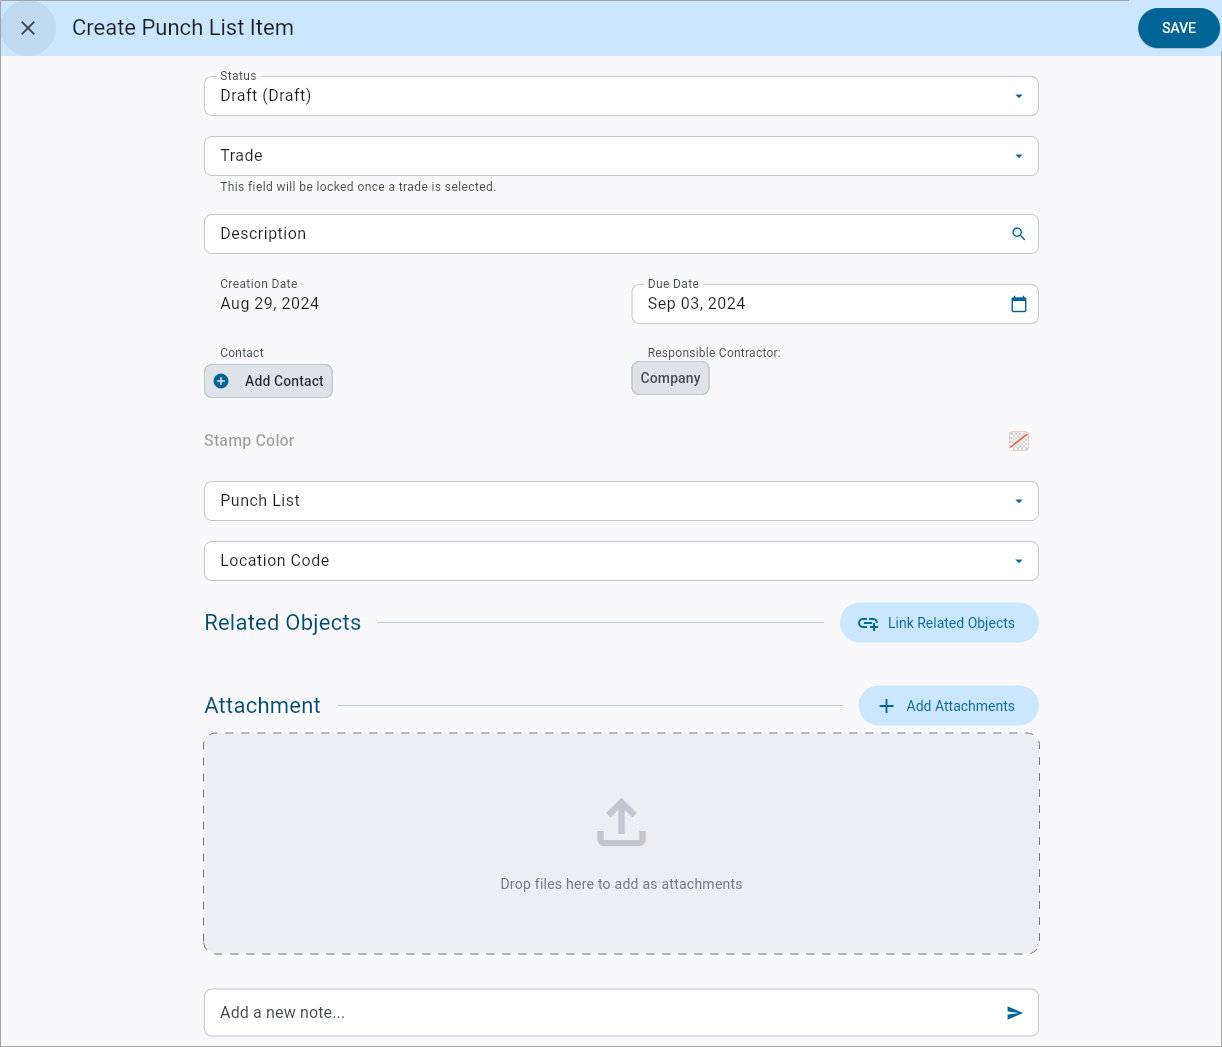
The Create Punch List Item screen
To add a new punch list item, press the Plus icon (![]() ) in the bottom-right of the screen. Enter the information for the item and press [Save] when finished.
) in the bottom-right of the screen. Enter the information for the item and press [Save] when finished.
Status
Select the status of the punch list item. The default value for this field and the status codes are maintained in the
Trade
Select the relevant trade code for the item. For more information about how Trade codes are used in Construct PM, please refer to Punch List - Trade Code Maintenance.
Description
Enter the item's description.
Creation Date, Due Date
Enter the date the item was made and its due date. The Creation Date field defaults to the current date.
Created By
This field is read-only and displays the contact information of the item's creator once the punch list item is created.
Contact
Select the contacts to be notified upon creation of the punch list item.
Responsible Contractor
The name of the company to which the contact belongs appears here.
Stamp Color
Press the Color Menu icon (![]() ) to select a color for the stamp annotation.
) to select a color for the stamp annotation.
NOTE: This field is read-only for new punch list items not associated with a drawing sheet.
Punch List
Either select an existing punch list or create a new list by entering the punch list name into the Create New Punch List field and pressing Create.
Location Code
Select the location on the jobsite. Locations codes are maintained in the Inspection Locations Maintenance screen in CMiC Field. For more information, refer to CMiC Field - Inspection Locations Maintenance.
Related Objects
Press the [Link Related Objects] button in this field to link another Construct PM object to the punch list item. This object can be an RFI, issue, drawing, or another punch list item.
NOTE: The "Drawing" option is only available for selection after a trade is selected in the Trade field, otherwise it will display as read-only.
Attachments
Press the [Add Attachments] button in this field to add an attachment to the punch list item. The user can either take a new photo with the device's camera, attach a file from the device library, or attach a document or drawing already saved in Construct PM. A counter will indicate the number of attachments on the record.
Notes
Enter any additional notes concerning the punch list item here.
History – Tab
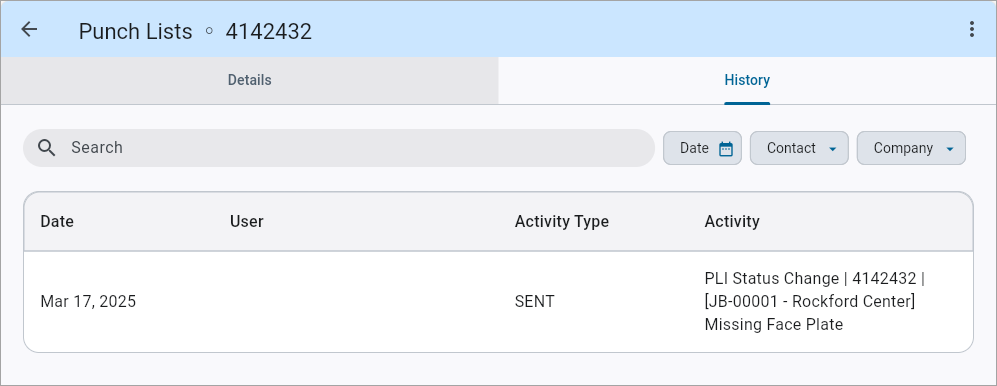
Punch List Item - History tab
All changes made to a Punch List Item's record appear here. This is a display-only tab that keeps track of:
-
Changes in punch list item status
-
Changes to responsible parties
-
Adding or removing reviewers
-
Changes to reviewer status
-
Adding new documents
-
Adding new notes
Batch Editing Punch List Records
Users can perform a batch edit by selecting multiple records and updating them simultaneously. The Batch Edit option is a time-saving feature as, instead of manually editing each record separately, updates can be applied to a selection of records in a single action.
NOTE: Batch editing is only available on the web.
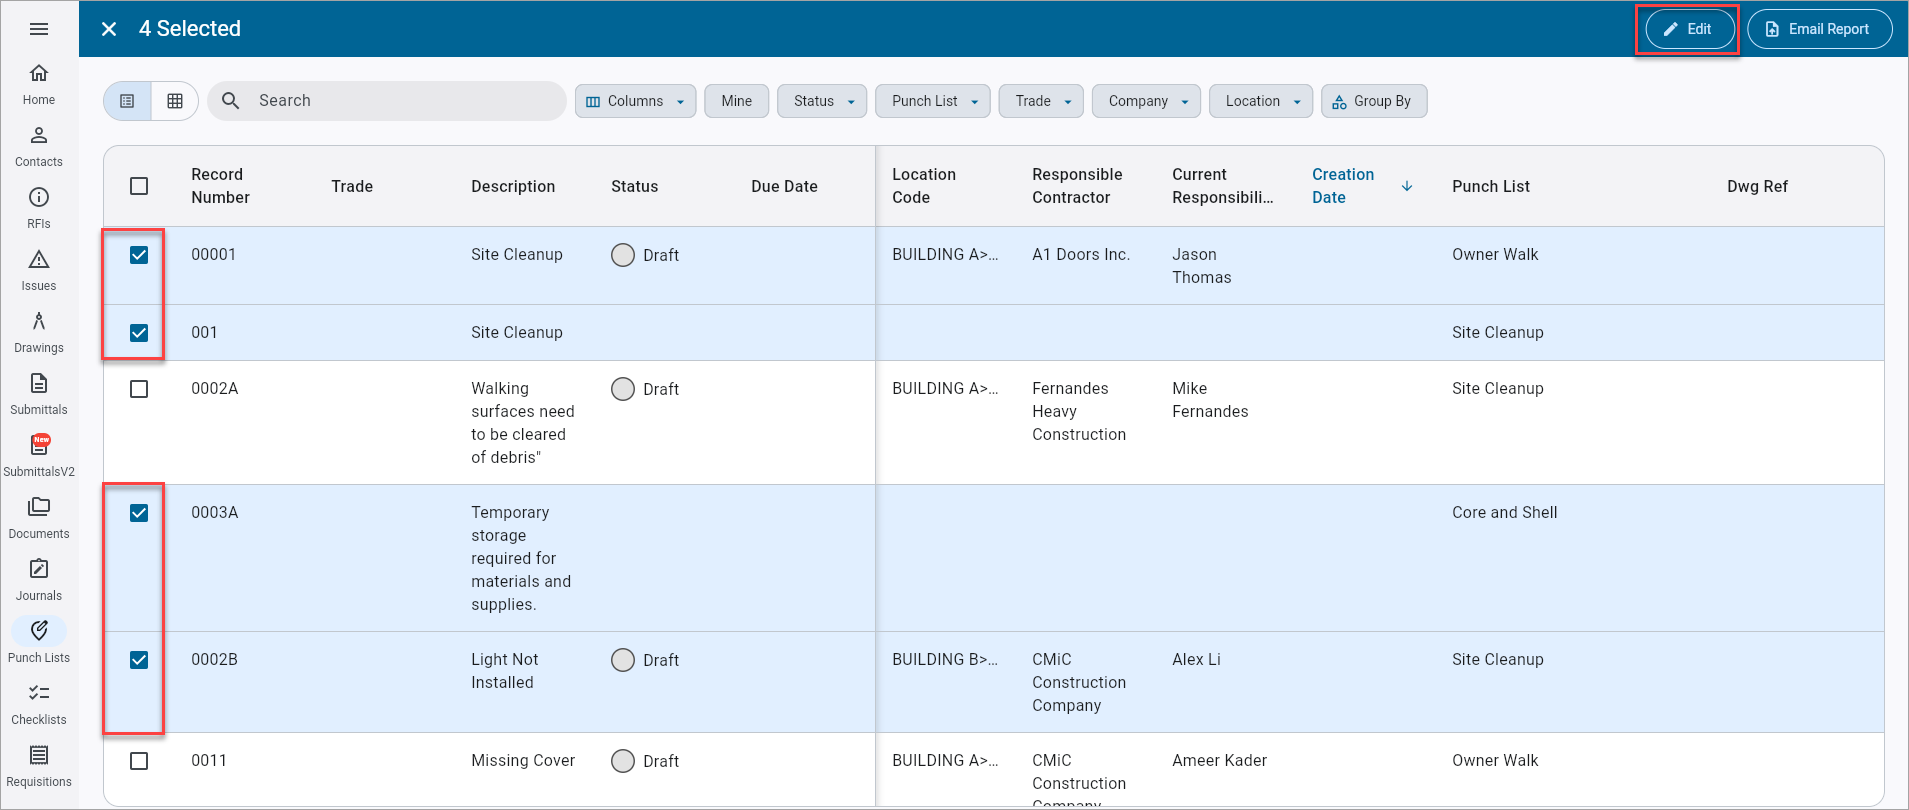
Select one or more Punch List records and press the [Edit] button to launch the Batch Edit Issue Punchlist Records pop-up window.
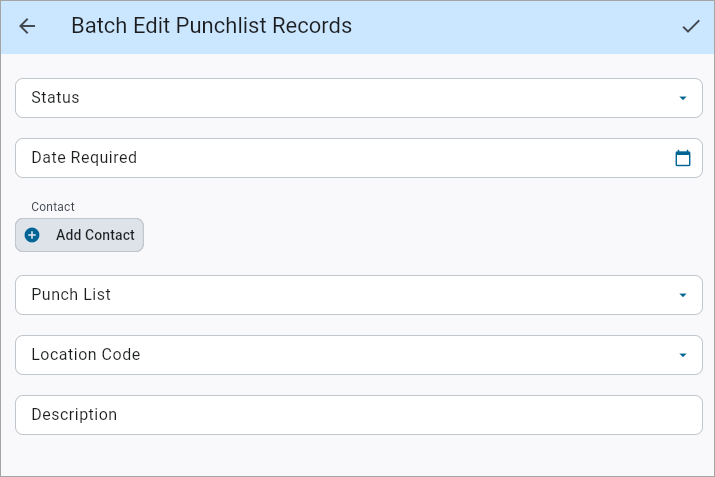
In the pop-up window, select new desired values for the available fields (e.g., Status, Severity, Type, Location Code, Date Required, To (Contact), and Responsible (Contact)). When finished, press the Save icon ( ) to apply the updates to the selected Issue records.
NOTE: The Date Required field corresponds to the Due Date field in the punch list item.
Batch Printing Punch List Records
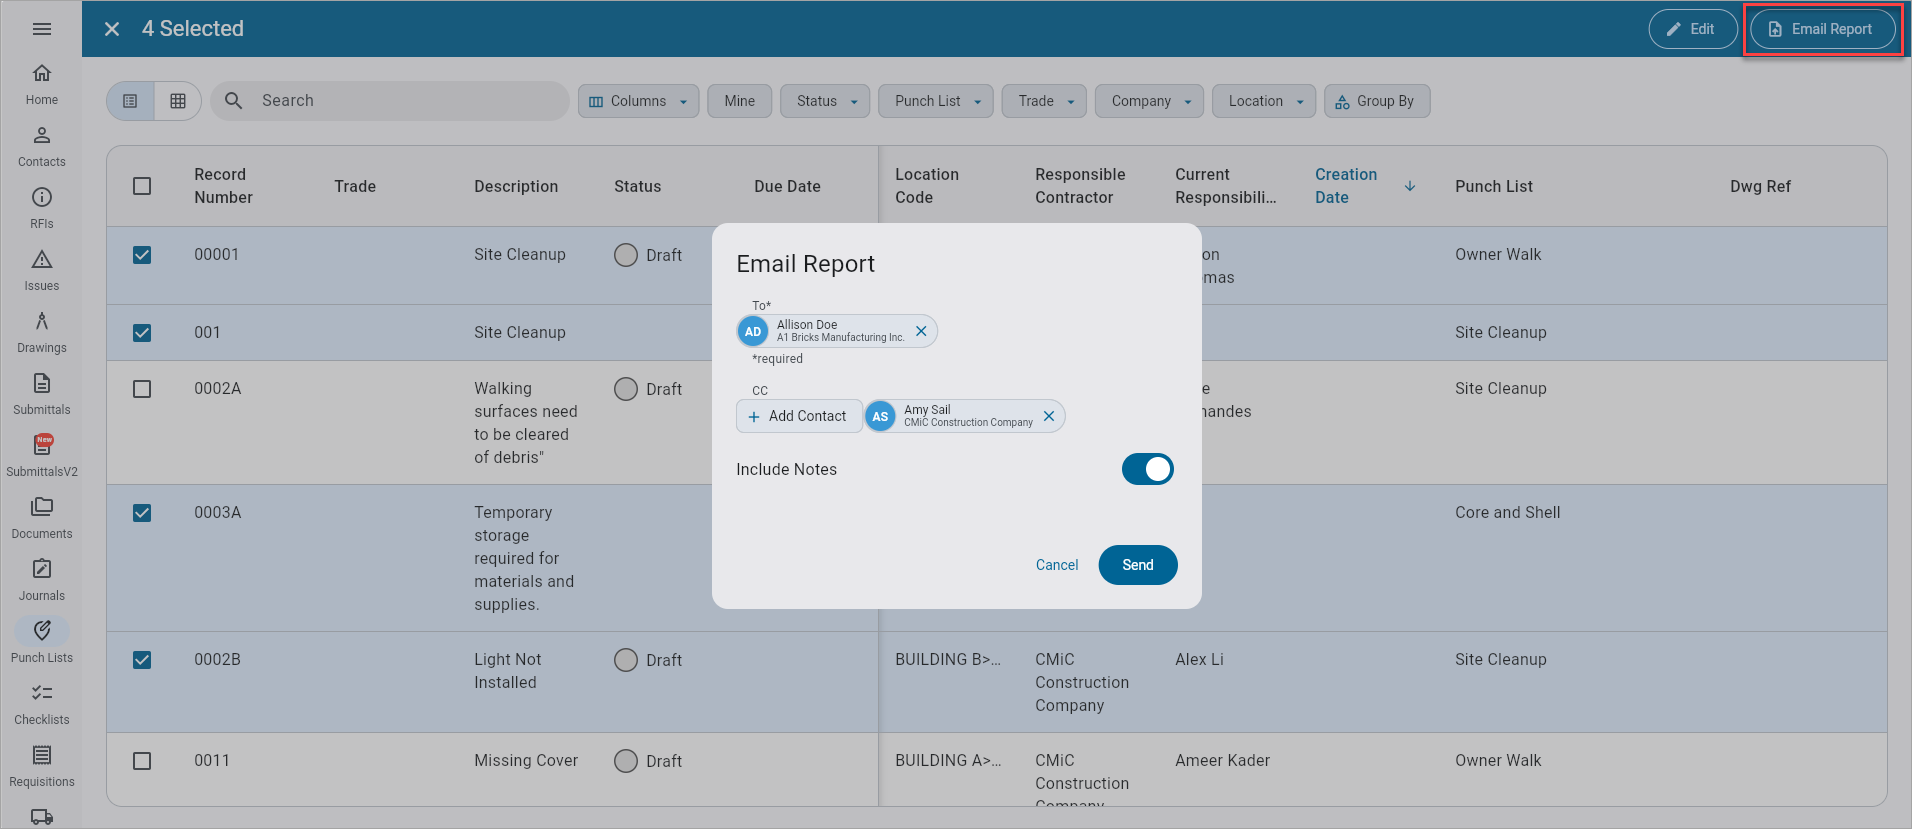
Select one or more Punch List records and press the [Email Report] button to launch the Email Report pop-up window, as shown in the screenshot above. Contacts will receive an email with the Bulk Punchlist Item Report (PMPL02) with the selected records and notes (if included).
Exporting the Punch List Log
NOTE: The Export Log feature is only available on the web.
To export the Punch Lists log, click on the Options Menu icon ( ) and select the "Export Log" option in the drop-down menu. A CSV file is generated which contains all items that meet the current filters applied on the Punch Lists log screen.
Preserve Log Settings

Users have the ability to preserve their last log settings, including filters, sorting, and grouping. Once applied, these settings will be maintained, allowing users to switch between modules without needing to reapply them. This feature works across all device types, ensuring consistency on both Web and Mobile platforms.
Admin users with the 'Logs - Set Default Log Configuration' security role privilege can set a company-level default log by selecting the “Save Log Settings as Company Default” option in Menu options (see Security) . This default will be applied to all users. However, users can still adjust their logs as needed, and any changes made will be preserved when they return. Additionally, users can reset their log settings at any time to the company default by selecting the “Restore Log Settings to Company Default” option. If no company default is set, this will reset the log to the application's default view.