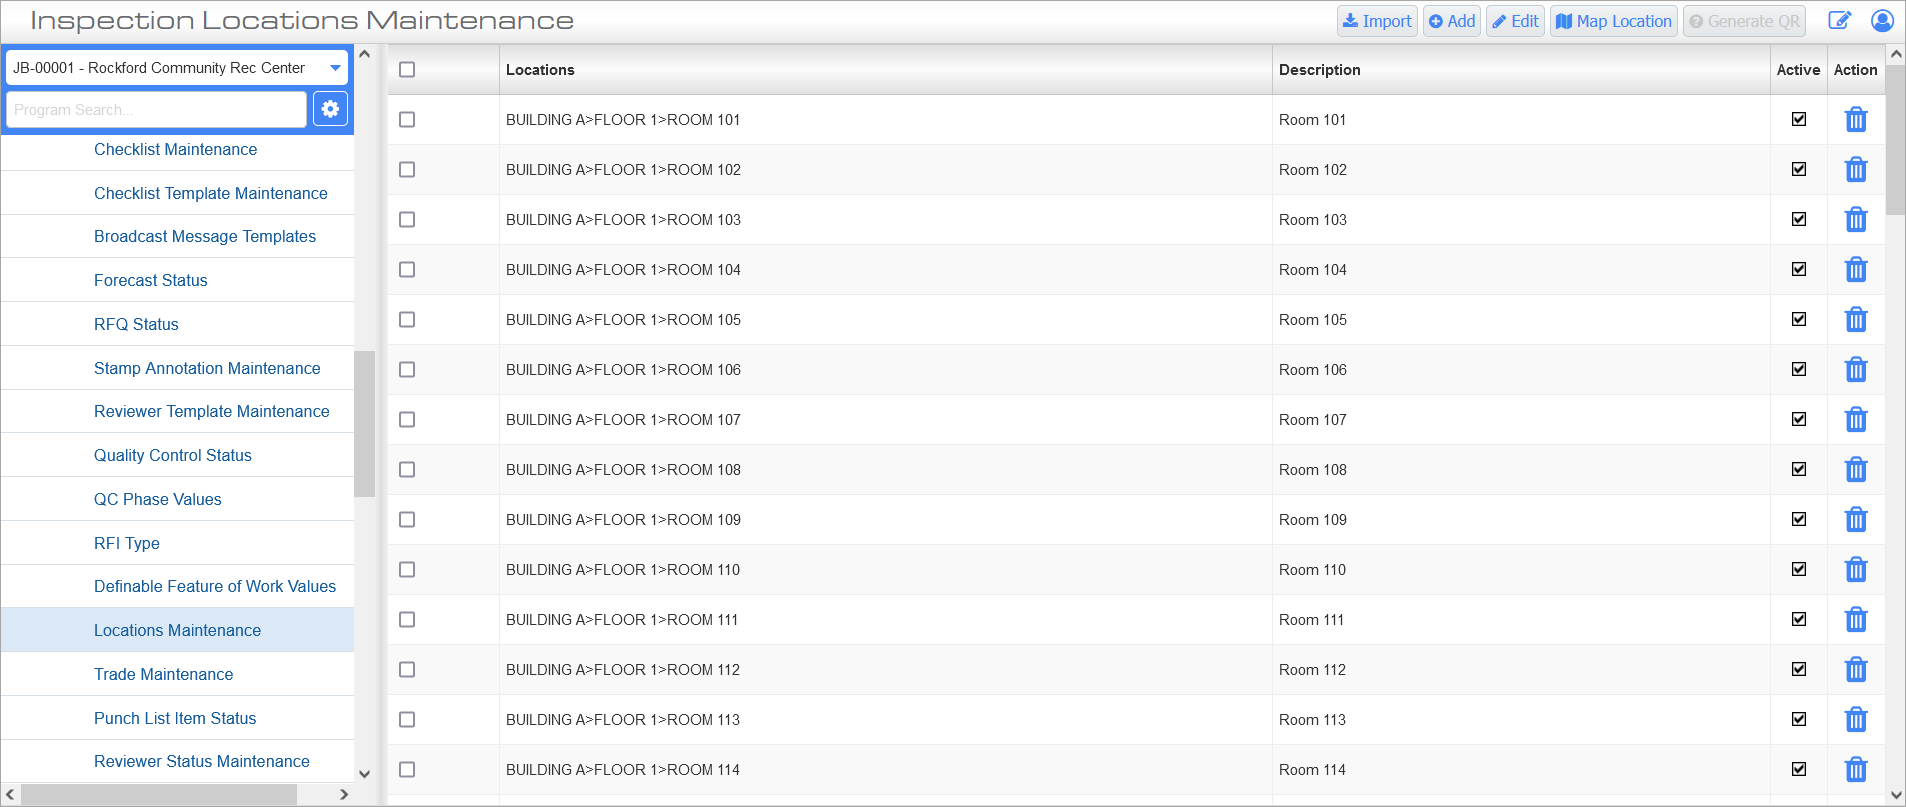
Inspection Locations Maintenance; standard Treeview path: CMiC Field > File Maintenance > Local Tables > Locations Maintenance
Location codes are used across Field to organize records like Punch Lists and Issues by location on the jobsite. In the Inspection Locations Maintenance screen, location codes can be added, deleted, edited, or imported from a CSV/TXT file.
NOTE: If the Inspection Locations Maintenance screen does not appear in the Treeview, this may be because the menu item has not been assigned to the user PM security role. Users with custom menus might need to add the Locations Maintenance menu item by dragging it from the standard Menu Maintenance program.
Location codes can have up to 15 levels of detail. For example, "Building A>Floor 1>Room 110" is a location code with three lines of detail representing building>floor>room.
Other examples include:
-
Tower A
-
Tower A > Floor 26
-
Tower A > Floor 10 > Room 1008
-
Tower A > Floor 20 > Room 2020 > Area 1
[Import] – Button

Location codes can be entered manually or imported via Excel. Press this button to upload an import template
Check the 'Delete existing imported records' box to remove any temporary data previously uploaded using this import tool. This option does not delete or overwrite any existing records in the system. Once a file has been selected, press the [Upload] button to complete the process.
[Add] – Button
Press this button to enter Location codes manually. Enter each level of detail in the Location fields and press the Plus icon to add more levels. Enter a description for the code in the Description field, if needed. When all details have been entered, press the [Save] button to commit the record.
[Map Location] – Button
With this button, location codes can be linked to specific regions of a drawing sheet.
[Generate QR] – Button
QR codes can be generated for desired locations to allow for easier filtering of Punch Lists by location. Once target locations are selected using the checkboxes in the left-most column, pressing the [Generate QR] button will have the following pop-up appear. The pop-up allows the user to select the number of QR codes to be printed per page.
![Screenshot of pop-up window launched from the [Generate QR] button.](../../../../../Resources/Images/CMiC_Field/PM_LocationCodeMaintenance.png)
Pop-up launched from [Generate QR] button
Toggles at the top of the pop-up window are used to customize how the QR codes are generated and displayed in the PDF. Each of the toggle settings is described in more detail below:
-
Duplicates: Selected location codes will be duplicated by the number of QR codes per page selected below.
-
Unique: Selected location codes will generate unique QR codes based on the number per page selected below.
-
Location: The location code will be printed below each QR code.
-
Description: The location code's description will be printed below each QR code.
After clicking [Export to PDF], a PDF with the QR codes will be downloaded to the user’s computer. The QR codes can be printed and displayed at their associated job site locations to allow the workers to efficiently access the location’s punch lists.