The Flysheet Builder encompasses a pipeline process from the creation of a flysheet to generating PDFs from it. It is a helpful tool to quickly create flysheets by adding the required text boxes, fields, radio buttons, checkboxes, and so on.
Setting Up A Flysheet
Flysheet Builder; standard Treeview path: Imaging > Setup > Flysheet Builder
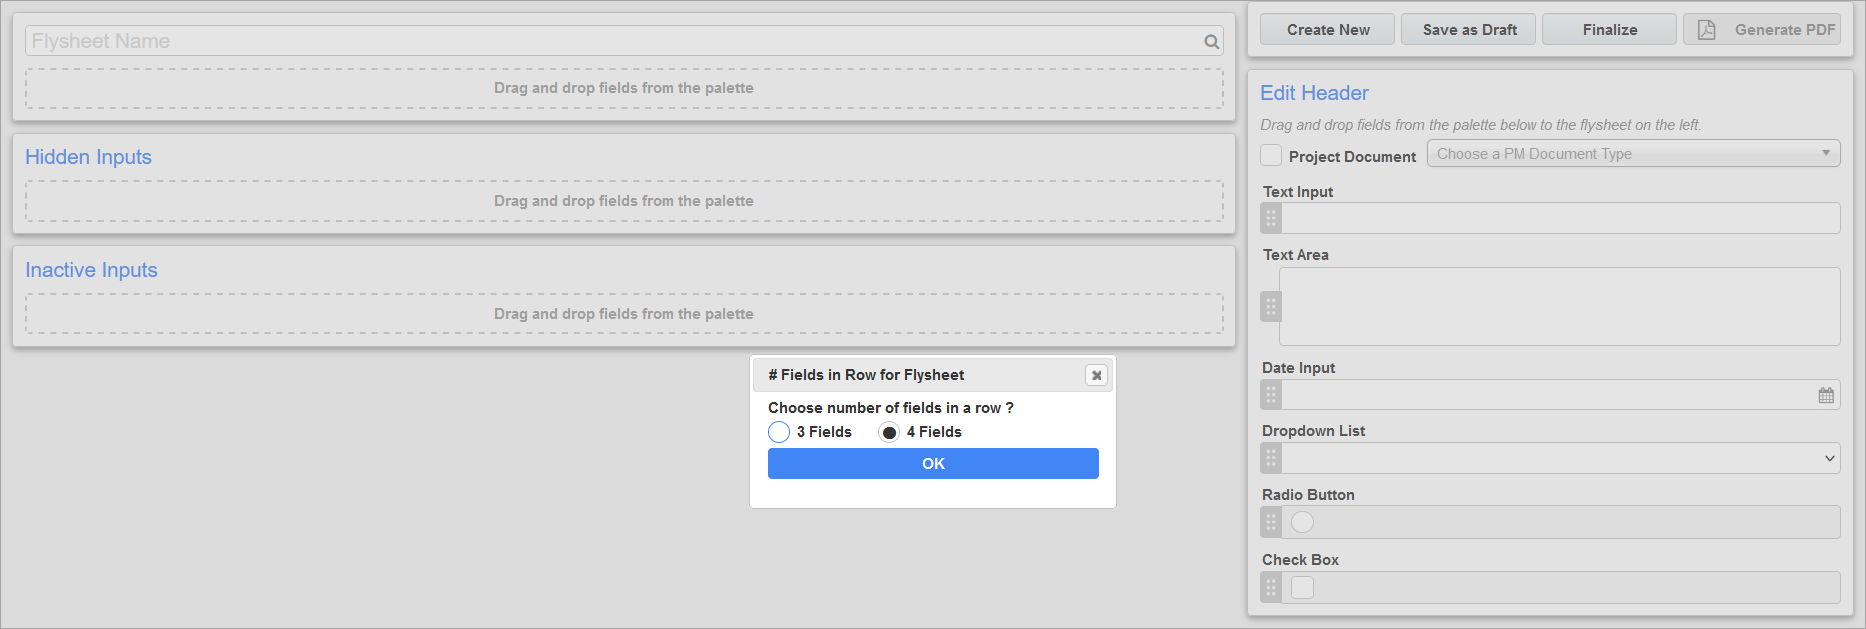
Once the page opens, the Fields in Row For Flysheet pop-up window will come up on the screen to indicate the number of fields there will be in a row.
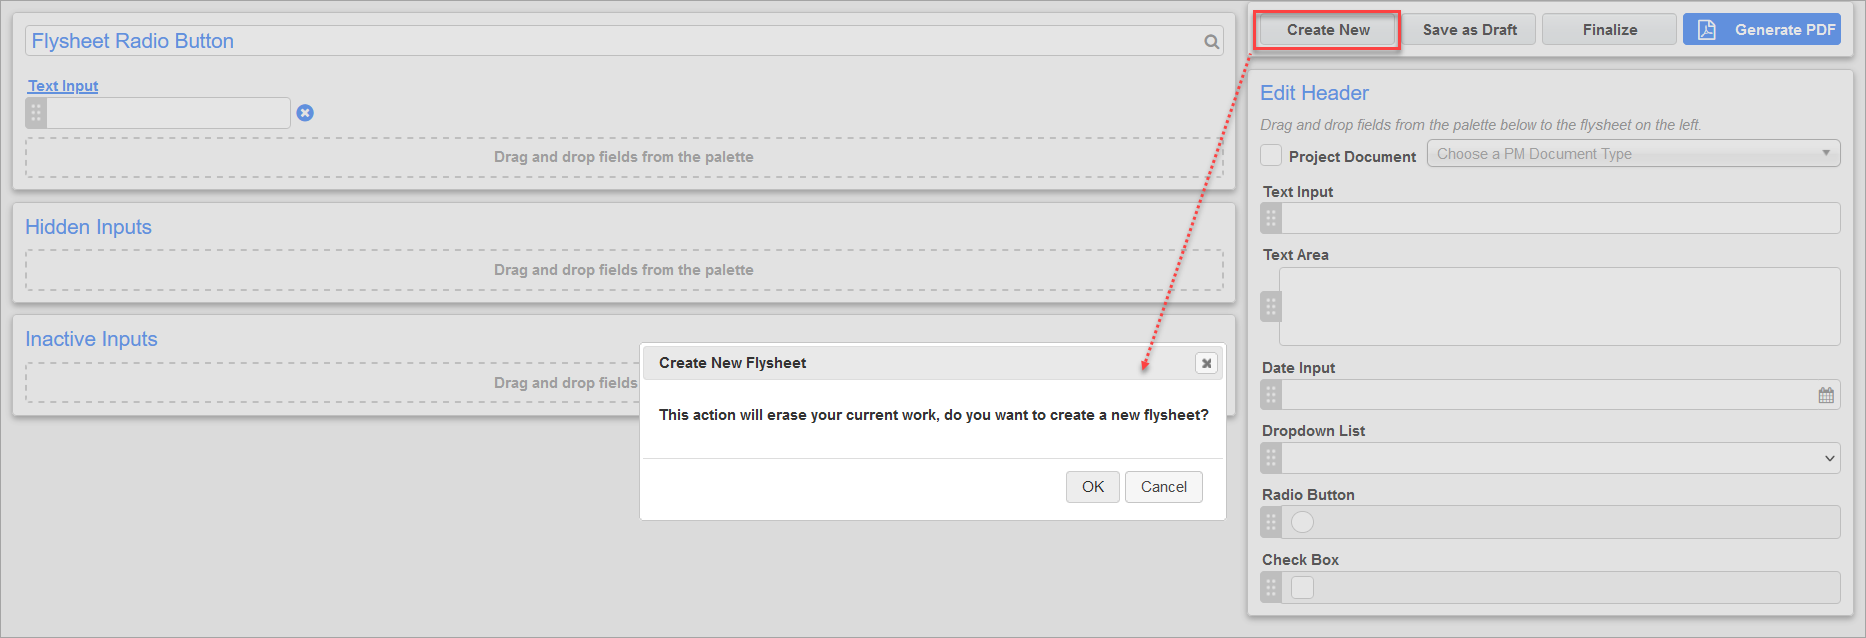
Alternatively, the [Create New] button can be used when an existing flysheet has been opened and the user would like to create a new flysheet. The Create New Flysheet pop-up window will appear to confirm if a new flysheet should be created. Once confirmed, the user can begin setup for the new flysheet.
The user selects three or four fields, depending on the flysheet design requirement, then clicks the [OK] button to start setting up the flysheet.
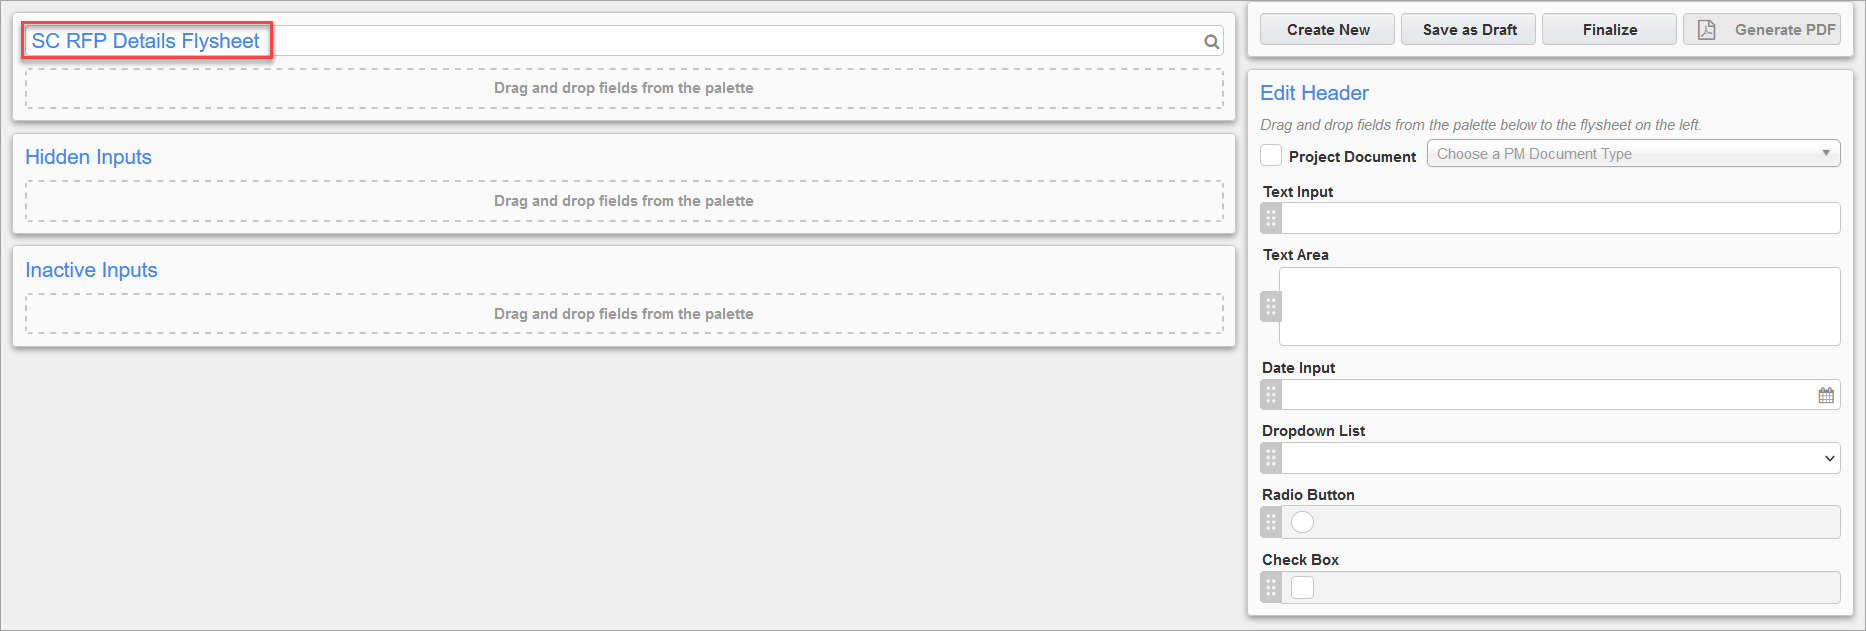
A name can be added in the Flysheet Name field. For example: SC RFP Header, Details Flysheet, etc.
Edit Header – Section

To add fields to the flysheet, drag and drop inputs from the Edit Header section on the right to the Main Flysheet section.
NOTE: Fields cannot be added directly to the Inactive Inputs section from the Edit Header section. They can only be dragged from the available inputs in the Flysheet section.
The following describes the available inputs that can be added to the flysheet. For details on how to edit each individual input, please see the Editing Inputs and Saving A Flysheet section.
Project Document
Users have the option to check the box and choose a PM Document Type, such as "PM Attachment", to indicate that flysheets should be associated to the selected document type in CMiC Field.
Once the box is checked, the Project input will be added to the flysheet and the Company input will be added under the Hidden Inputs section.
Click on the Company input and select a value for the Company field under the Company section. Once a company is selected, click on the Project input and select a value for the Project field under the Project section. The projects that appear in the Project LOV will be filtered according to the company that was selected in the Company input.
For further details on the 'Project Documents' checkbox workflow, please see Imaging - Using Project Documents in the Flysheet Builder.
Text Input
This field is for entering text or a number on the flysheet.
Text Area
This field is for adding a description on the flysheet.
Date Input
This field creates a date entry field on the flysheet.
Dropdown List
This field allows users to create a drop-down list by either selecting a pre-defined list or creating a custom list.
Radio Button
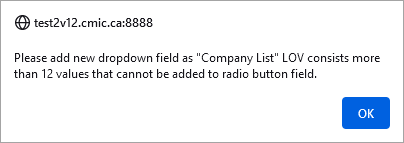
This field allows users to create a radio button by either selecting a pre-defined list or creating a custom list. Only LOVs that have less than 12 options can be used for the radio button. If an LOV with more than 12 options has been selected, the following error will display:
Check Box
This field creates a checkbox on the flysheet. It is for a boolean option only, e.g. "yes" or "no".
Hidden and Inactive Inputs
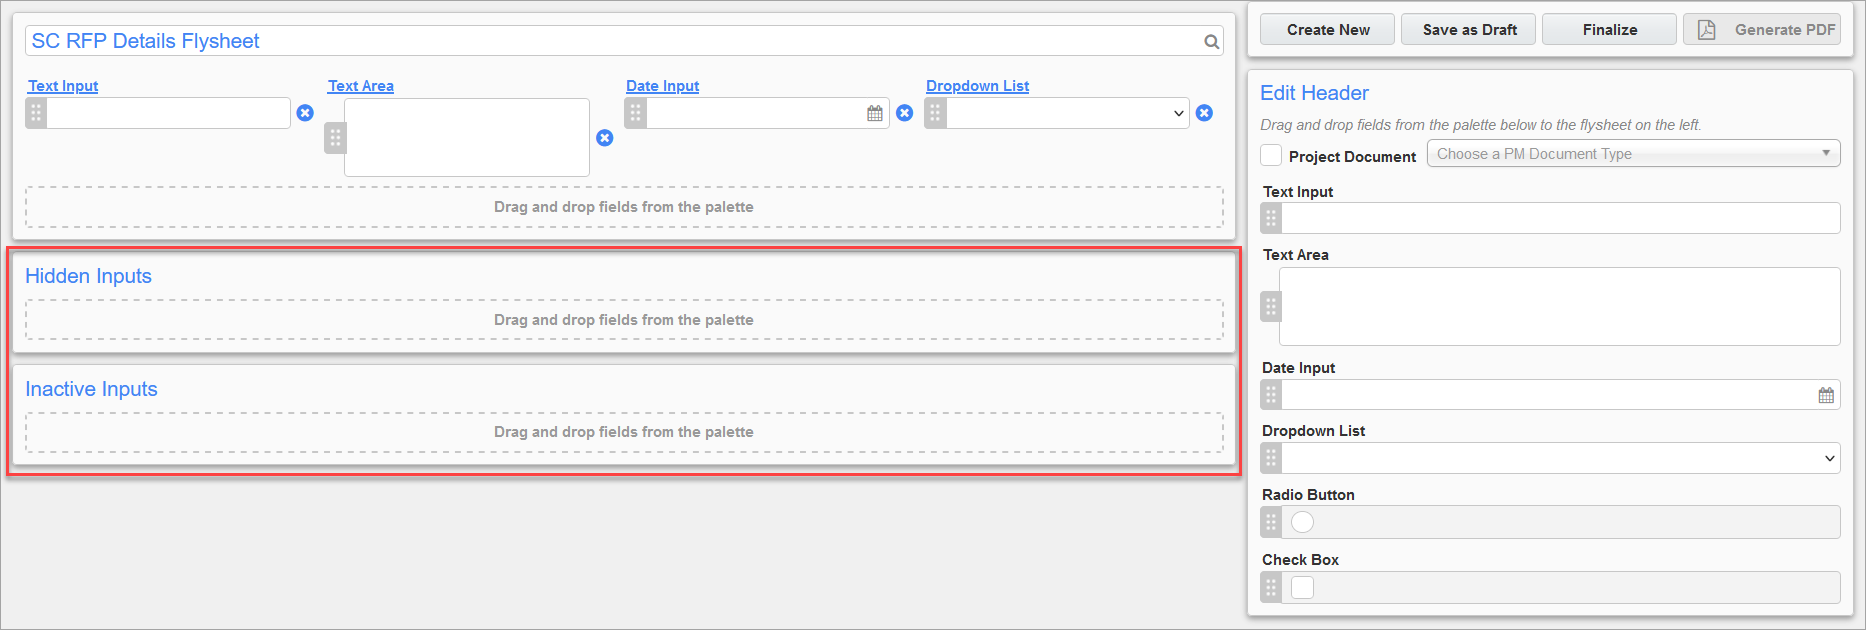
If a user has added inputs to the flysheet with structure in the database, but no longer has use for the inputs, they can move them to either the Hidden Inputs or Inactive Inputs section.
Inputs placed in the Hidden Inputs section may be required to supply data to the back end, but the user may not need to see it. For example, on an RFP Entry screen, the default SC change code of 000 may be the only one ever used for RFPs, but the value still needs to be there.
Inputs that are no longer needed can be placed in the Inactive Inputs section so that they can't be seen, but are still available in case they ever need to be restored.
Editing Inputs and Saving A Flysheet
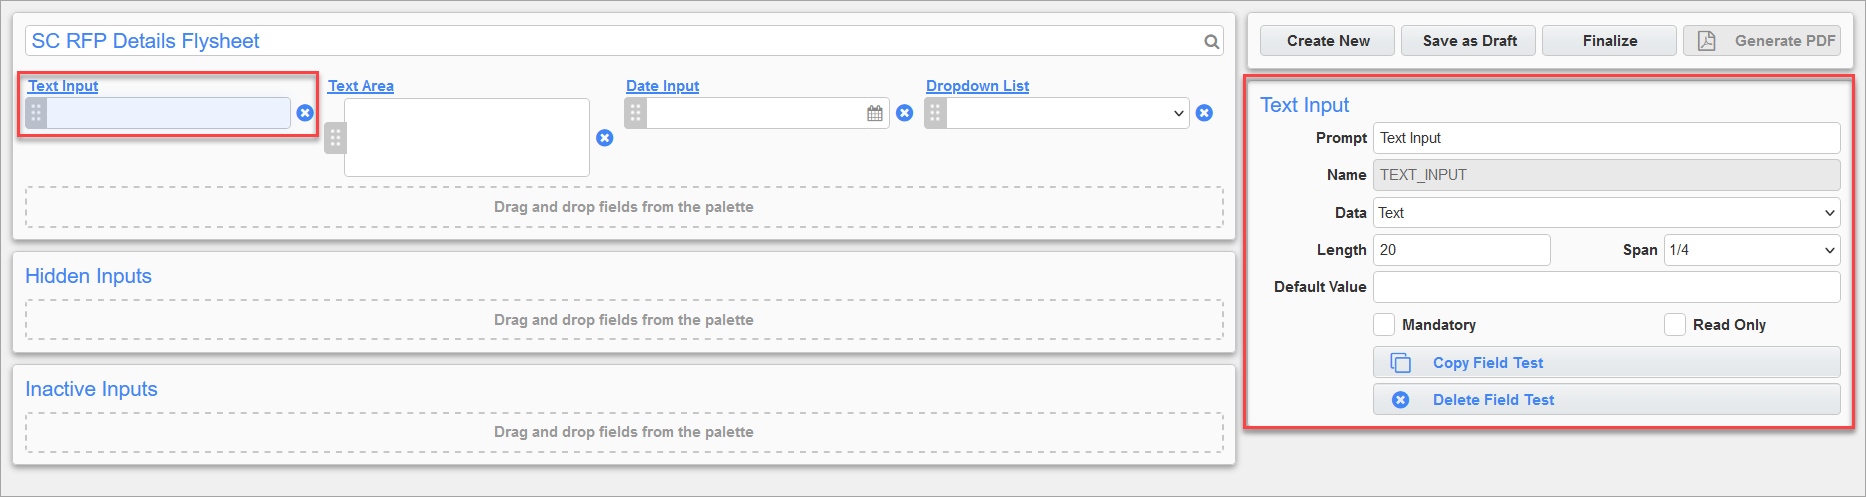
Once the inputs are added into the various sections, click on the name of the input to open up its Edit section on the right and make any necessary changes.
The inputs added to the flysheet can be designed according to their prompt, desired length, span, and whether or not they're mandatory or read only fields.
The Prompt field changes the name of the field that's displayed on the flysheet. The Data field, if available, allows users to indicate if the data for the field will be text or numbers. The Length field indicates the number of characters long the field will be. The Span field indicates how much of the page the field will take up. For example, if "1/4" is selected then the field will take up a quarter of the flysheet. The 'Mandatory' checkbox can be checked to indicate that the field is mandatory, and the 'Read Only' checkbox can be checked to indicate if the field is read only and non-editable.
The [Copy Field] button can be used to duplicate an existing field and the [Delete Field] button is used to delete a field. Alternatively, clicking the  icon next to a field on the flysheet will also delete it.
The following describes the editable fields for each input type:
Text Input
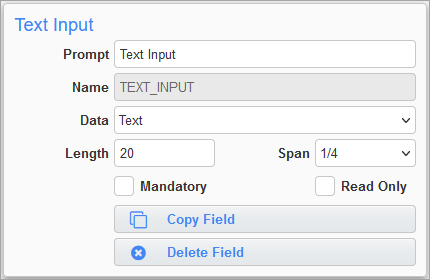
The Data field can be changed to either "Text" or "Number".
Text Area
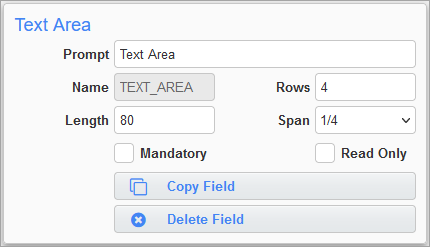
The Text Area's Rows and Length fields can be changed to a desired length based on how many rows and how long the description should be. For example, entering "4" in the Rows field indicates the text area will be four rows long, and entering "80" in the Length field indicates the text area can hold up to 80 characters.
Dropdown List
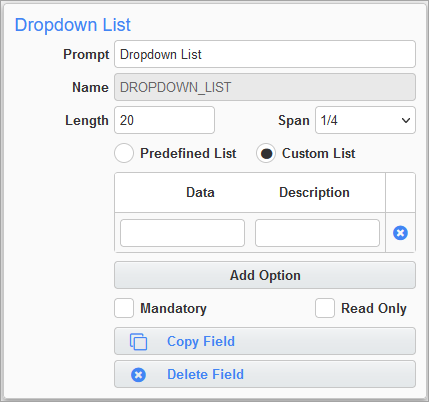
The Dropdown List gives users the option to select the Predefined List radio button, where users can select a predefined list from the LOV.
NOTE: The options that appear in the Predefined List LOV are ones that are not dependent on another field. For example, the "Vendor List" option is not available for the Predefined List field as the Vendor List is dependent on the Company field.
They can also select the Custom List radio button, where users can enter a data key and a description for options they want to add to the list. For detailed steps on how to use predefined and custom lists, please see Imaging - Predefined Lists and Custom Lists in the Dynamic Flysheet Builder.
Radio Button
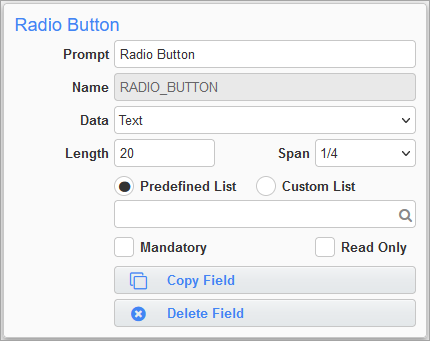
The Radio Button is similar to the Dropdown List and allows users to either select a predefined list or create their own custom list. However, they're limited to lists that have less than 12 options. For detailed steps on how to use predefined and custom lists, please see Imaging - Predefined Lists and Custom Lists in the Dynamic Flysheet Builder.
NOTE: The options that appear in the Predefined List LOV are ones that are not dependent on another field. For example, the "Vendor List" option is not available for the Predefined List field as the Vendor List is dependent on the Company field.
The Data field can also be changed to use either text or numbers.
Check Box
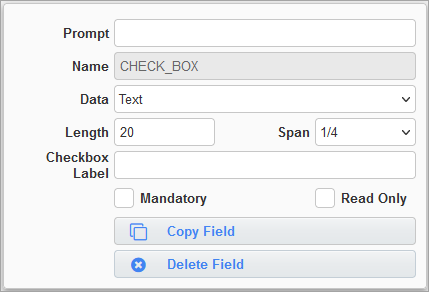
The Data field can be changed to "Text" or "Number" and the Checkbox Label field allows users to customize the label.
The [Save as Draft] button saves the flysheet and creates a background document type that can be opened in the Image Manager. After saving, it can be finalized using the [Finalize] button, and the flysheet structure is created successfully.
If changes need to be made after saving the flysheet, click on the Search ( ) icon next to the flysheet name to open an LOV containing flysheets created in Flysheet Builder.
NOTE: Flysheets created in the Imaging > Flysheet screen will not appear on the LOV. Also, if a flysheet is created in the Dynamic Flysheet Builder screen, any edits to it in the Imaging > Flysheet screen will not appear in the Flysheet Builder. All changes need to be made directly in the Dynamic Flysheet Builder screen in order for edits to appear.
Generating a PDF
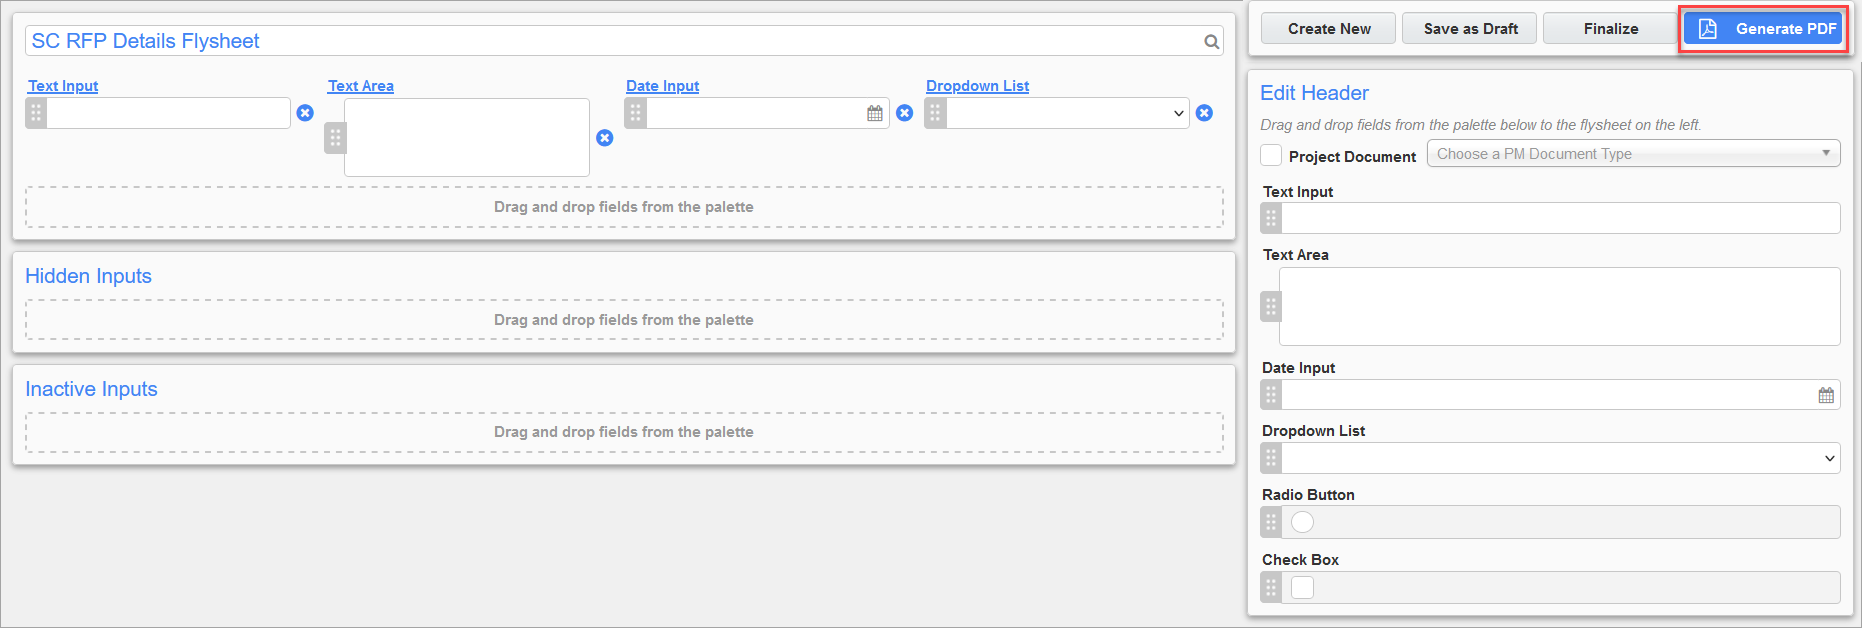

The [Generate PDF] button will open the Generate Flysheet PDF pop-up window where the fields added in the flysheet will be used in the generated PDF. For more detailed information on creating fillable PDFs, please see Generating Fillable PDFs.
NOTE: Make sure the flysheet is active in the Imaging > Flysheet screen before generating a PDF, otherwise fields will not show in the Generate Flysheet PDF pop-up window.
Select the field to include in the PDF by clicking on it in the Available Fields section to move it to the Selected Fields section. Click the [Next] button once complete.
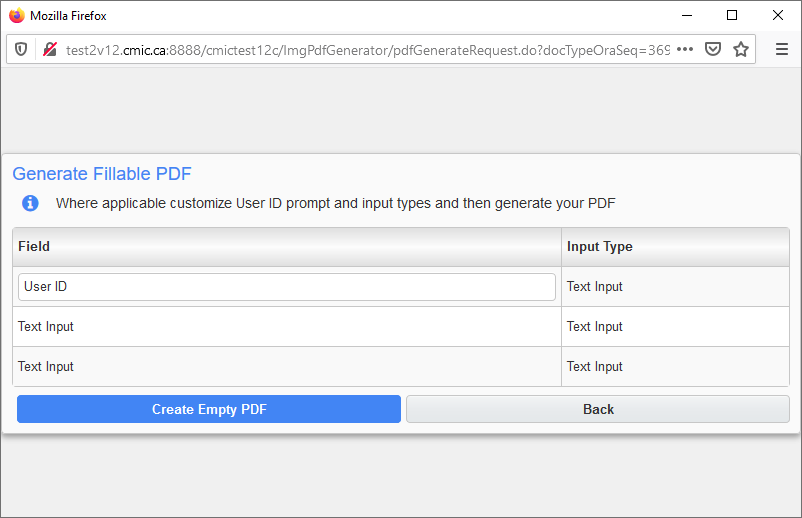
This PDF will have editable fields and can be downloaded to the local machine once the [Create Empty PDF] button is clicked. When generating a PDF, it will appear as defined in the Dynamic Flysheet Builder screen. For example, if the set up selected was four rows, then the PDF will be set up with four rows.