Overview
This functionality allows users to generate a Fillable PDF using the Fillable PDF Generator. The generated PDFs use an Imaging Flysheet behind the scenes to store the PDF and data. Only single (header) type flysheets can be generated using this process:
Process
Step 1: Assign Security Access
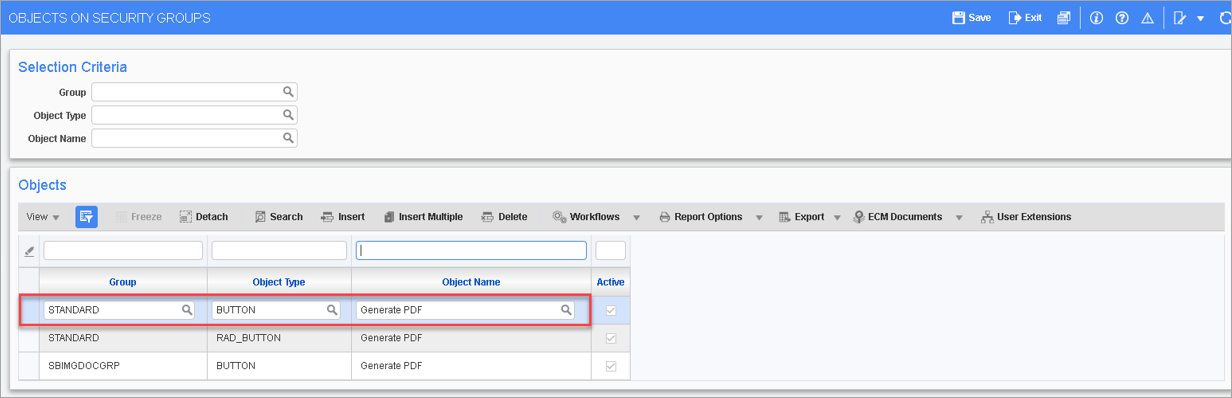
Pgm: IMGSEC - Objects on Security Groups; standard Treeview path: Imaging > Utilities > Security > All Objects on Groups
The first step is to assign security access to the [Generate PDF] button for a user. Security access is assigned to a user's security group on the Objects on Security Groups screen in the Imaging module.
Once access is assigned, the user will see the [Generate PDF] button displayed on the Image Manager screen.
Step 2: Select Available Fields to be Included in PDF
![[Generate PDF] button on the flysheet](../../../Resources/Images/IMG_12c/IMAGING-Fillable_PDFs9.png)
Image Manager; standard Treeview path: Imaging > Image Manager
The [Generate PDF] button is located in the top right hand side of the Image Manager screen.

Pop-up Window Launched from [Generate PDF] Button
Click the [Generate PDF] button to launch the Generate Flysheet PDF pop-up window, where available fields can be selected to be included in the PDF form. The pop-up window is divided into two panels: Available Fields and Selected Fields.
To select an individual field, click on the field name in the Available Fields panel and the selected field will appear under the Selected Fields panel. To select all available fields at once, use the [Select All Fields] button to move all of the available fields from the Available Fields panel to the Selected Fields panel. To deselect all selected fields at once, use the [Deselect All Fields] button.
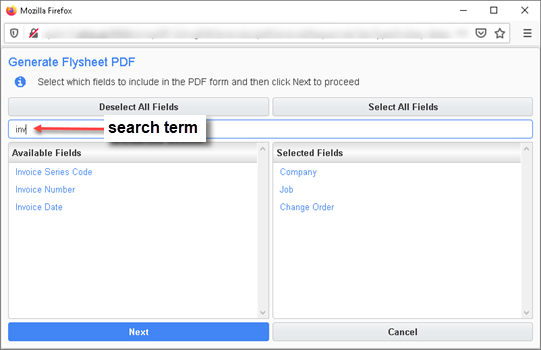
The Search field is used to search for available fields, as shown in the screenshot above.
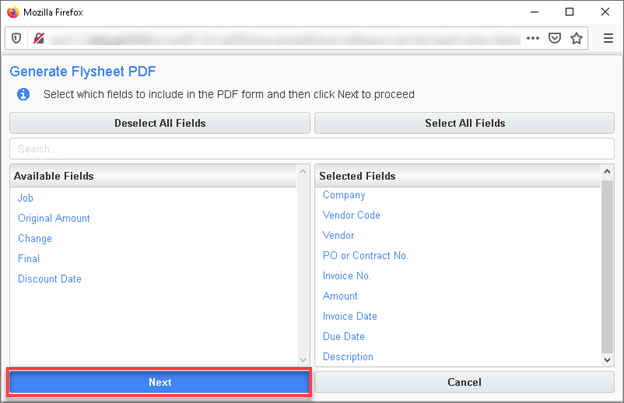
Once the fields that will form the PDF have been selected and are listed in the Selected Fields panel, click the [Next] button.
Step 3: Customize How Selected Fields are Displayed in PDF
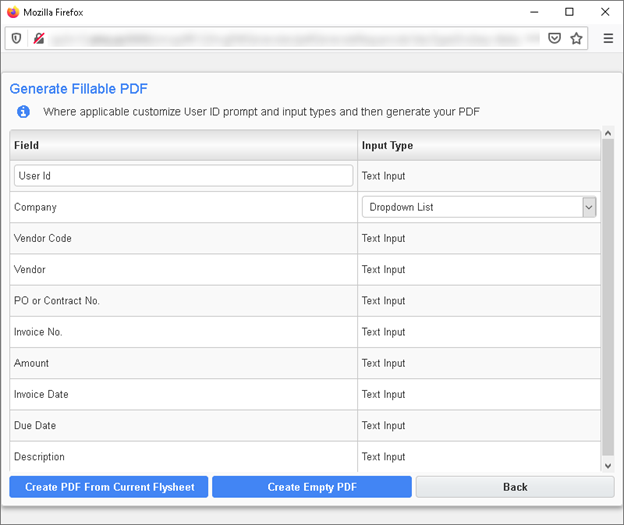
Clicking the [Next] button opens a second pop-up window, where input type (if available) can be selected for the fields in the PDF. There is also an additional field in this pop-up window that is used for User Id.

The User Id field is editable and can be changed to display a customized label. This is the only field label that can be modified in this pop-up window. The rest of the field labels can only be changed from the Flysheet definition.
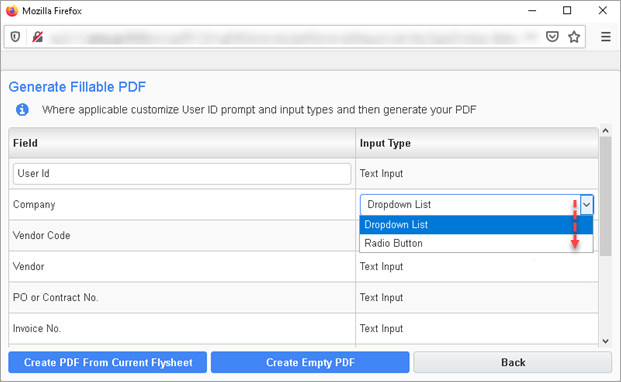
For the remaining fields, possible input type is displayed against the field. For some fields, there may be more than one option available for the input type, as shown in the screenshot above. The Company field has the following input types available on the PDF: "Dropdown List" or "Radio Button". The input type selected for a field will have that associated input type on the generated PDF.
NOTE: Options available for some fields will vary according to the list of values available on that field. If a field has a list of values which exceeds 12 items, then the input type will be limited to a drop-down list.
The [Back] button allows the user to return to the previous pop-up window to make any changes if required.
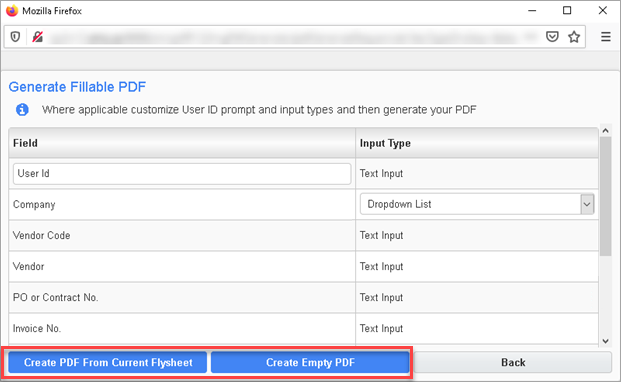
There are two kinds of PDF generation:
-
Create PDF From Current Flysheet
-
Create Empty PDF
[Create PDF From Current Flysheet] - Button
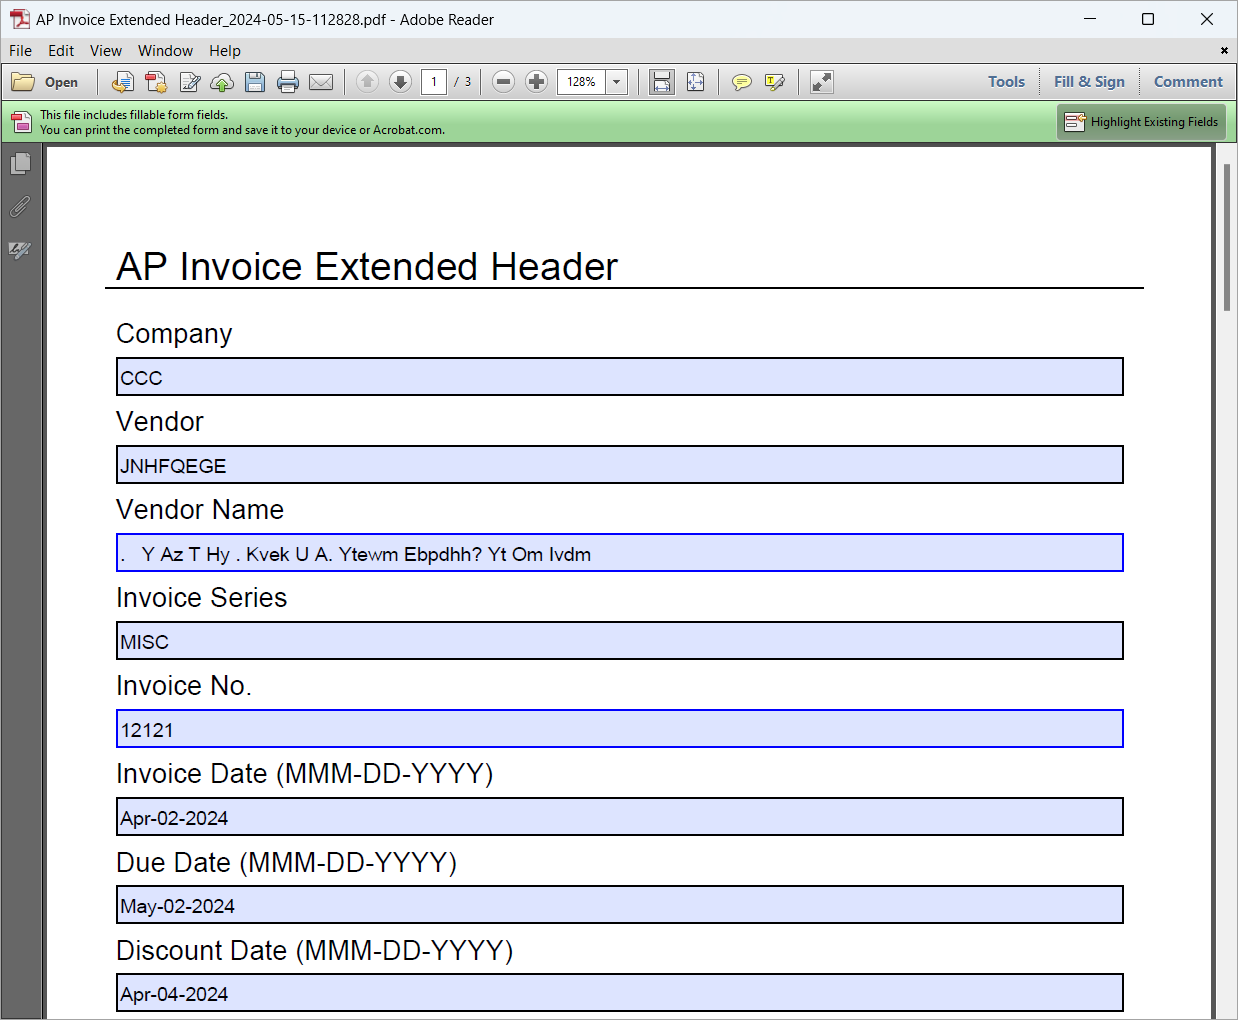
Clicking this button brings the existing data of the open flysheet in Image Manager to the generated PDF. When a user submits the completed PDF using the [Submit] button on the PDF, the flysheet associated with the generated PDF will be updated. A screenshot of the generated PDF using this option is shown below for the selected fields in the screenshot above. The PDF is editable - data can be entered in it.
[Create Empty PDF] - Button
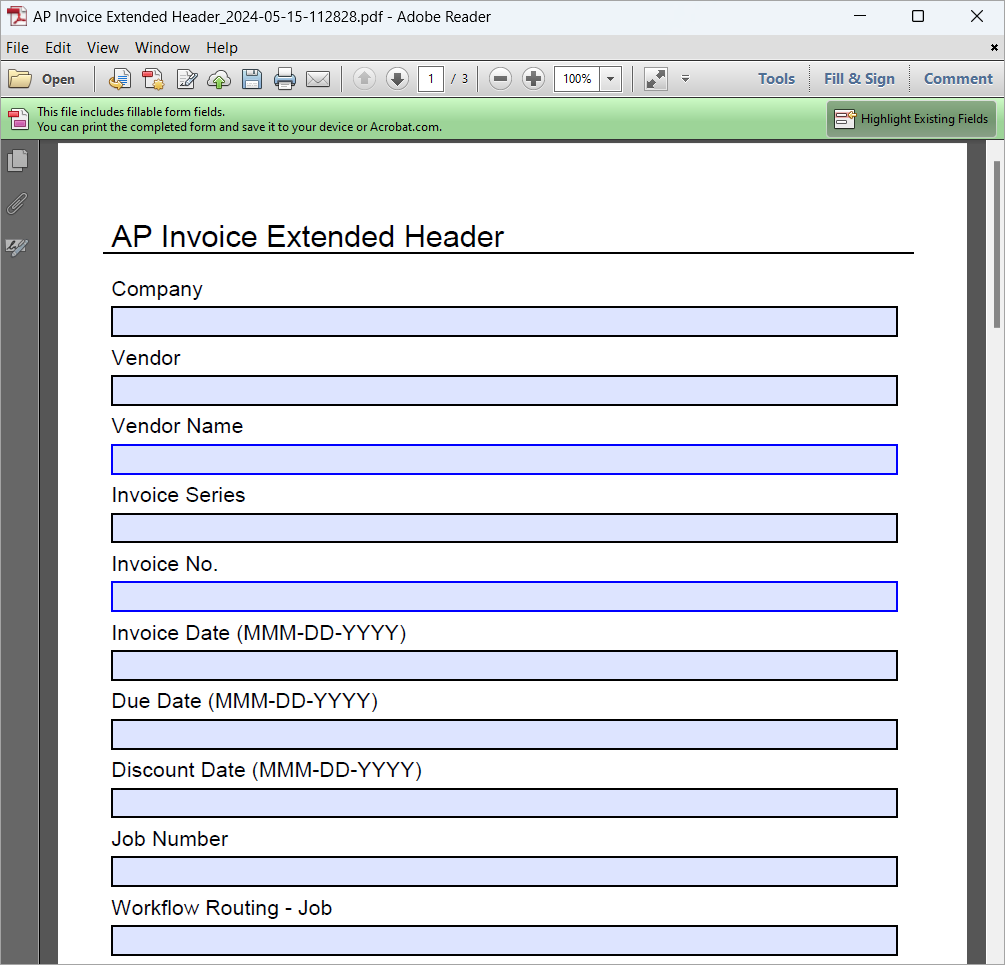
Clicking this button generates a PDF with the flysheet structure for the selected fields but the fields do not have any values in them. When a user submits the completed PDF using the [Submit] button on the PDF, a new document will be created for it under the associated document type. A screenshot of the generated PDF for this option is shown below. The PDF is editable - data can be entered in it.
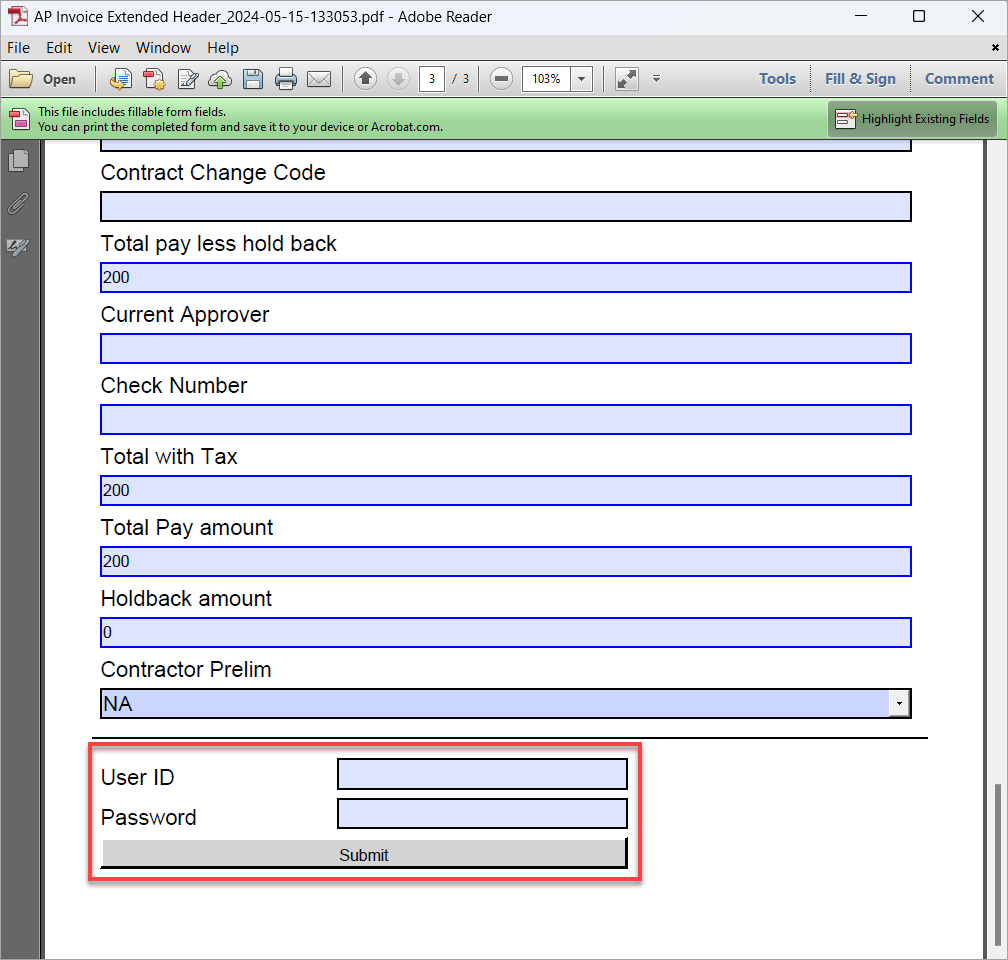
After a PDF has been successfully generated, and all fields are populated as necessary, fill in the Username and Password fields and click the [Submit] button to upload the PDF to Image Manager.
After it has been successfully submitted, the PDF (and any addendums) will appear on the Image Manager Treeview. The submitted document becomes a sub-document instead of being a separate entry, as shown in the screenshot below. If a PDF is generated from an existing flysheet, then it will always be filed under the document from which the PDF is generated.
