The 'Project Document' checkbox in the Flysheet Builder allows users to indicate that the flysheet being created is associated to a selected PM document type. The following steps outlines the process of setting up a flysheet to use project documents and how it gets uploaded to CMiC Field after the PDF is generated.
-
In Flysheet Builder, enter a name for a new flysheet or use the
 icon to open an existing flysheet.
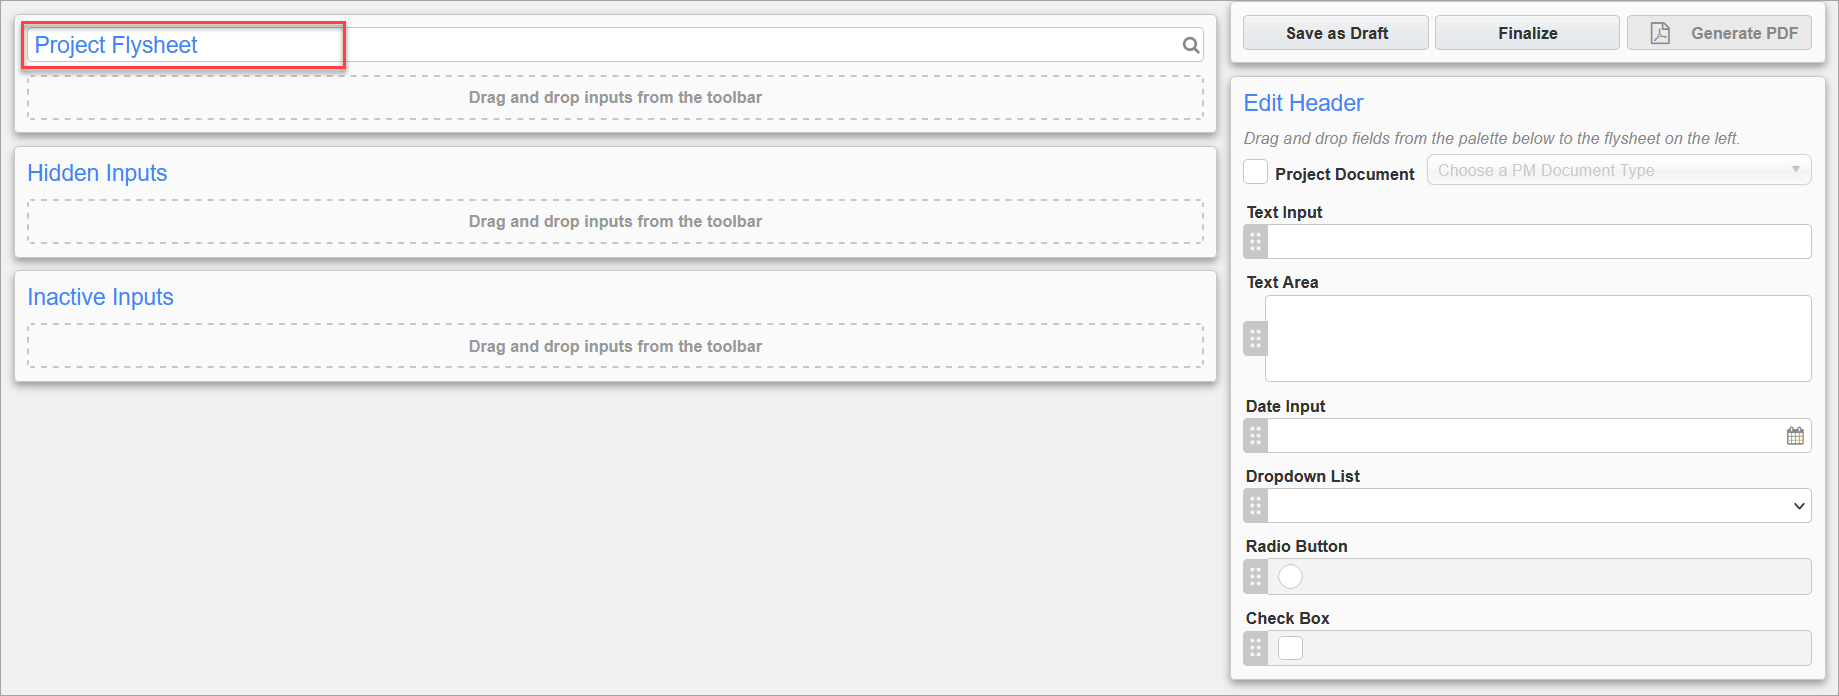
-
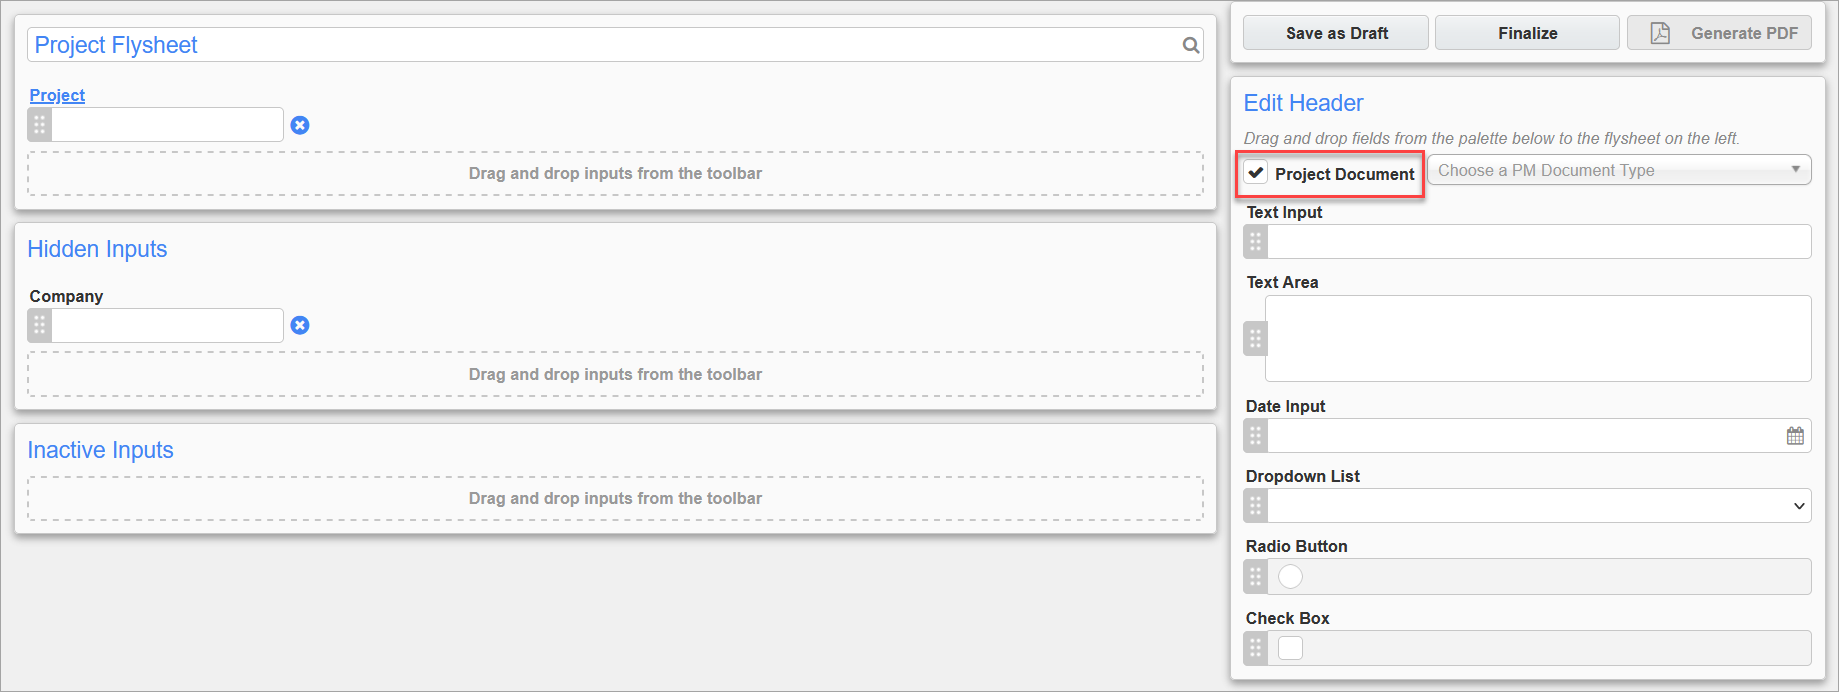
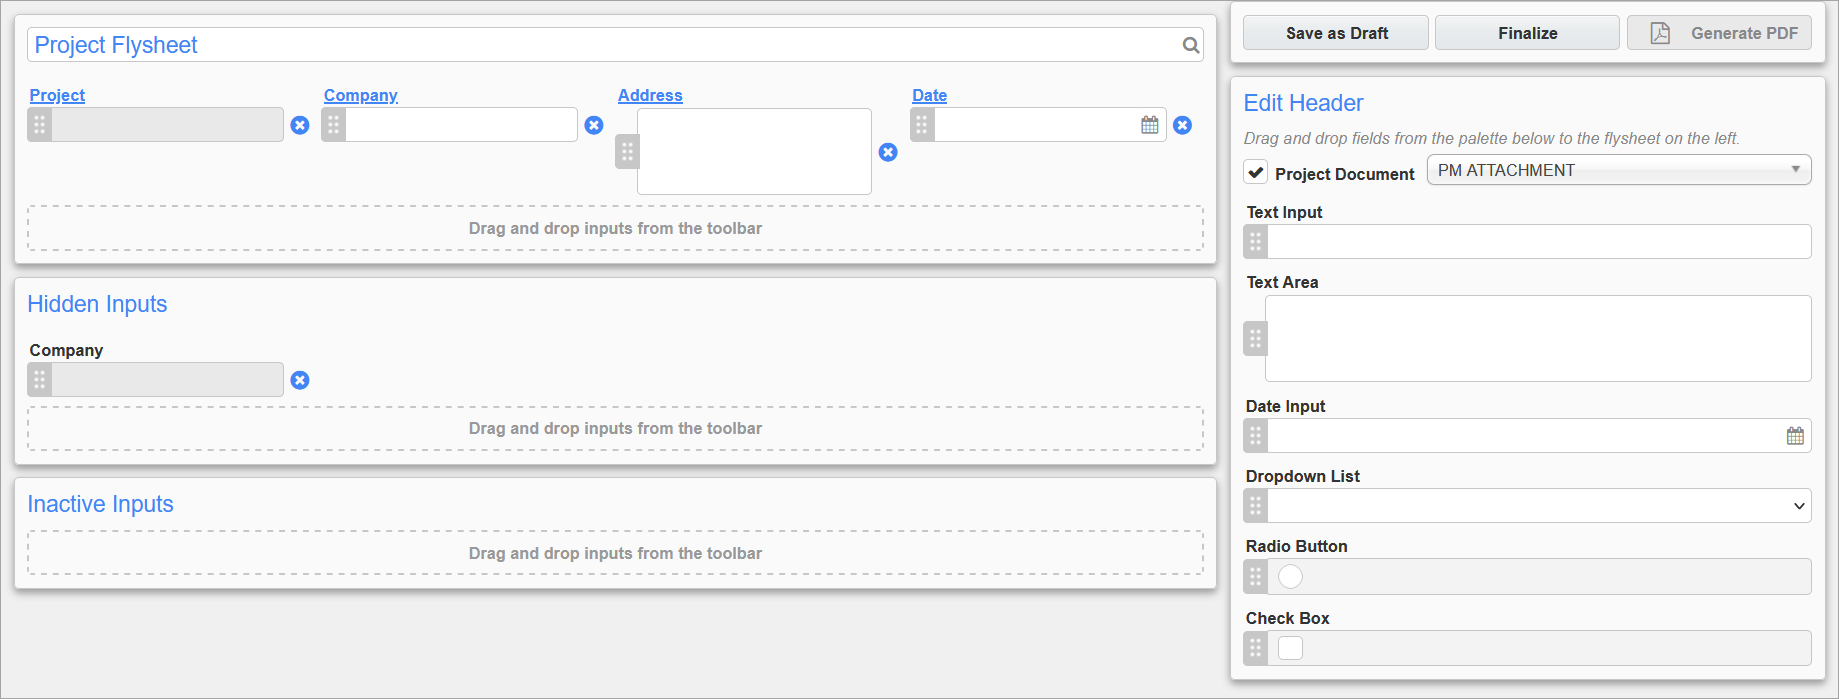
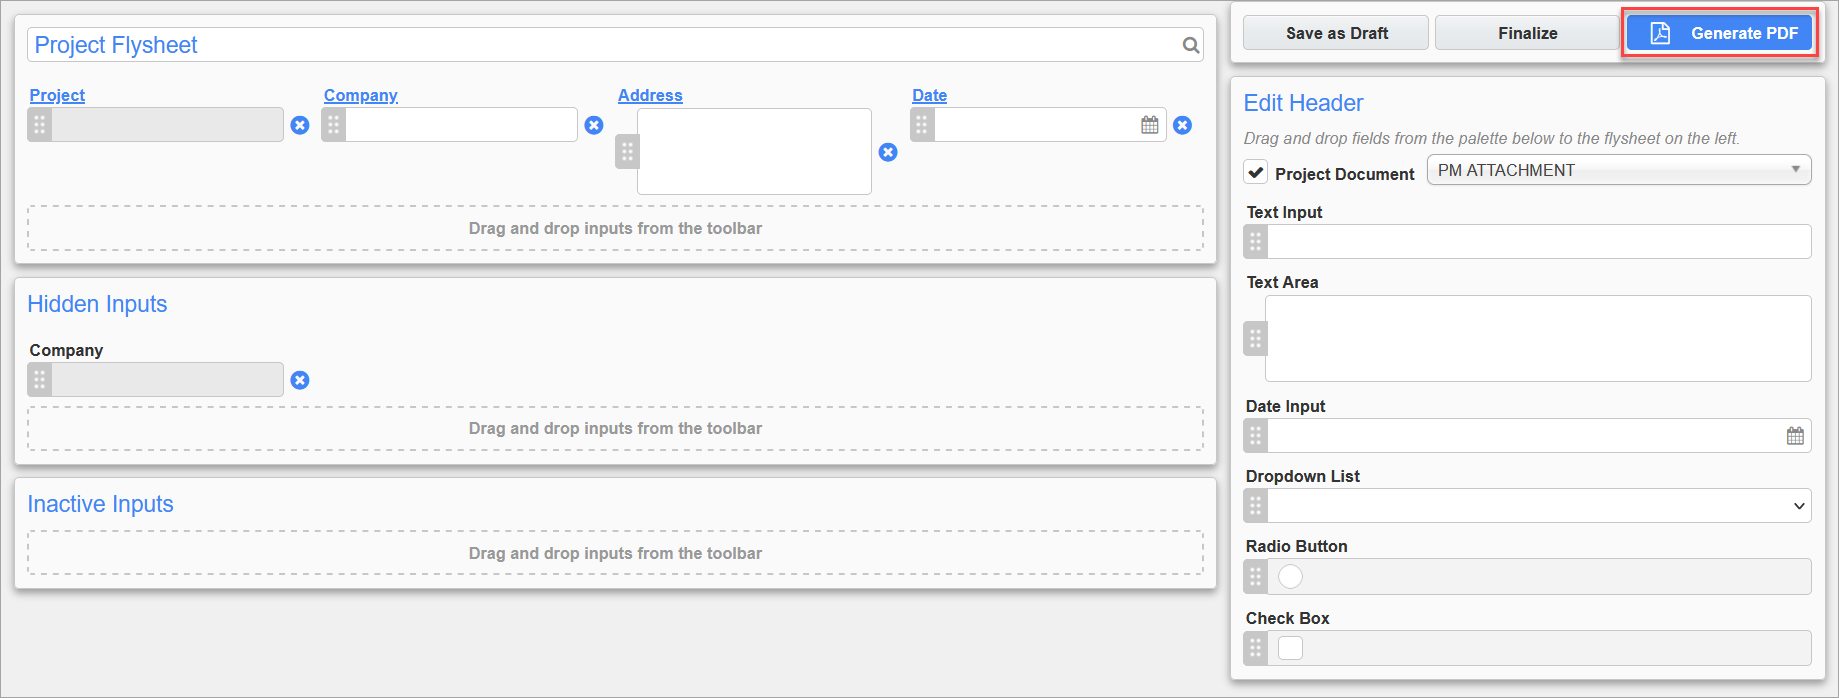
Check the 'Project Document' checkbox in the Edit Header section to add the Project field to the flysheet. The Company field will also be added to the Hidden Input section and will not be visible on the flysheet.
-
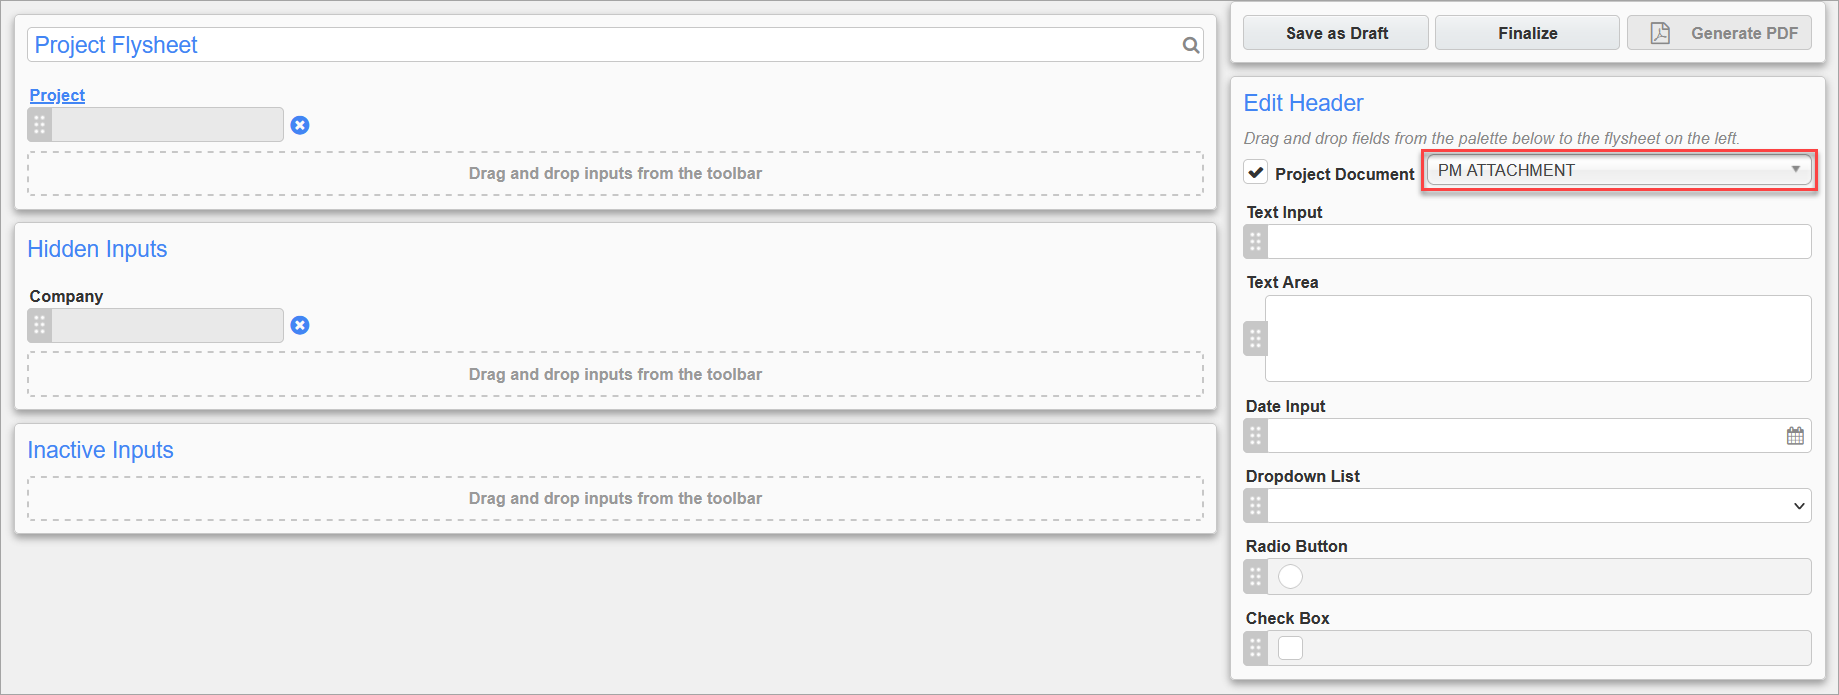
Next to the checkbox, select which PM document type that the flysheet will integrate with.
-
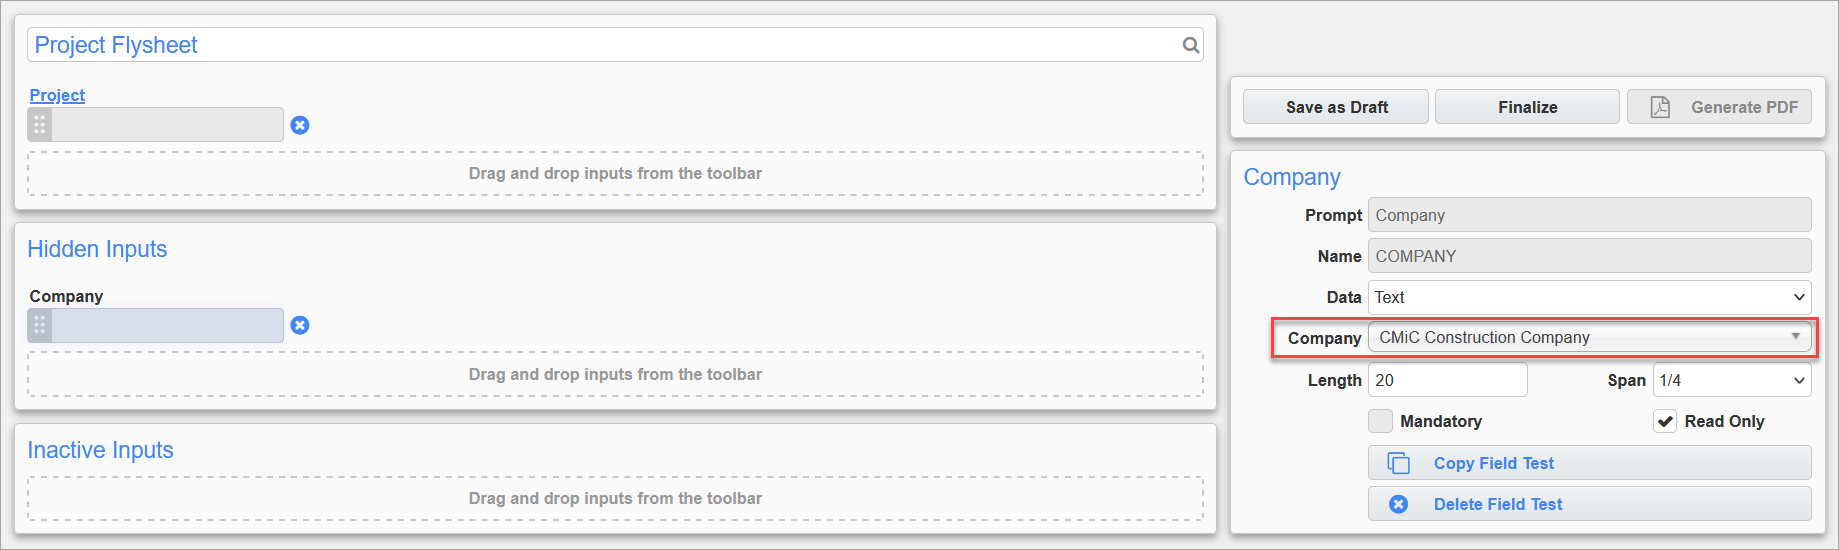
Click on the Company field under the Hidden Inputs section and, on the Company panel to the right of the screen, select the company that the project belongs to.
-
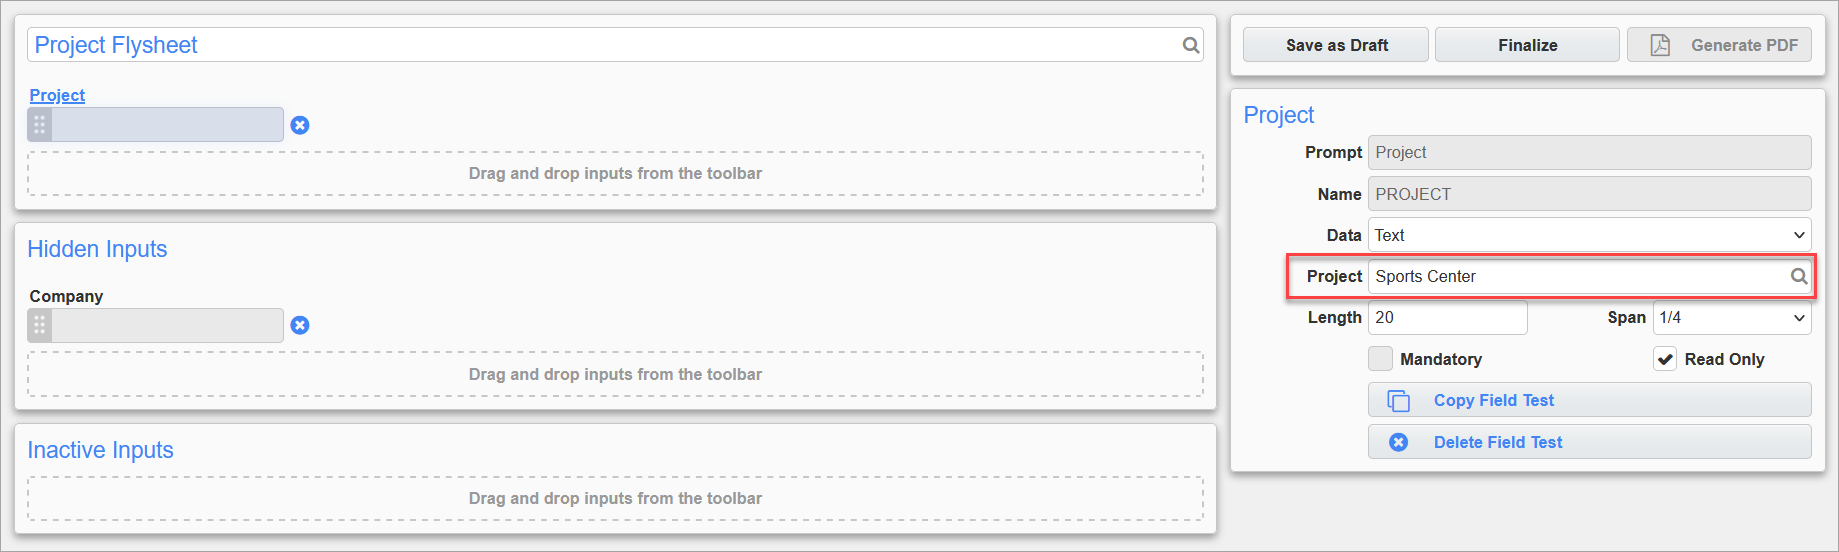
Click on the Project field on the flysheet and, on the Project panel to the right of the screen, click on the Project LOV to select a project that the flysheet will integrate with. The LOV will only display projects associated to the company that was selected in Step 4.
-
Add more fields to the flysheet as needed.
-
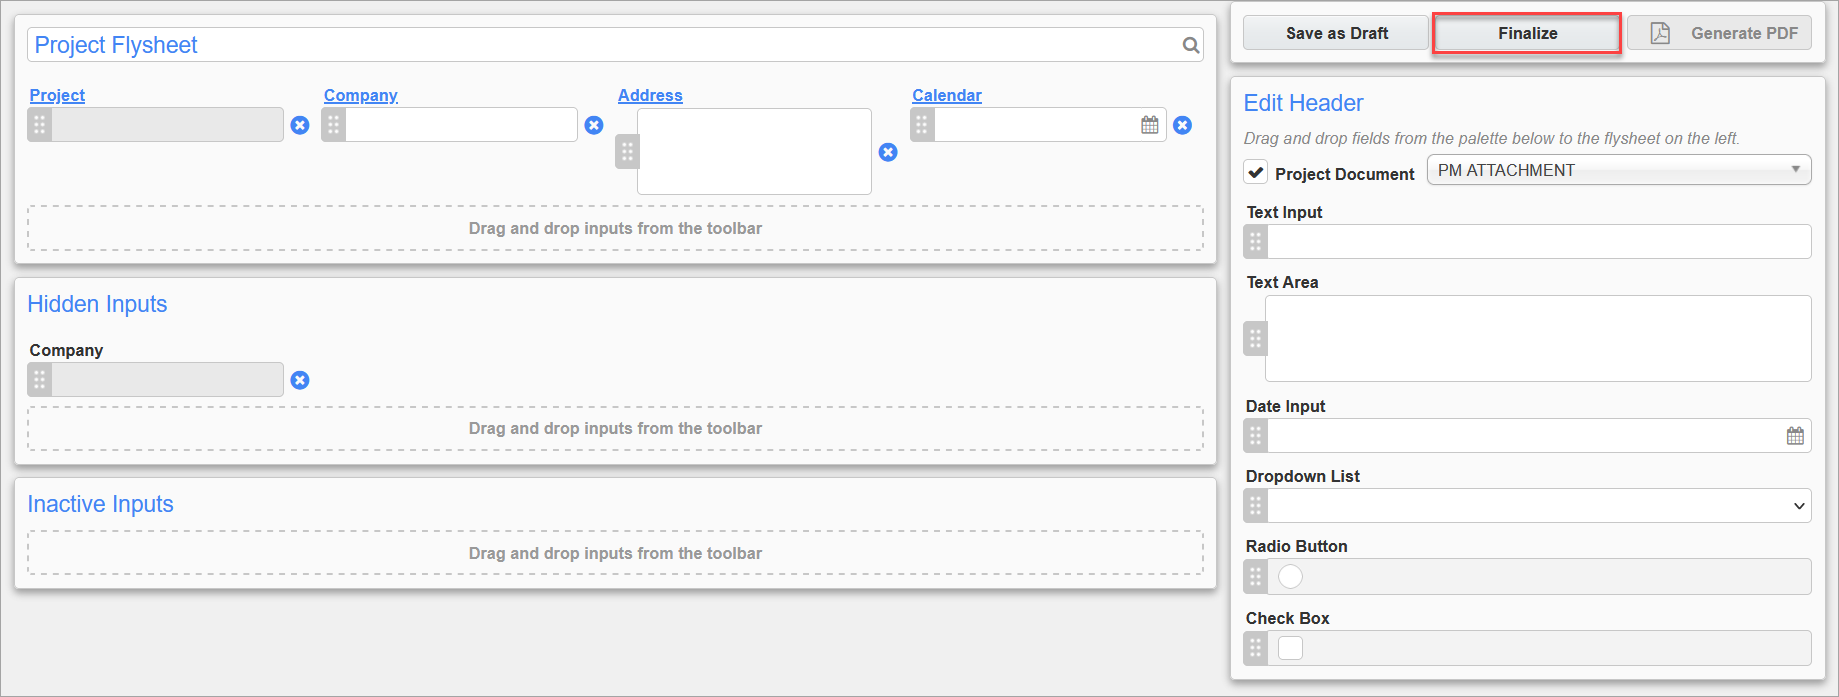
When finished, click the [Finalize] button and wait for the flysheet structure to be created.
-
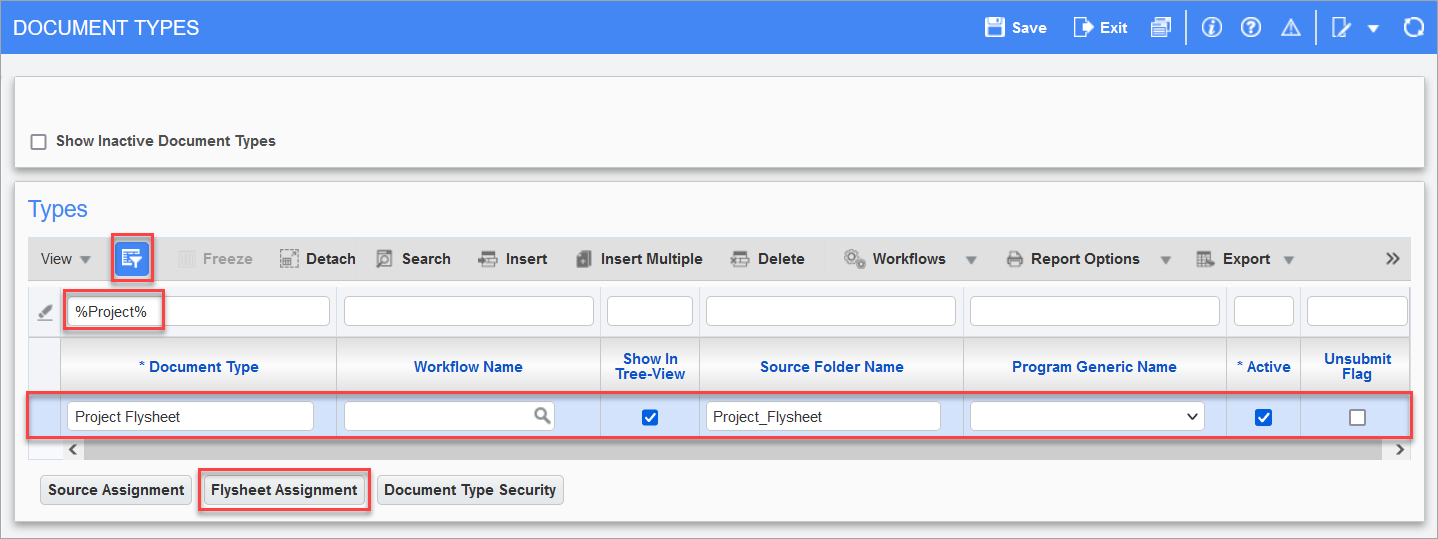
After finalizing, which creates the associated flysheet and document type, an additional manual step needs to be performed to add extra information for PM documents. Navigate to the Document Types screen, search for the same name as the flysheet name, and assign the IMG PM Attachment flysheet to the document type.
Adding the IMG PM Attachment flysheet to an existing document type brings extra information from the PM flysheet view. The document is stored at the PM file location selected in the Flysheet Builder application and does not use a source defined from the Imaging side.
Pgm: IMGDOCTP − Document Types; standard Treeview path: Imaging > Setup > Document Types
-
Once the flysheet structure has been created, click on the [Generate PDF] button.
-
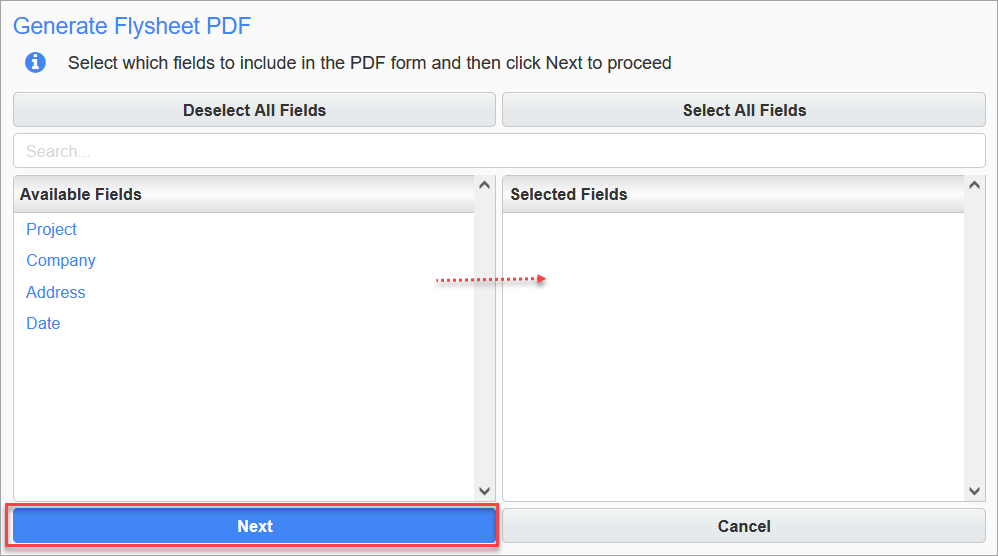
In the Generate Flysheet PDF pop-up window, select the fields which will be included in the PDF form by individually clicking on each field or by using the [Select All Fields] button. Click [Next] to proceed.
-
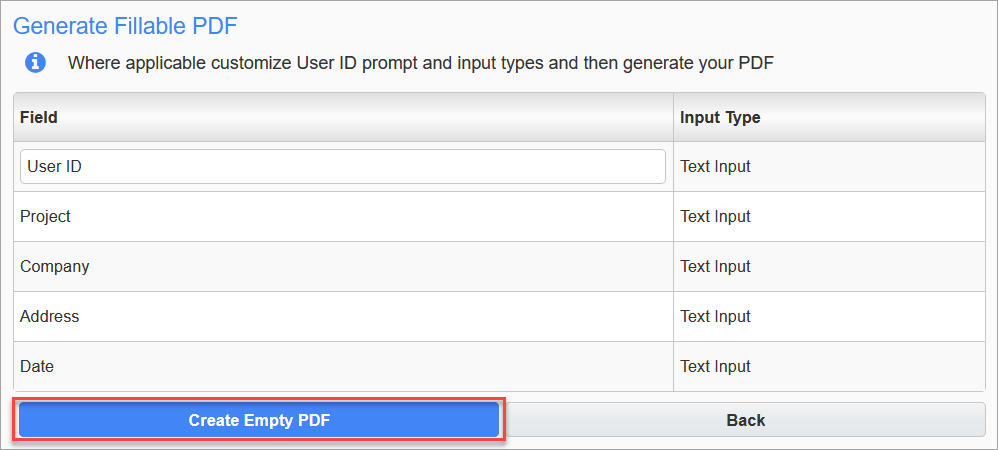
Where applicable, customize the User ID prompt and input types, then click the [Create Empty PDF] button to generate the PDF.
-
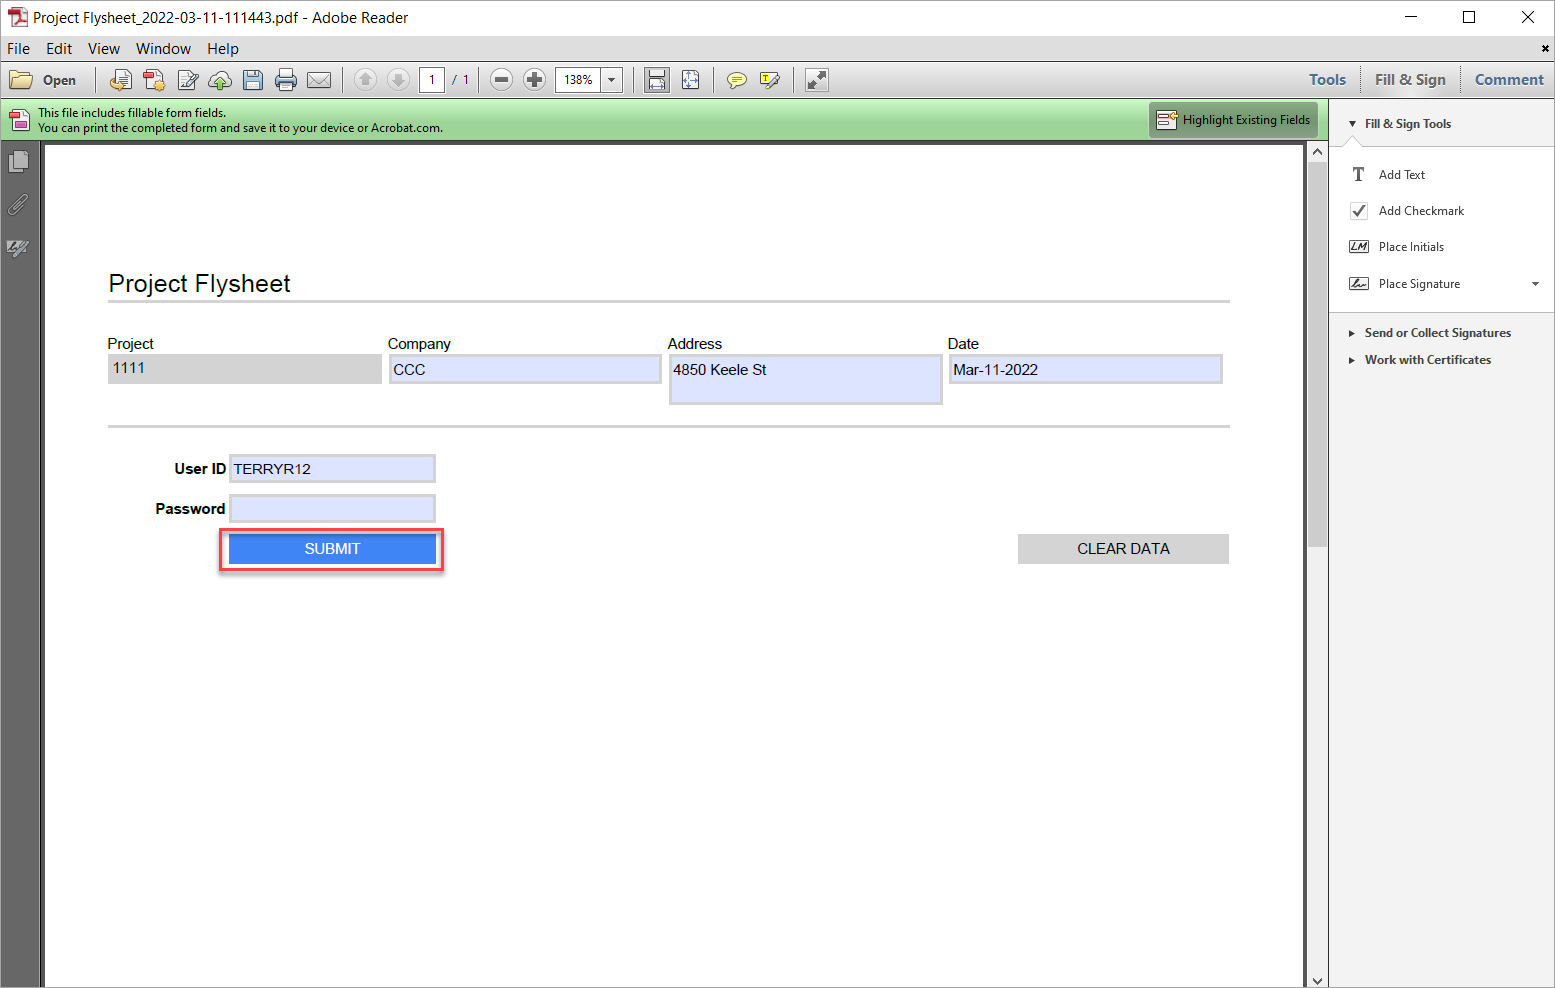
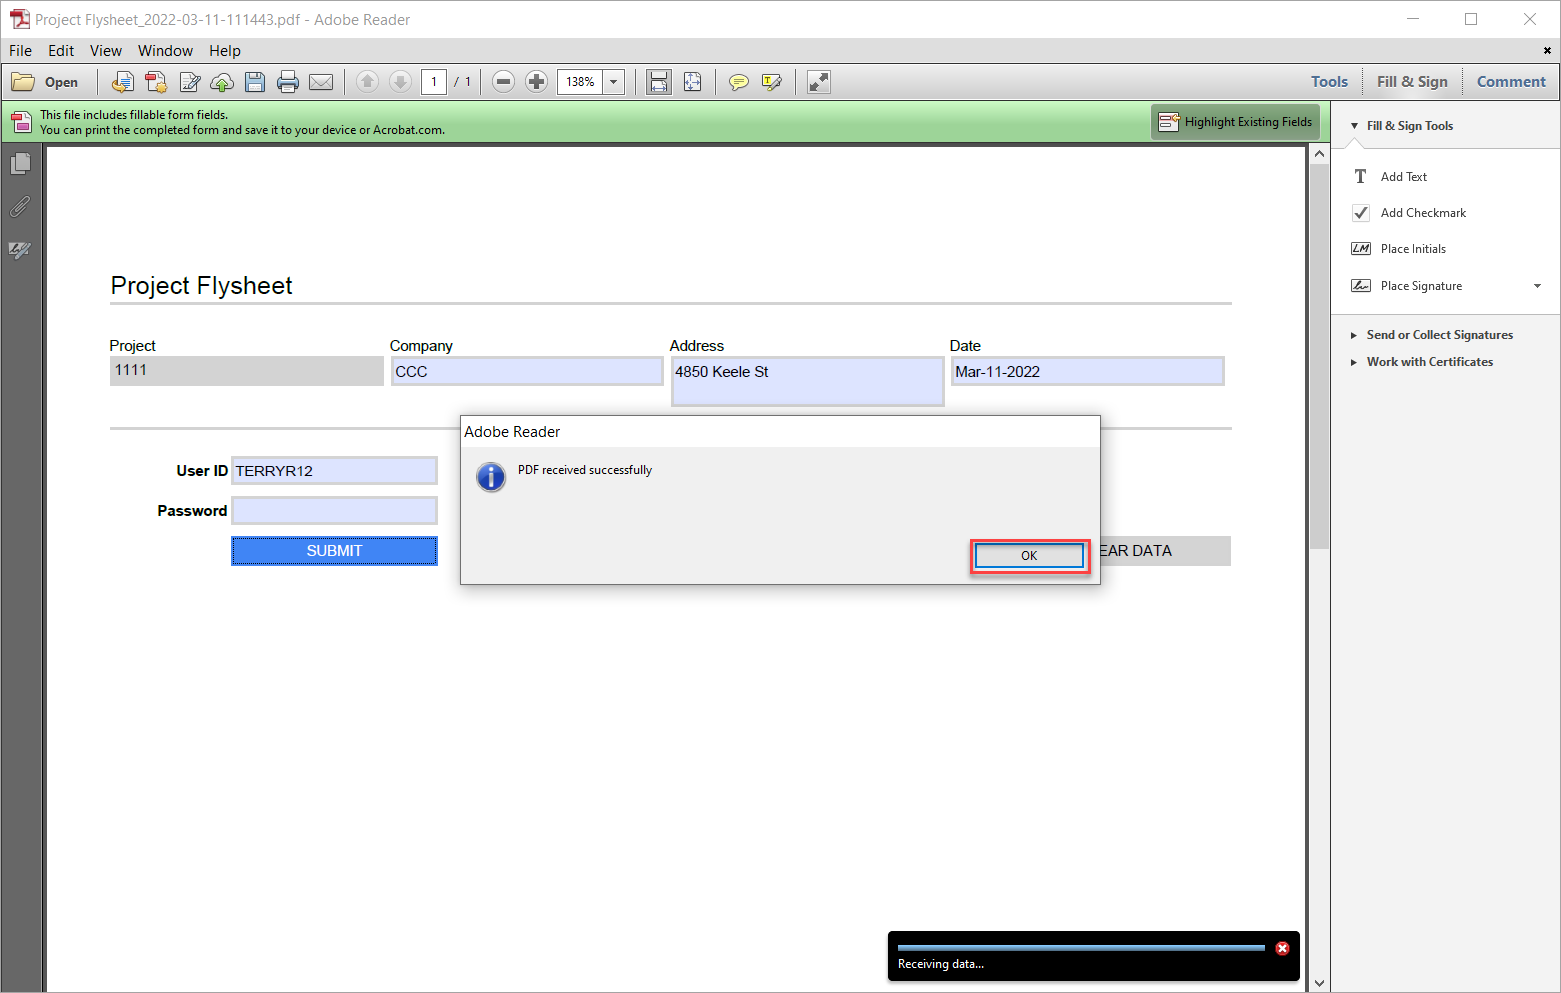
When the PDF opens, fill out the form and enter the user ID and password. Click [Submit] to upload the data to the server.
-
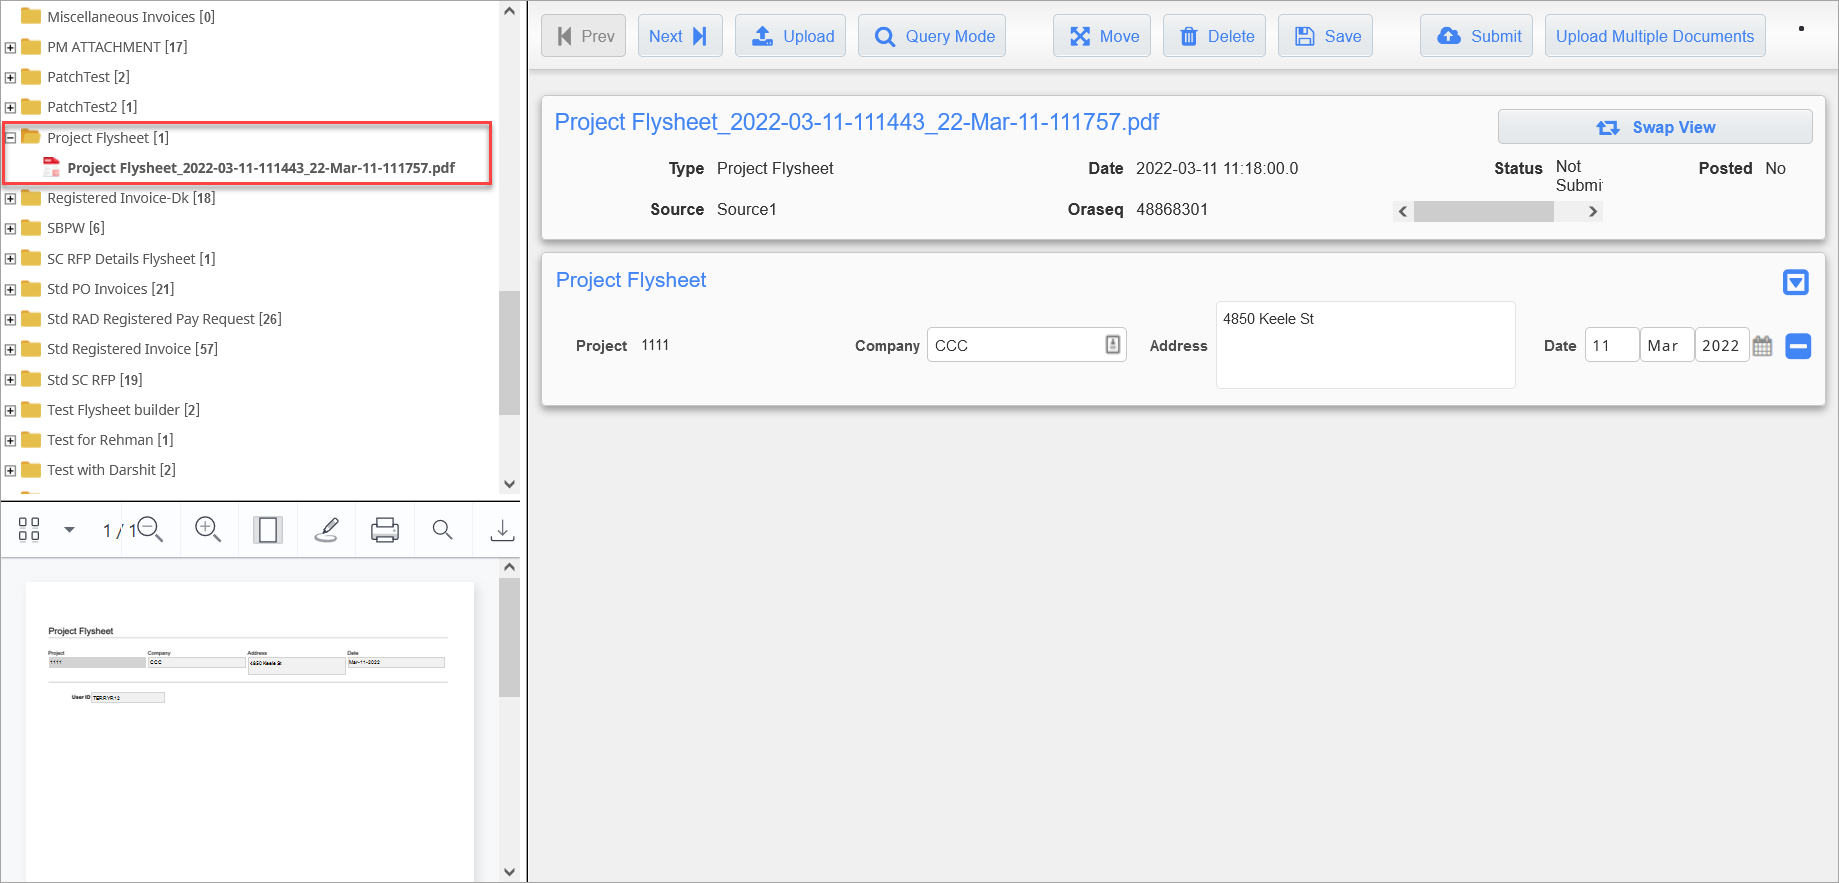
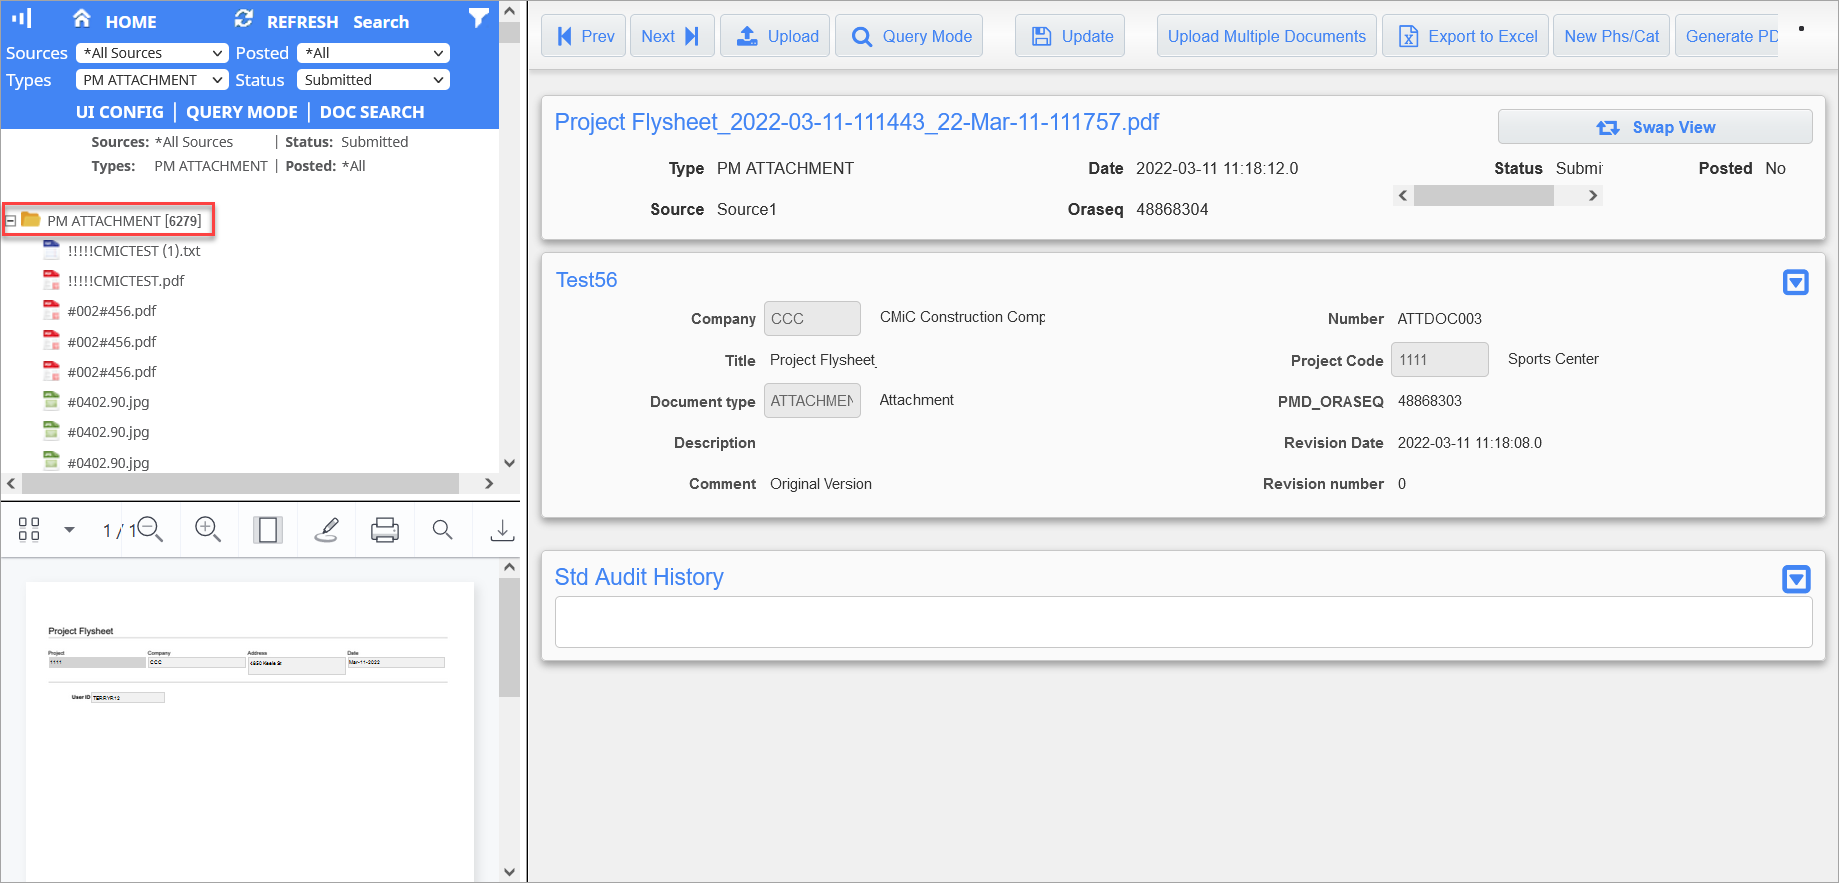
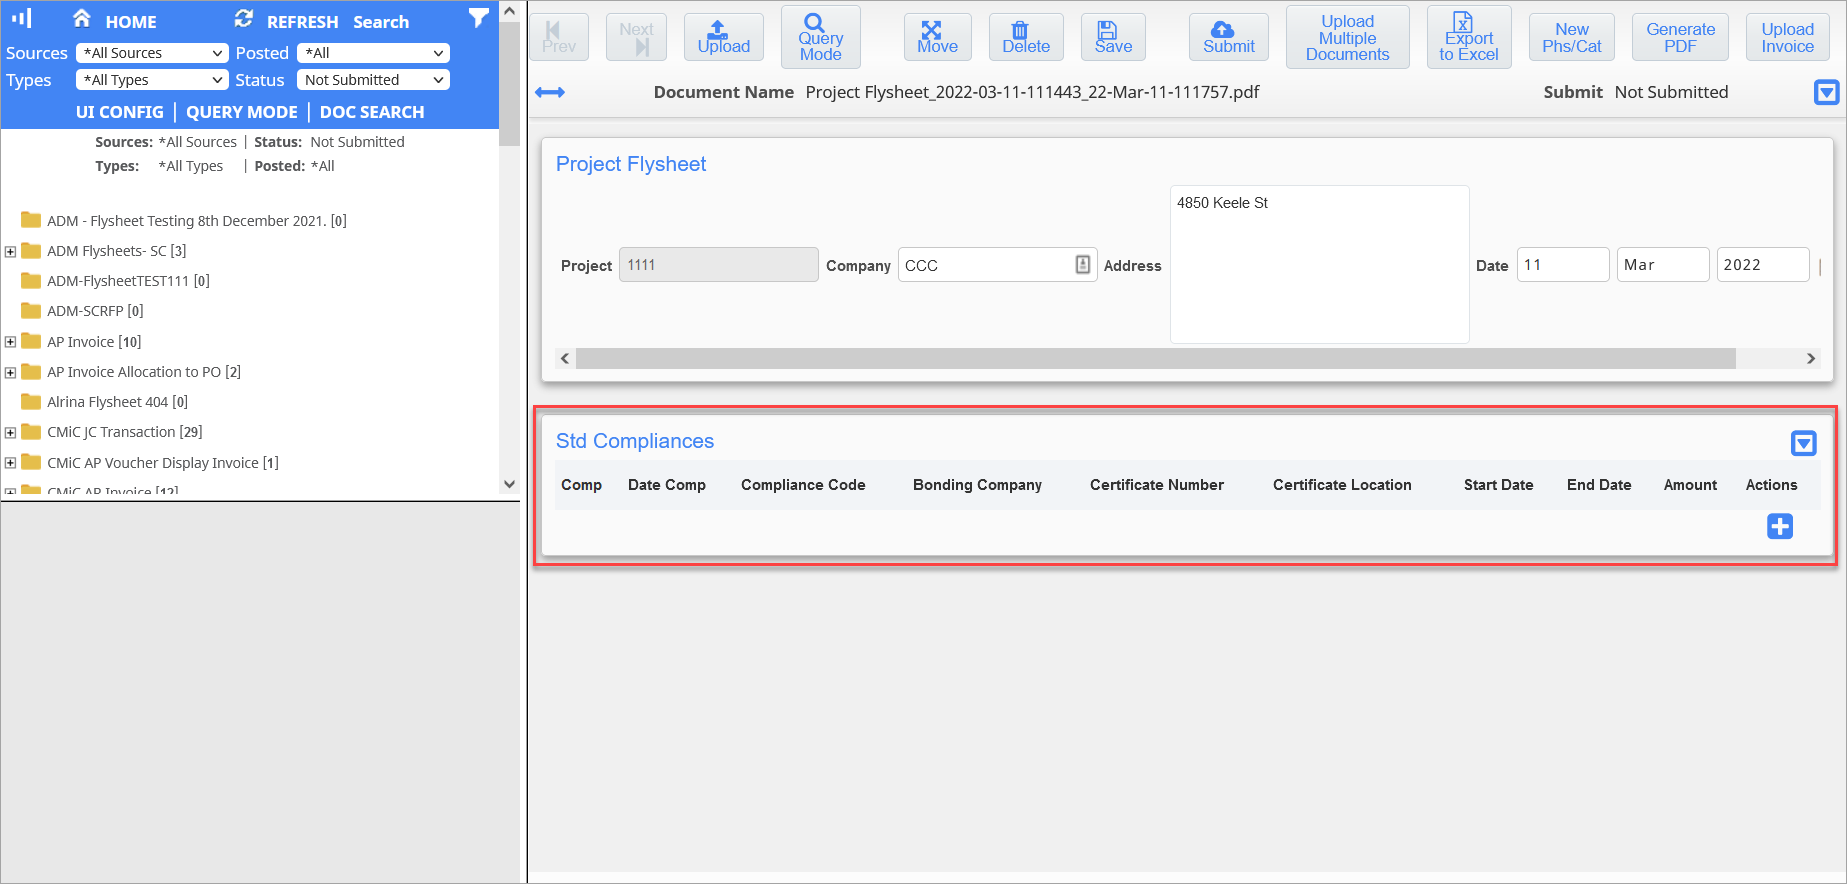
Once the PDF has been submitted, the PDF will be available to view on the Image Manager under its document type folder (e.g. Project Flysheet), as well as under the PM document type that was indicated in the Flysheet Builder. In this example, it can be found under "PM Attachment".
-
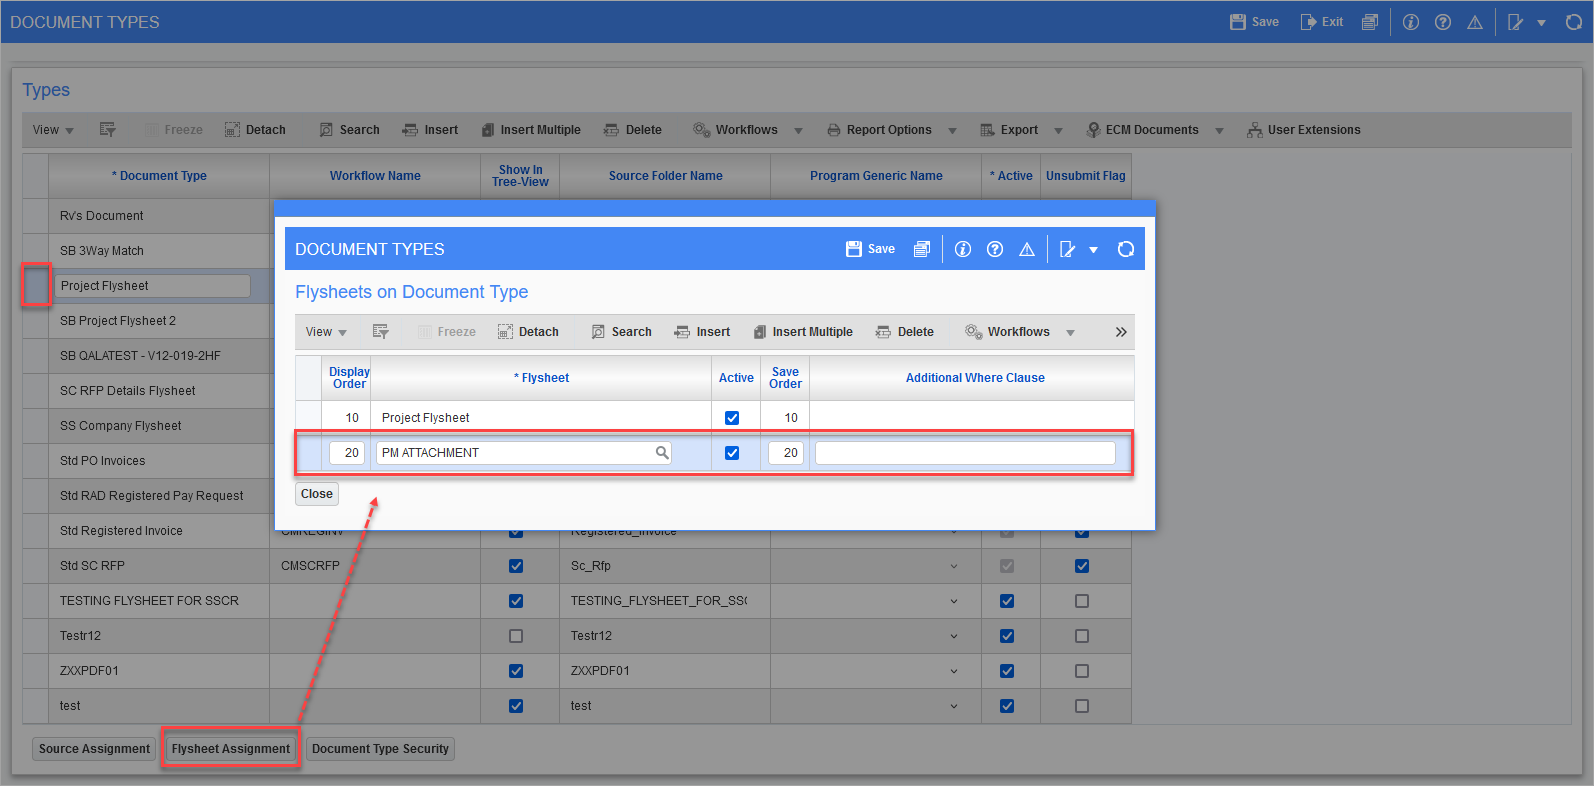
(Optional) If further flysheet information is required to be seen for the document type, navigate to the Document Types screen in the Imaging module and search for the document type that was created. Select the document type, then click the [Flysheet Assignment] button.
-
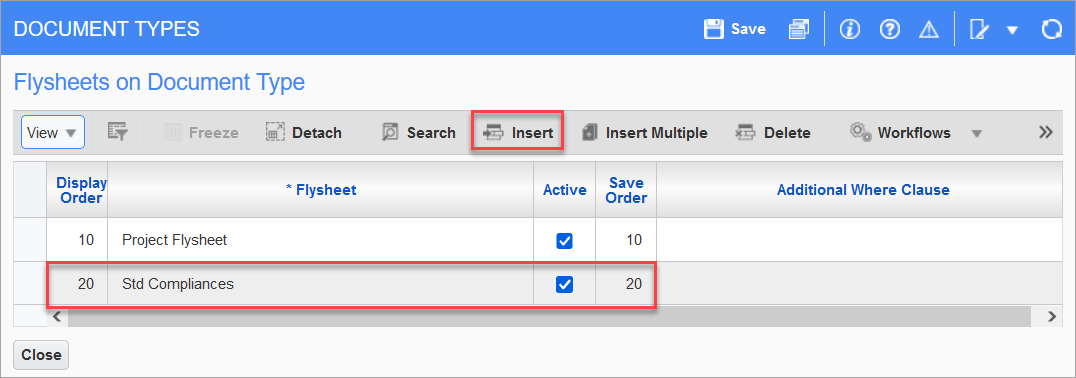
(Optional) In the Flysheets on Document Type pop-up window, click the [Insert] button, then enter a value for the Display Order field, select a flysheet from the Flysheet LOV, and enter a value for the Save Order field. Click [Save], then [Close] to exit.
-
(Optional) Navigate back to Image Manager and open the document type that was created. The flysheet that was added to the document type will be displayed to show additional information.
-
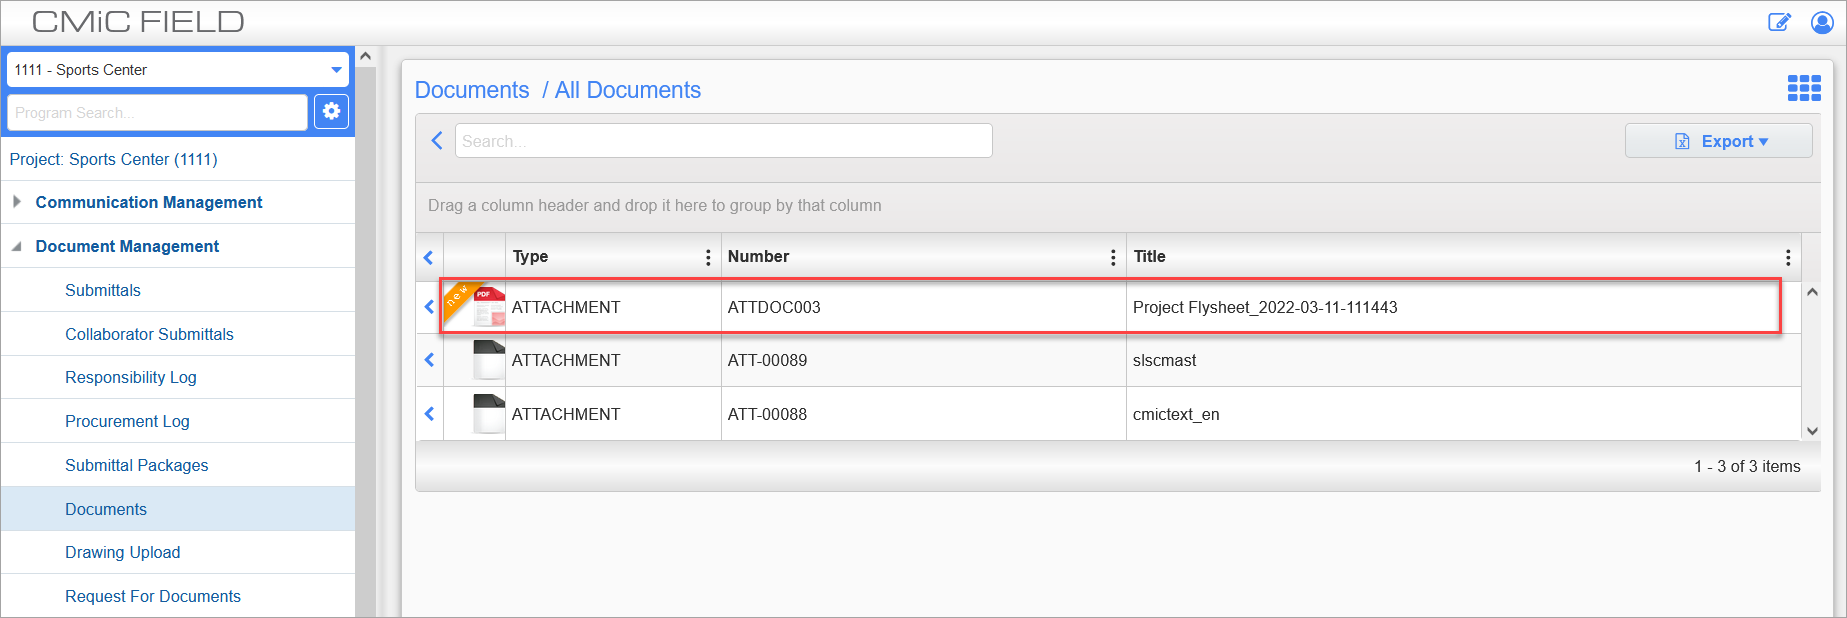
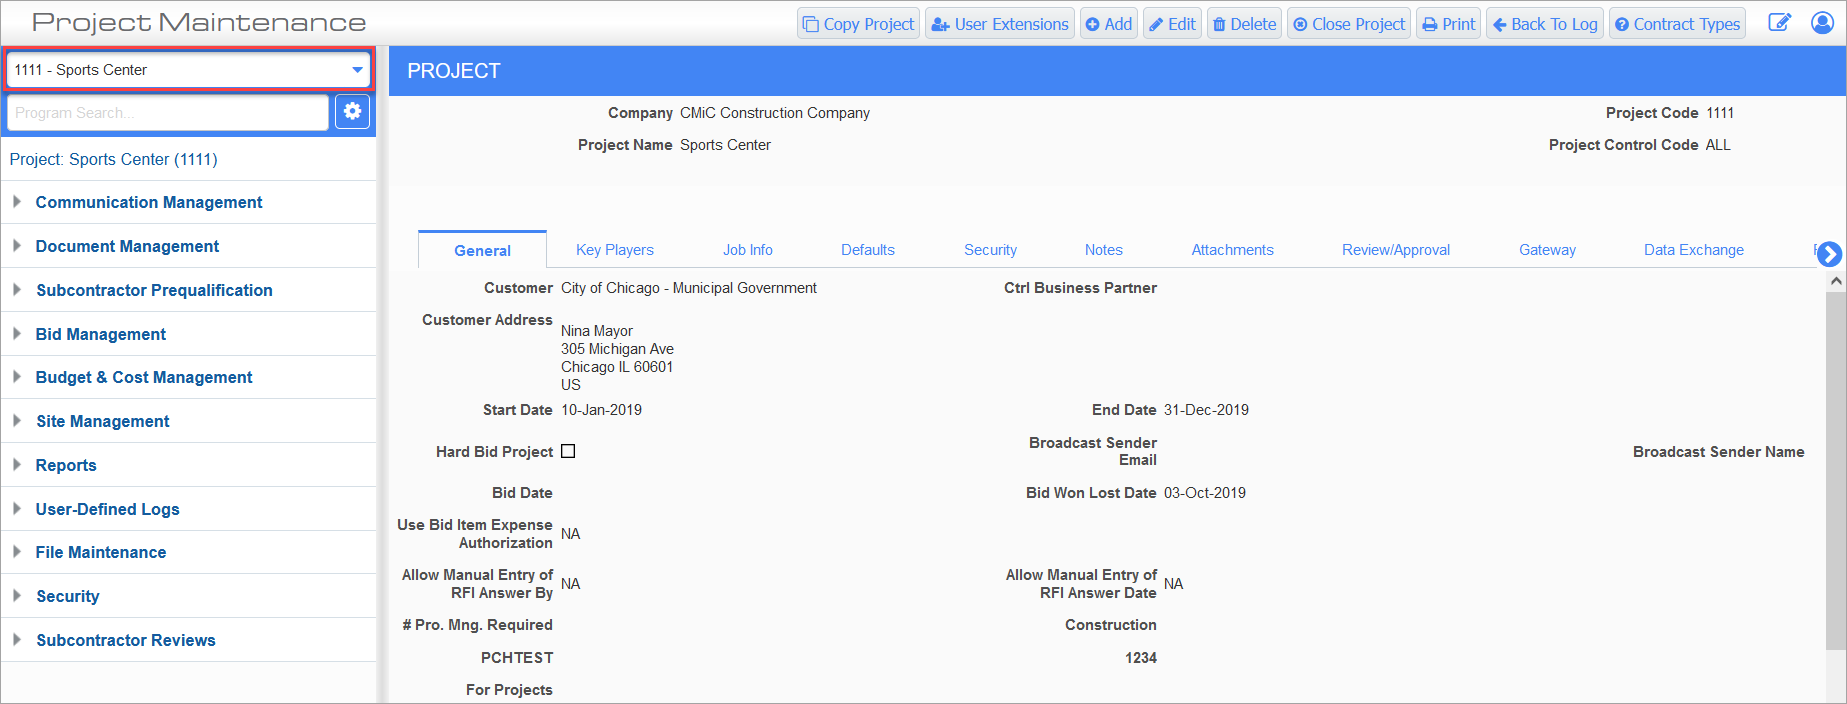
The PDF will also be uploaded to CMiC Field for the project that was specified in Flysheet Builder. Open CMiC Field and select the project from the LOV as shown below.
-
Navigate to the Documents screen in Document Management. The PDF will be found under the document type that was indicated in the Flysheet Builder. In this example, the PDF was uploaded under "Attachment" as the project document type was set to "PM Attachment" in the Flysheet Builder.