Pgm: TRANENT – Enter Transaction; standard Treeview path: General Ledger > Transactions > Enter Transactions
This screen is used to enter General Ledger transactions. Although most General Ledger transactions will be automatically processed from sub‑ledgers such as Accounts Payable and Accounts Receivable, this screen will be required to enter adjustments, bank charges, and any transactions not processed automatically.
Each transaction consists of a series of dispositions. Each disposition consists of a debit or credit to a General Ledger account. The total of the debits and credits for the dispositions in each transaction must be equal. A batch with transactions that do not balance cannot be posted.
NOTE: This screen should not be used to move money between bank accounts that have different currencies, as currency conversion will not occur. This type of transaction should be done via the Bank Transfer screen.
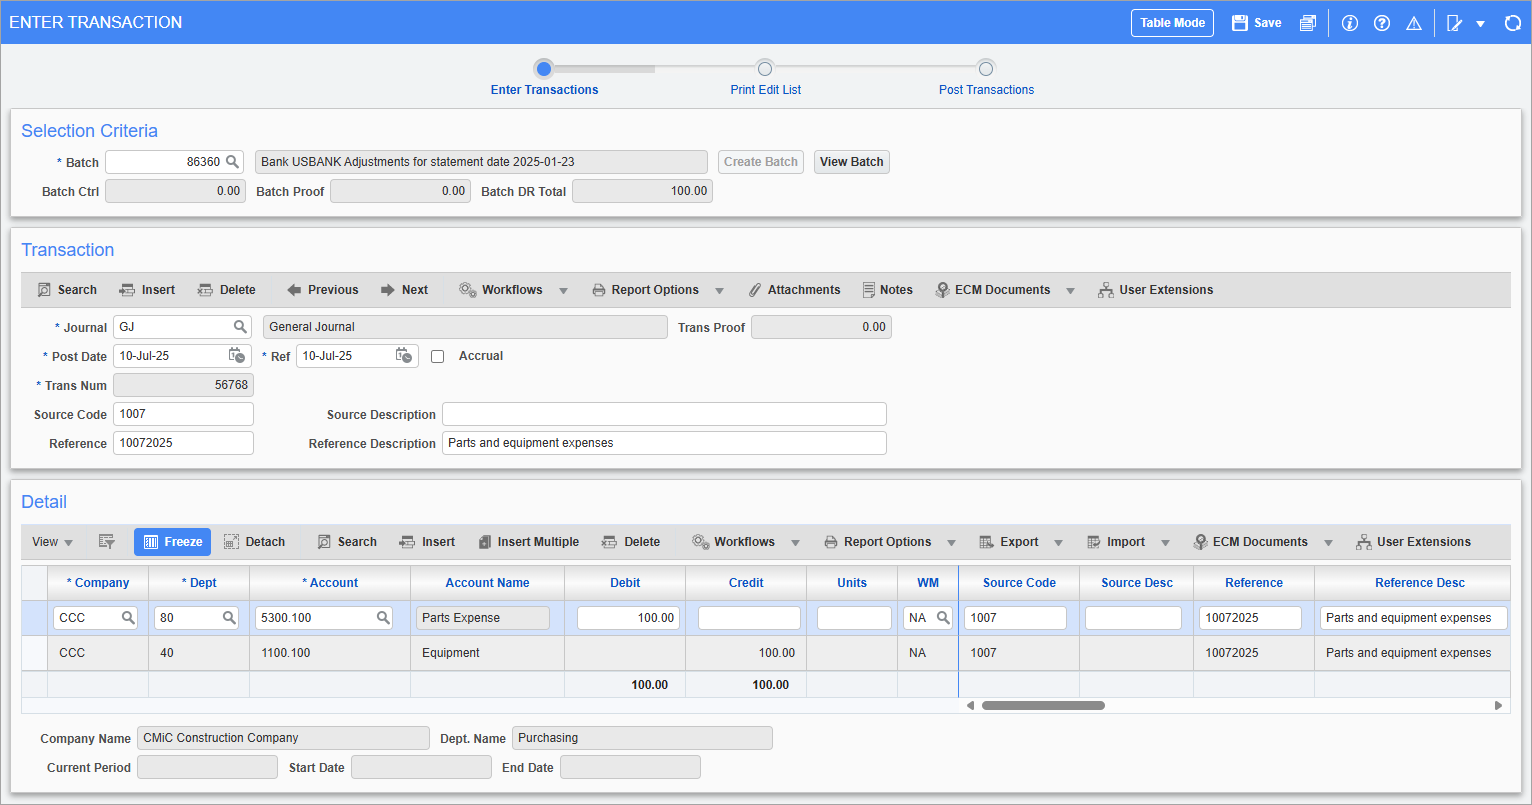
Selection Criteria
Batch, Name
Select the Batch number from the LOV, or create a new batch by entering a batch number, name, and clicking [Create Batch]. Upon selecting a batch from the LOV, you may click [View Batch] to view and make changes to the batch details.
Batch Ctrl
The Batch Ctrl field is a data verification field. If this field is not 0.00 or blank before the system posts the batch, it will verify that the total of the transactions within the batch matches this control total.
Batch Proof
This field will display an amount if the batch is not balanced.
Batch DR Total
A running total of the DR (debit) amounts for all of the transactions in the batch.
Transaction
Journal
Enter the appropriate journal code to which the transaction will be posted. Only journals that have the ‘Access Via GL’ box checked through the Journal Names screen (standard Treeview path: General Ledger > Setup > Global Tables > Journal Names) will be considered valid.
Post Date
For data correction or adjustment purposes, the post date of transaction records is editable. This date determines the fiscal period the transaction belongs in.
Remember that when the batch is posted, the dispositions for each transaction will be posted to the post date entered in this field. Note, however, warning messages will be displayed if the date is in a future period or a current period for which the preliminary period end has been run. If the date entered is before the archive date, or for a period for which the final period end procedure has been run, an error message will appear, as transactions cannot be entered for closed periods.
NOTE: Certain validation messages will only be shown if the 'Validate Transaction Date Against Department Current Period' checkbox in the GL Control File is checked. For more information, refer to the GL Control File section in General Ledger - Local Tables.
Ref (Reference Date)
The reference date will default from the transaction date but may be changed on a transaction-by-transaction basis. The reference date is not used for posting – it is, as its name states, a reference date for the transaction (usually a document date).
Accrual – Checkbox
A transaction may be marked as an accrual transaction by checking the ‘Accrual’ checkbox in the Transaction section, and continuing with the transaction entry as usual. See Processing Manual Accrual Transactions for more details.
Source Code, Source Description
The Source and Reference fields may be entered by the operator for direct manual entries into the General Ledger.
Reference Code, Reference Description
Enter the reference code and reference description that will be applied to the transactions within this batch.
All posted transactions from the sub-ledgers will automatically fill these fields with the relevant information from the sub-ledger as described below. Sub-ledger transactions can be viewed on the transaction query.
If a “Y” was entered in the Sub-Ledger Summary field of the Chart of Accounts Entry screen for an account, all of the source reference fields will be blank when viewed on the General Ledger queries, except for the Reference Description field, which will show the batch number.
The source code allows a transaction to be traced to the specific vendor or customer for whom it was created.
Transactions interfaced from the sub-ledgers will contain the following:
|
Type |
Application |
Data |
|---|---|---|
|
Source Code |
AP |
Vendor Code |
|
|
AR |
Customer Code |
|
|
PO |
Item Code |
|
|
PY |
Employee Code |
|
|
EM |
Equipment Code |
|
Source Desc |
AP |
Vendor Name |
|
|
AR |
Customer Name |
|
|
PO |
Item Name |
|
|
PY |
Employee Name |
|
|
EM |
Equipment Name |
|
Ref Code |
AP |
Check or Invoice Number |
|
|
AR |
Check or Invoice Number |
|
|
PO |
Purchase Order Number |
|
|
PY |
Pay Run Code and Period |
|
|
EM |
Cost Code |
|
Ref Desc. |
AP |
Invoice Description or if Manual Check, manual check description. |
|
|
AR |
Invoice or Check Description |
|
|
PO |
Warehouse Name |
|
|
PY |
Pay Run Name, Year, and Period |
|
|
EM |
Cost Code Name |
Detail
This section is used to enter dispositions for the transaction specified in the previous section. Each line corresponds to one disposition, either a debit or credit.
To post a batch, the total dollars of all of the debit dispositions must be equal to the total dollars of all the credit dispositions for all transaction within the batch. Although the system will allow the user to commit an unbalanced transaction, the batch will not post until the dispositions in the transaction have been balanced.
The Trans Proof field (in the Transaction section) will display an amount if the transaction is not balanced. The Batch Proof field (in the Selection Criteria section) will display an amount if the batch is not balanced. Be sure to commit before checking these values.
-
Enter the company code for the disposition.
-
Enter the department code.
-
Enter the account code.
-
Enter the debit or credit amount.
If the normal balance for the account is a debit, then the cursor will move to this field first. If a credit is needed to be entered instead, move to the Credit field and make the entry.
Units
Entering units may be required if the value of the disposition is related to a specific volume. For example, suppose $500,000 of revenue corresponded to 80,000 units sold. By entering 80,000 on the line where the revenue account was indicated with the $500,000, the system could then calculate revenue per unit.
Weight/Measure Code
Enter the appropriate weight/measure code for the units entered in the previous field. This field defaults from the Chart of Account Entry screen and a transaction cannot be committed without a valid entry in this field.
Move to the next line to enter the next disposition and continue creating entries.
NOTE: When using the [Import button] to import data for General Ledger transactions, the WM column is required. If a file is imported without the WM column defined, an error will occur when the file is validated. If this column is not visible, click on View > Columns and enable the WM column on the block toolbar. A checkmark will appear to the left of the "WM" option on the drop-down menu to show that it has been enabled. This can also be done on the Data Import pop-up window if needed.
TAC Code 1,2,3,4
The TAC Code and Name fields are active for a G-line and then only if the account is utilizing TAC codes. This is where the user can enter/modify the transaction allocation code associated with this transaction and account. TAC codes can be updated but not deleted from this screen. For more information, please refer to General Ledger - Transaction Allocation.
These fields are hidden by default and can be added using the Lite Editor.