This
On the Drawing Upload screen, after uploading drawings, enter the relevant location code in the Locations field; this will ensure that drawing sets will be distinguished by specific locations without having to upload them in separate projects.
The program will extract the Sheet Number, Title, and Discipline as it normally does. The only difference is the additional Location column that separates drawings sheets by location. The value in this field can be also be adjusted when viewing the extraction results. The combination of Location and Sheet Number is what makes the record unique - so users can upload two drawing sheets with the same number but belong to different sites or buildings.

Documents/Drawing Management ; standard Treeview path: CMiC Field > Document Management > Documents - Drawing Management Folder
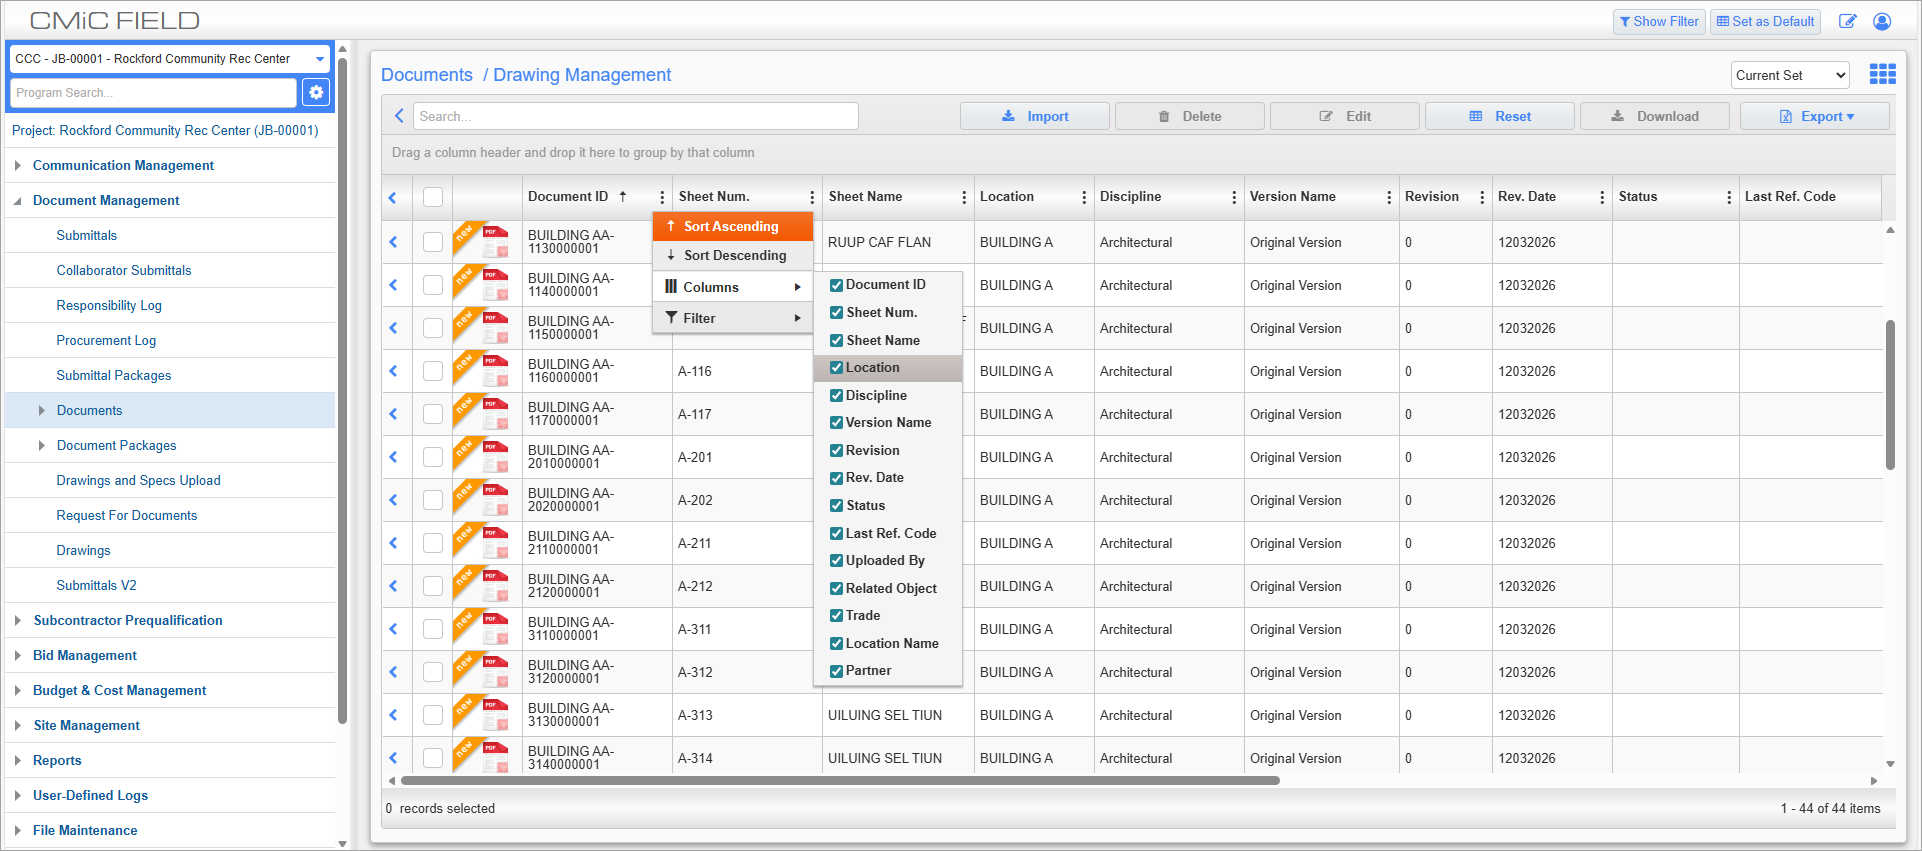
Shown above is an example of what the Drawing Management folder, found in the Documents screen, will look like after a drawing set for Building A has been extracted. Note that they all fall under the BUILDING A location code.
If the project doesn't need to use the location code column, hide it by selecting the column and unchecking it as shown in the screenshot above.