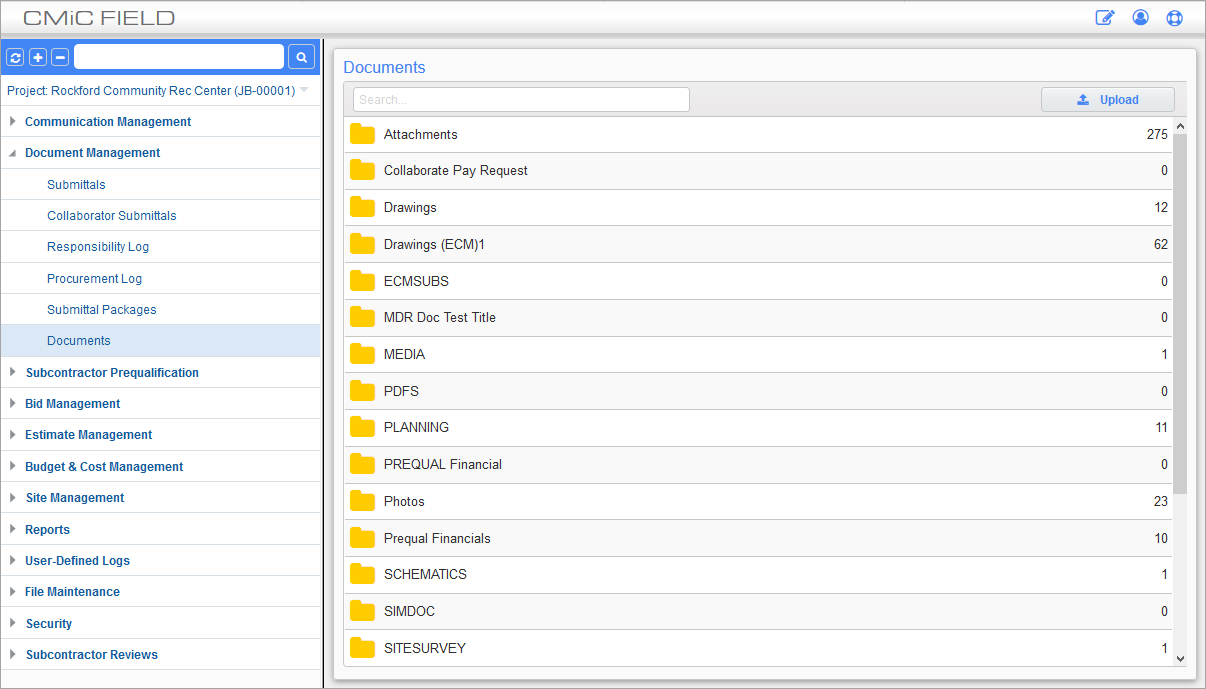
Documents; standard Treeview path: CMiC Field > Document Management > Documents
The Documents screen can be used to enter and organize documents available in CMiC Field. Press on a folder icon to open the log screen for documents of that type. For more information about log screens, please refer to Using Logs. Please note that this screen is display-only and can’t be used for administrative tasks such as editing or deleting documents.
Search
The Search field can be used to search for individual documents across all document folders.
[Upload] – Button

Pop-up window launched from [Upload] button
Press the [Upload] button to bring up the pop-up screen shown above. Select the document folder with the drop-down field and then drag the desired document in the area labeled “Drop files here to upload”, if uploading the files from a local source.
NOTE: The Drawing Management and Specifications folders are not available for selection in the drop-down field, as upload functionality has been disabled for these folders. To upload documents to these folders, please use the Drawing and Specs Upload and Extraction Tool.
NOTE: Avoid uploading files with keyboard symbols in the file name (e.g., %, —, #, ?, &). File names using special characters may generate an error message and prevent the file from uploading.
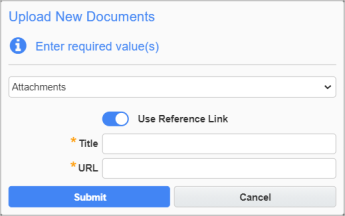
Attaching documents via a URL
To attach documents via a URL, press the Use Reference Link toggle to bring up the Title and URL fields, as shown above.
NOTE: When a document is initially uploaded (e.g. attachment, photo, drawing, etc.), a “New” label is placed on the record’s thumbnail to indicate that the item was recently added. This label is removed after 24 hours, or 1 day (based on date).
Document Folders
Creating Document Folders
Document folders can be created in the Document Options Setup screen.
Managing Document Folders
Press one of the folder icons to bring up the contents of that folder, as shown below.
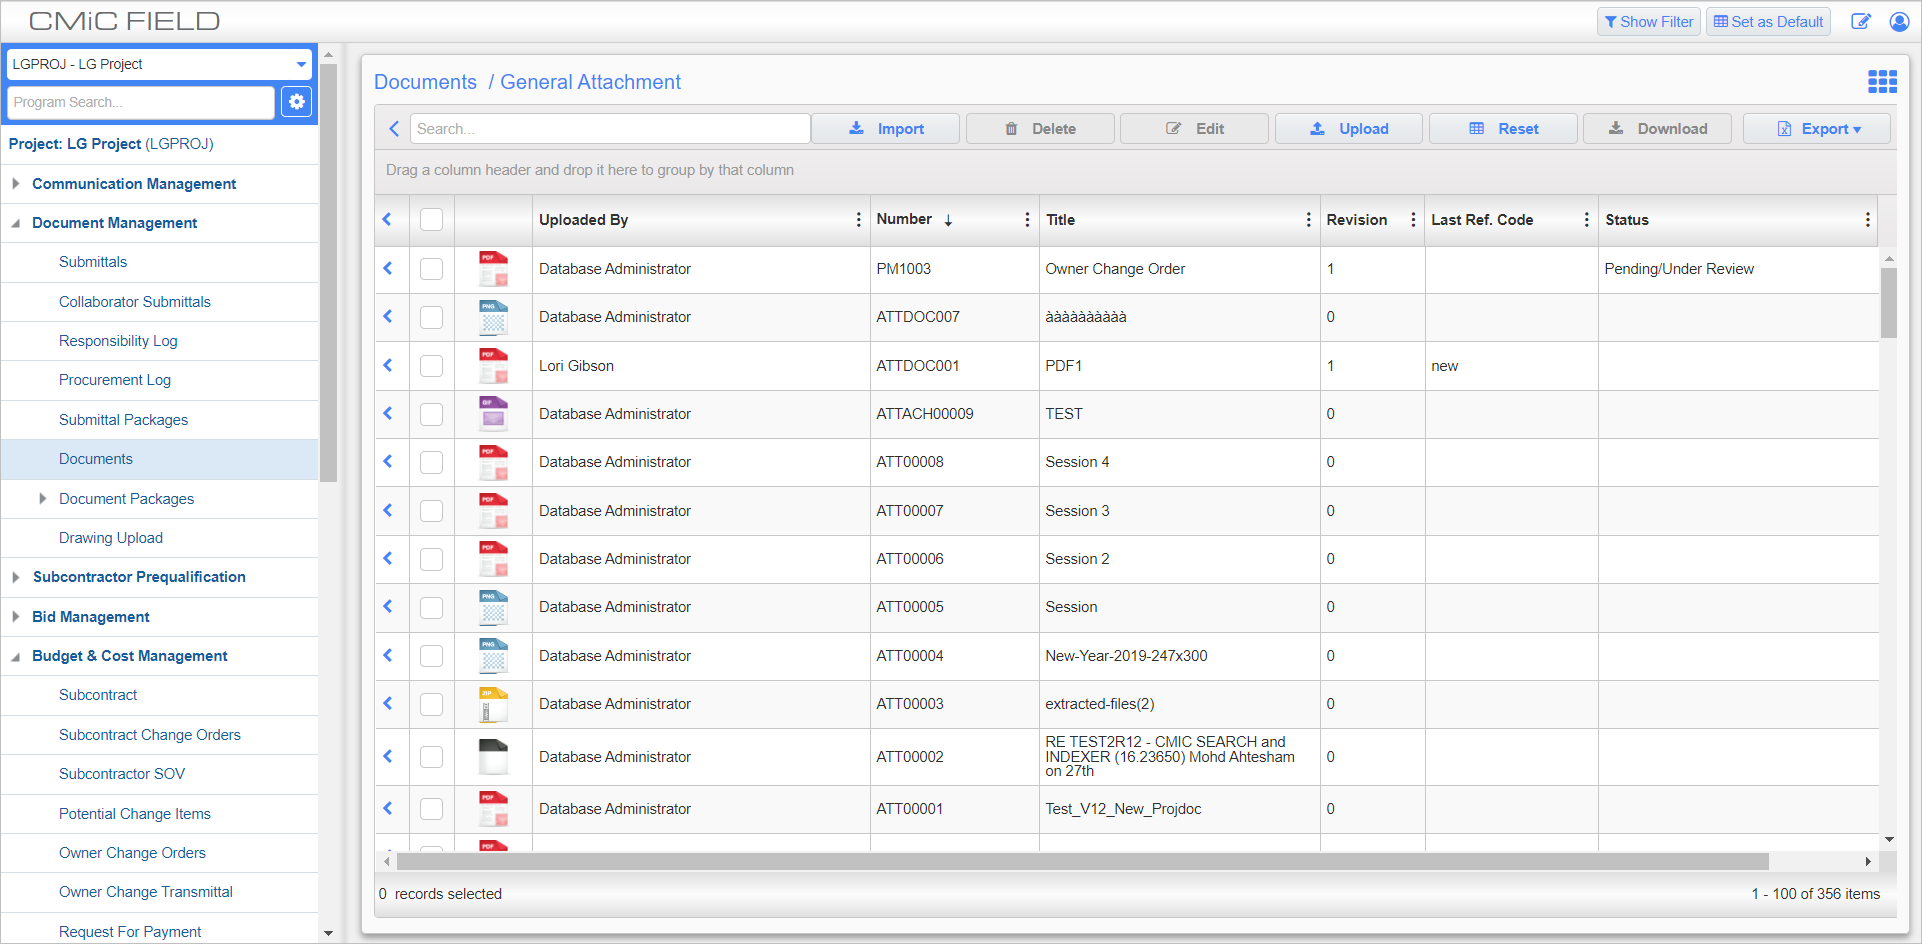
Here, documents can be opened by pressing their document icon, edited, or deleted in batch by checking the corresponding checkboxes and pressing the [Delete] or [Edit] buttons, or uploaded to the selected folder by pressing the [Upload] button.
NOTE: The [Upload] button described here differs from the one mentioned above in that it only allows documents to be uploaded to the opened folder.
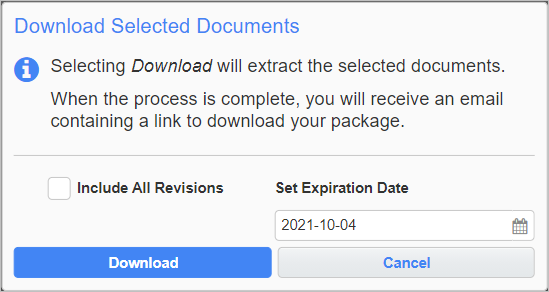
Documents can be downloaded from this screen by checking the boxes on the left-hand side and pressing the [Download] button, which brings up the following screen. Users may download all revisions of the selected documents by checking the 'Include All Revisions' box.
Documents can also be edited individually, or in batch, as shown below.
![Screenshot of pop-up window launched from the [Edit] button on the Documents screen](../../../../Resources/Images/CMiC_Field/Documents.png)
Pop-up window launched from the [Edit] button on the Documents screen
Press the Thumbnail icon ( ) to display the documents on this screen as a series of thumbnails, as shown below.
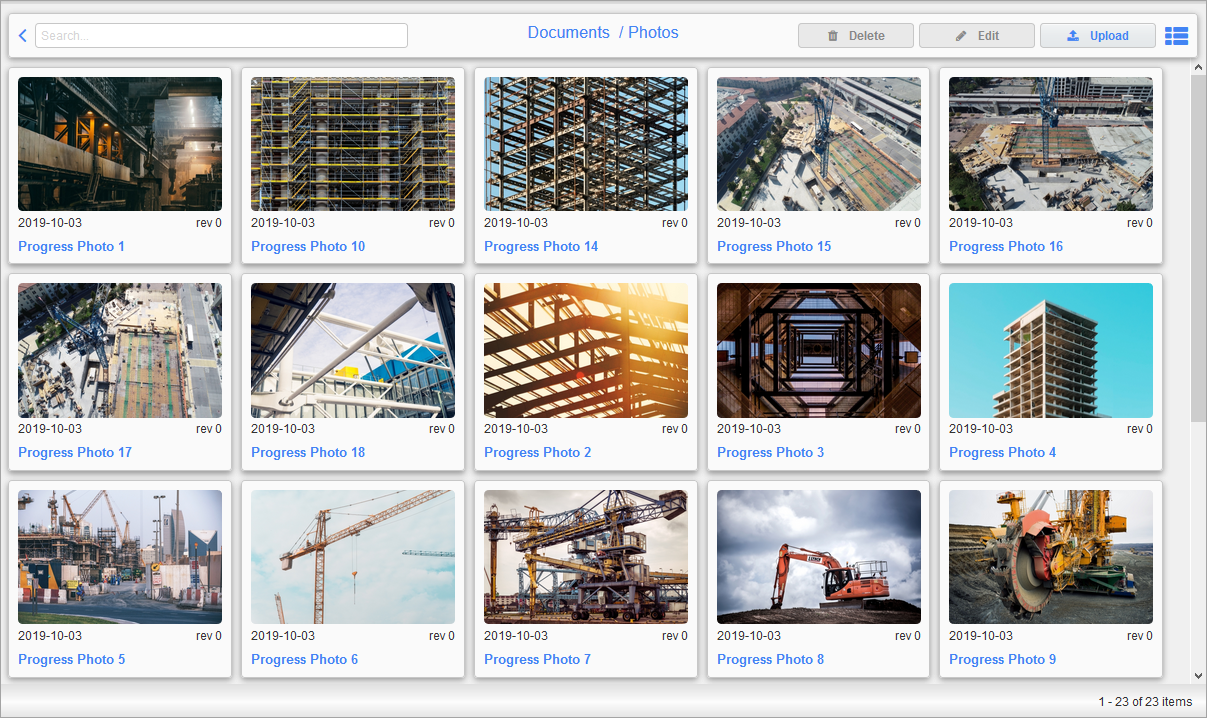
Thumbnail view of the Documents screen
Opening a Document Record
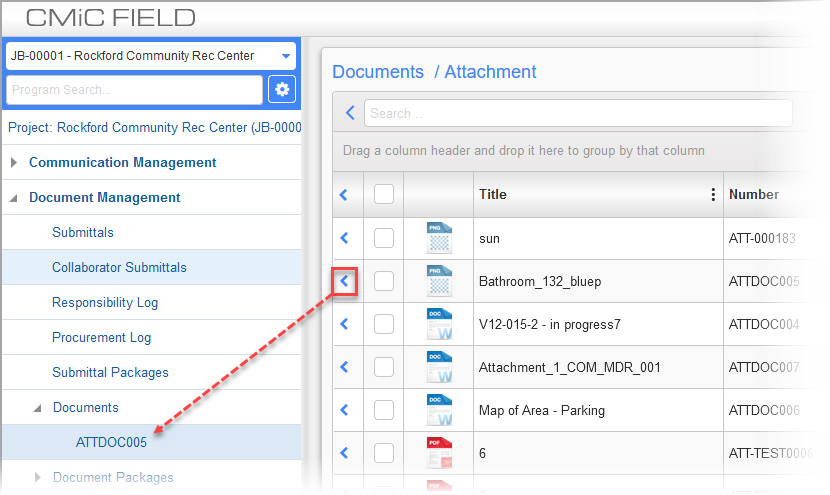
Document records can be added to the Treeview using the Add [ ] icon. Once a document’s record has been added to the Treeview, the menu item can be clicked to open the record for review.
NOTE: There are all types of document folders available in the main Documents screen (e.g. Attachments, Drawings, Photos, etc.). The document logs aren’t limited to just attachments, so the type of records listed in the log depends on the type of folder that was opened.
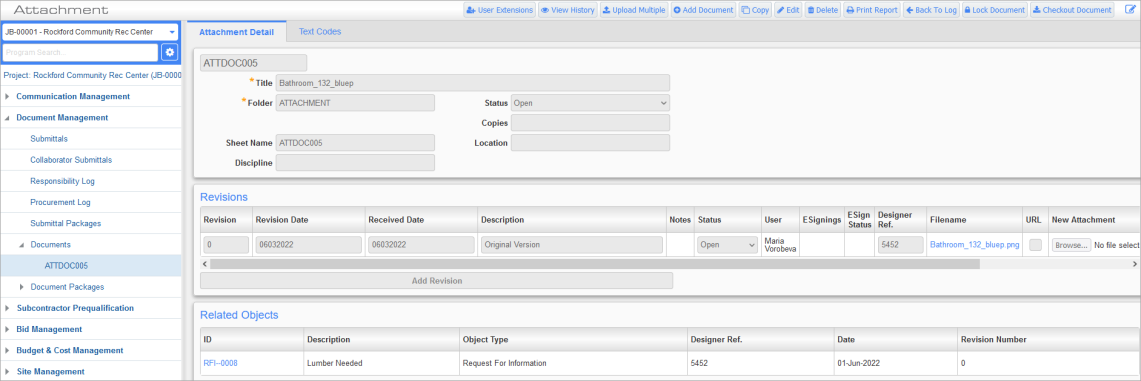
The toolbar for the Attachment Detail screen lets you add documents, upload multiple attachments and print the documents. Additional functionality is available on this screen’s toolbar for locking and unlocking documents, as well as for checking documents in and out
[Lock Document / Unlock Document] – Button
This locks the document and prevents changes to the document. Once locked [Unlock Document] takes the place of [Lock Document], and it unlocks the document.
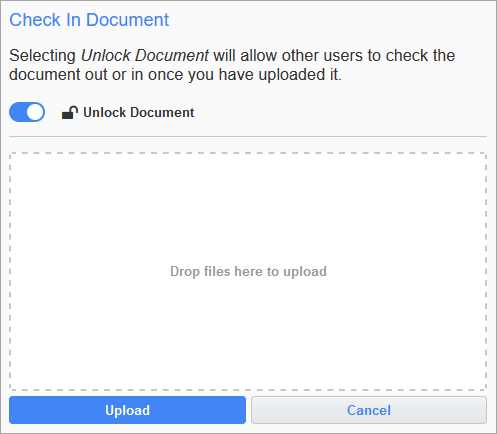
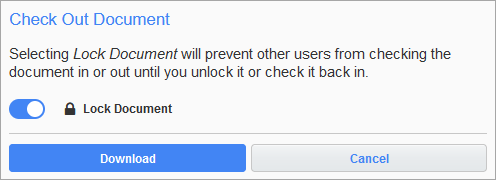
[Checkout Document / Checkin Document] – Button
This opens a pop-up that allows the user to download the document and lock it to prevent any edits while the document is checked out.
Once checked out [Checkin Document] takes the place of [Checkout Document], and it allows the user to upload a new version of the document and unlock it.