Overview
This
Process
-
In the Event Based Launch Maintenance screen, click the [Insert] button on the block toolbar to add a new row under the Workflow Processes section, then select "CMIGENWKF" (CMiC Generic Workflow) from the Item Type LOV for the Item Type column.
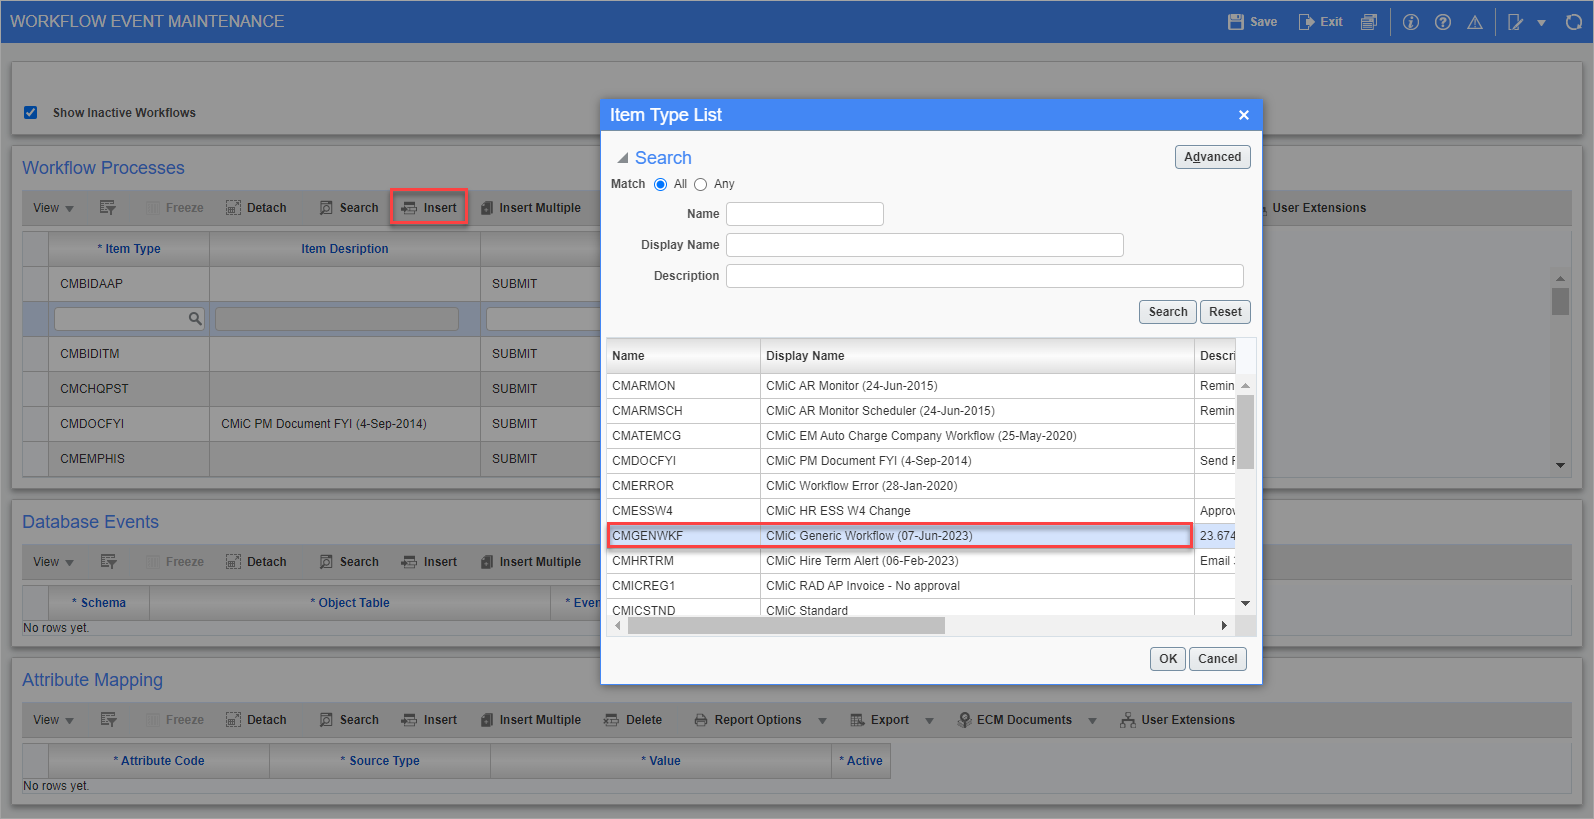
Pgm: WKFEVMNT – Workflow Event Maintenance; standard Treeview path: Workflow > Setup > Event Based Launch Maintenance
-
Select the "Submit" option for the Process Name column. Make sure the 'Active' box is checked.
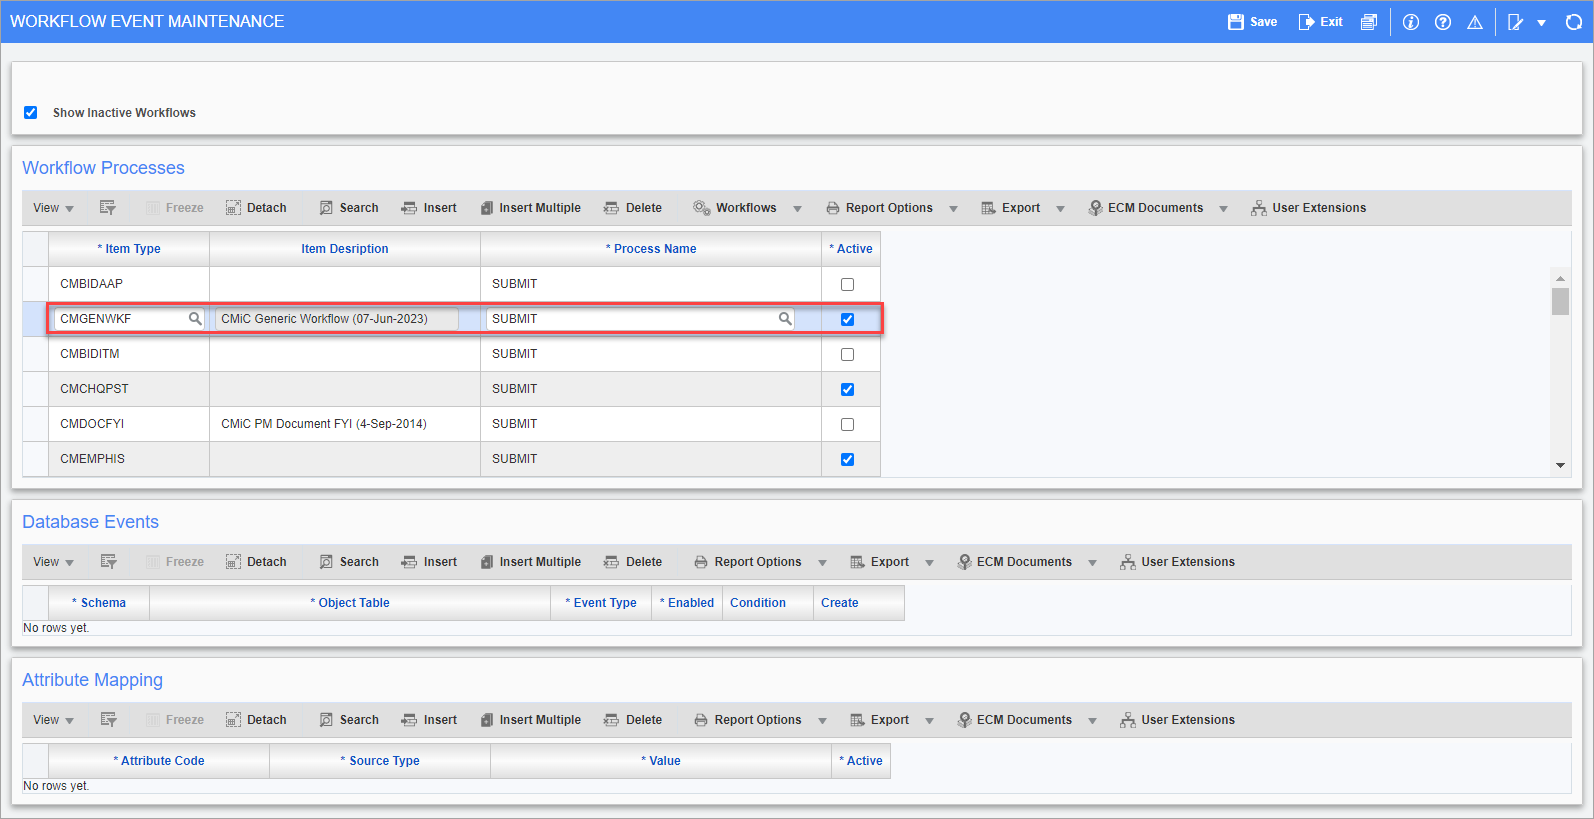
Pgm: WKFEVMNT – Workflow Event Maintenance; standard Treeview path: Workflow > Setup > Event Based Launch Maintenance
-
After inserting the CMiC Generic Workflow to the workflow processes, choose an Object Table in the Database Events section and define the ORASEQ and REQUESTOR attributes under the Attribute Mapping section. Further details on these sections can be found in Workflow - Event Based Launch Maintenance.
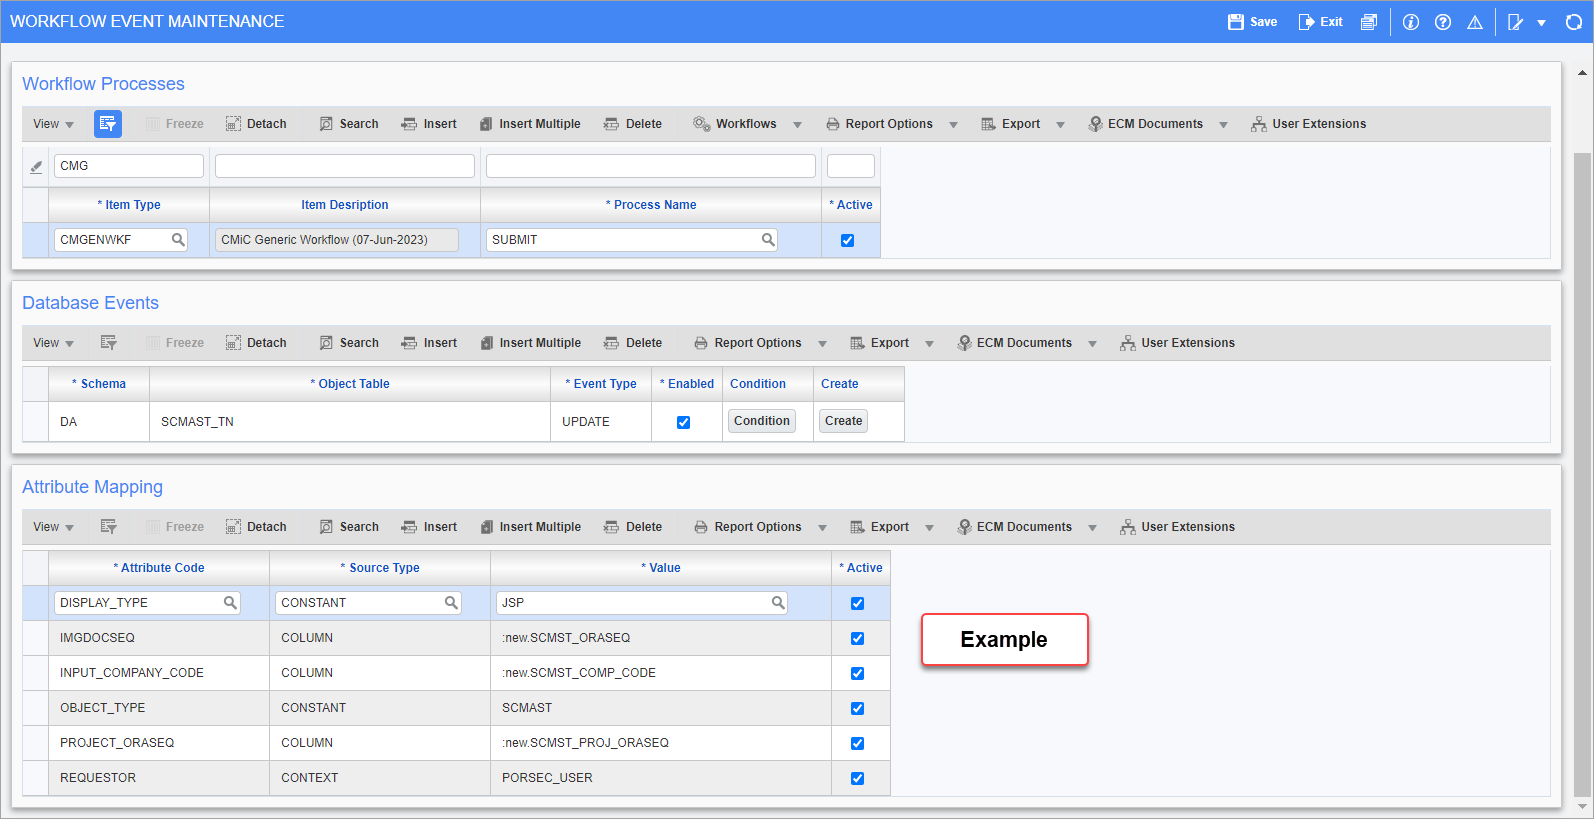
Pgm: WKFEVMNT – Workflow Event Maintenance; standard Treeview path: Workflow > Setup > Event Based Launch Maintenance
-
Assign the CMiC Generic Workflow to the required program using the Screen Based Launch Maintenance screen.

Pgm: WKFUSRMT – Workflow Maintenance; standard Treeview path: Workflow > Setup > Screen Based Launch Maintenance
For PROGRAM_NAME and OBJECT_TYPE values, please consult the table below.
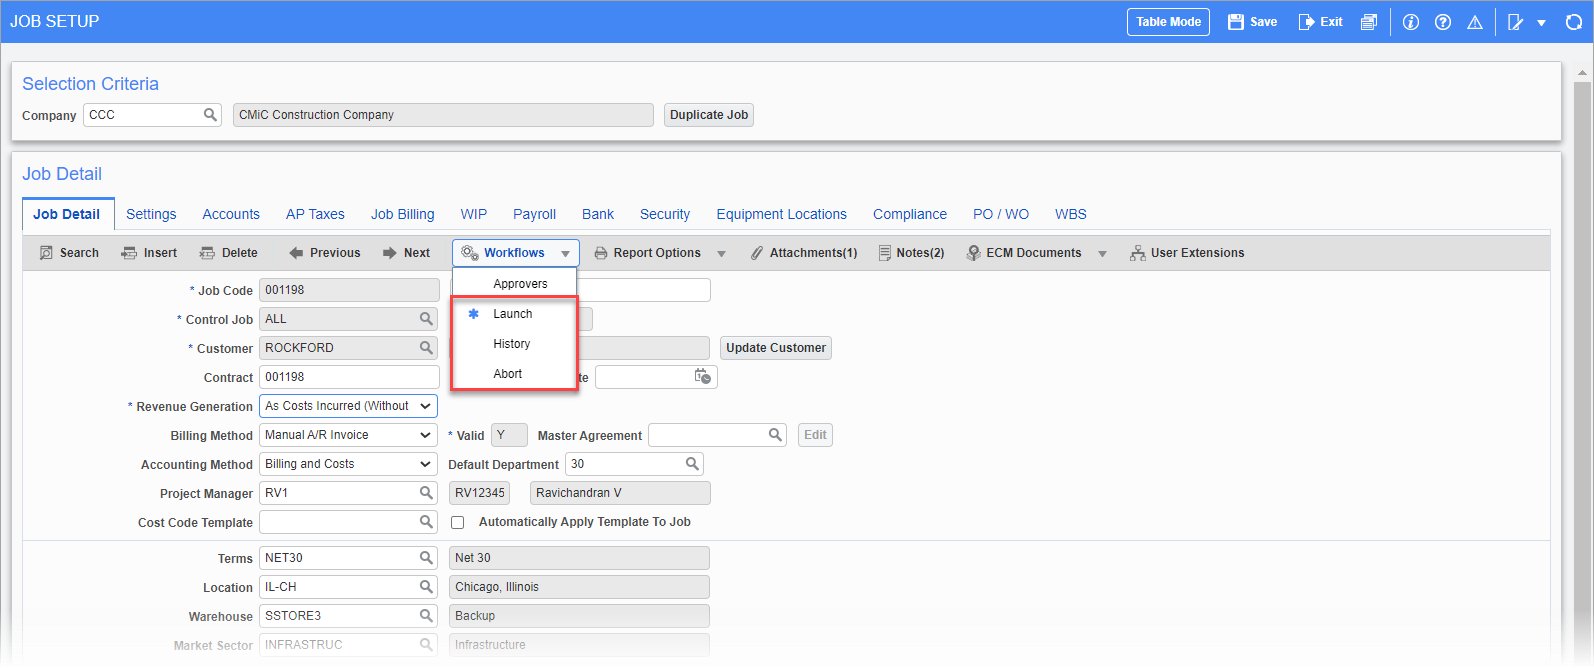
Screen Name Program Name Object Type Enter Transaction TRANENT GLTRANH Register Invoice APREGINV APREGINV Enter Voucher VOUCHENT APVOU AP Enter Memo VMEMOENT APVOUMEMO Manual Check Entry APCHQMAN APCHEQUE AR Invoice Entry ARINVFM ARINV AR Enter Memo ARMEMOFM ARINVMEMO Enter Receipt ARCHQFM ARPAYMENT Project Maintenance PMPROJFM PMPROJ Job Setup JCJOBFM JCJOB Subcontract Maintenance PMSCFM SCMAST Enter Request For Payment SCPAYREQ APVOU Potential Change Items PMCHGFM PMCHGM Owner Change Order PMOWNCHG CMOWNCO Contract Entry JBCONT JBCONT Prepare Billing Detail JBBILL JBCONT Prepare Billing JBBILL2 JBCONT Enter/Edit Work Order DMWORKORDERS DMWO Requisitions Entry PORQENTC PORQENT Purchase Order Entry POENTRYC POMAST Change Order Entry POCOENT POCOENT Shipment Receiving POSHPREC POSHIPREC Job Shipment Receiving POJOBREC POSHIPREC The workflow is manually launched from each program using the “Launch” option from the [Workflows] button drop-down menu in the block toolbar. Once the selection is made and the [Launch] button is pressed, a confirmation pop-up window is displayed as each workflow is started.
To abort a workflow, select “Abort” from the [Workflows] button drop-down menu. To review the audit history of a workflow, select “History” in the drop-down menu. The Workflow History and Tracking pop-up window will launch and display tracking information and audit history. For further details, see Workflow - Using User Initiated Screen Based Workflows.
-
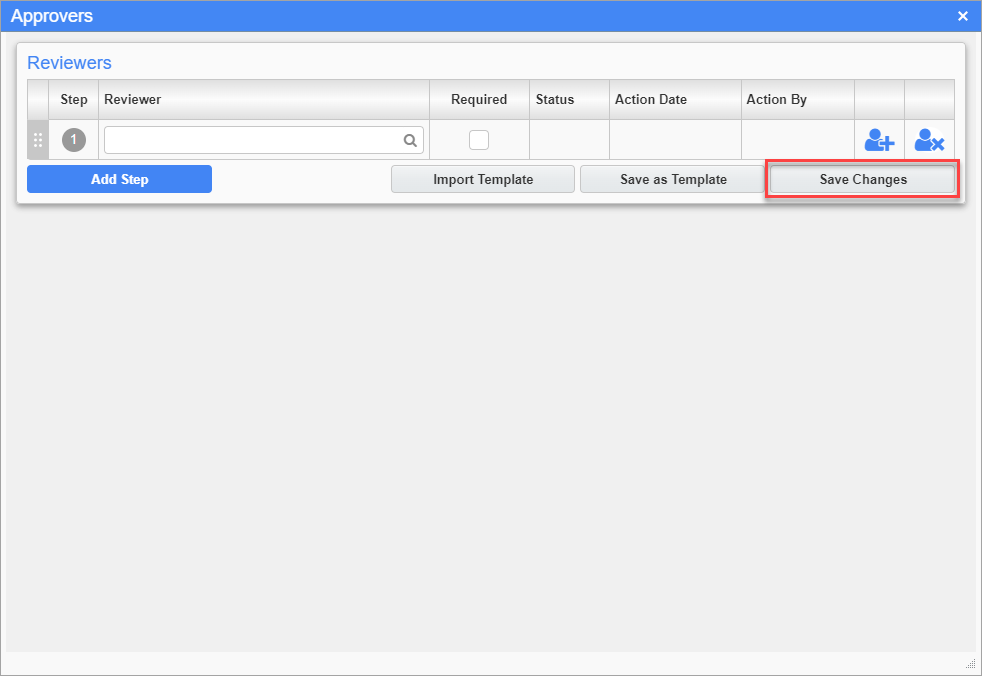
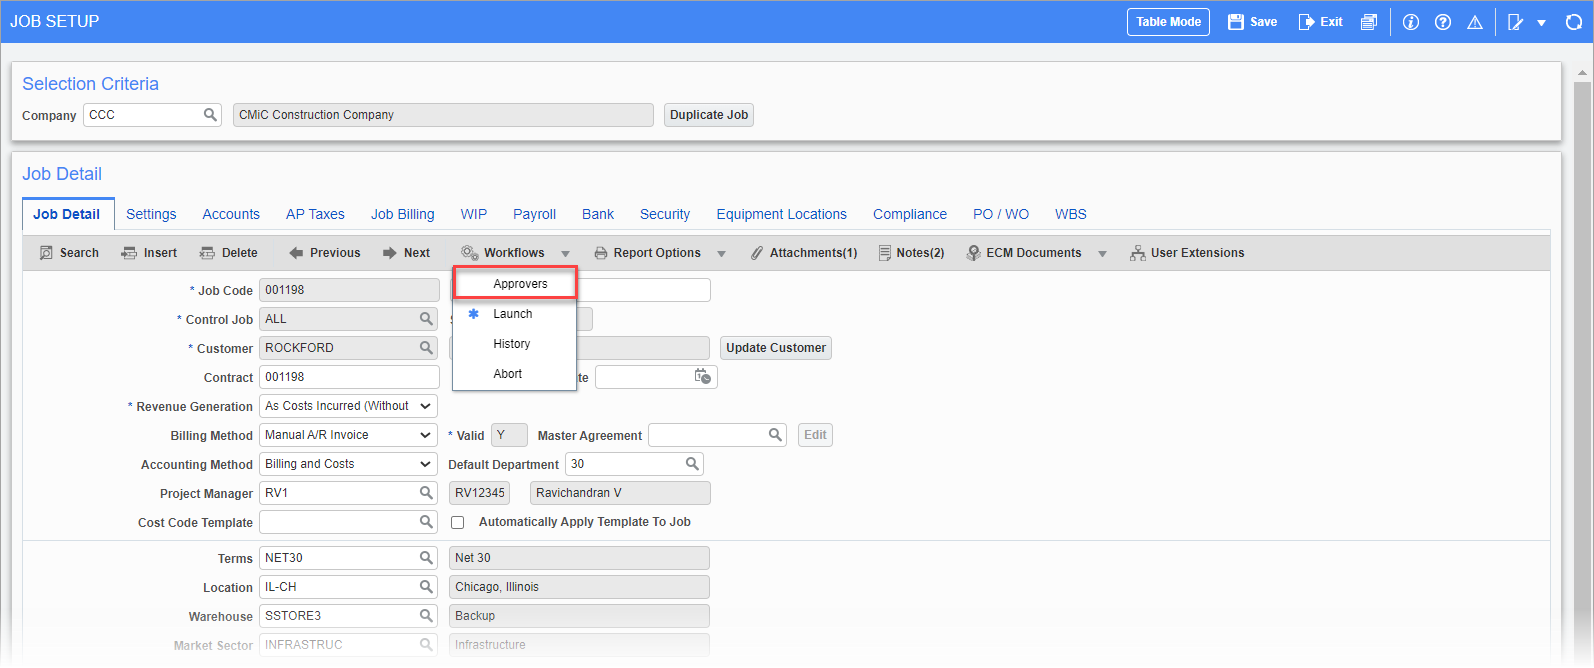
Click on the “Approvers” option from the [Workflows] button drop-down menu to define approvers for the generic workflow.
-
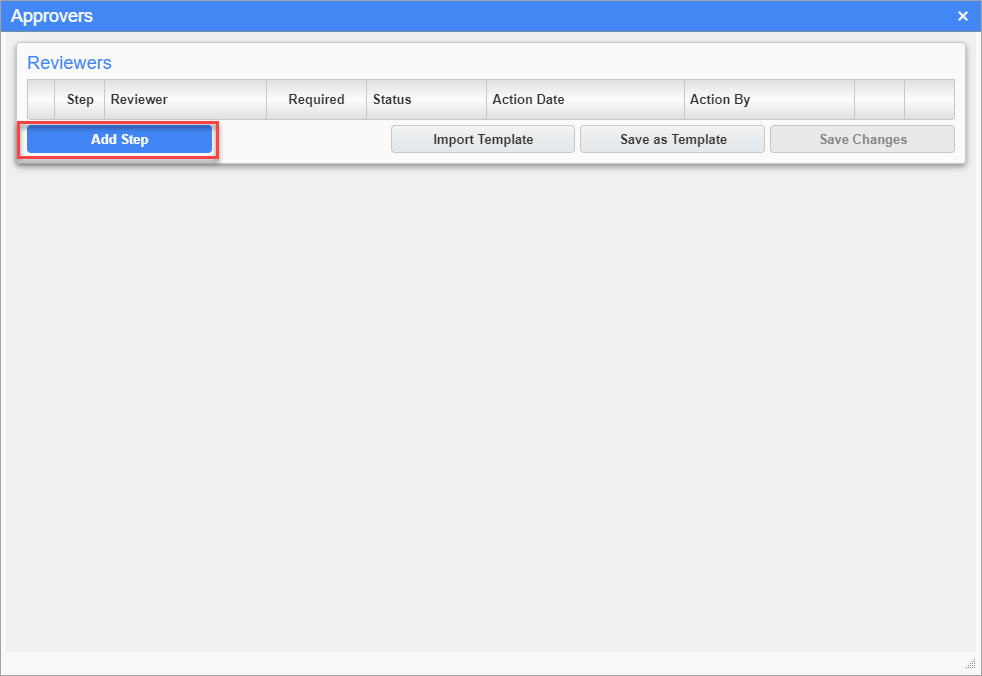
In the Approvers pop-up window, click on the [Add Step] button to add multiple levels/steps for the Workflow approval.
-
Use the Add (
 ) or Delete (
 ) icons corresponding to each line to add additional approvers or remove the defined approvers for each step. Each step can only have up to three approvers assigned.
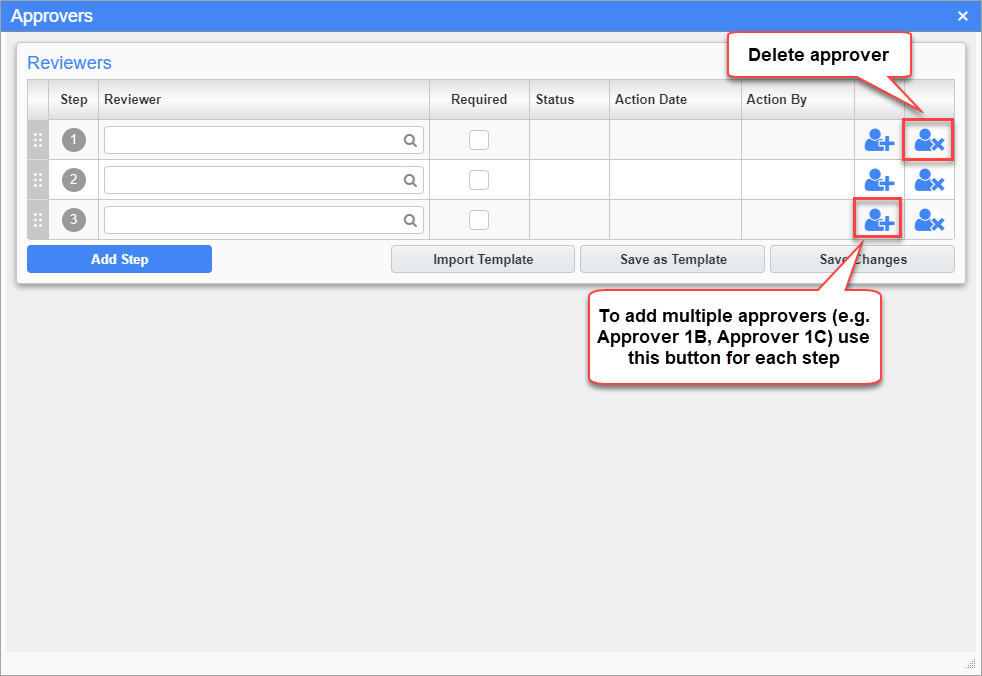
-
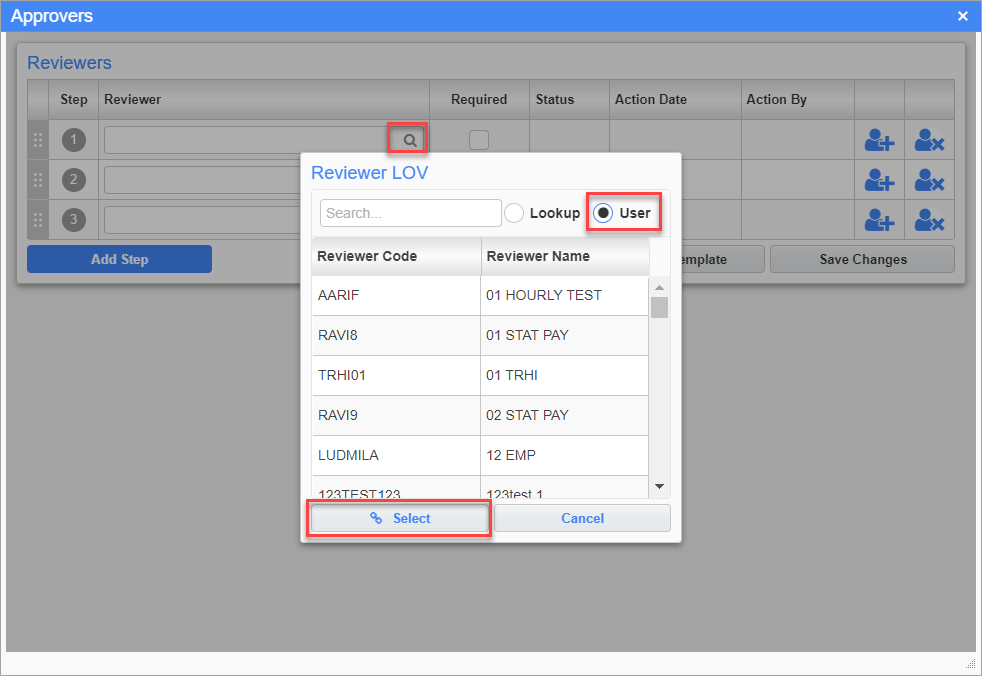
Individual users can be assigned as approvers from the LOV, by clicking on the 'User' radio button, selecting a user, and clicking the [Select] button.
-
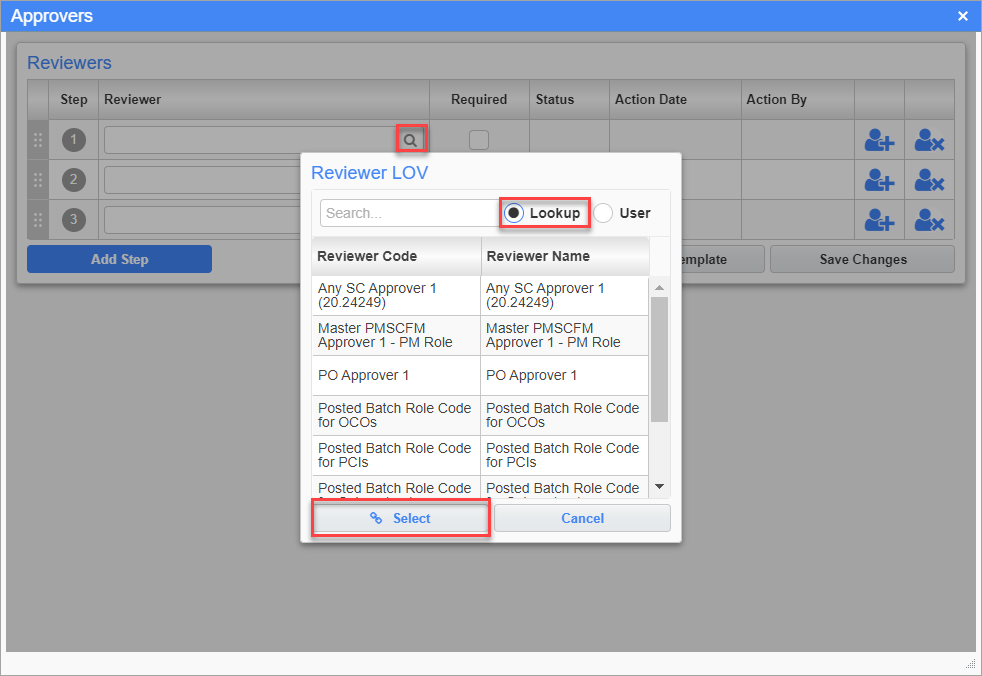
The approver levels can also be assigned with none-based lookups, by choosing the 'Lookup' radio button from the Reviewer LOV and assigning one from the list.
-
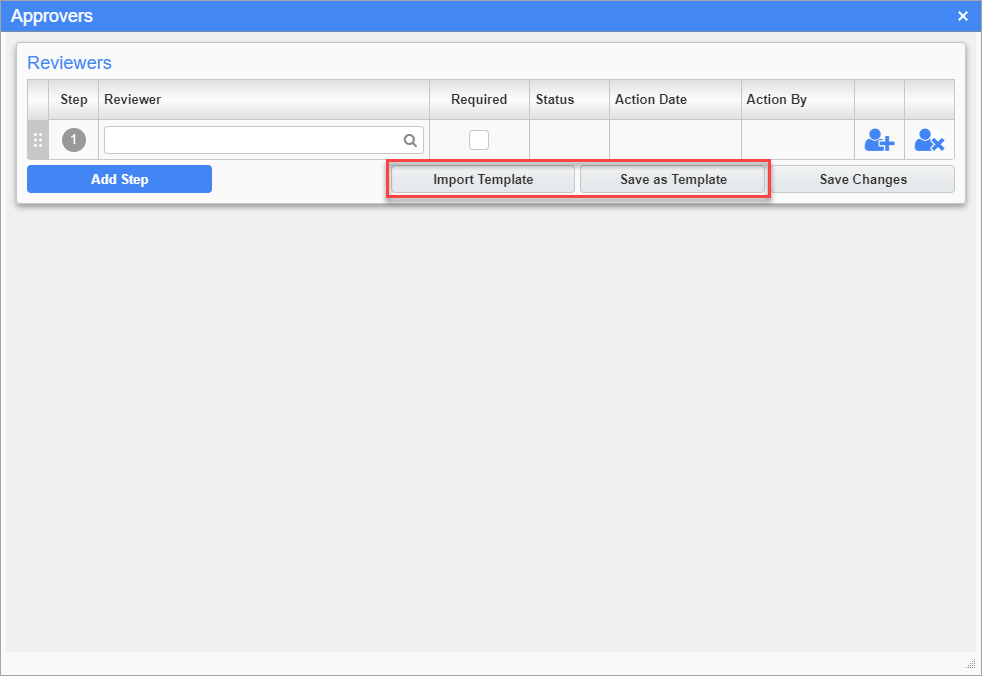
The [Save as Template] button helps to save current selections with a template name, which can be pulled to another record or even another screen using the [Import Template] button.
-
After making required additions or changes, click on the [Save Changes] button to save, then close the window.