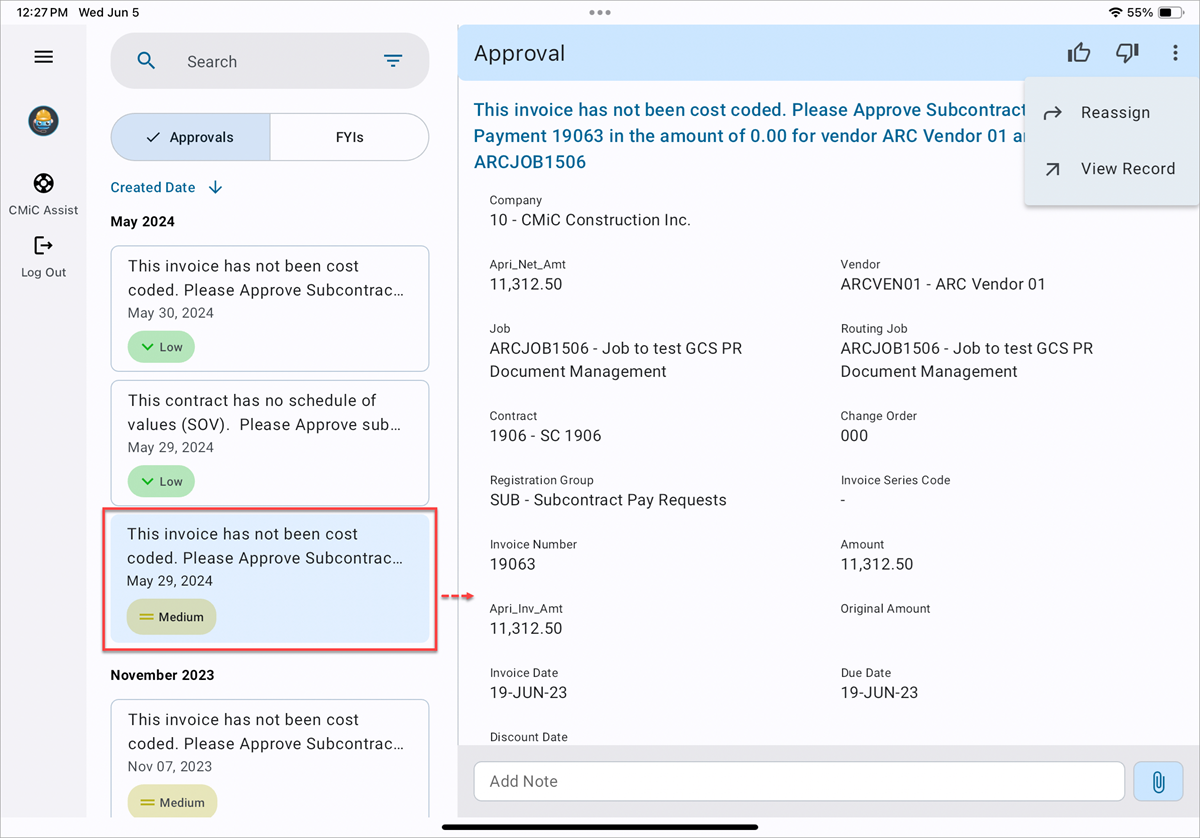
To view a notification, select one from the left-hand side, and a card view of the details on the right side will show up. The More Options ( ) icon on the top-right corner of the notification can be used to access the [Reassign] and [View Record] buttons.
Create and Edit Distributions
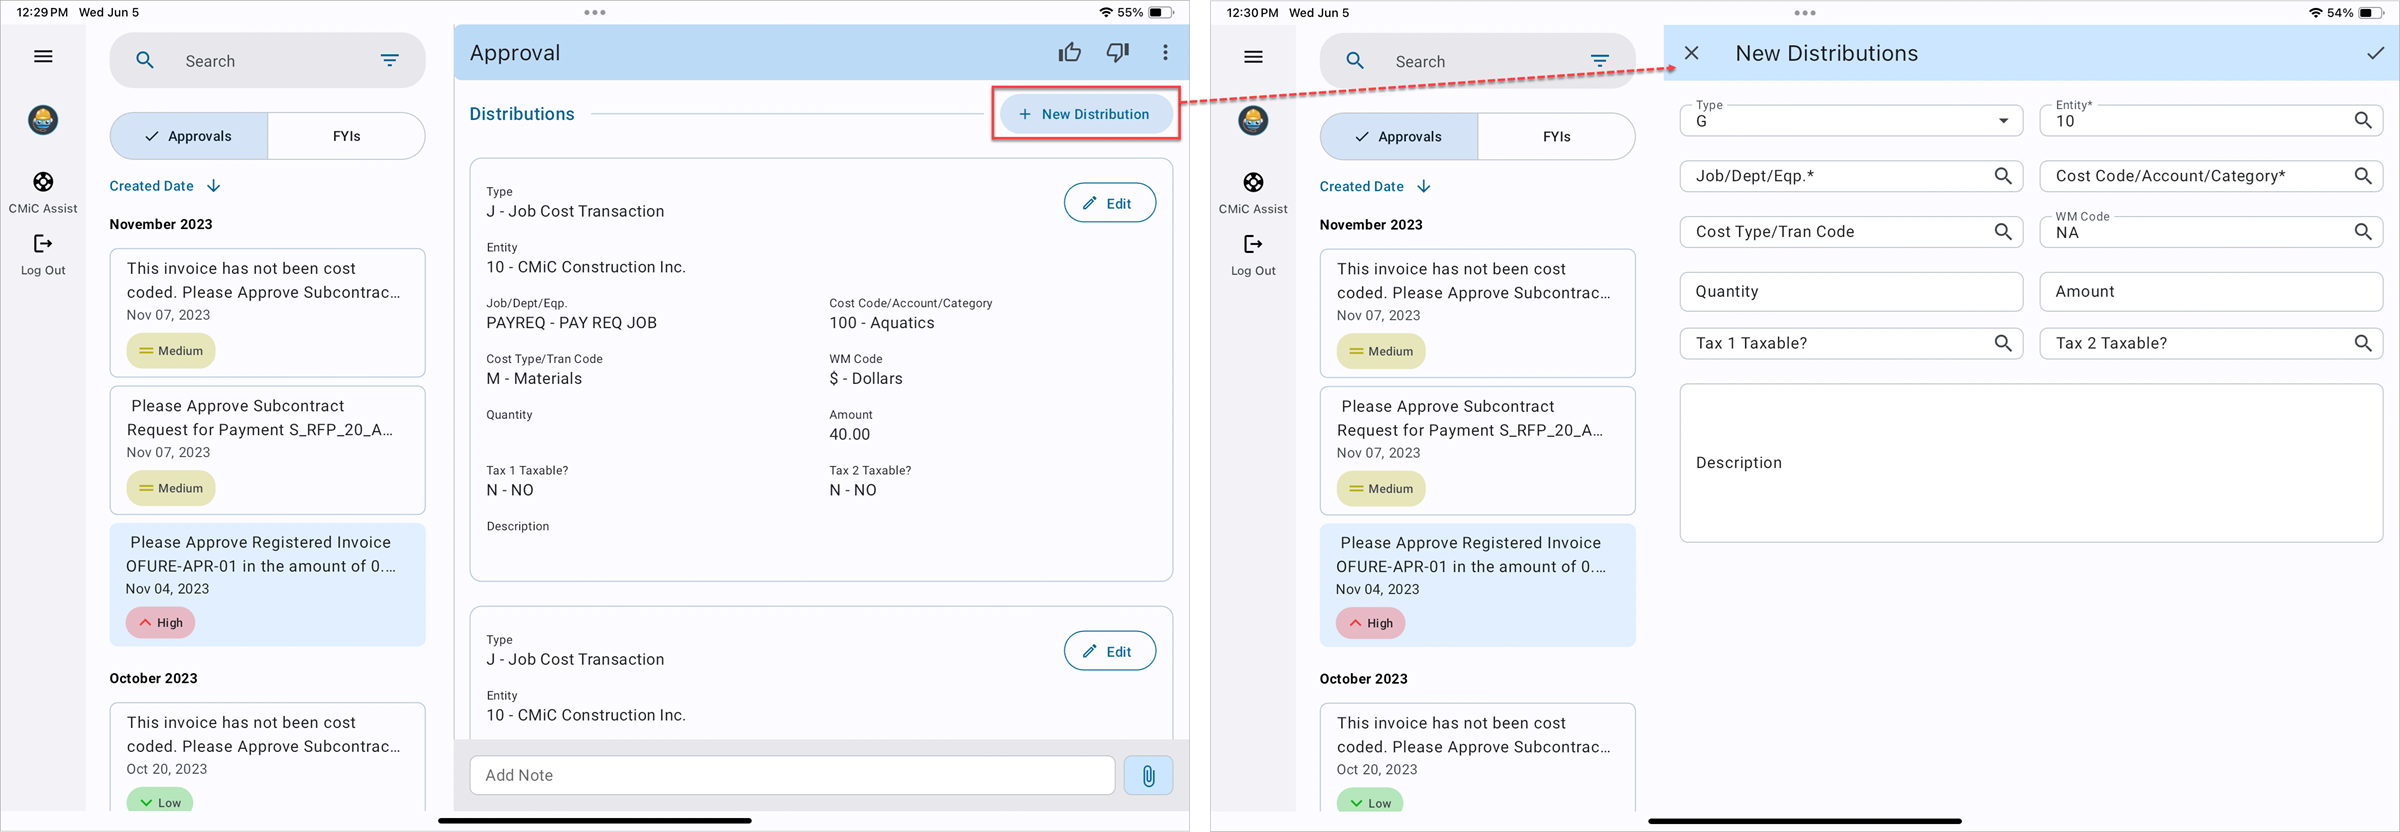
The user may create distributions of a Registered Invoice by tapping the [New Distribution] button next to the Distributions section, assuming they have the relevant security privileges enabled. See Imaging - Imaging Control and Imaging - Imaging Security for more information.
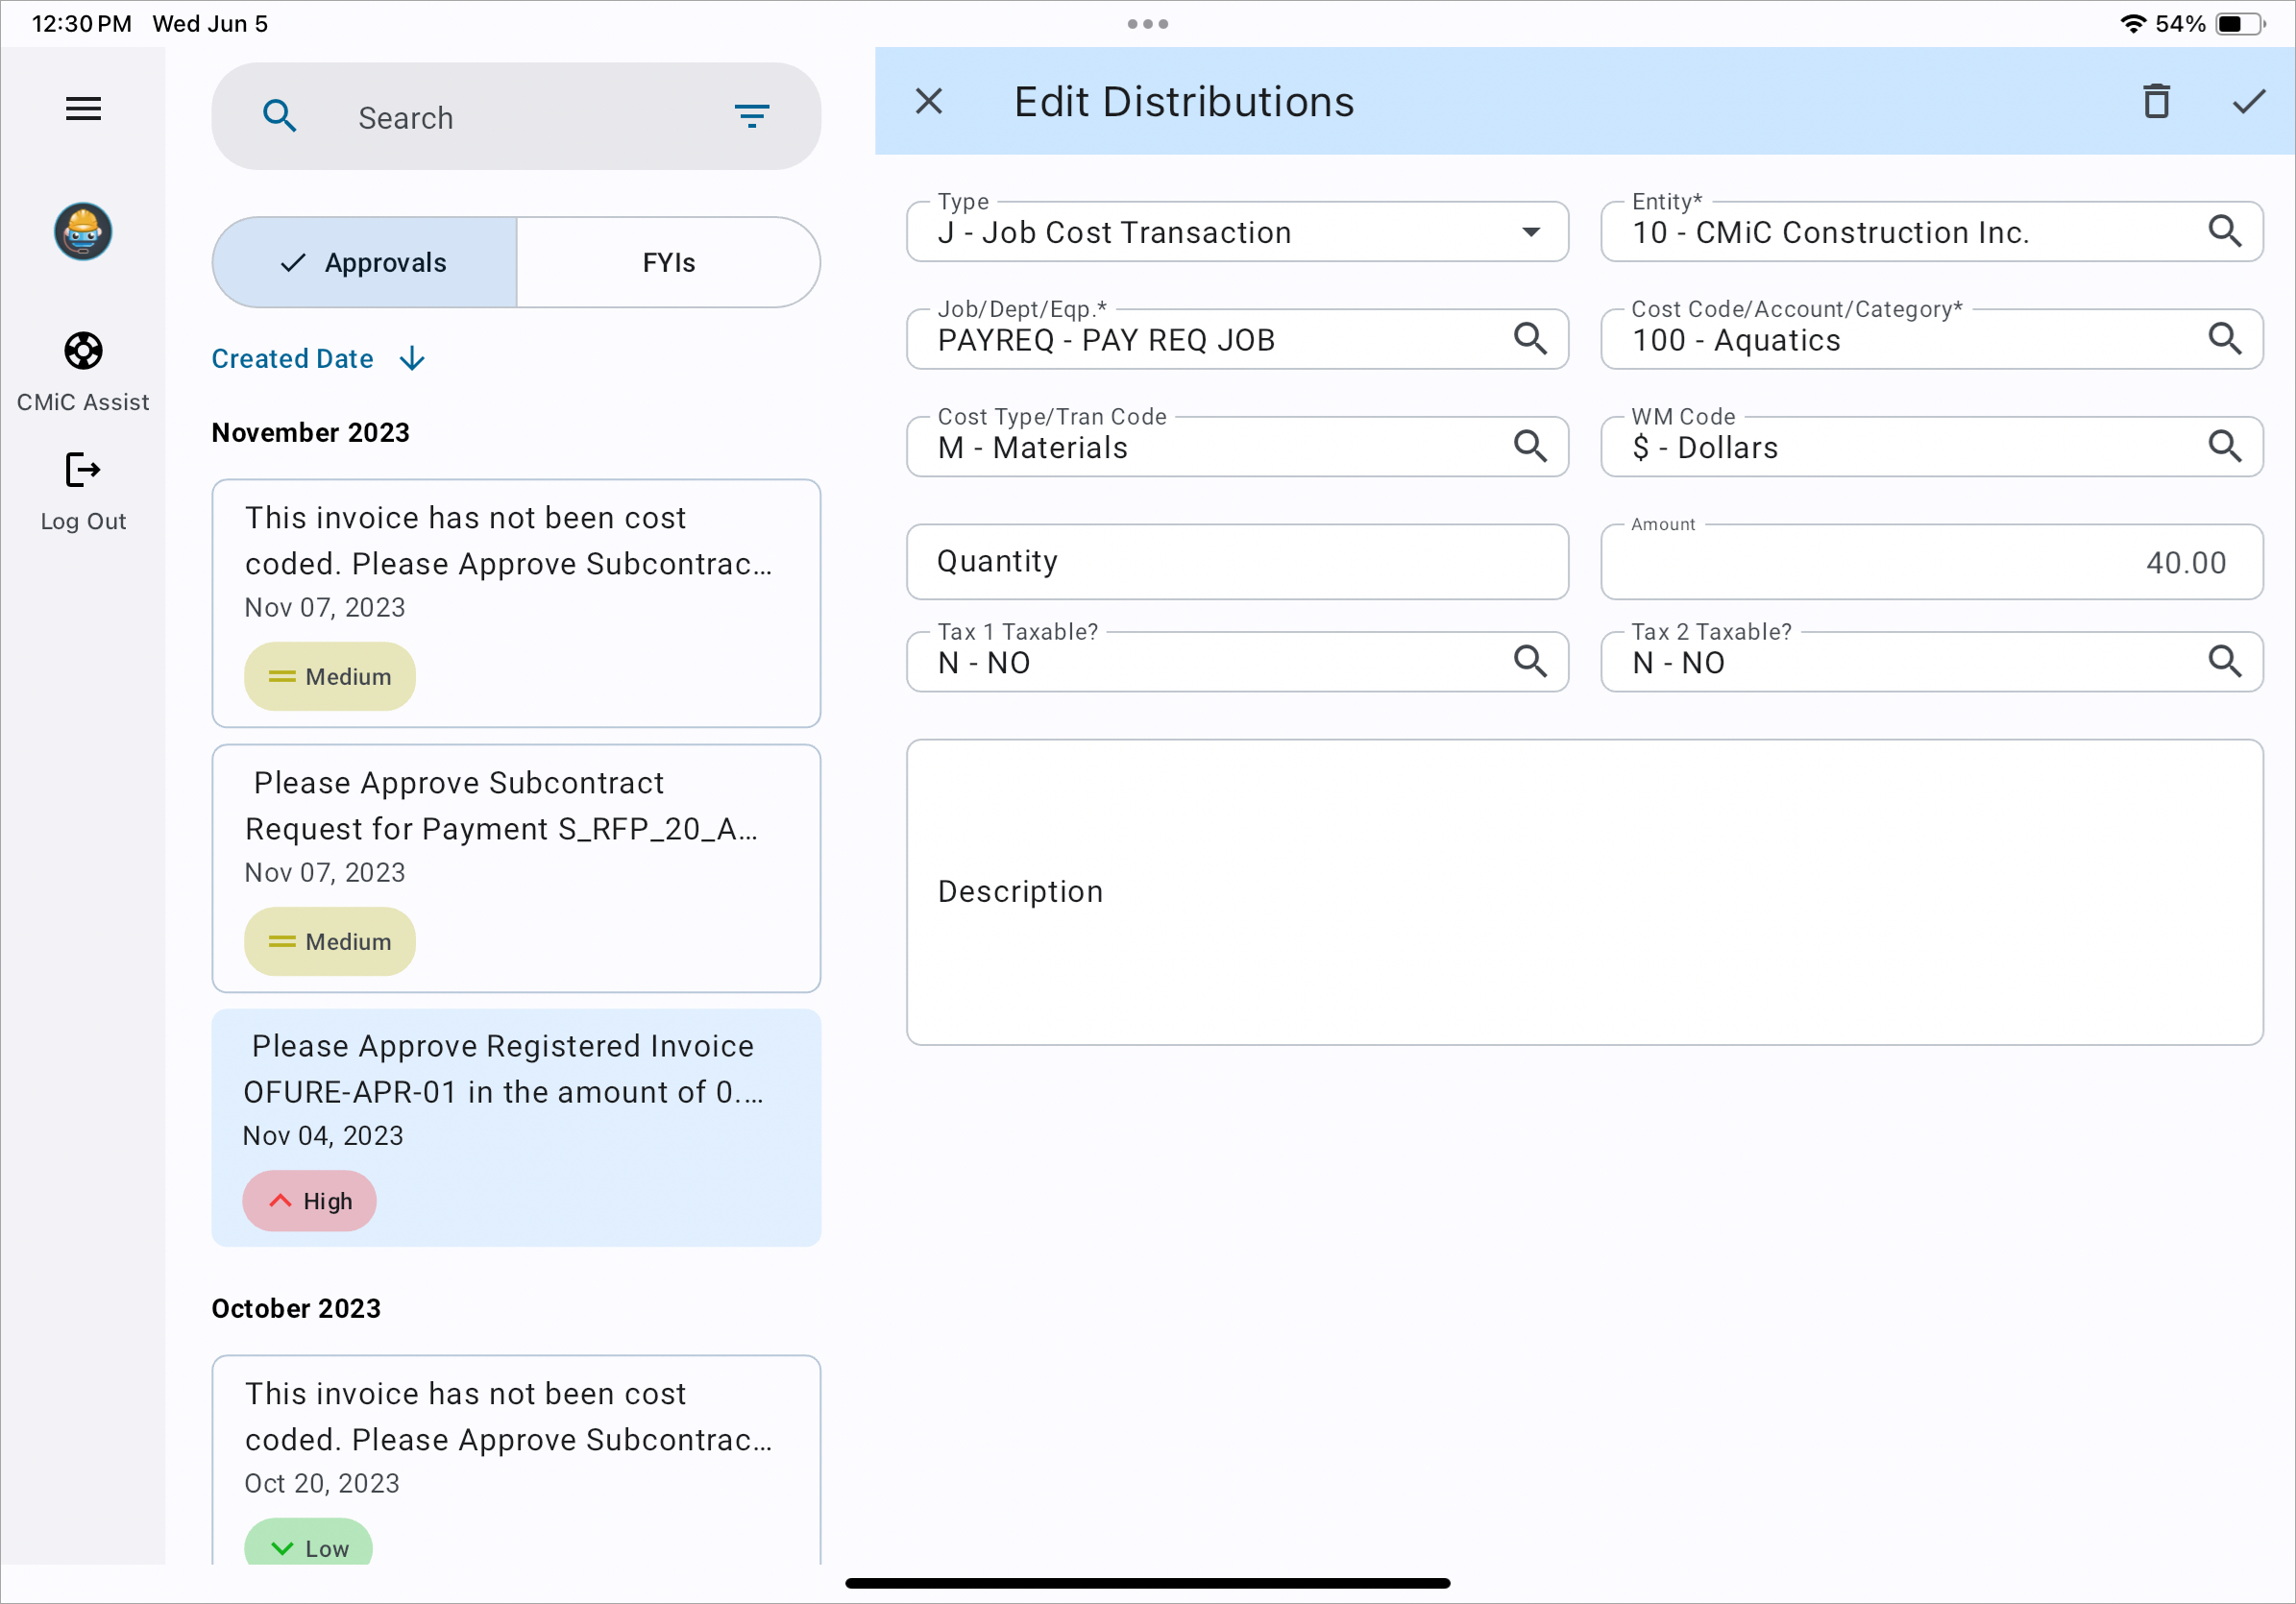
Tap the [Edit] button to edit any existing distributions.
Approving Notifications
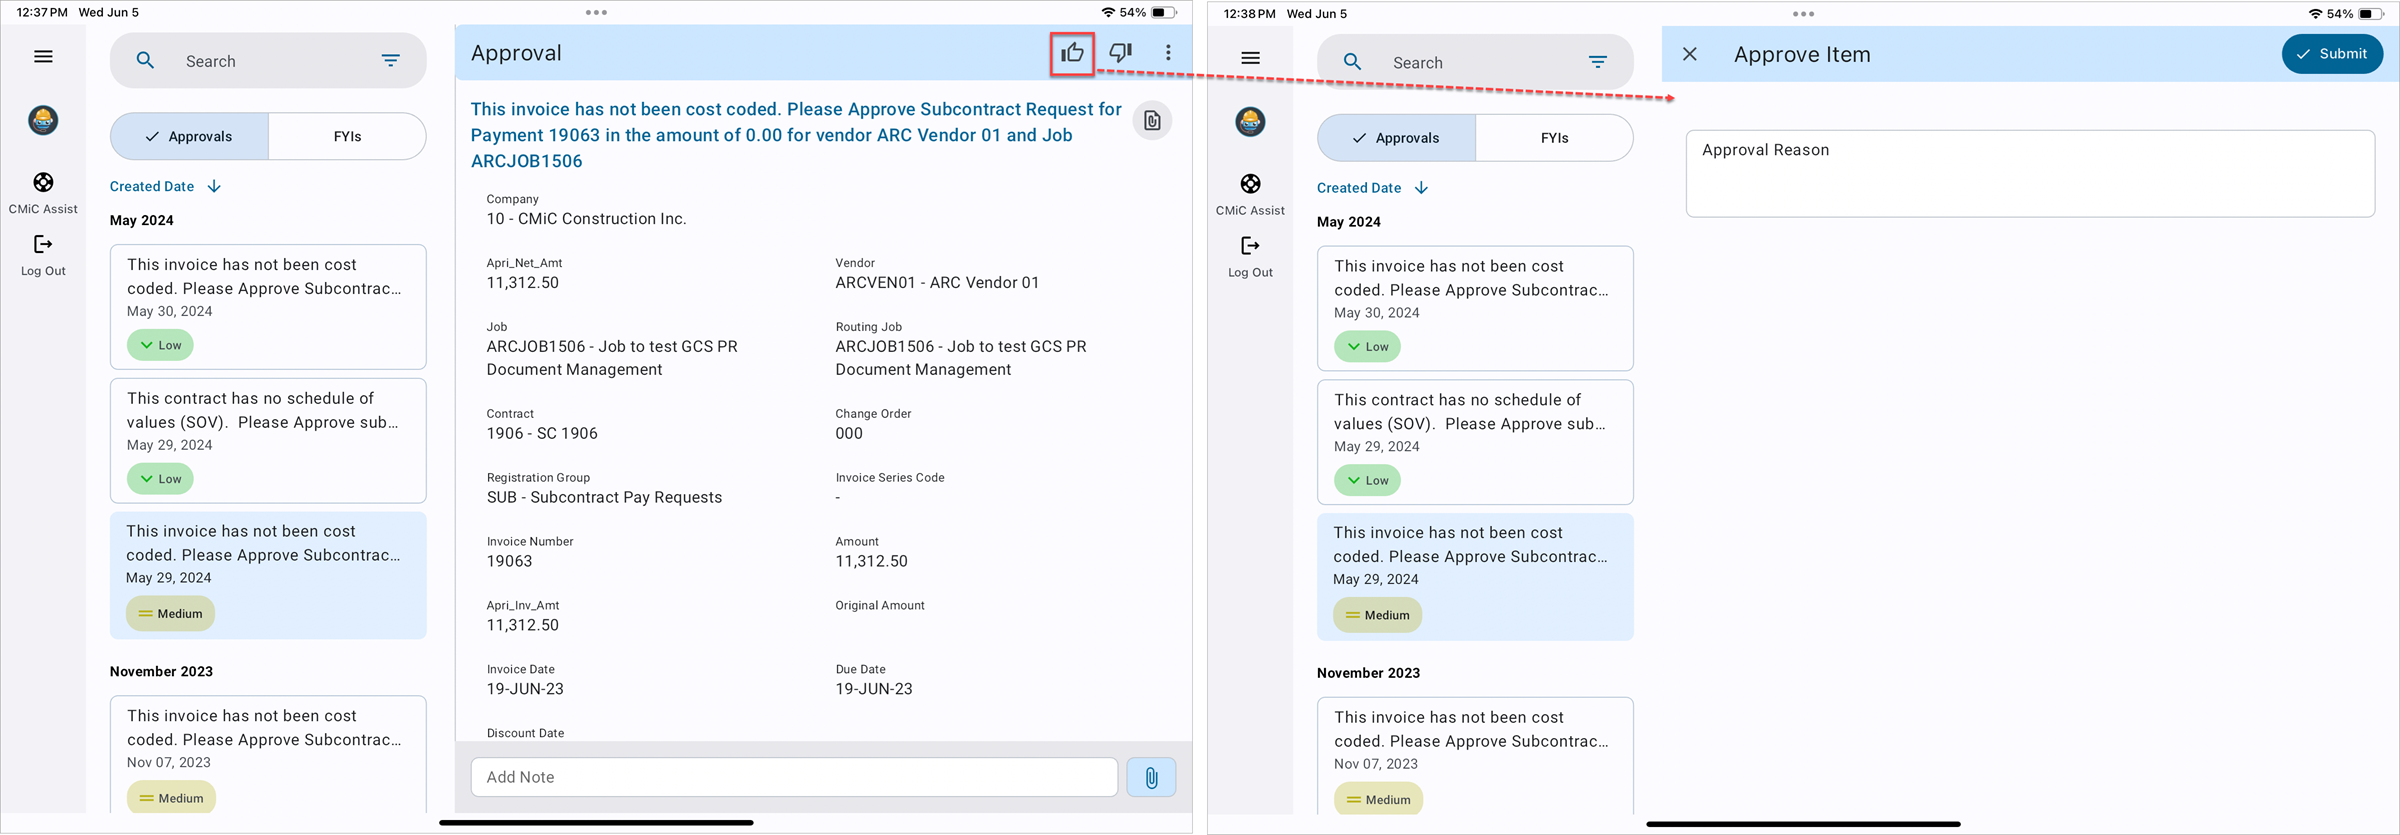
Click on the Approve ( ) icon in the top right corner of the screen. Depending on the settings under the Workflow Notifications and Display Options section in Imaging Control, a comment may need to be entered when approving or rejecting.
When a notification gets approved, rejected, or re-assigned, the application returns to the main screen.
Reassign a Notification
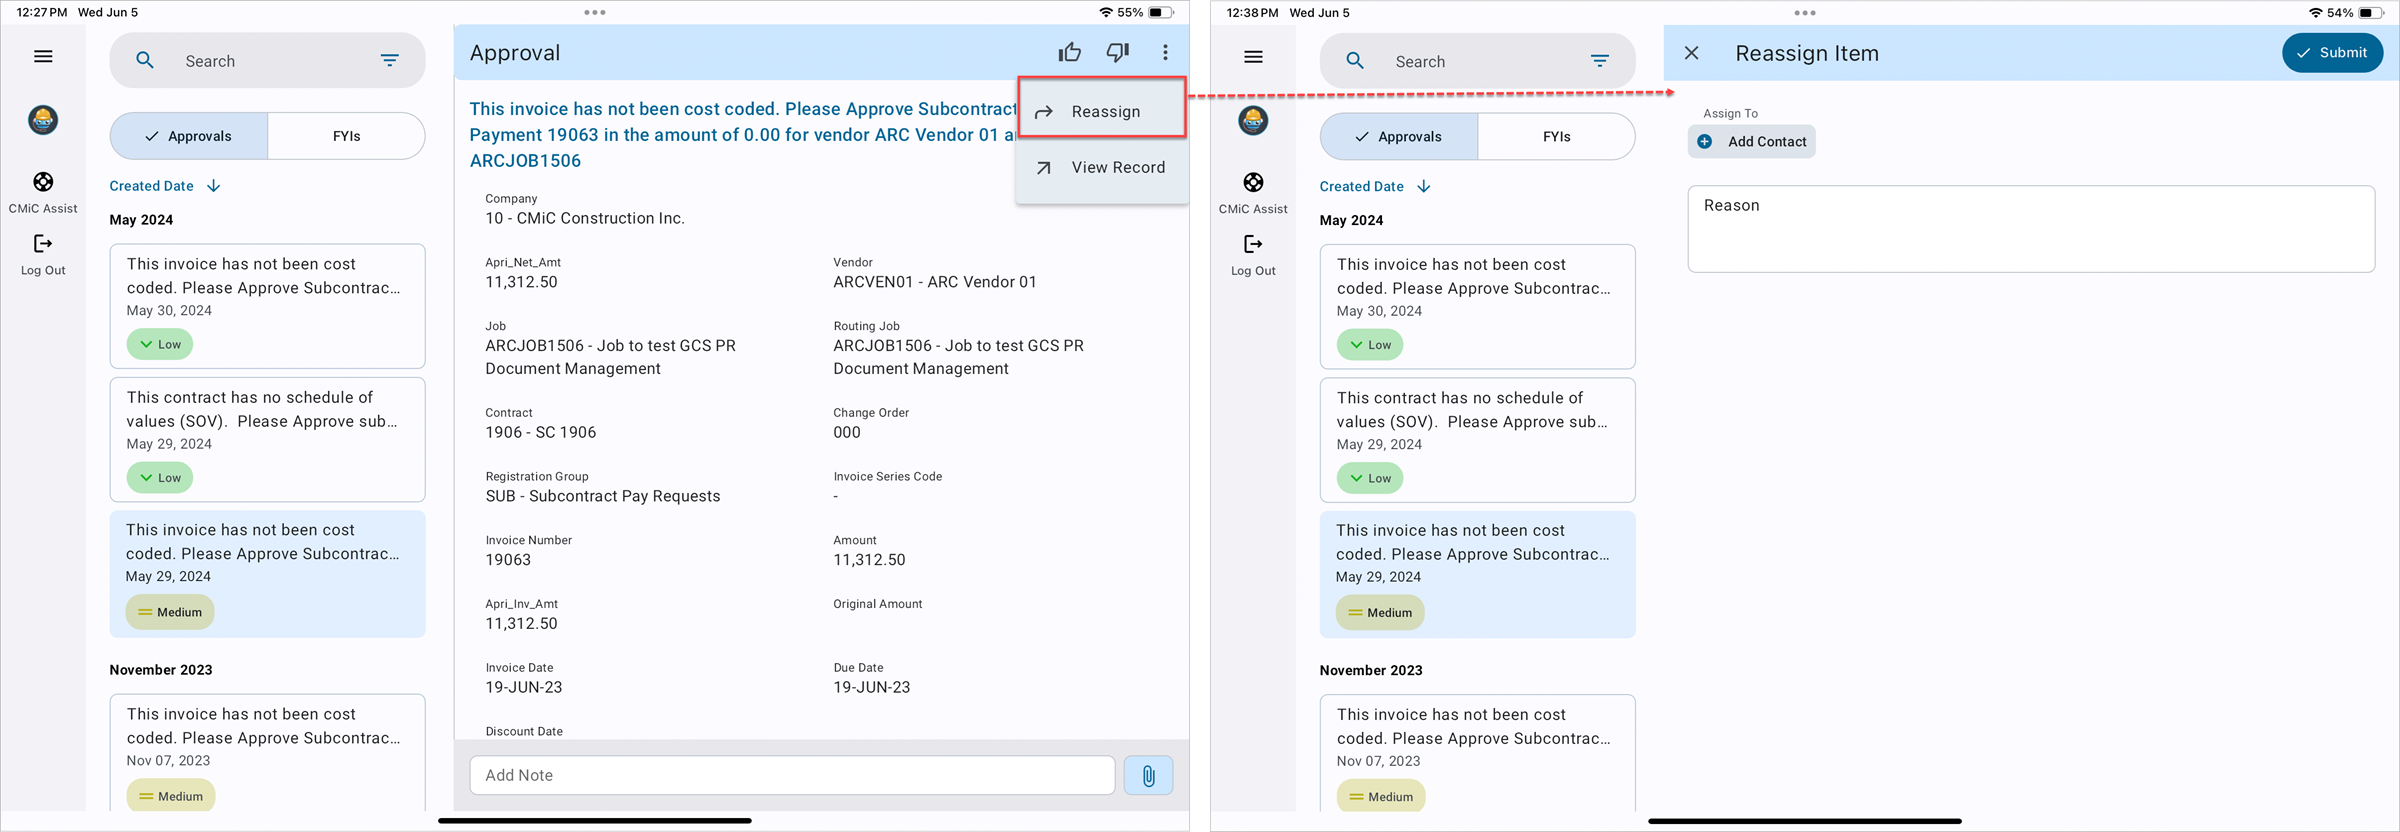
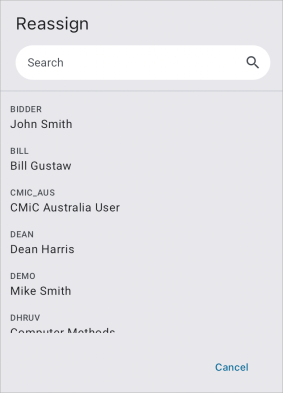
Tap the More Options () icon then click on the [Reassign] button on the top right corner of the screen to select a contact to reassign the selected record to. The [Add Contact] button opens a pop-up window with a list of contacts to choose from.
When a notification gets re-assigned, the application returns to the main screen.
Reject a Notification

Click on the Reject ( ) icon in the top right corner of the screen. Depending on the settings under the Workflow Notifications and Display Options section in Imaging Control, a comment may need to be entered when approving or rejecting.
When a notification gets rejected, the application returns to the main screen.