CMiC eXpense - iPhone
NOTE: The CMiC eXpense app will be officially deprecated on December 12, 2025. We encourage you to begin transitioning to Construct ESS - Expenses to ensure a smooth changeover and to start benefiting from the upgraded features right away.
The CMiC eXpense app can be used to enter expense amounts by uploading pictures of receipts. The app allows users to take the pictures, validate the expense amounts on the receipt, and submit the expense.
As an example, this article documents how to upload an expense for a taxi ride.
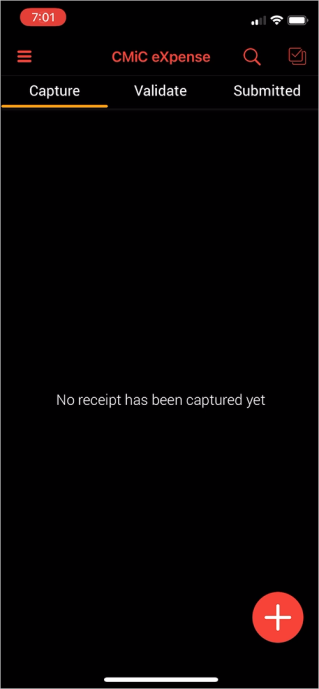
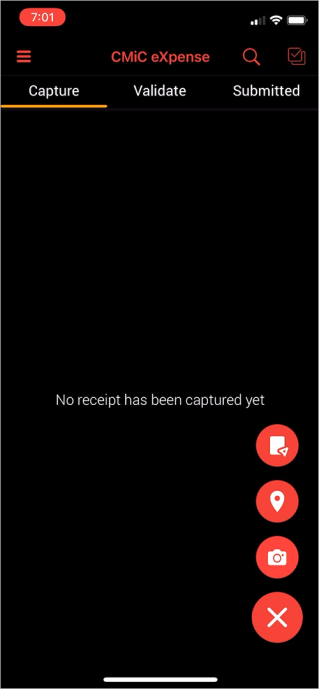
Above is the main screen of the eXpense app. Press the Plus icon ( ) to reveal the options in the right-hand picture. Users can either take a photo of their receipt with their phone camera (
 ), add their location (
 ), or upload a photo from their library (
 ). In this example, the third option will be used to upload a photo of the taxi route.
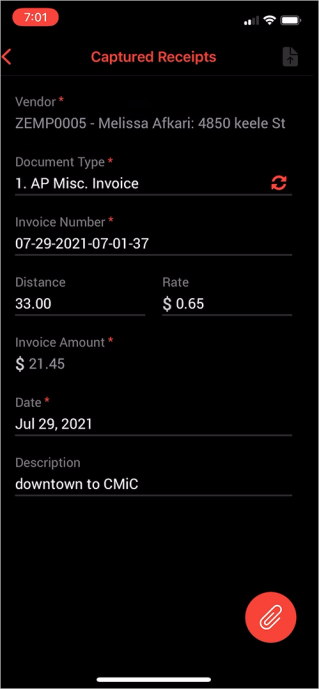
Here, users can enter the details of the expense. The invoice amount can either be entered manually, or it can be calculated by multiplying the distance and rate amounts. The Upload Expense icon ( ) in the top-right of the screen is not available until a picture has been added by pressing the Attachment icon (
 ).
).

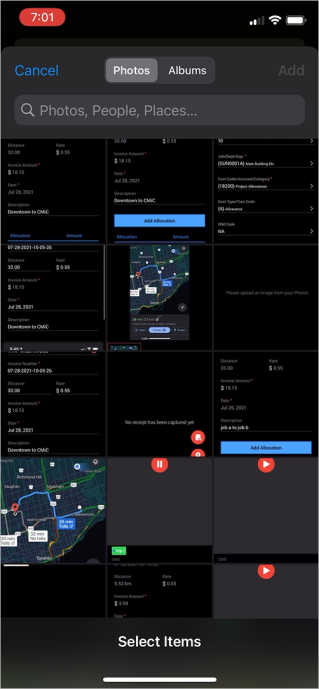
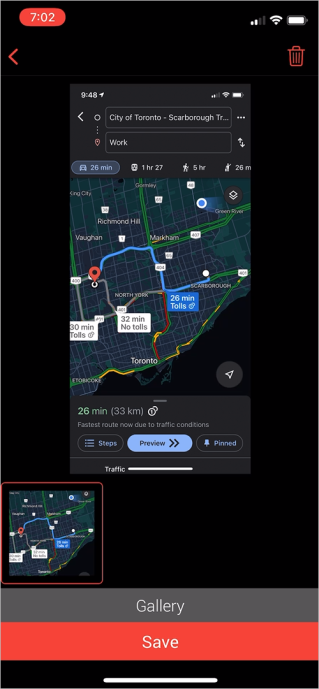
Press the [Gallery] button to choose a picture from your device's camera roll. Then, select the items to upload and press the [Add] button. Finally, press the [Save] button to attach the pictures to the expense record.
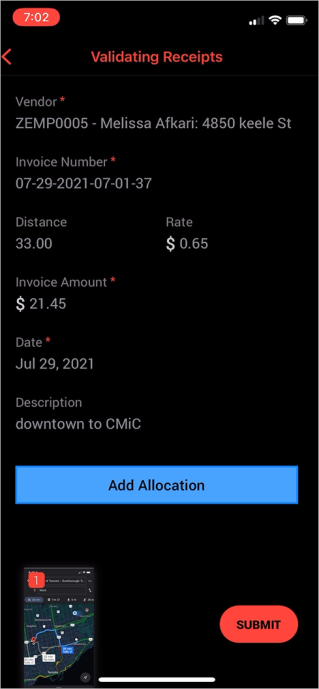
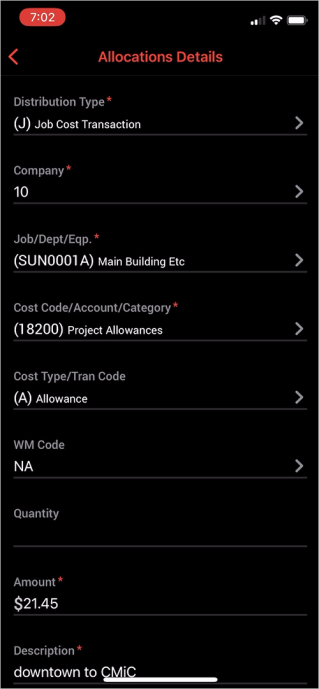
Users can also add any allocations to their expense by pressing the [Add Allocation] button. This opens the Allocations Detail screen. After entering the necessary information, scroll to the bottom of this screen and press [Save]. Once all allocations have been added, press the [Submit] button to upload the expense. Please note that allocation can no longer be added after the record has been submitted.
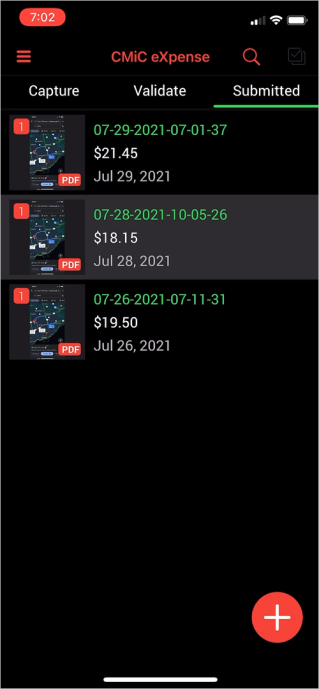
Finally, the expense record will appear in the Submitted tab of the main screen.