CMiC eXpense - Main Screen
NOTE: The CMiC eXpense app will be officially deprecated on December 12, 2025. We encourage you to begin transitioning to Construct ESS - Expenses to ensure a smooth changeover and to start benefiting from the upgraded features right away.
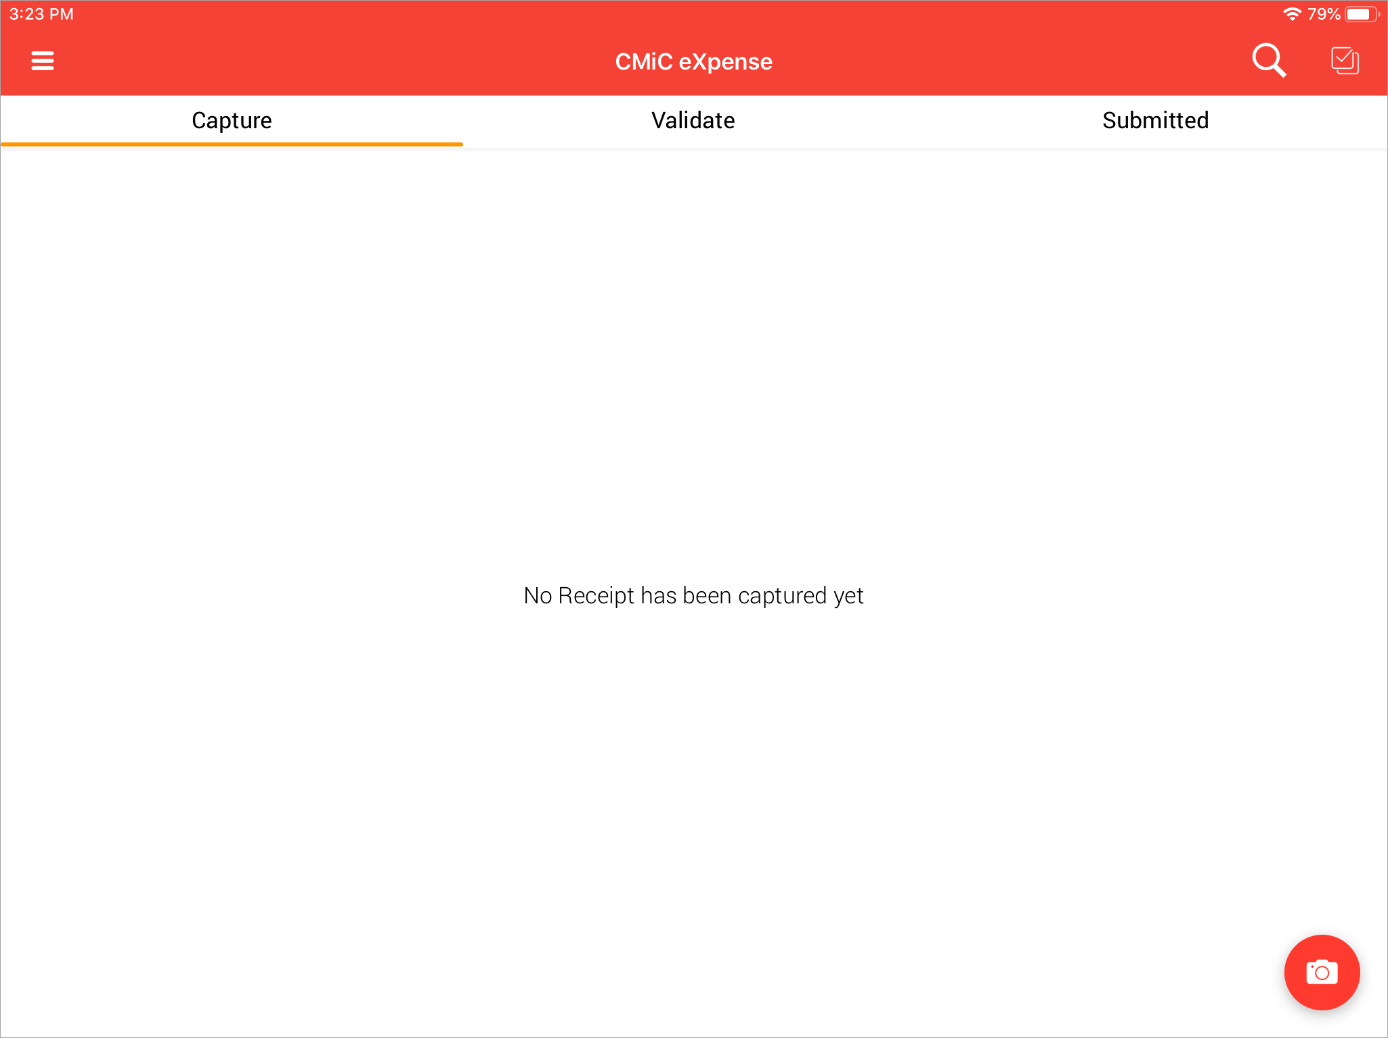
CMiC Expense Main Screen – Capture tab
Main Menu Icon 

Press this icon to show the Sign Out and Clear Data icons, shown above. Press the former to sign out and return to the log-in screen and the latter to clear the local cache of all app data. Information regarding the logged-in user is also displayed.
Search Icon 
Press this to bring up the search bar at the top of the main screen. Enter search term in the search bar to limit the receipts shown in for the selected tab.
Multi-select Icon 
Press this icon to select multiple receipts from any of the three tabs in the eXpense app. This can also be used to upload the receipt records to the cloud by selecting the relevant images and pressing the Cloud icon ( ).
).
Camera Icon 
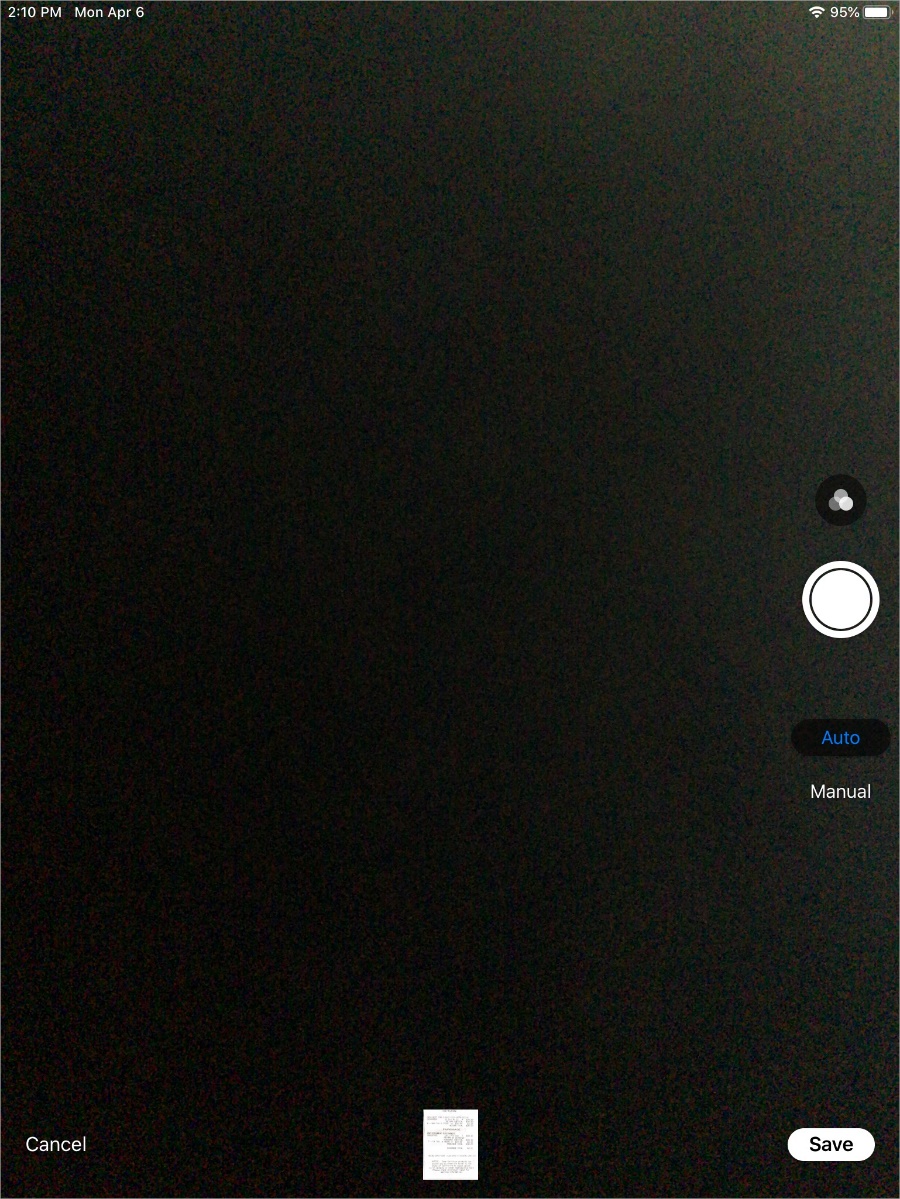
Press the Camera icon to take a picture of a receipt using the device’s Camera app as shown above. If access to the device’s camera has not yet been granted in the Settings app, a pop-up will appear requesting permission.
When in app, as shown below, the eXpense app allows for two modes, Auto and Manual. Press the [Cancel] button to return to the tab from which the Camera icon was pressed.
-
Auto: The app will automatically detect the outline of the receipt, as shown by the blue area in the screenshot below and capture the image. After a receipt has been scanned a message will display saying “Ready for next scan.” Press the [Save] button to save the image or press the [Cancel] button to return to the Capture tab.
-
Manual: The app will still detect the outline of the receipt, but the capture button must be pressed to take the picture. After the picture has been taken, the image may be resized by moving any of its corners.
Capture – Tab
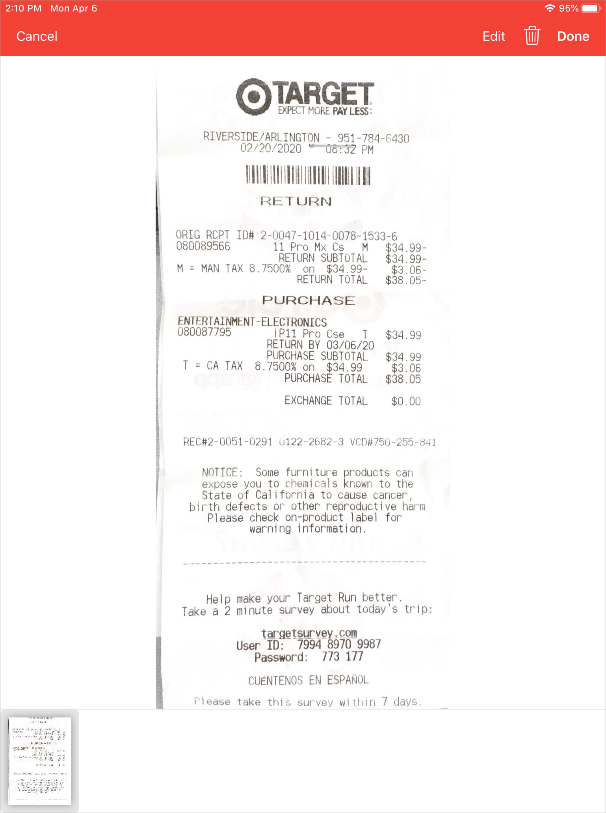
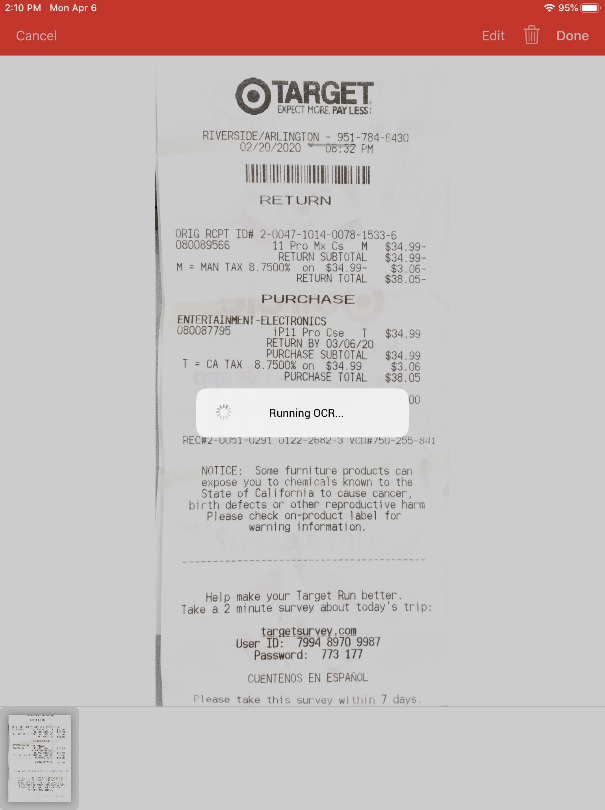
After receipt pictures have been taken and the [Save] button has been pressed in the Camera app, the screen shown above appears. Press the [Edit] button to take a new picture or to edit the one just taken, press the Trash icon ( ) to delete the selected image, or press the [Cancel] button to return to the Capture tab without saving the receipt images taken.
Press the [Done] button after all receipts have been added to an invoice to run OCR (optimal character recognition) on the receipt, as shown above by the screen on the right. This will convert the invoice amount, date, and description into text which can then be validated in the screen shown below.
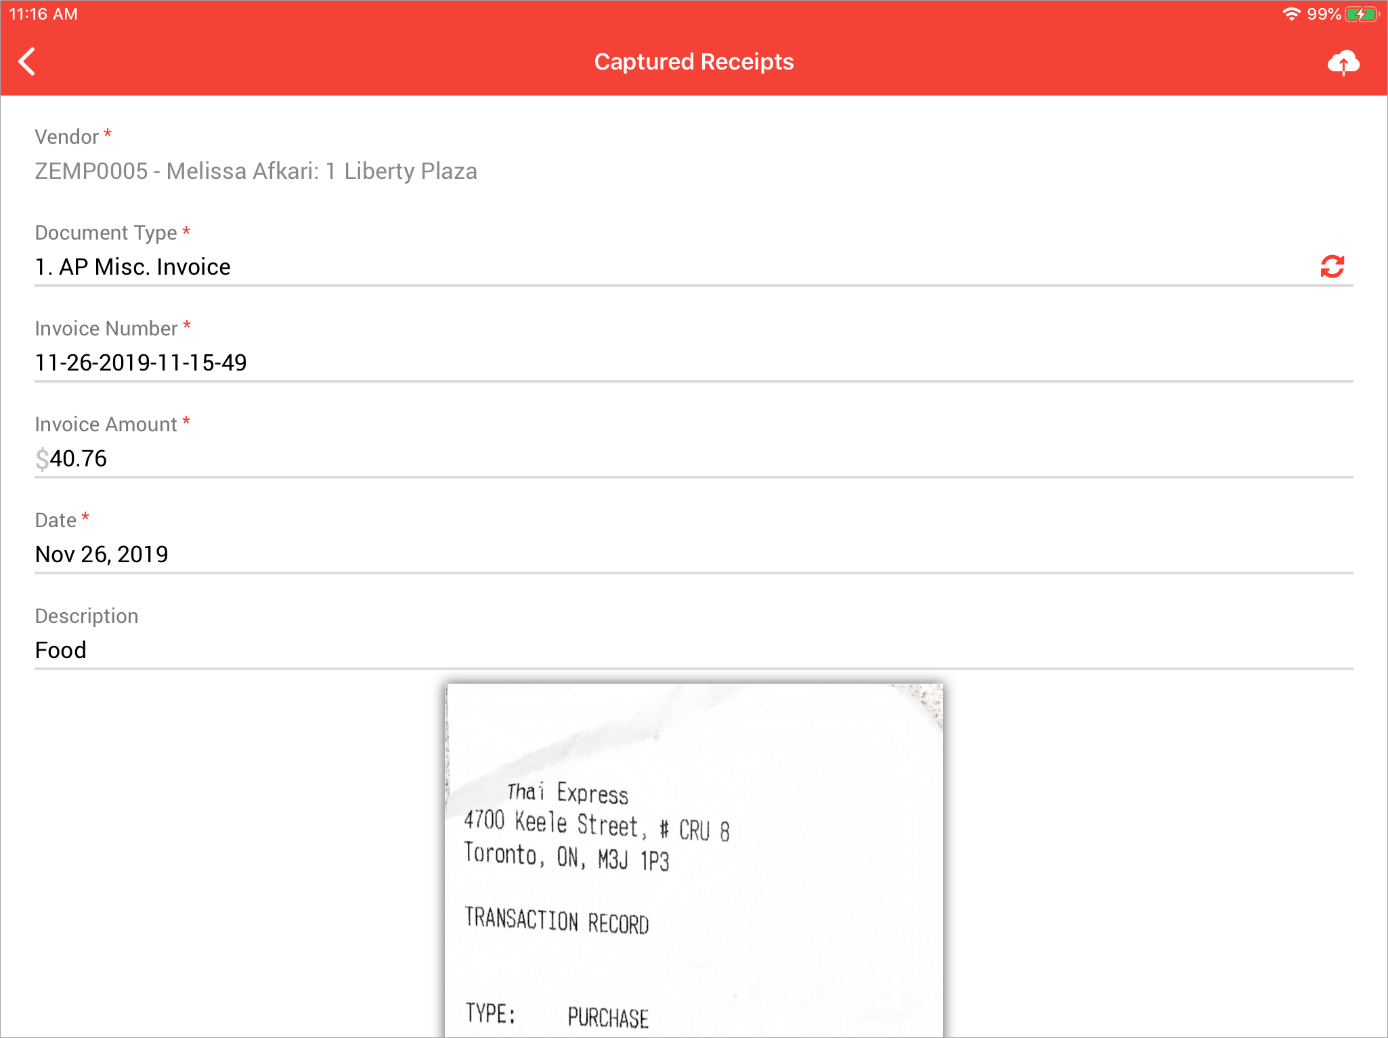
CMiC eXpense – Captured Receipts screen
Here, all data regarding the invoice can be entered. The Invoice Amount, Date, and Description fields are entered automatically with OCR. All fields on this screen may be edited except for the Vendor field.
This invoice now appears in the Capture tab. Press the Cloud icon ( ) to upload the invoice and its data to either the public cloud or the URL entered in the Server URL field, and move it to the Validate tab.
Validate – Tab

CMiC eXpense Main Screen – Validate tab
Once a receipt image has been captured, saved, and its details confirmed, it appears in this tab. Press on an invoice line to bring up the Validating Receipts screen, shown below.
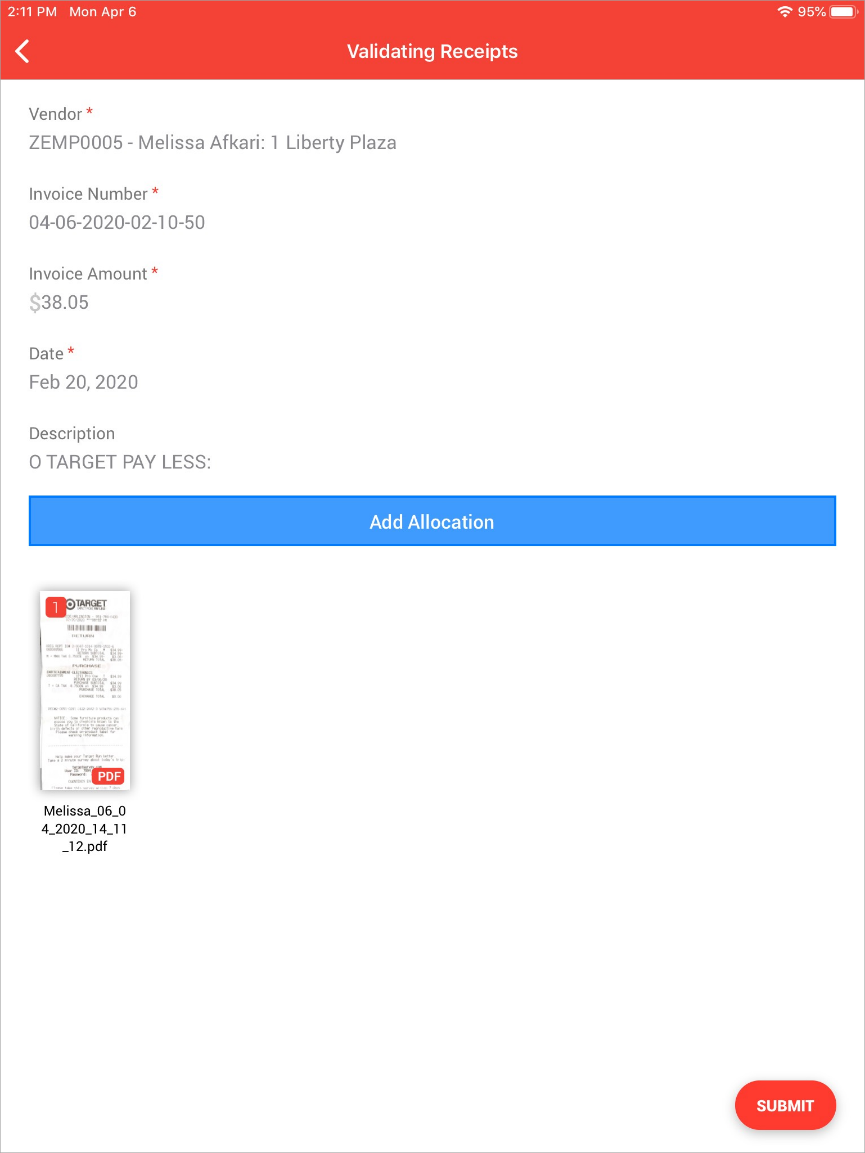
CMiC eXpense – Validating Receipts screen
This screen gives the user the ability to check the information and add any allocations. Press the [Submit] button to create the invoice and move it to the Submitted tab. Press the [Add Allocation] button to create the invoice and open the Allocation Details screen, shown below.
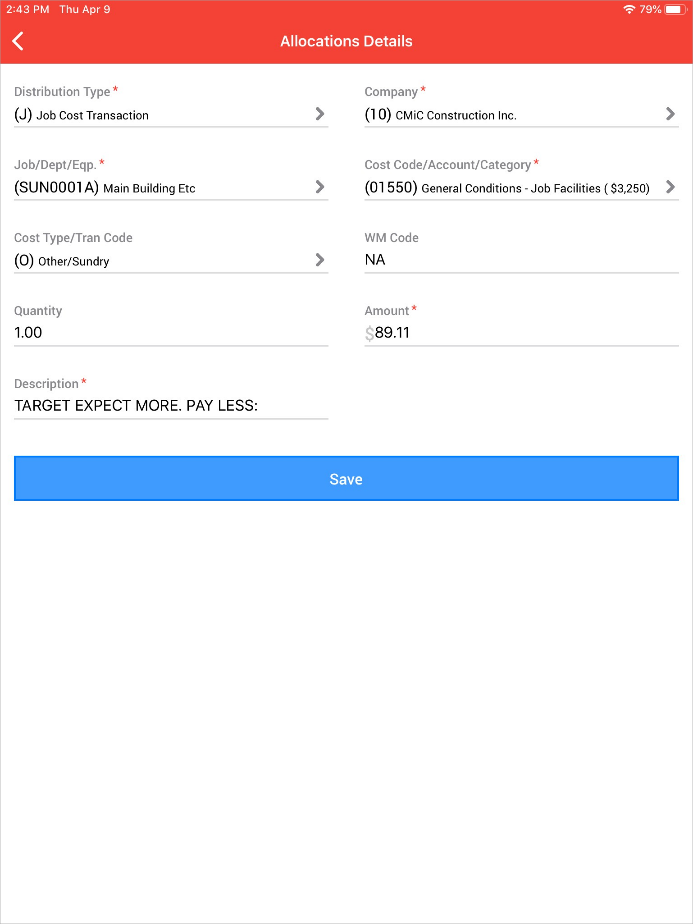
CMiC eXpense – Allocations Details screen
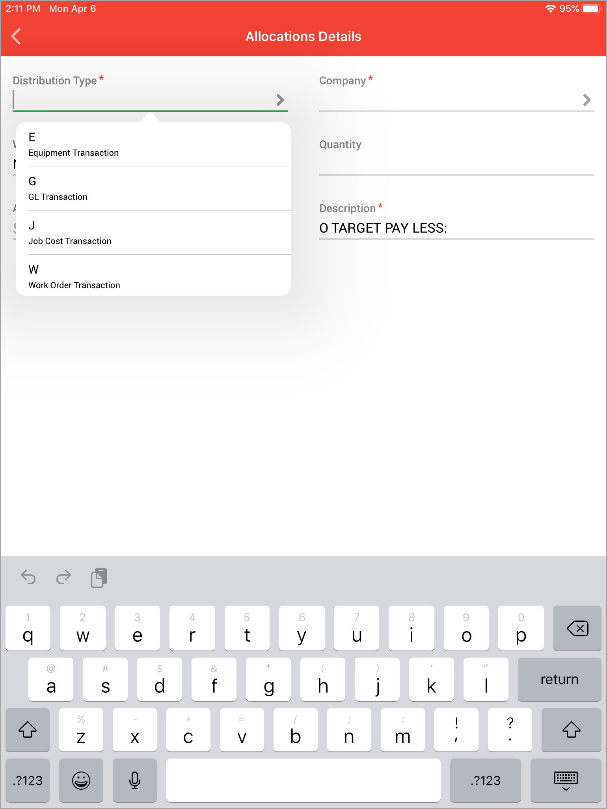
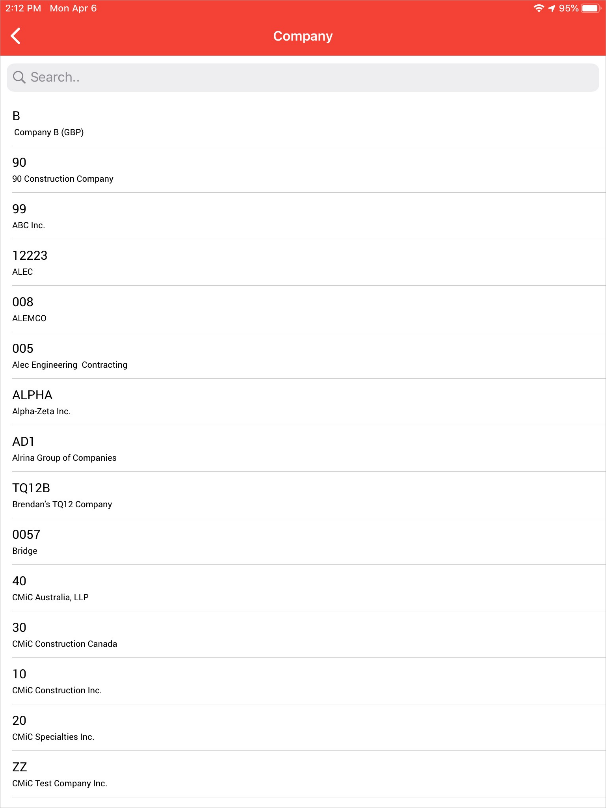
Enter the details of the invoice allocation here and press the [Save] button when done. Tap a field to display entry options, as shown below on the left. Press the Expand icon ( ) show all the options for a given field, as shown below on the right.
Submitted – Tab

CMiC eXpense Main Screen – Submitted tab
After a receipt has been captured and validated, it appears in this tab. Allocations can be added to any submitted invoice by pressing the invoice row and pressing the [Add Allocation] button.