Overview
The following is an overview of the steps required to add a new Treeview to the Enterprise Console.
To add a new Treeview to the Enterprise Console, the UI Console tool is used. For further details about the UI Console tool, refer to UI Console - R12.
Step 1: Add New Tab

As shown above, click the [Edit Mode] button to switch the console to edit mode.
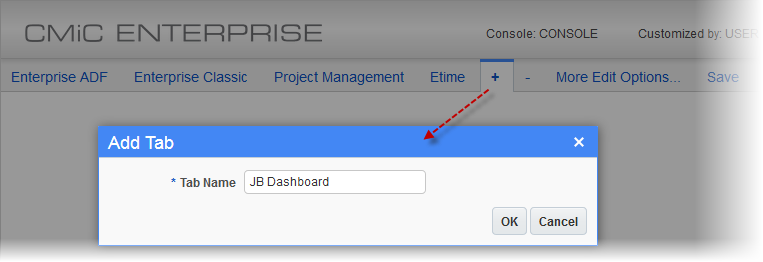
With the console in edit mode, click the [+] button, as shown above, and a pop-up window will ask for the name of the new tab.
Step 2: Split Region
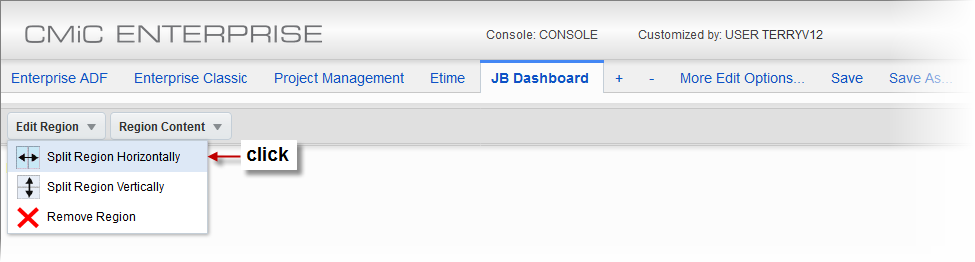
Two regions are required: one for the Treeview, and one to display the screen launched using the Treeview.
To split the region, click the [Edit Region] button, then click “Split Region Horizontally”.
Step 3: Add Treeview Menu to Region
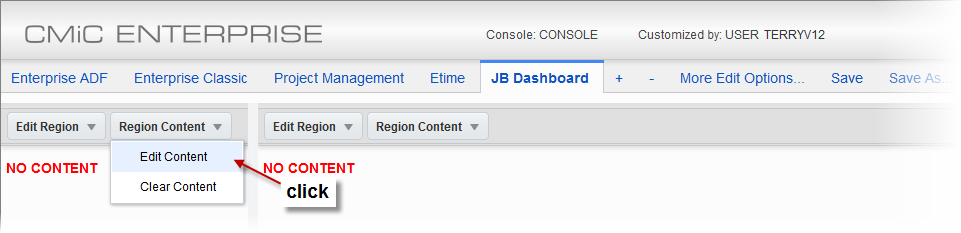
Next, in the first region, click [Region Content], then click “Edit Content”, and the following pop-up window appears.
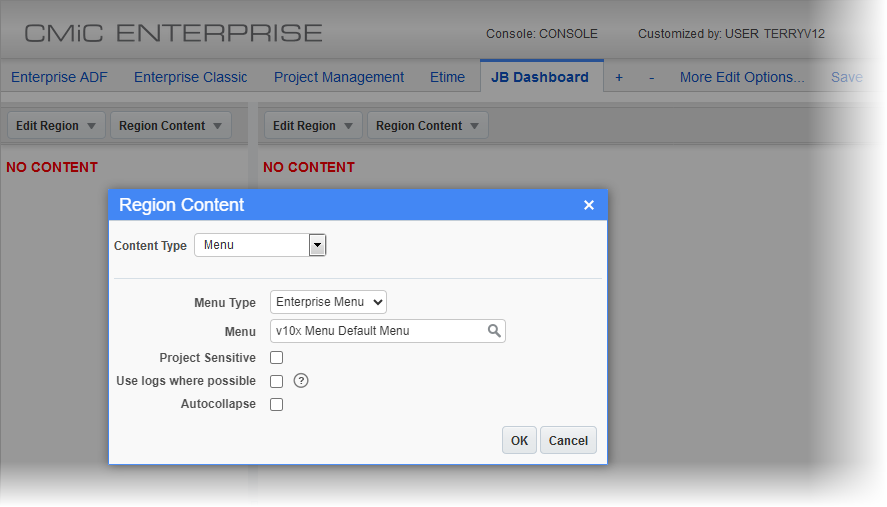
For the Content Type field, select “Menu”, which causes the Menu Type field to appear.
For the Menu Type field, select the type of Treeview. The “Enterprise Menu” type is for ADF Treeviews.
For the Menu field, select the desired Treeview, then click [OK].
Step 4: Set Second Region to Dynamic Display Region
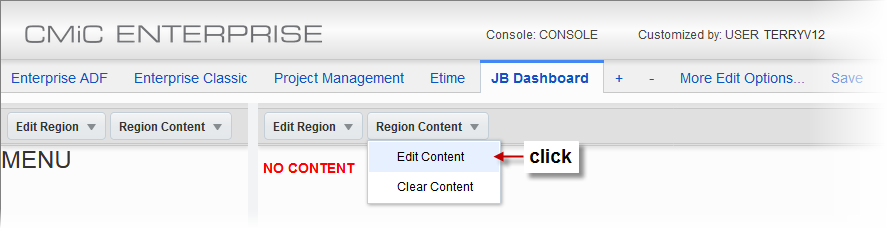
To create a dynamic display region for the Treeview, in the second region, click [Region Content], then click “Edit Content”.
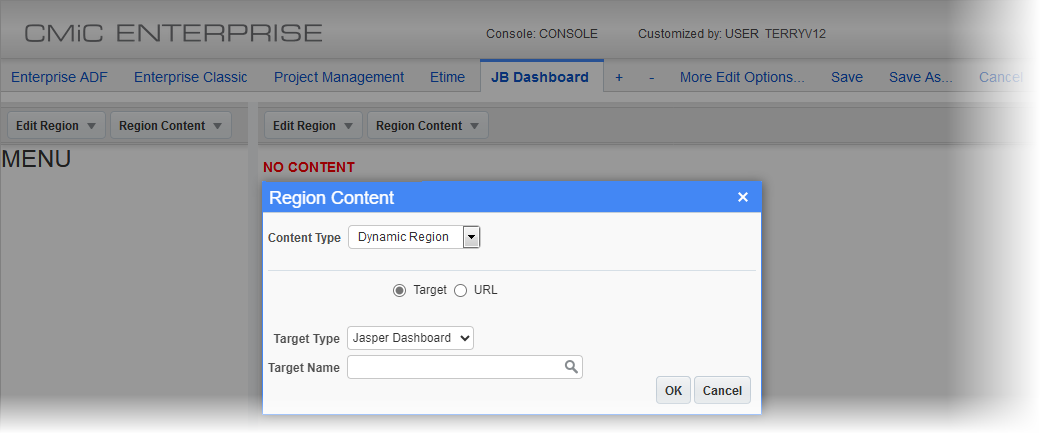
For the Content Type field, as shown above, select “Dynamic Region”.
For the Target Type field, select the target type, and then click [OK].
Step 5: Save New Console Tab
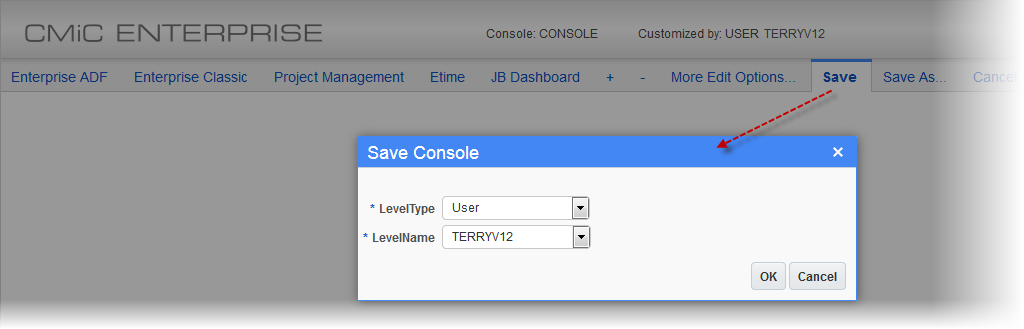
Finally, click [Save], and in the pop-up window (shown above), select the relevant level type and level name, and then click [OK].