Patch installations can add new or modify existing programs, messages and menus. The translation of these new and updated objects need to be either verified (if the customer is using a base language or a customized translation) or translated (if a base language translation is not available).
When a program element, message, JSP text, or menu item are modified by patch installations, the 'Verified' checkbox will be set to unchecked for each translation to allow users to check if the existing translation is still valid or a new translation needs to be provided. The following describes what needs to be done after each patch installation.
Import New Terms into the Dictionary
-
Navigate to Dictionary Mode in the Translation Manager.
-
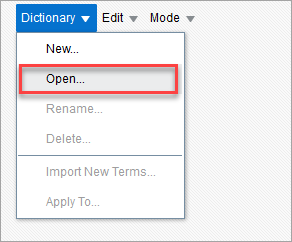
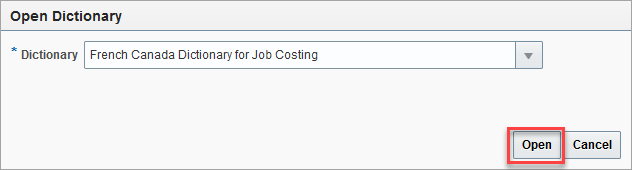
Open a dictionary by clicking the Dictionary drop-down menu and selecting the "Open" option. In the Open Dictionary pop-up window, select a dictionary and click [Open].
-
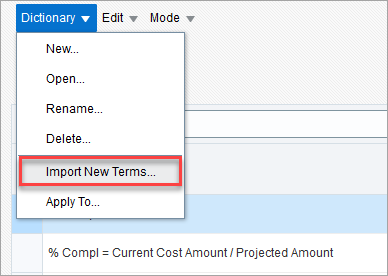
Once a dictionary has been selected for editing, click on the Dictionary drop-down menu and select the "Import New Terms" option.
-
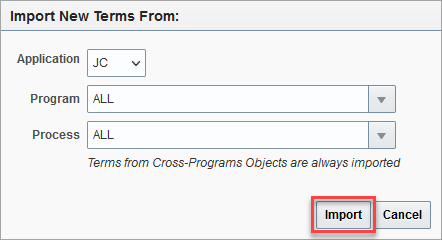
In the Import New Terms From pop-up window, select the application, program, and process to import new terms from, then click on the [Import] button.
-
Once the import process is complete, untranslated and/or unverified terms and messages must be found and verified in all modes.
Finding and Verifying Untranslated/Unverified Terms
-
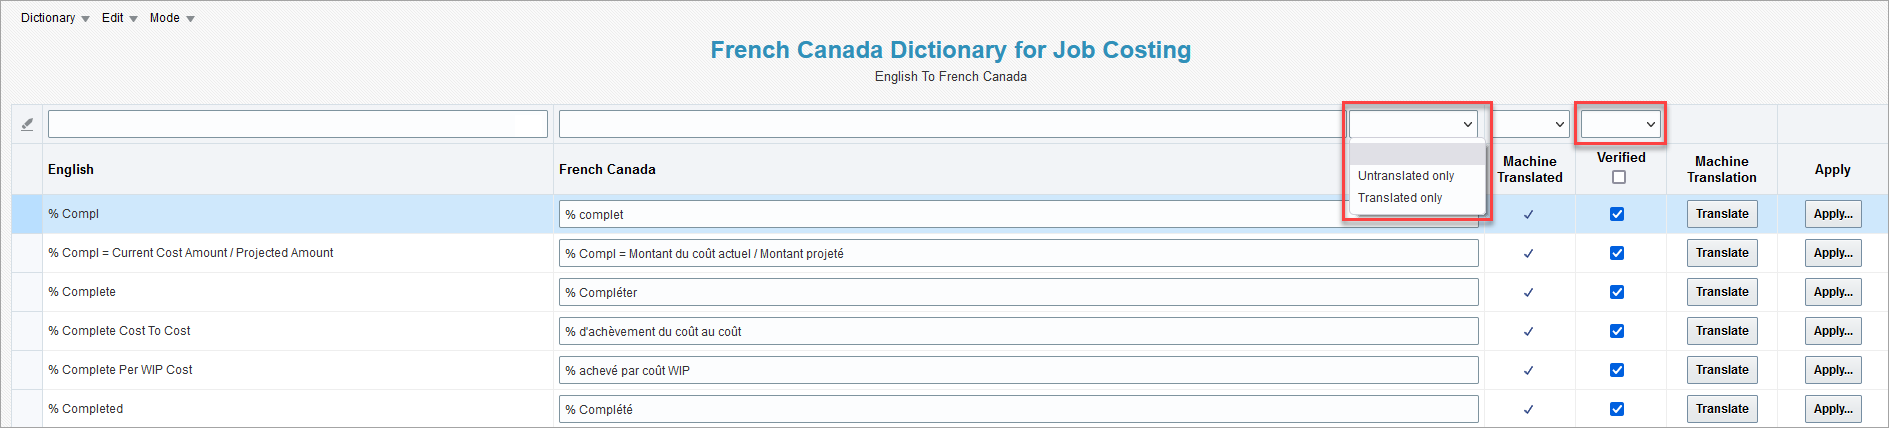
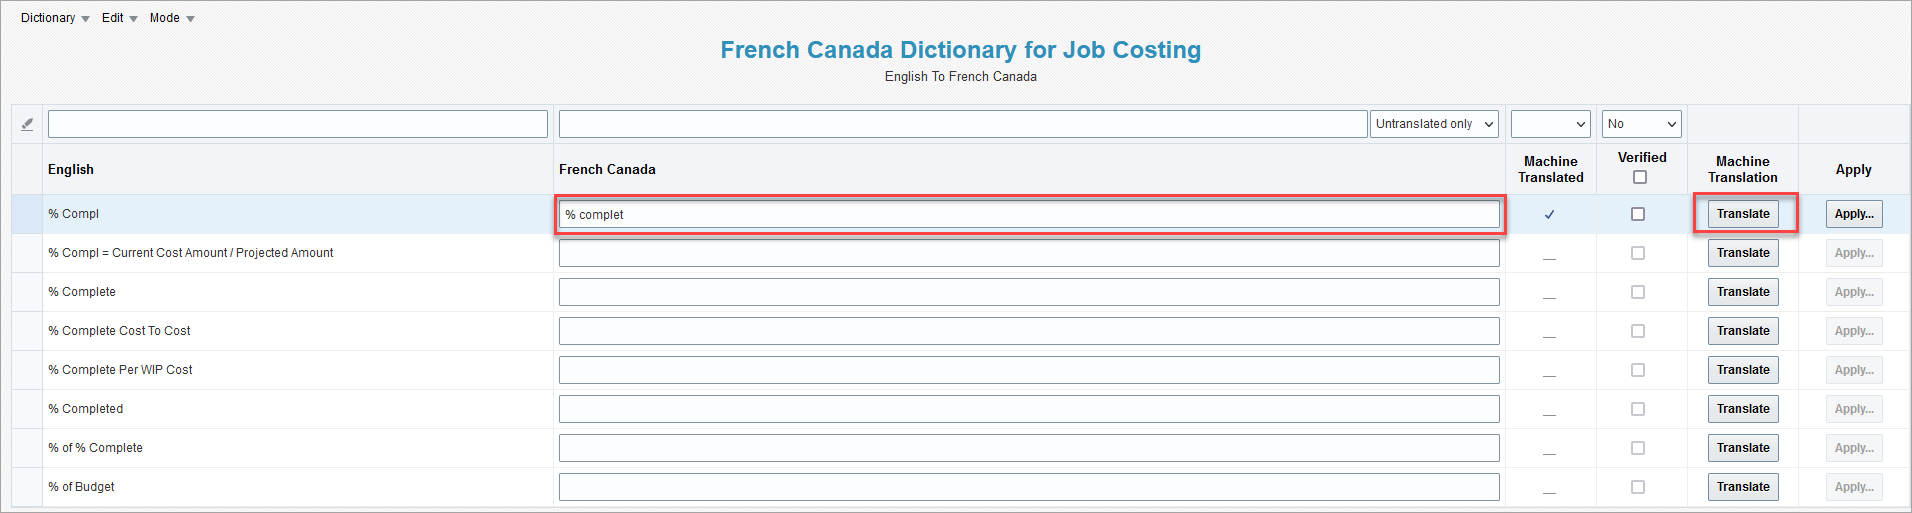
After completing the Import New Terms process for a dictionary, use the Filter row on the top of the dictionary to filter for untranslated and/or unverified terms.
-
Manually enter a translation or use the [Translate] button to automatically translate the term using Google Translate. All data is saved automatically once a user navigates out of an edited field or if the Enter key is pressed on the keyboard.
-
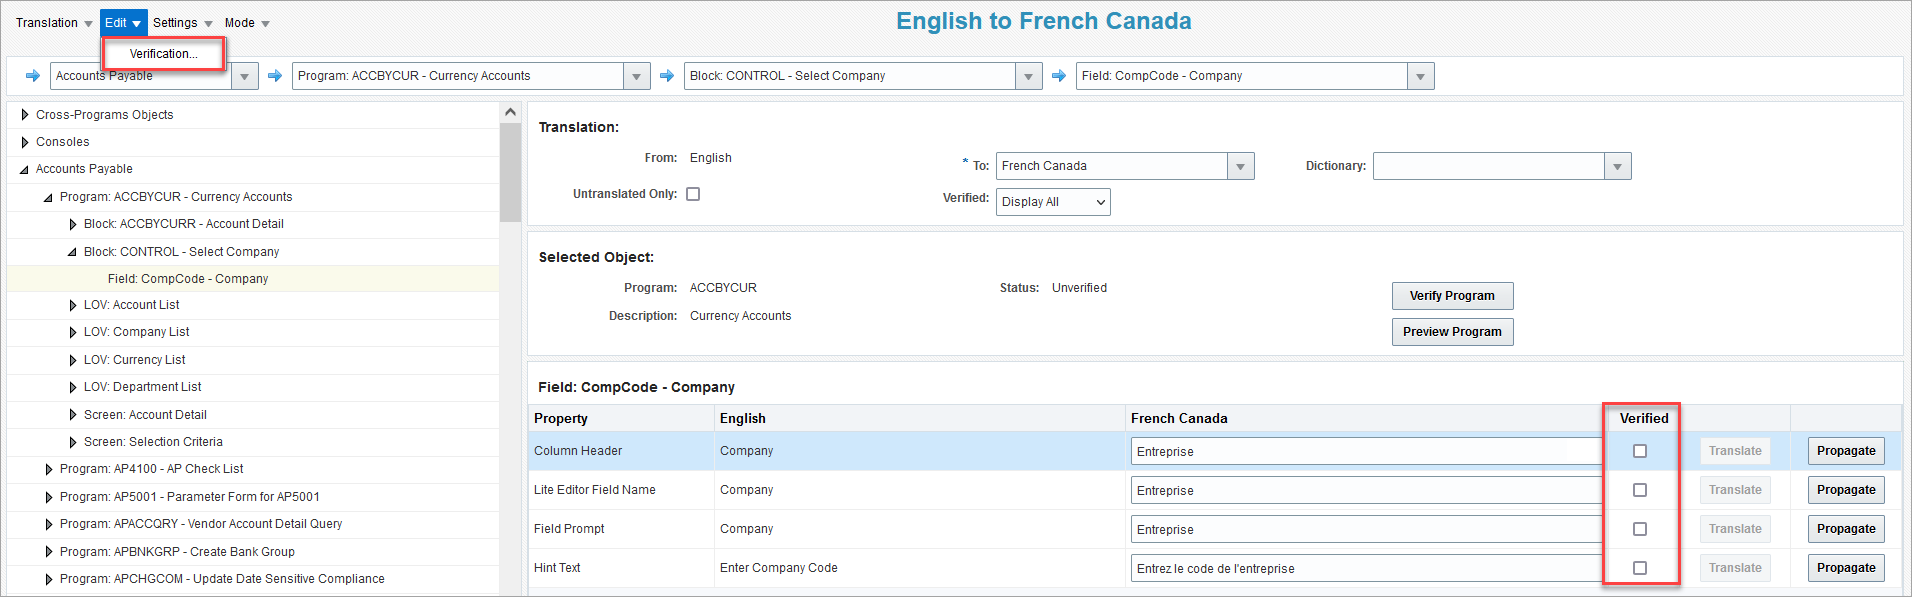
Check the 'Verified' checkbox to confirm that the translation is accurate. Alternatively, the Verification pop-up window can be used to automatically check the 'Verified' checkbox for terms according to the filter selection. See the Verification section of Translation Manager - Edit Menu for further details.

-
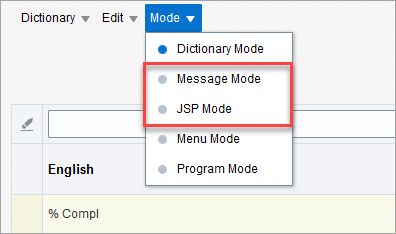
For messages, JSP text, and menu items, navigate to Message Mode, JSP Mode, and Menu Mode respectively, and repeat steps 1 to 3 to translate and verify any new items.
Applying the Dictionary Terms and Publishing the Translations
-
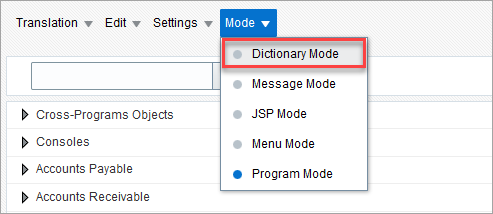
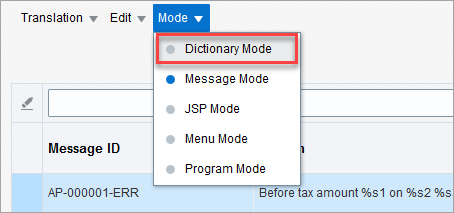
Navigate to Dictionary Mode using the Mode drop-down menu.
-
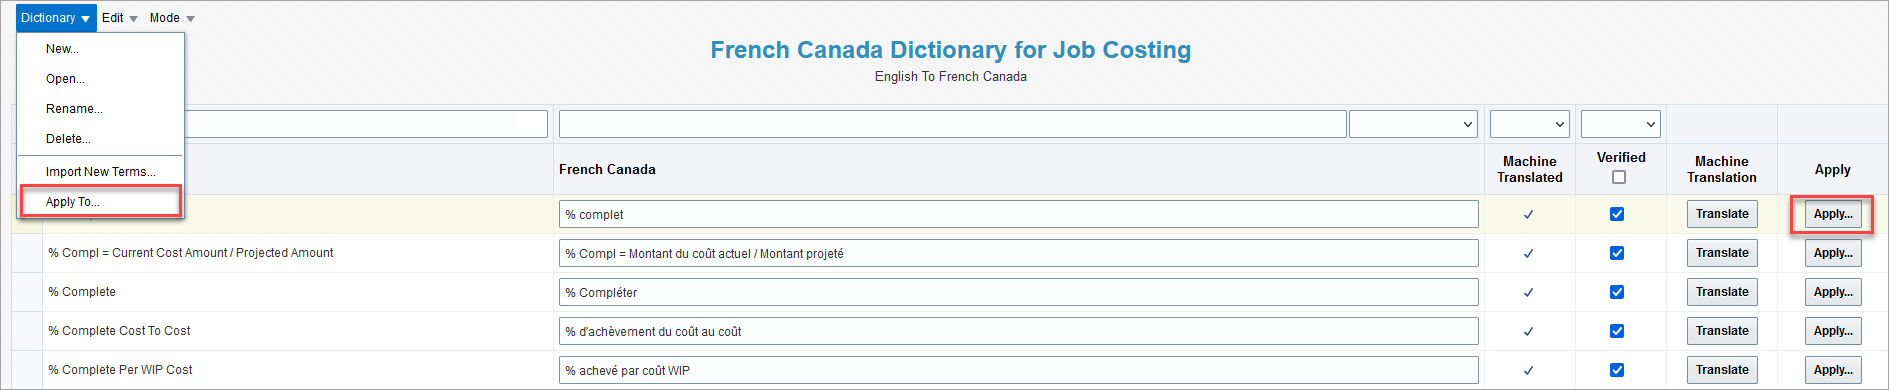
Apply the dictionary using the Apply To pop-up window. If only a single term needs to be applied, use the [Apply] button for the associated term. Please see the Apply Dictionary section of Translation Manager - Dictionary Mode for further details.
-
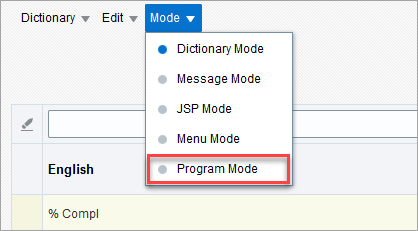
After the dictionary/terms are applied, navigate to Program Mode using the Mode drop-down menu.
-
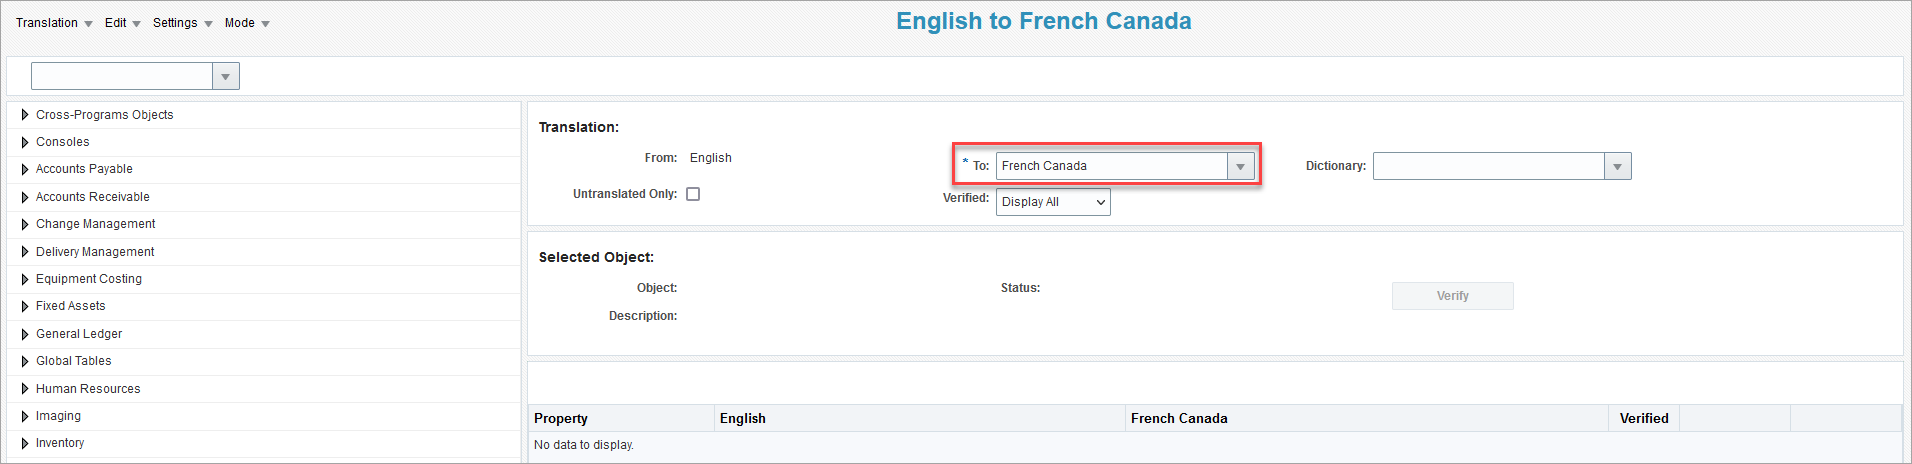
Select a language for the To field.
-
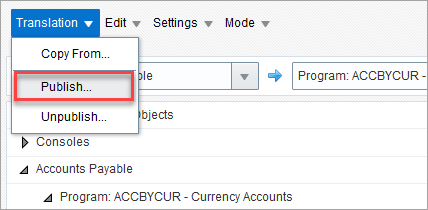
Manually verify each object in the Treeview or use the Verification pop-up window found in the Edit drop-down menu to verify all translated objects. Users should use "Untranslated Only" and "Verified" filters to provide translations for new or updated objects that were created or updated in the recently installed patch.
-
After the verification process is complete, click the Translation drop-down menu and select the "Publish" option to publish the language to an environment. See Translation Manager - Publishing and Unpublishing Translations for further details.