Overview
Pgm: PYPAYINA – Pay Group Increases; standard Treeview path: US Payroll > Utilities > Group Pay Increase
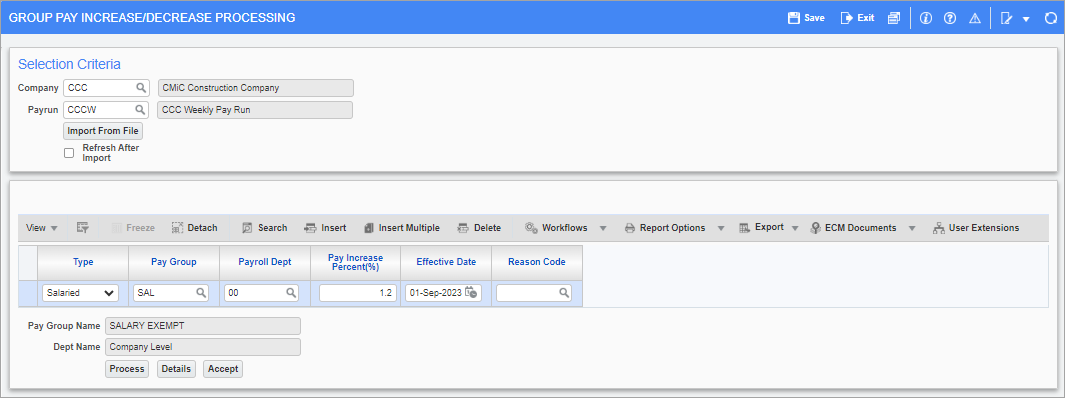
This screen allows pay rates for salaried and hourly employees to be increased/decreased in bulk. Application of the change in pay rate is made by pay run and then the individual pay groups. Specification of the effective date is also permitted to allow entry and processing prior to the period and date the change takes effect. The process creates an Employee record in the Employment History Adjustment screen (i.e., Payroll History table) and, based on the effective date provided, it either updates the Employee Profile right away or through the standard nightly process when the effective date occurs.
In addition to entering Pay Rate records manually, an import feature is also available for importing records for hourly employees. Both methods for entering records are provided below.
Selection Criteria
Company
Enter/select the company of the employees for the pay rate being updated.
Payrun
Enter/select the pay run for the pay rate being updated.
[Import From File] - Button
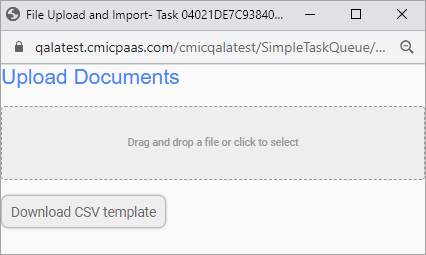
Pop-up window launched from the [Import From File] button
This button is used for importing records. Pressing this button will launch the File Upload and Import pop-up window, which is used to import pay rate increments in one transaction for hourly employees from a CSV file. Users can drag and drop the CSV file into the drop-box. The [Download CSV Template] button is available to download a copy of the import template. Refer to Import Records for more information.
Refresh After Import - Checkbox
This checkbox is used to populate the records in the lower section of the screen after data has been successfully imported.
NOTE: Checking this box before importing a file will have no effect on the import process.
Enter Records Manually
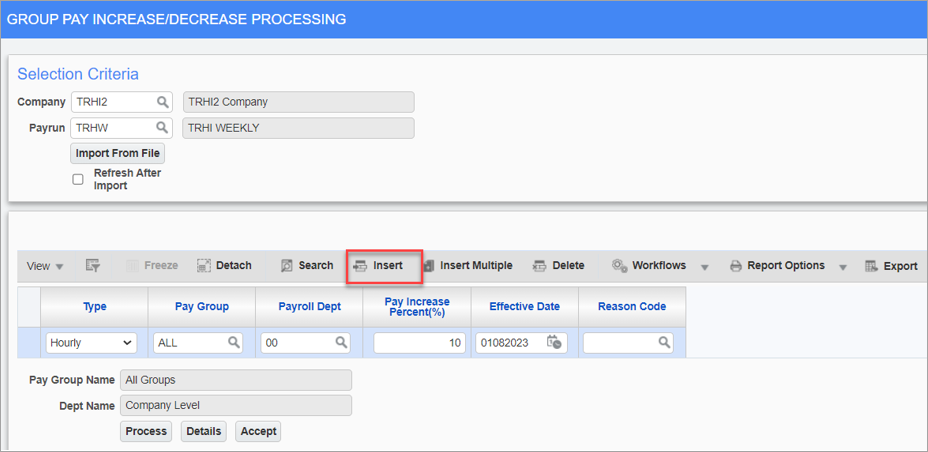
If entering records manually, use the [Insert] button on the Block Toolbar to insert a new row. Once the desired records have been entered, press the [Process] button to process the increase/decrease in pay rate, then press the [Accept] button to update the relevant Employee Profiles with the new rates. Once the process is complete, navigate to the Employment History Adjustment screen to review the updated Employee records.
The fields available in this section are described below.
Type
Enter/select whether the employees for the pay rate being updated are "Salaried" or "Hourly".
Pay Group
Enter/select the pay group for the pay rate being updated.
Payroll Dept
Enter/select the payroll department for the rate being updated.
Pay Increase Percent (%)
Enter the amount of the pay increase (e.g., 5). For a pay decrease, enter a negative number (e.g., - 5).
Effective Date
Enter/select the date the pay rate change takes effect.
NOTE: If the effective date is in the future, the updated rates can’t be viewed in the Employee Profile until the effective date.
Reason Code
Enter/select a reason for the pay rate change.
NOTE: The list of reasons available for selection in the Reason List pop-up window originates from a collection of text codes that are maintained in the System Data module. A special set of text codes can be specifically designed for use across the Payroll module.
Import Records
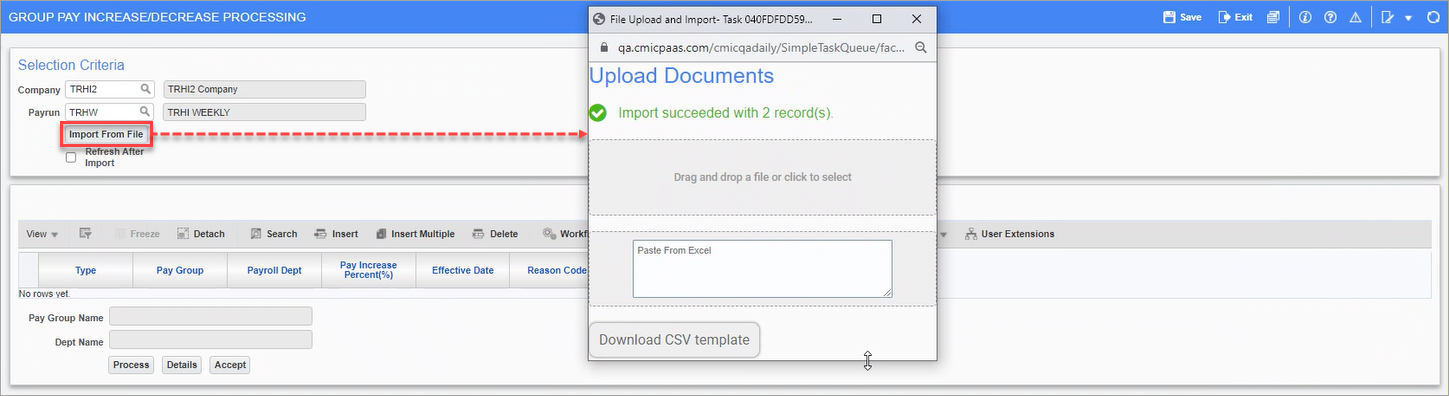
The import feature is designed for importing records for hourly employees. If importing records, use the [Import From File] button to launch the File Upload and Import pop-up window, where a CSV file can be uploaded. Once the file is successfully uploaded, close the pop-up window.

The newly uploaded records will not be automatically displayed. To display the records, check the 'Refresh After Import' checkbox to populate the records in the lower section of the screen.
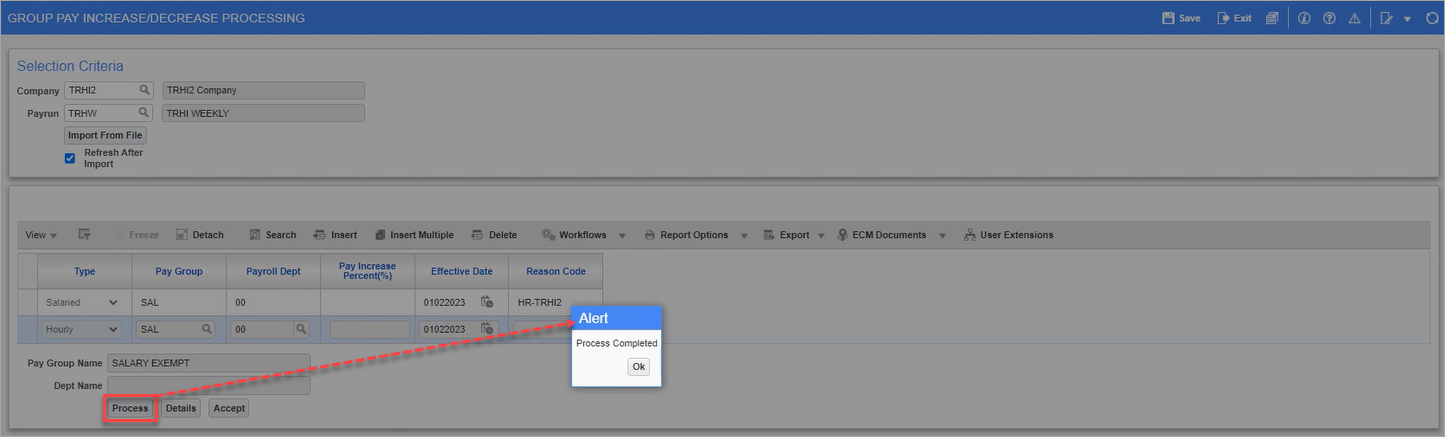
Once the records are displayed in the lower section of the screen, press the [Process] button to process the increase/decrease in pay rate. In the Alert pop-up window, click on [Ok] to proceed.
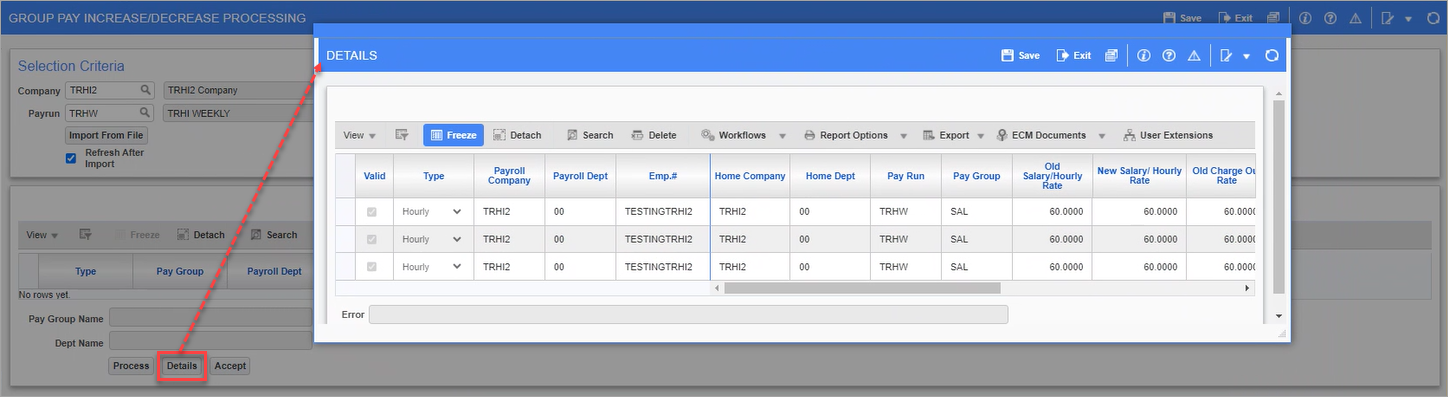
Once the records are processed, they will no longer be displayed on the screen. The [Details] button can be used to launch the Details pop-up window, where a detailed view of the updated records is available for review. When finished reviewing, click [Exit] to close the pop-up window.
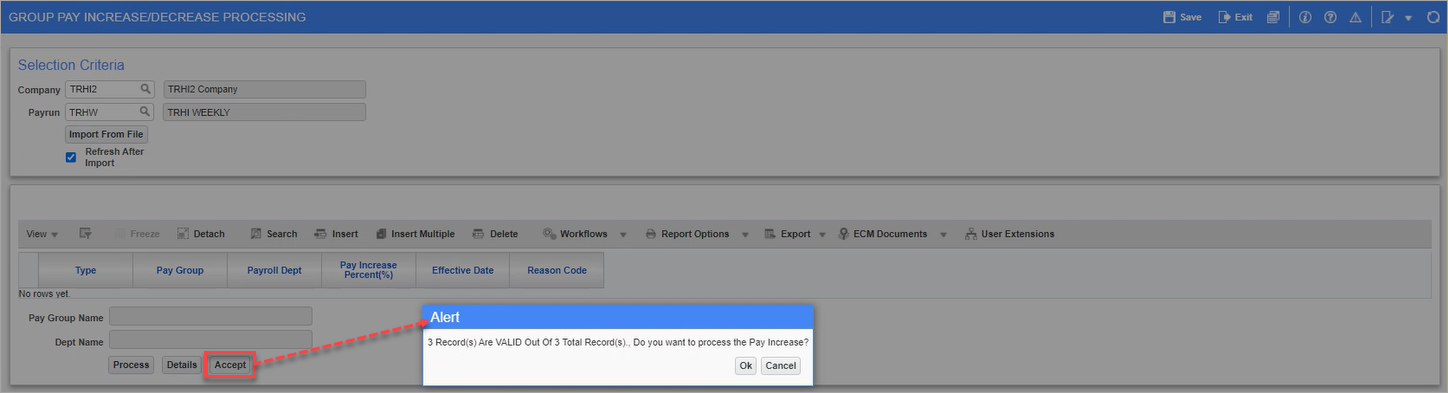
Next, press [Accept] to update the relevant Employee Profiles with the new rates. Click [Ok] to close the pop-up window.
Once the process is complete, navigate to the Employment History Adjustment screen to review the updated Employee records.
Import File Layout
The following three columns must be contained in each record being imported:
| 1. | Employee Code | Varchar2(16) | Mandatory |
| 2. | Effective Date | Date 'DD-MON-YYYY' | Mandatory |
| 3. | New Annual Salary/Hourly Pay Rate | Number(16,8) | Mandatory |
| 4. | New Charge-Out Rate | Number (16,8) | (Hourly Employee) |
| 5. | New Billing Rate | Number (16,8) | (Hourly Employee) |
| 6. | Reason Code | Varchar2(8) |
Sample File
SWC-WK-HR11,31-MAY-2013,35,45,40,PR
SWC-WK-HR12,31-MAY-2013,26,28,27,PR
SWC-WK-HR19,31-MAY-2013,21,31,26,PR
SWC-WK-HR22,31-MAY-2013,23,23.24,PR
SWC-WK-HR23,31-MAY-2013,26,46,36,PR
SWC-WK-HR43,31-MAY-2013,24,28,26,PR