Ensure Contact is Not Already in System
First, it is necessary to ensure that the contact about to be entered is not already in the system, so that already existing data is not duplicated. This is necessary for avoiding issues that arise out of administrators working with different records, and to ensure that any important information is not missed in any existing records. Refer to the subsection Search for Record under the Common Functionality section for instructions on how to search for a record, to ensure that it does not already exist. Alternatively, and this could arguably be considered the best practice, use the systems de-duplication searching function.
De-duplication Searching Function
The OM module has a backend process that can be enabled to greatly reduce unintended duplications. The checkbox to enable this option is labeled 'De-duplication Searching Function', and it is found in the Company Control screen. For details about this option, please refer to the [System Options] – Button sub-section, under the Company Control subsection. The relevant sub-sections under the System Options section are: Enable De-duplication Searching Function and De-Duplication Searching Function – Parameter List.
NOTE: When the 'Enable De-duplication Searching Function' checkbox is checked,
Add Contact

Pgm: SYSCNTCT – Contacts; standard Treeview path: Opportunity Management > Contacts
There are two options to create a contact through the Contact screen. One option is available when the screen is in table mode (listing all contacts), and the other option is when the screen is in form mode (displaying a single contact). The creation of contact records can also be initiated through the Organizations and Opportunities screens, and when these options are used, the new record’s Contact Type and Contact Company fields are automatically populated.
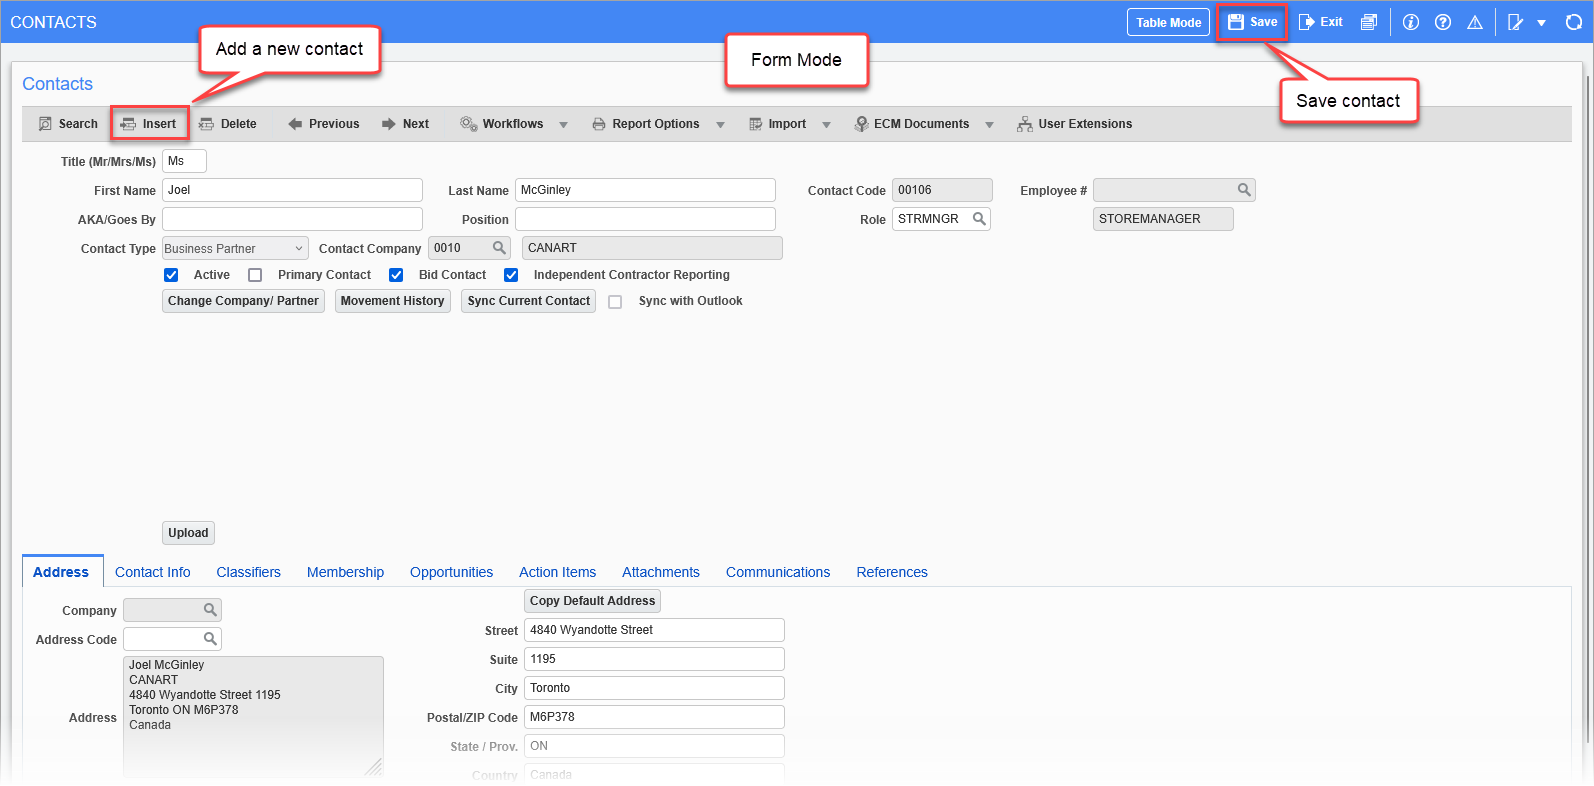
To add a contact when the Contact screen is in table mode, click the Main Toolbar’s [Add New] button, as shown in the screenshot above. This will switch the Contact screen to form mode, for the entry of the contact’s information. If the Block Toolbar’s [Insert] button is used, the entry of the contact’s information is done while the screen is in table mode. Click [Save] when finished with the contact’s data entry.
To add a contact when the Contact screen is in form mode, click the Block Toolbar’s [Insert] button. Click [Save] when finished.
