Overview
CMiC's report functionality allows users to schedule reporting, with options to email reports immediately or at specified dates and times. Additionally, users can configure scheduled reports to be emailed automatically on a recurring schedule.
Security
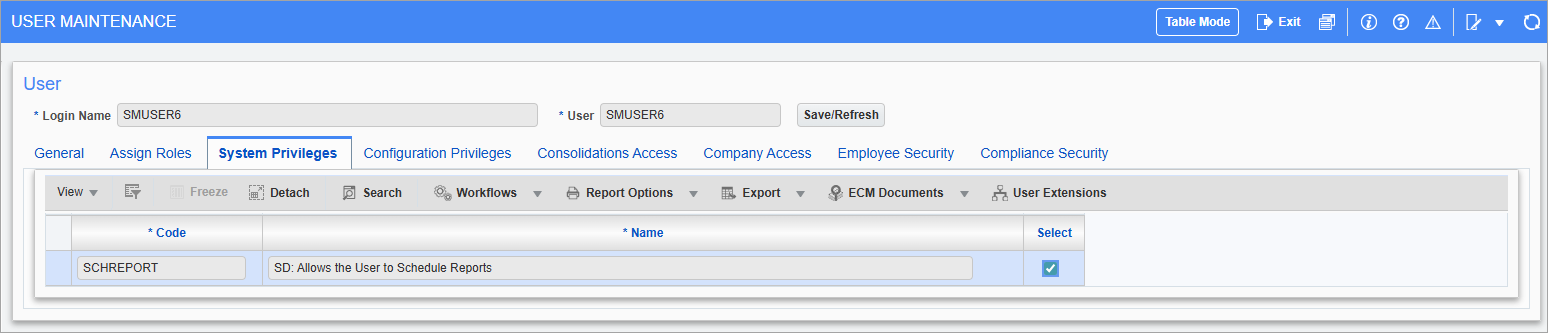
Pgm: SDUSRMNT – User Maintenance; standard Treeview path: System > Security > Users > User Maintenance - System Privileges tab
Users must be assigned the system privilege ‘SCHREPORT - SD: Allows the User to Schedule Reports’ in the User Maintenance screen in the System Data module. For more information, please refer to System Data - User Maintenance.
Process
This process outlines how to schedule reporting.
Step 1: Select a Scheduling Option
![Screenshot of report parameter screen with [Schedule] button highlighted.](../../../Resources/Images/GettingStarted_12c/GETTINGSTARTED_ScheduleReports2.png)
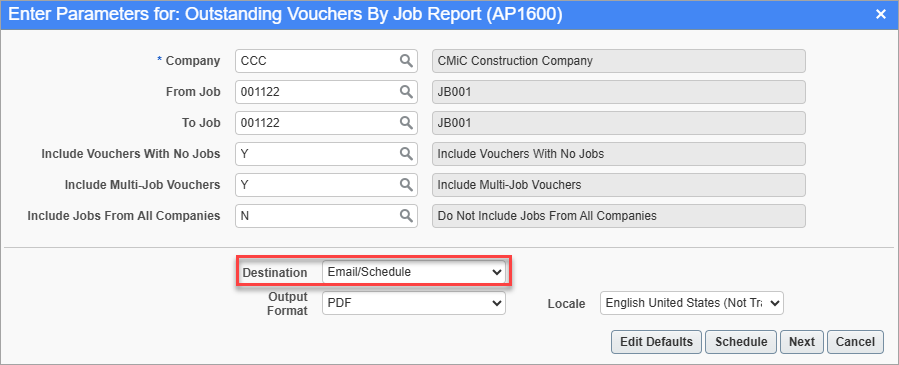
Sample report parameters screen
Enter the report parameters and press the [Schedule] button.
Sample report parameters screen
Alternatively, select the "Email/Schedule" option in the Destination field and press [Next].
Step 2: Enter Email Parameters
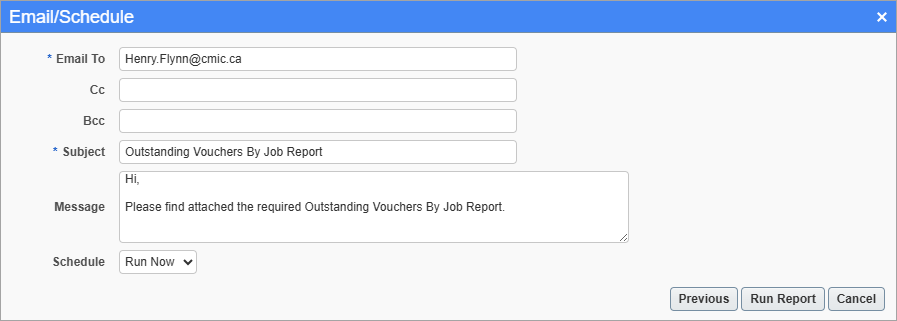
Sample Email/Schedule parameters screen
Enter the email recipient(s), subject line, and message in the Email/Schedule screen.
Step 3: Set Schedule Details
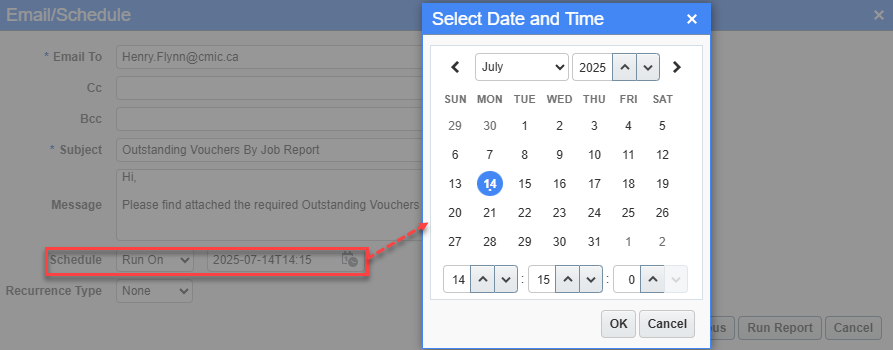
Calendar pop-up launched from Schedule field
Reporting can be scheduled to run immediately by selecting "Run Now" or at a specified time by selecting "Run On" from the Schedule field's drop-down.
Reports can be scheduled to be printed at a specified date and time using the calendar pop-up window.
Step 4: Set Recurrence Type
In addition, the Recurrence Type field can be used to repeatedly print the scheduled reports with the following options.
-
None: This option does not schedule any repeated printing.
-
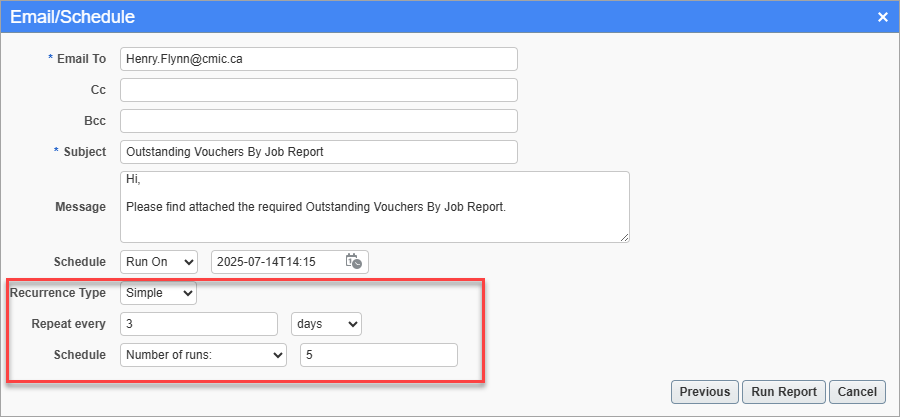
Simple: This option allows the user to specify the recurrence's frequency (in minutes, hours, days, or weeks), and end date (if any).
-
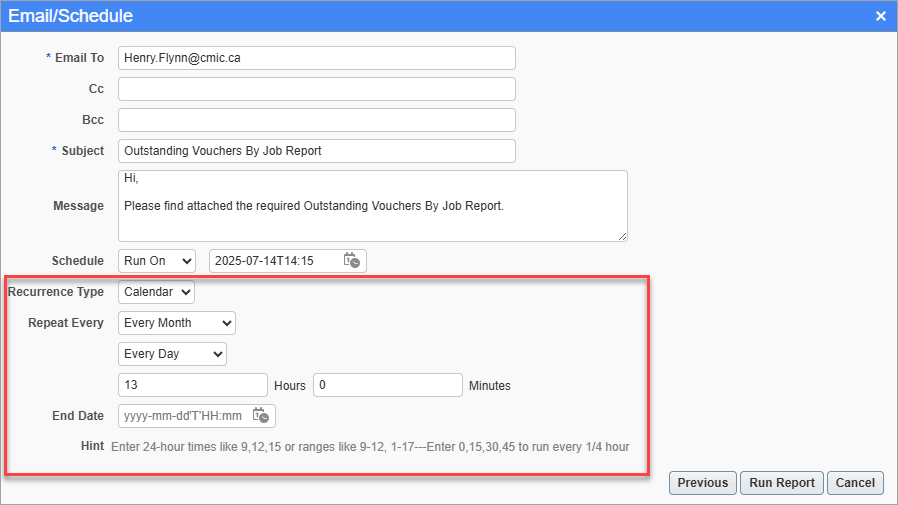
Calendar: This option allows the user to specify the recurrence's frequency by specific months, dates, and times, and an end date (if any).
Step 5: Run Report
![Screenshot of Email/Schedule with [Run Report] highlighted.](../../../Resources/Images/GettingStarted_12c/GETTINGSTARTED_ScheduleReports8.png)
Sample Email/Schedule parameters screen
Press [Run Report] to schedule reporting.
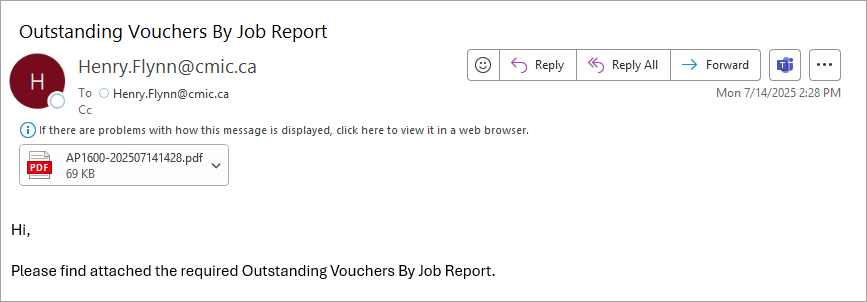
Sample Email with report attached
Selected recipients will receive a scheduled email with the report attached as a PDF.
Step 6: Manage Scheduled Reports
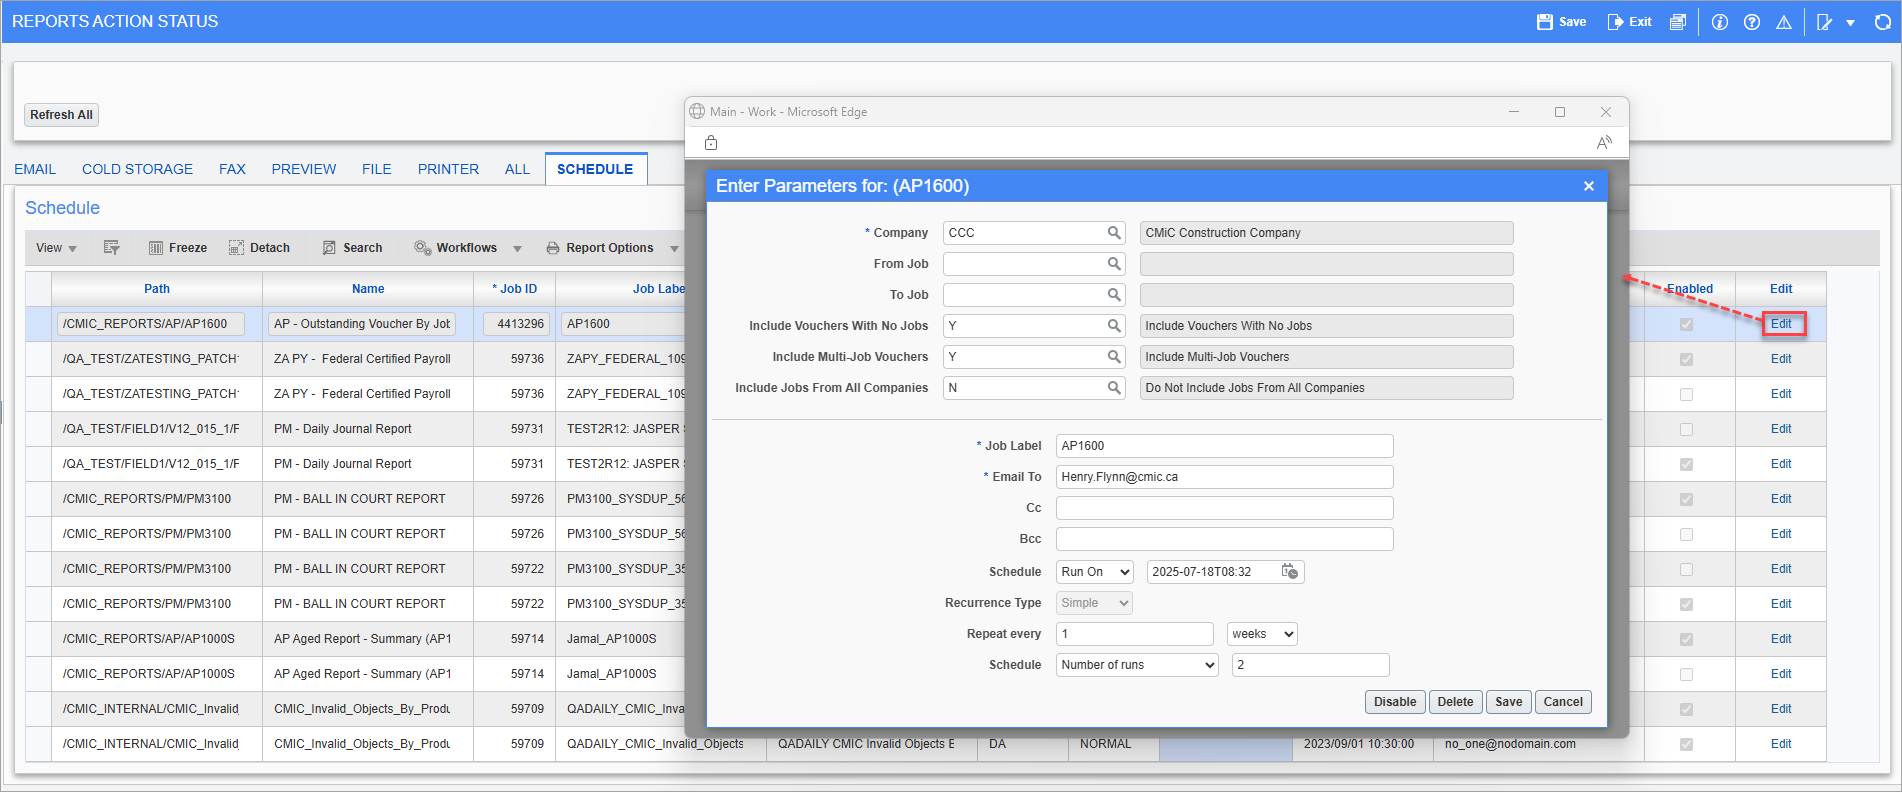
Pgm: SDRPALOG – Reports Action Status; standard Treeview path: System > Utilities > Report Action Status - Schedule tab
Users can manage their scheduled reports in the Schedule tab of the Report Action Status screen in the System Data module. From this tab, users can modify the scheduled report's parameters, disable the scheduled report from running, or delete the schedule. For more information, please refer to System Data - Reports Action Status.