Overview
Standard Treeview path: CMiC Field > Site Management > Field Work Directives
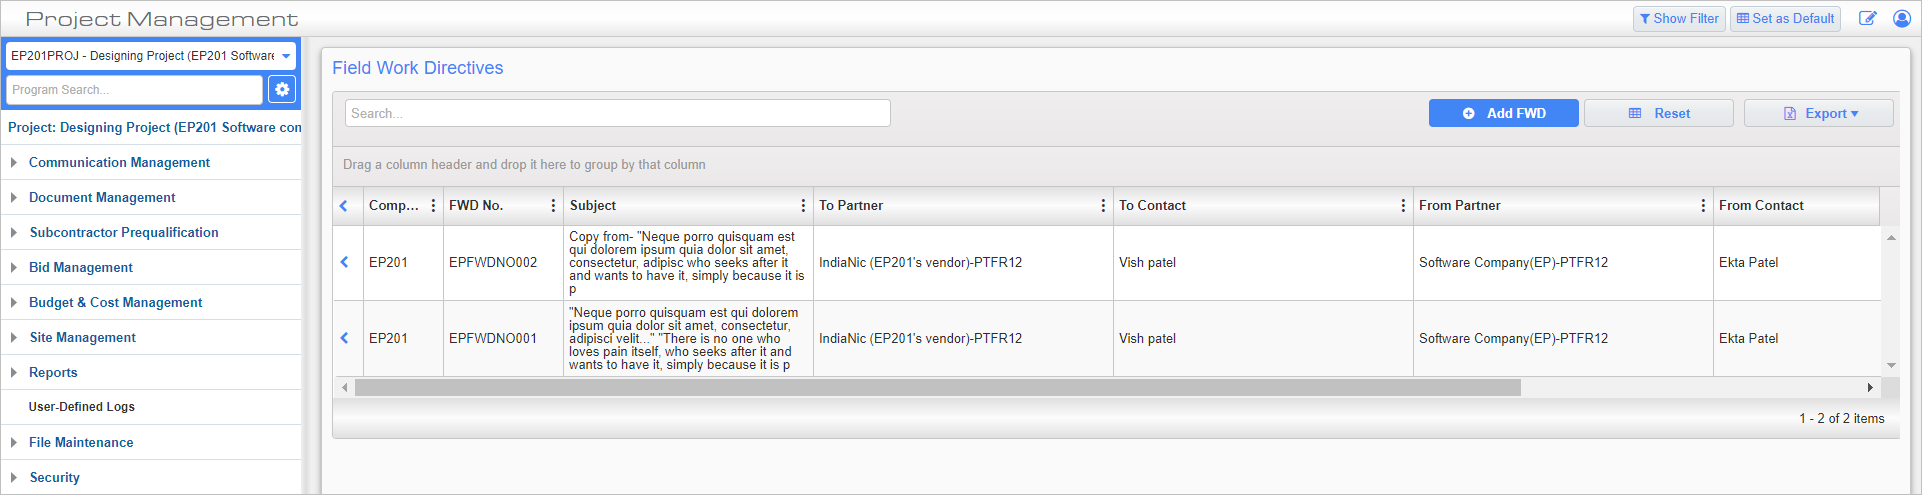
Field Work Directives (FWDs) communicate minor changes that are to be made to either a completion date or a subcontract task. They are usually issued before formal documentation is completed so work on the project can continue while waiting for approval. FWDs have an estimated cost, a not-to-exceed cost, and an actual cost. FWDs can only be viewed by a contact entered in the To field.
Creating an FWD

Standard Treeview path: CMiC Field > Site Management > Field Work Directives – FWD Detail tab
To create a new FWD, open the Field Work Directives node under the Site Management option on the Treeview. This will open a log of all existing FWDs. Use the [Add FWD] button at the top of the log to start a new record.
To
Enter/select a contact.
[CC] – Button
Verify the automatic CCs and add anyone else, if required.
Treat as To – Checkbox

Example of ‘Treat as To’ checkbox on the Field Work Directives screen
The ‘Treat as To’ checkbox allows the definition of contacts, other than the main contact (in the To field), usually for legal purposes, when it comes to responsibility for FWDs.
The ‘Treat as To’ checkbox is available in the [CC] distribution list of FWDs. Any contacts with this box checked will be shown in the Treat as To field on the printed FWD report. When the FWD is e-mailed to the distribution list, the contacts in the To field, as well as those with the ‘Treat as To’ box checked, will be shown in the To field of the email, and the other CC contacts with the ‘Treat as To’ box unchecked will be shown in the CC field of the email.
Subject
Enter a short description/subject matter.
Date Created
Enter/select the document creation date.
Est Cost, Not to Exceed Cost, Actual Cost
These fields are used to enter any cost information.
Reference
Enter a related reference number if one exists.
Notes
Enter a description of the change.
Follow-Up – Checkbox
If follow-up is required, check the ‘Follow-up’ checkbox and enter the follow-up due date.
Follow Up Notes, Follow Up By
Enter any follow-up notes. The Follow Up By field gets populated when the Follow Up Notes field is updated, but the value can be overridden. Field security can be applied to this field.
When complete, [Save] the FWD, then review and add any related objects to the Related Objects tab, which is available once the FWD record is saved. Click the [Submit] button.
Updating an FWD

Example of a Submitted Field Work Directive
Once an FWD has been submitted, the only action a contact in the To field can do is to view the record, which marks the item as received by the contact. The issuer of the FWD can edit and update a submitted record.
Change #
This field appears after the record has been saved but only becomes enabled once the FWD has been submitted. To link the FWD to a PCI, either create a new change item by pressing the Create Change link, or link to an existing change item by pressing the Link Change link.
NOTE: Once a PCI is linked to an FWD, a link to the PCI can be found in the FWD log under the Change column. Refer to CMiC Field - Change Column in Logs for more information.
External Collaborator Update of Follow-up Notes
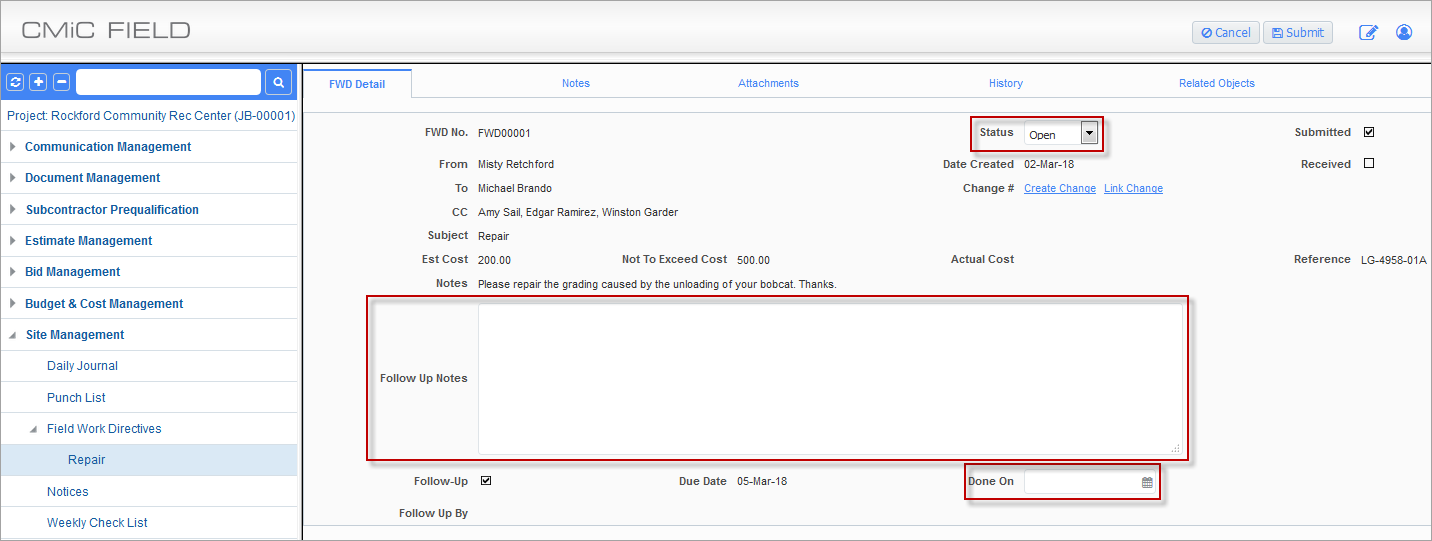
Example of fields available for external collaborator to edit
External collaborators can edit an FWD without having full editing privileges assigned. Follow-up Notes, Status, and Done On fields are available to edit if the “Update All” privilege has not been assigned to the user.
Printing an FWD
![Example of pop-up window launched from the [Print Report] button on the Field Work Directives screen](../../../../Resources/Images/9_Site_Management/Field_Work_Directives_5.png)
Example of pop-up window launched from the [Print Report] button on the Field Work Directives screen
Sometimes it is necessary to have a hard copy of an FWD. Any FWD, regardless of the status, can be printed. To print, open an FWD record and press the [Print Report] button. In the pop-up window, select “Field Work Directive Record” from the list of available reports in the Report Name field. When finished, press the [Print] button.