This
Considerations
-
When the check exceeds the amount of the invoice, the extra money will also remain around to be linked to a future invoice.
-
This will happen even if the excess amount is minor. The process of writing-off these amounts is easy once necessary setup has been completed.
Process
-
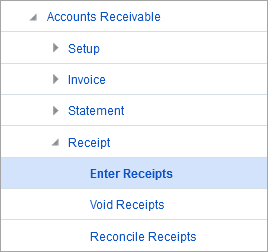
Select Enter Receipts from the Receipt sub-menu under Accounts Receivable:
-
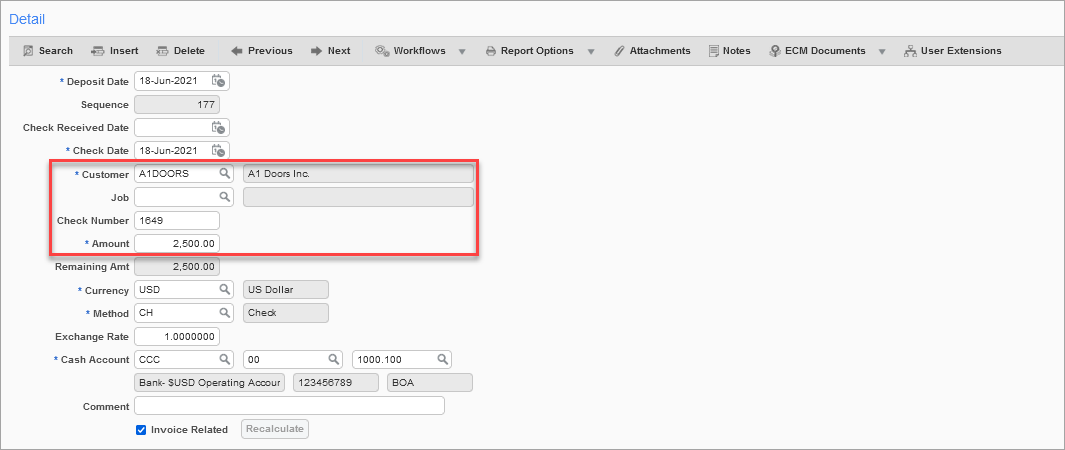
Enter values for the Customer, Check Number, and Amount fields. The cash account into which the check is to be deposited defaults from the customer setup:
-
Upon saving, the system will indicate that the check will be recorded as a deposit. All checks are deposits. However, this means that it will be available within the Deposits pop-up window, to be tied to an invoice in the future:

-
To enter more receipts, insert a new record and continue. When finished, move along the train to Print Edit List to verify the distributions:

-
The distribution will use whichever account is set in AR Control - which would usually be "Customer Deposits" or "AR Deposits":
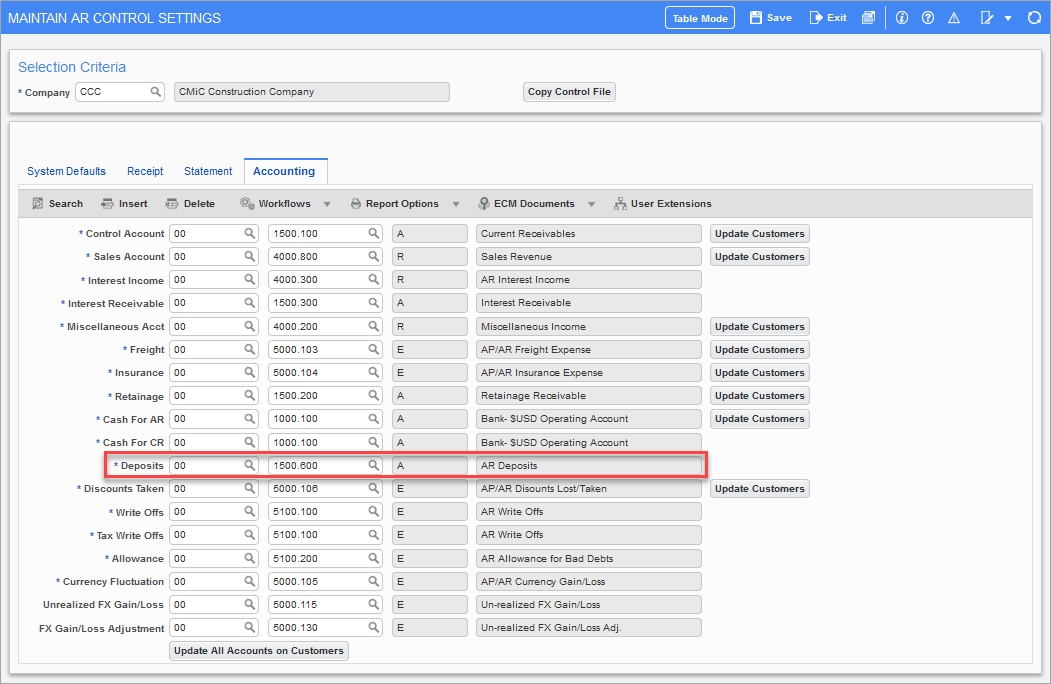
-
An explanation regarding why this is always a liability account can be found here.
-
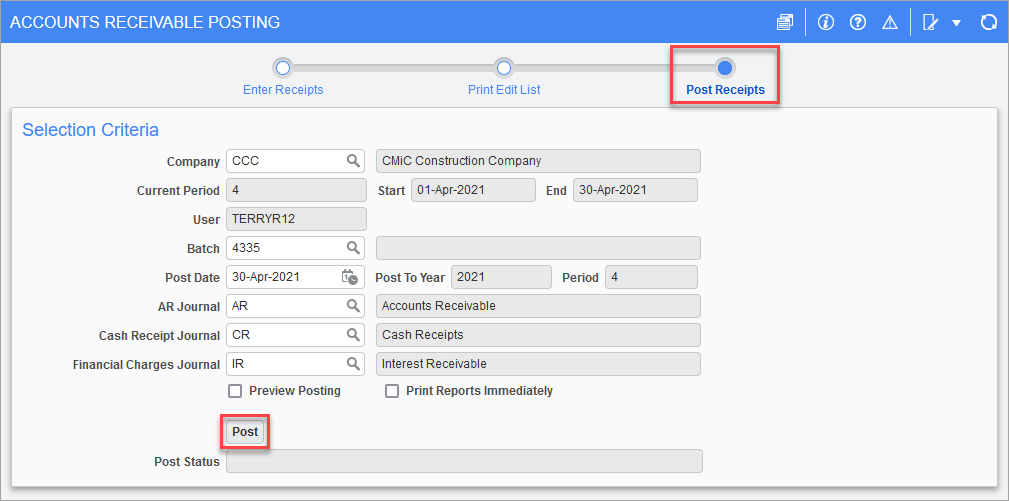
Once reviewed move along the train to the Post Receipts node. Click the Post button to post the receipt(s):
Applying an Invoice to a Deposit
-
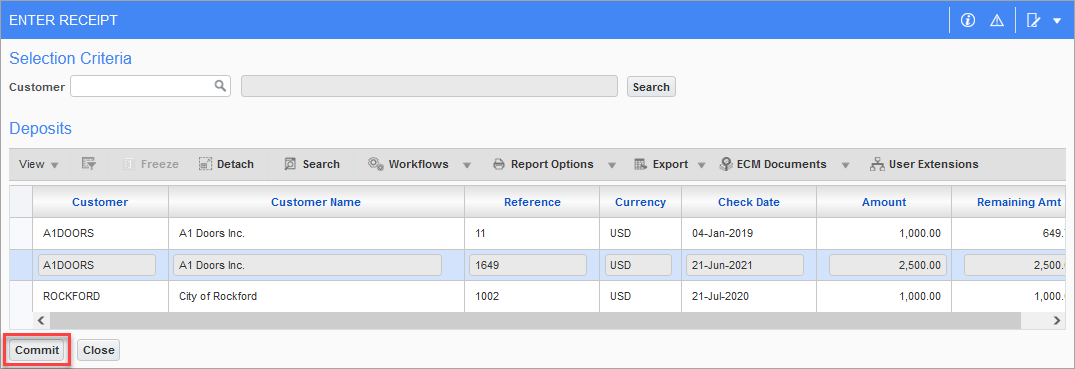
Return to the Enter Receipts program. Click the Deposits button:

-
This pop-up window shows all available deposits. Select the required deposit and then select Commit:
-
This brings up the check that was previously entered and the invoice can be linked to this check by selecting the Invoices button:

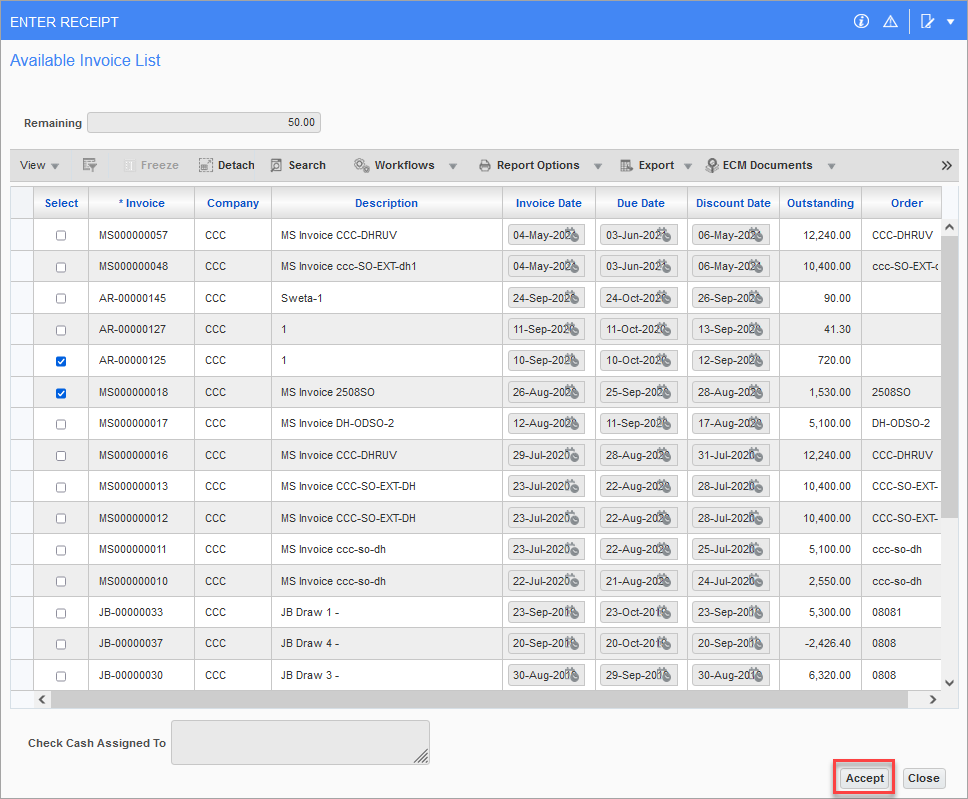
-
Select the invoices that you would like to apply the deposit to and select the Accept button: