Jobs
Both projects and jobs appear throughout most CMiC applications. The difference between the two is that projects are used to track project management information, whereas jobs are used to track costs on a granular level. For example, subcontracts pertain to a project, but the detailed cost lines of a subcontract are linked to a job, cost code, and cost category. A project can exist without a job and vice-versa. However, the default setting in the system is to have jobs automatically created when a project is created. Should a different process be needed, it is worthwhile to discuss the requirements with one of our consultants since there is quite a bit of flexibility due to the number of various business practices that we have accommodated over many years of building software for the largest construction companies of North America.
-
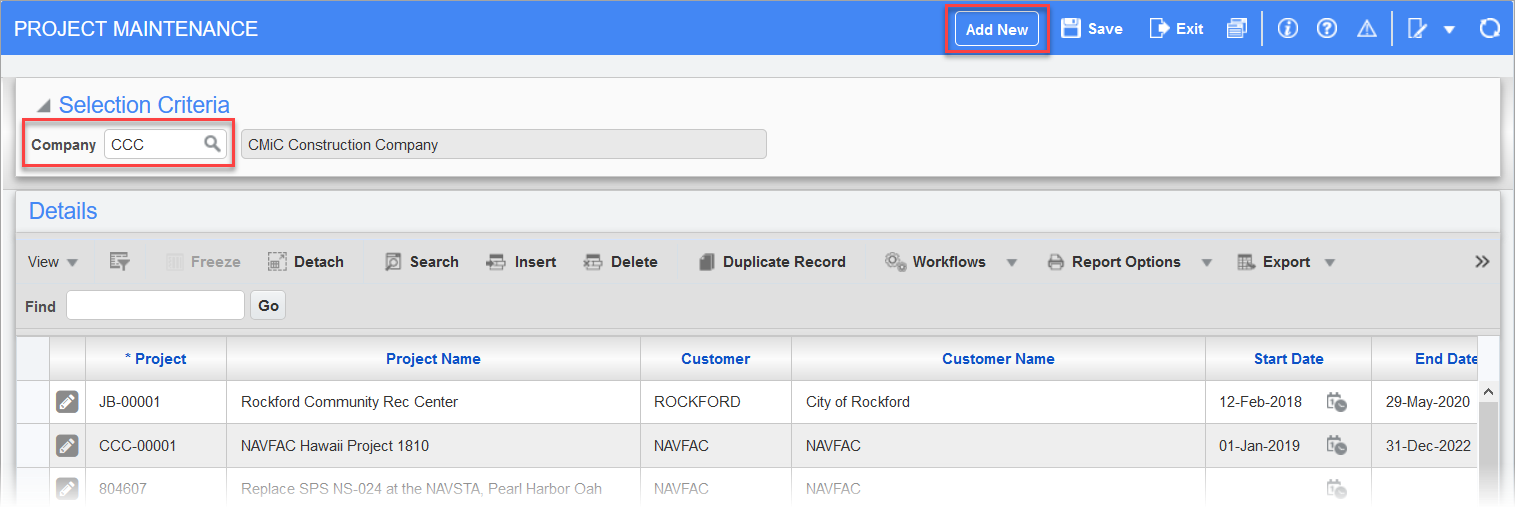
Open the Project Maintenance screen from the Job menu in Job Costing. This will open a screen listing all existing jobs:

-
To create a new job, first verify the company code and then, in Table Mode, press the [Add New] icon at the top of the screen:
-
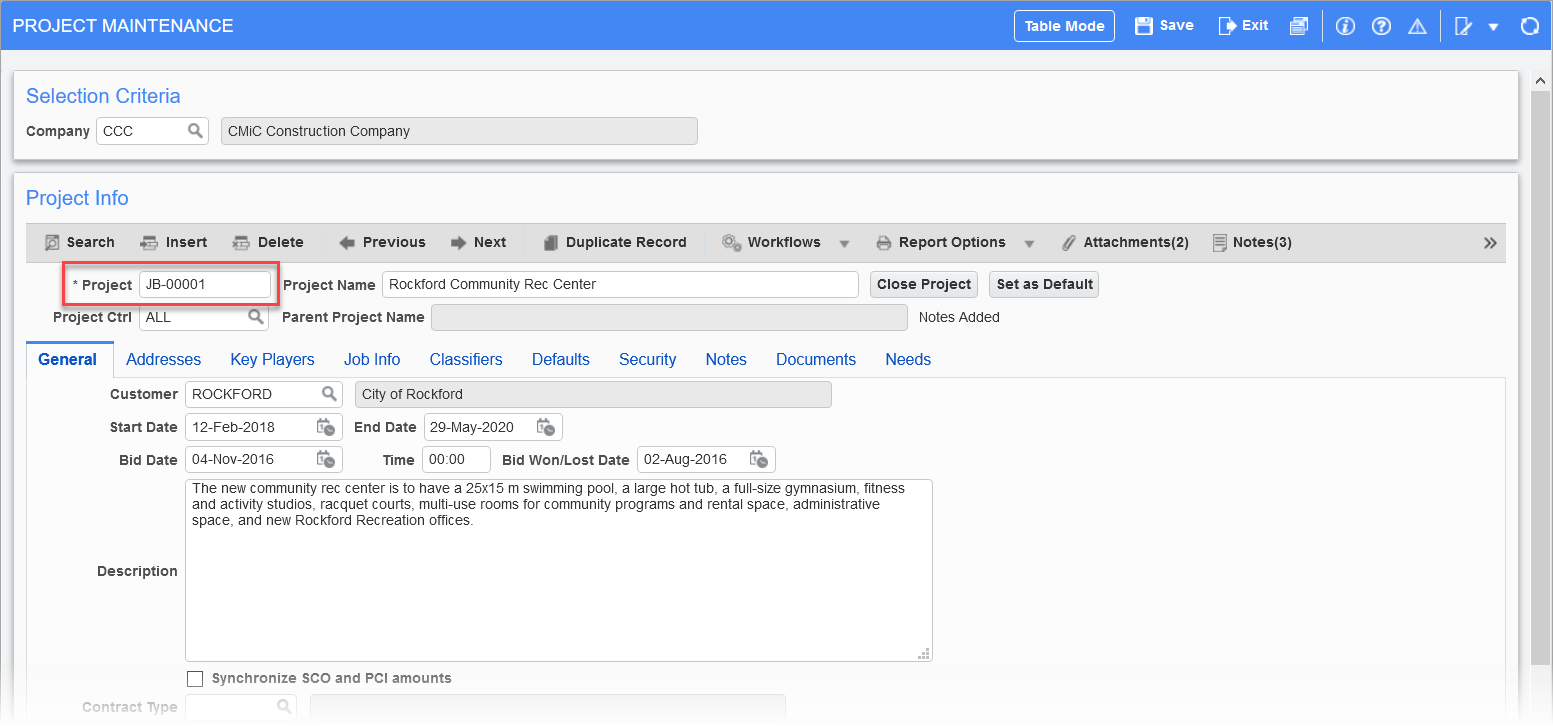
If the system is not already set up to automatically generate a job code, enter one in the Project feld. Enter the Project Name:
-
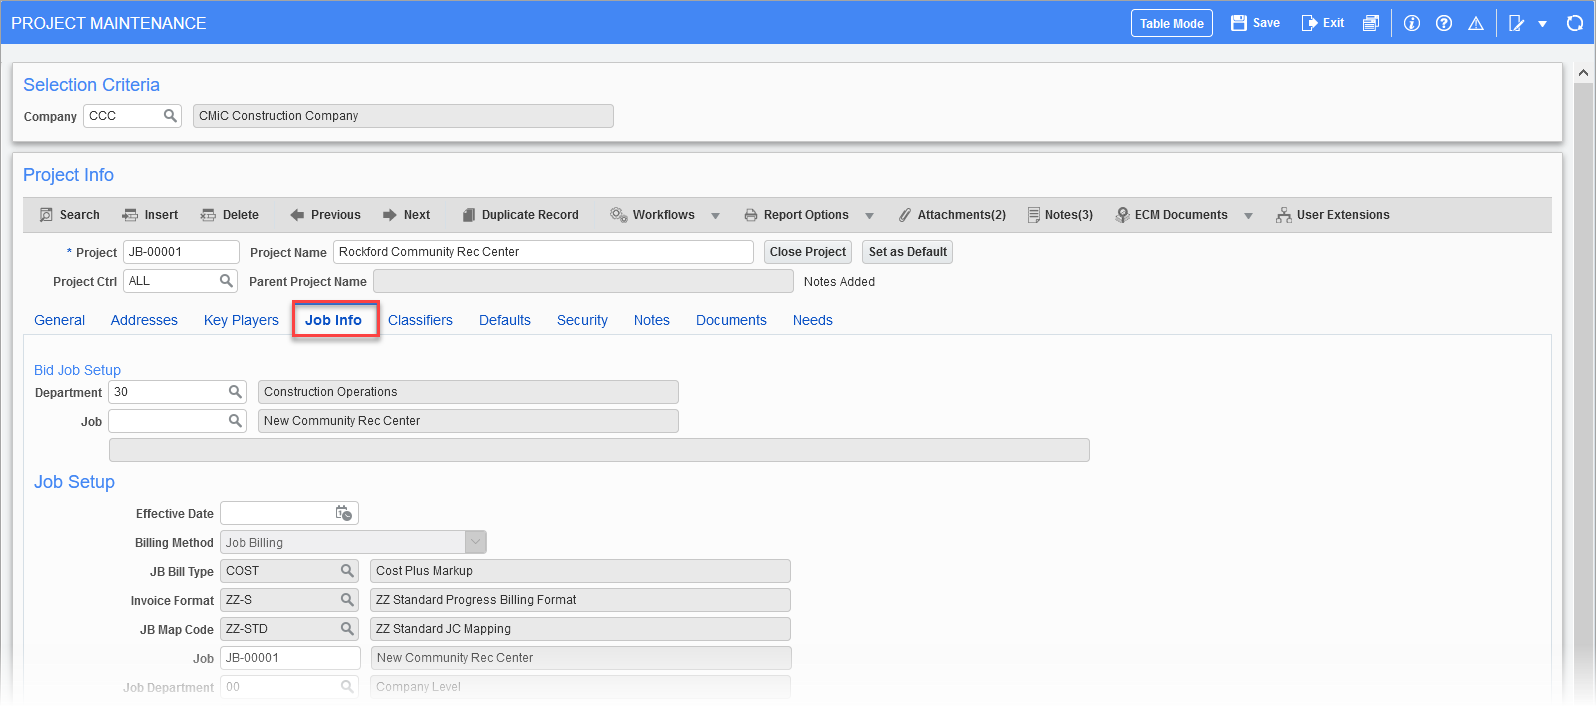
Now move down to the General tab and select the Customer. At this point, clicking the [Save] button, will create the job using the system defaults. In order to verify or modify some of the defaults before creating the job, click on the Job Info tab:
-
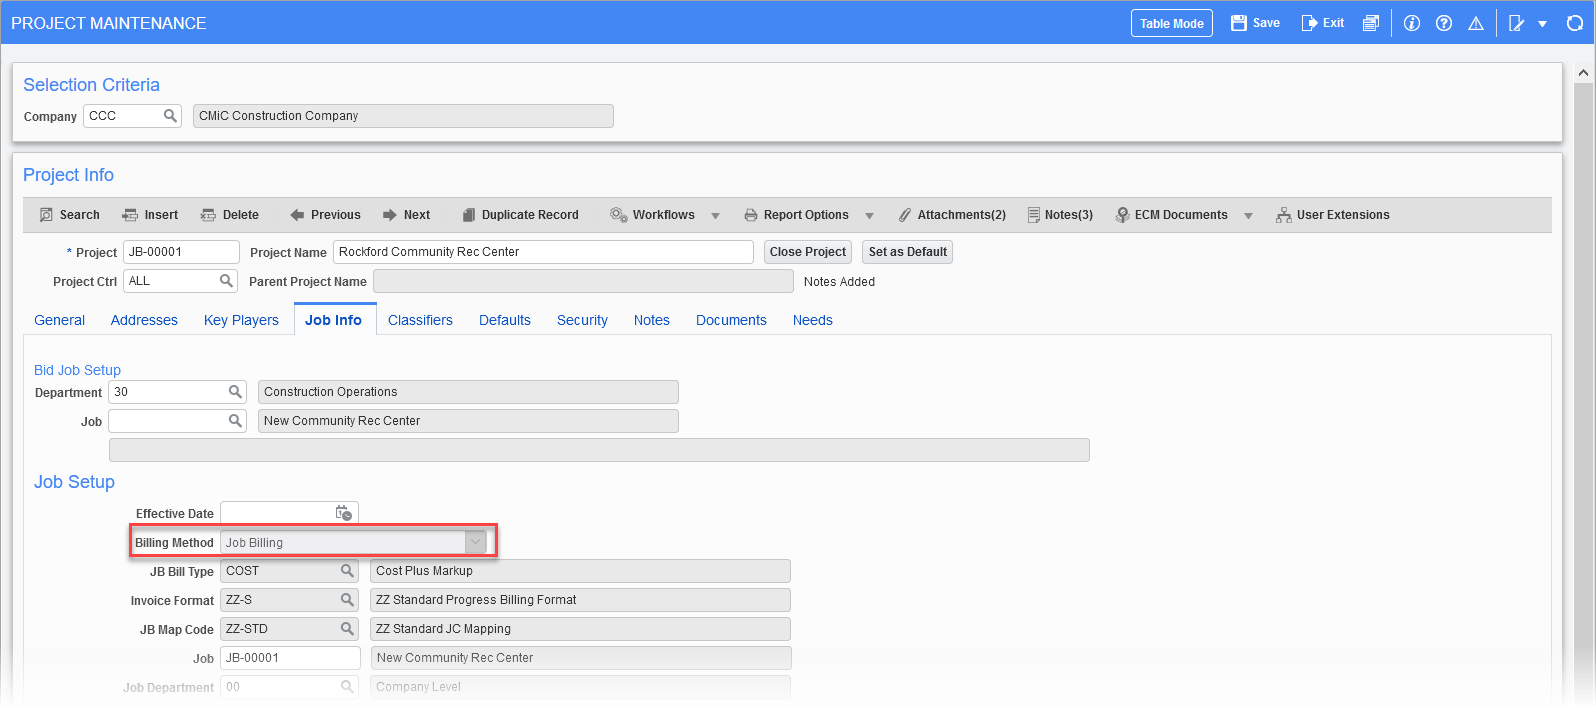
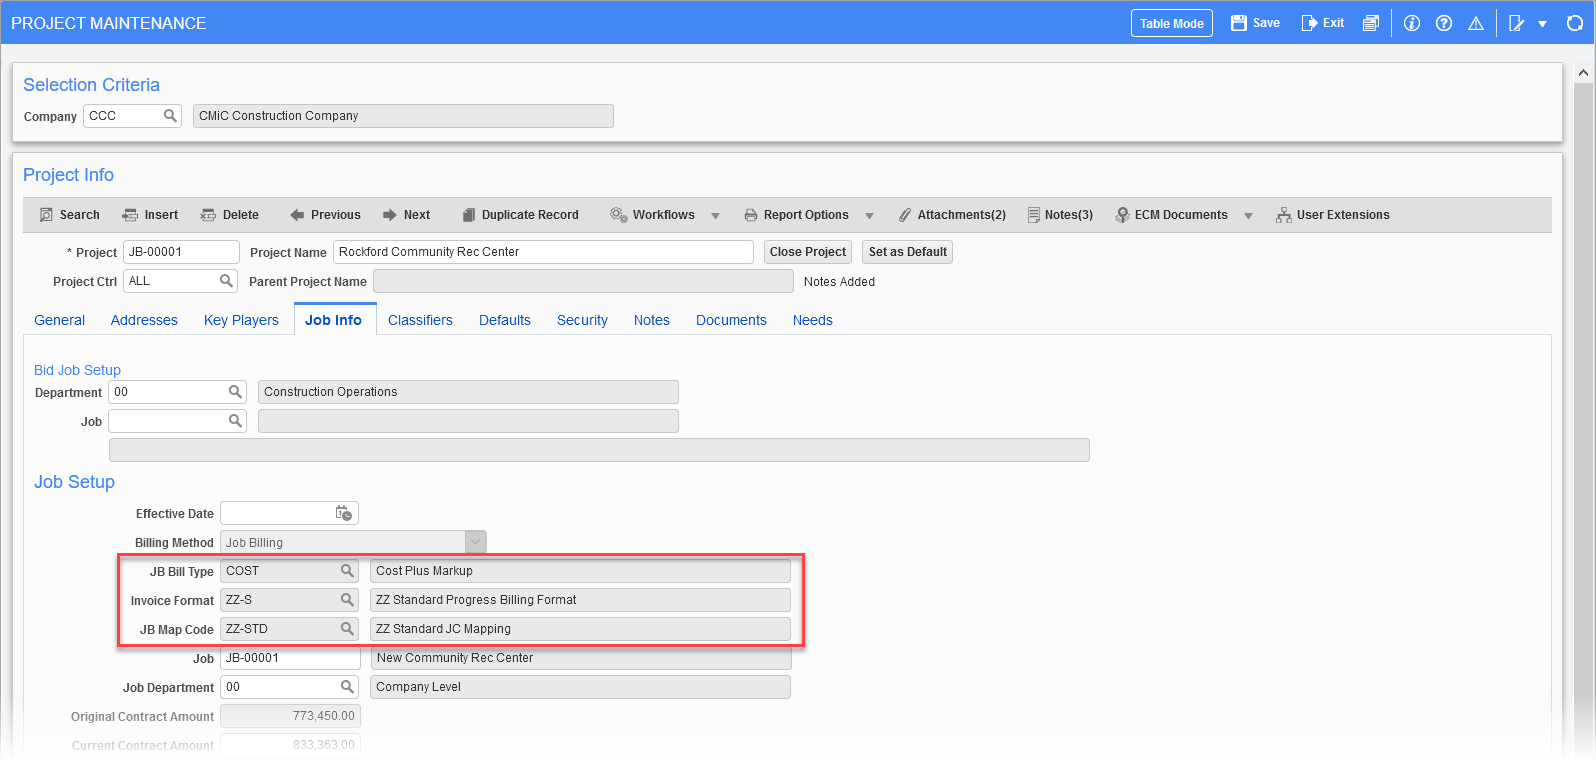
In the Job Setup section of this tab, the defaults related to the billing of the job can be changed. Verify the Billing Method:
-
There are two valid choices in this field: Job Billing or Manual AR Invoice.
-
If the billing method is "Job Billing", verify and/or modify the next three fields; the Billing Type, Invoice Format, and the Mapping Code:
-
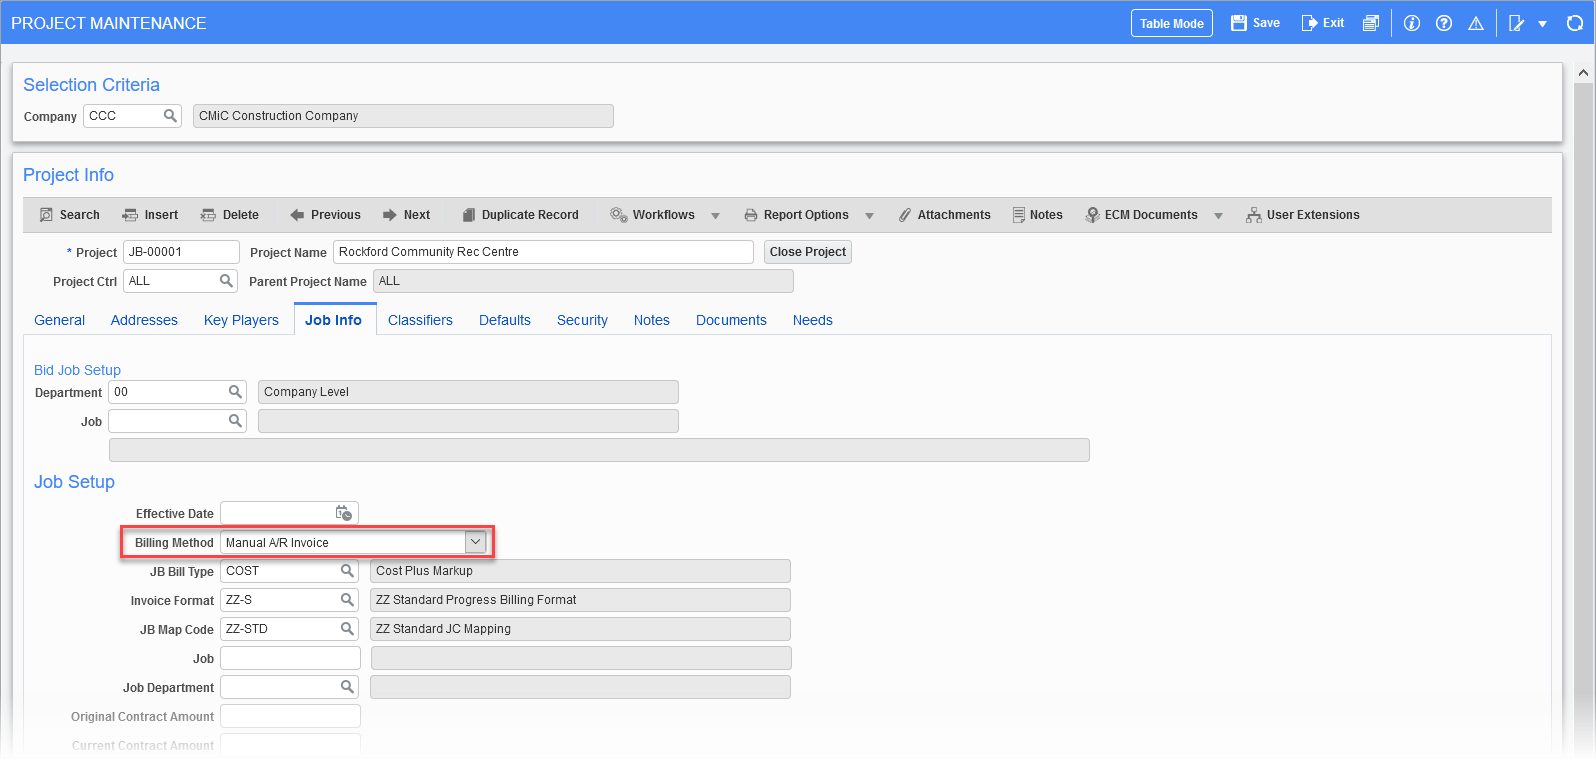
If the Billing Method field is set to "Manual AR Invoice", then the next three fields will not apply:
-
-
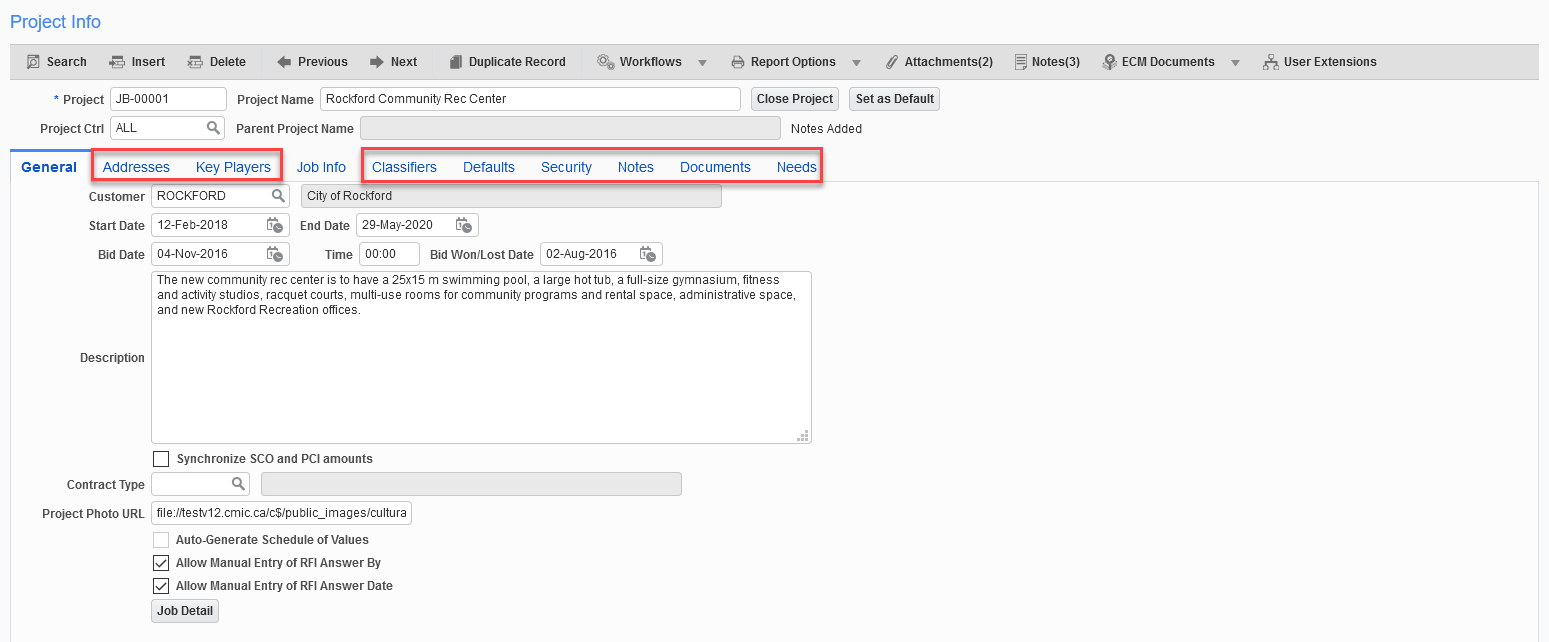
Save and return to the General tab. All other tabs on this screen refer to CMiC Field and are not required for accounting:
-
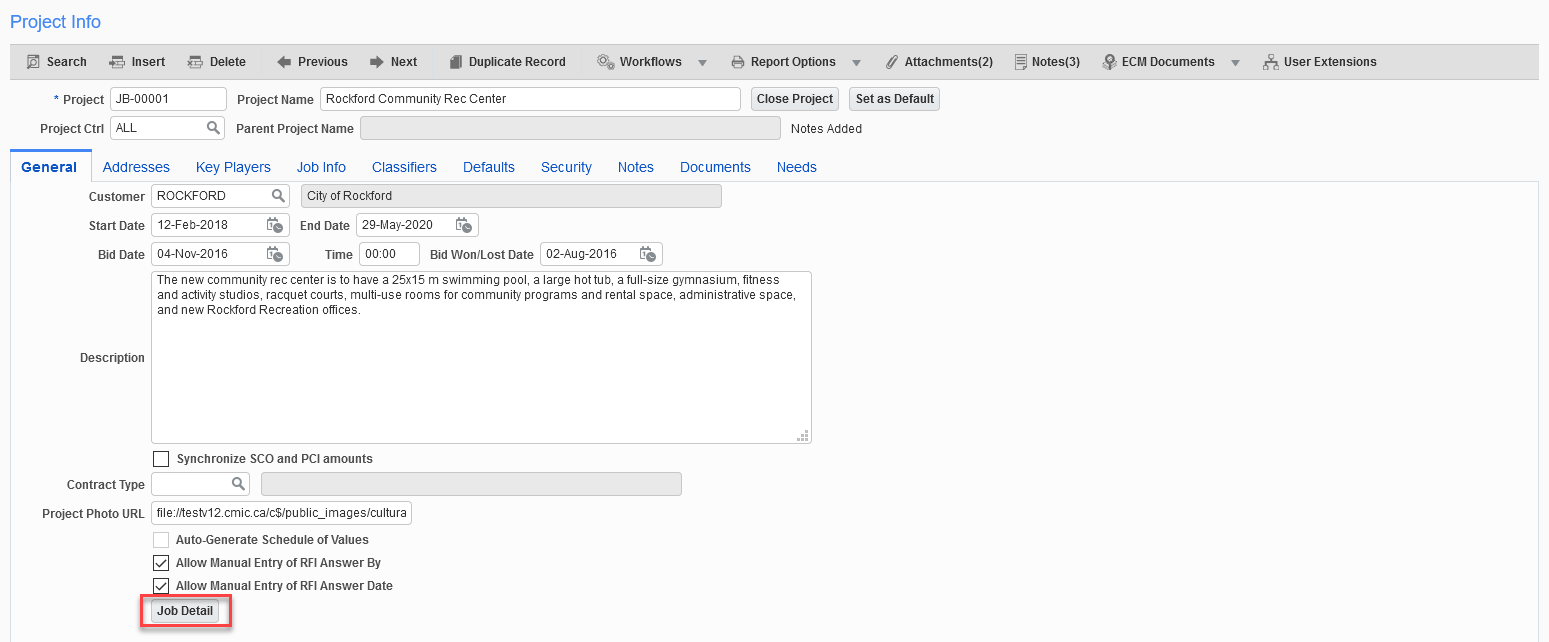
Until now, we have been mostly looking at the project. To review or update the corresponding job, select the [Job Detail] button on the General tab:
-
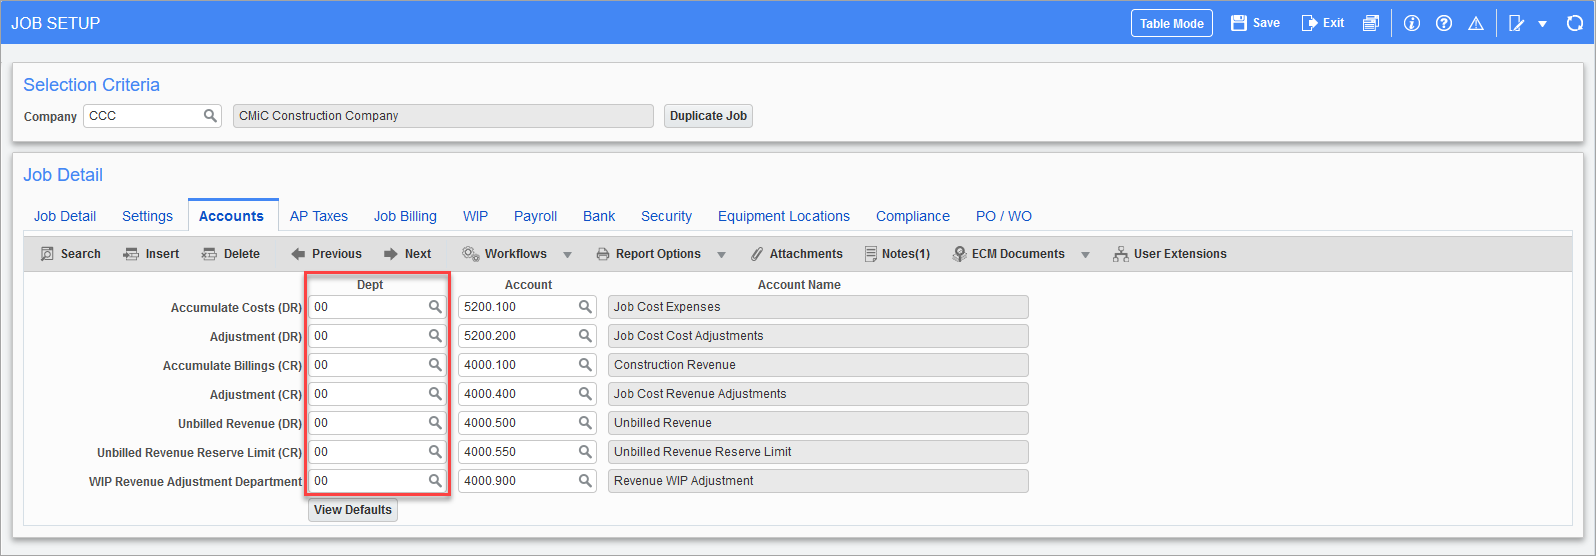
To update the department the job belongs to, move to the Accounts tab and update the Department field for each of the transaction types listed by selecting from the list of values:
-
If Accounts Payable taxes are to be applied according to the job instead of according to the vendor, then enter the applicable tax codes on the AP Taxes tab:

-
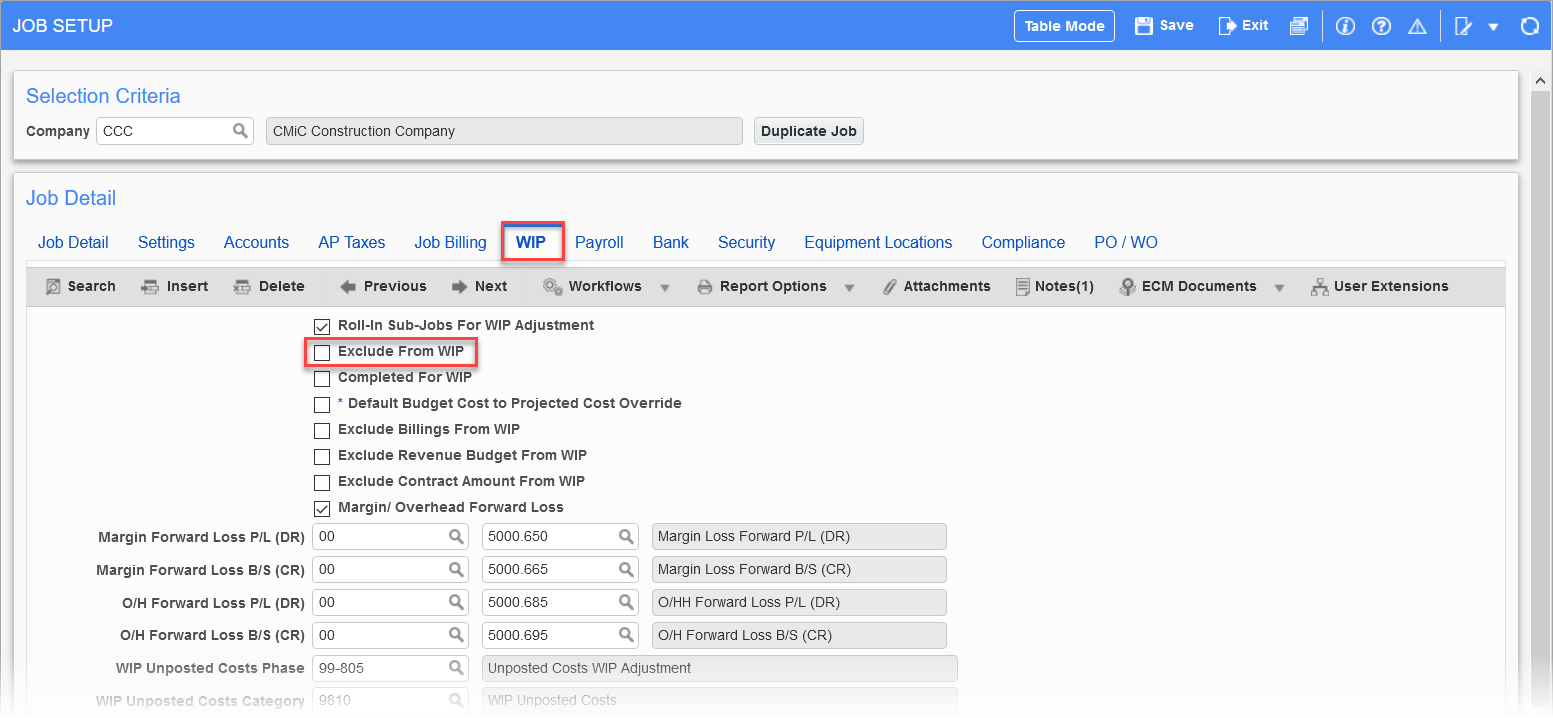
If the job is an in-house job, you may want to exclude it from the WIP screen and calculations. To do this, select the WIP tab and check the 'Exclude From WIP' box:
-
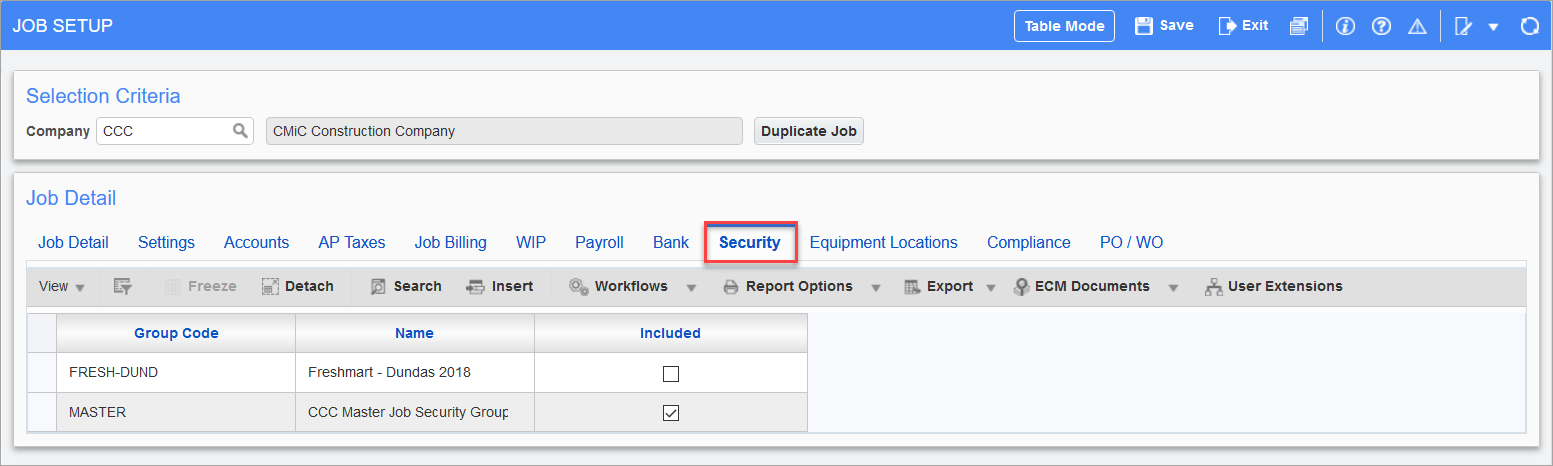
When the job was created, the system applied all the job security groups that the user belongs to. If this needs to be updated, open the Security tab and add or remove security groups as required:
-
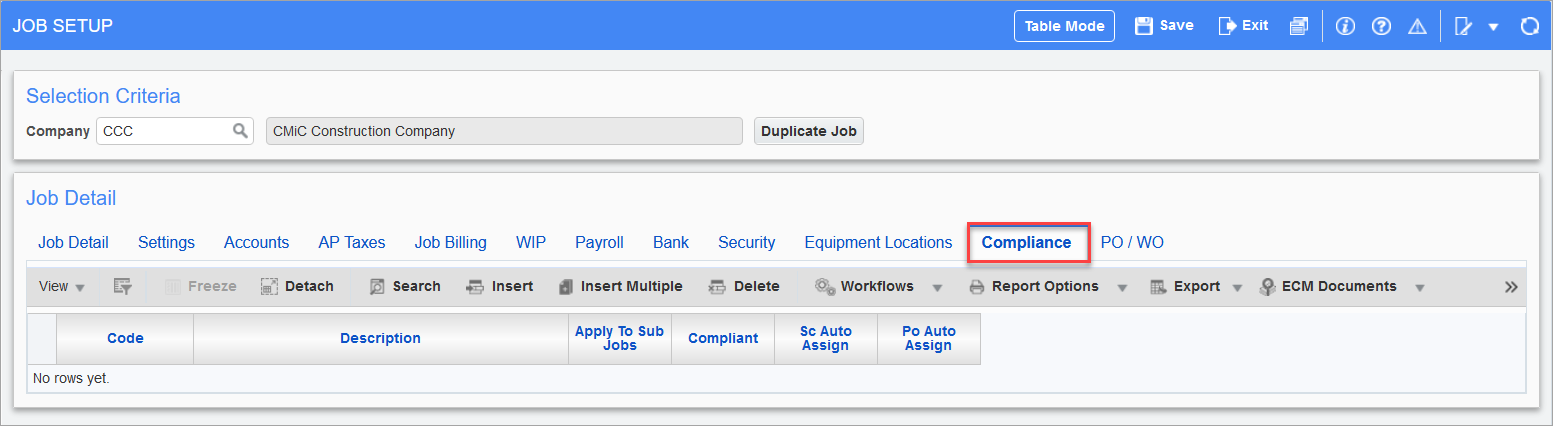
If the job needs a compliance code that is not defined to be automatically applied, then open the Compliance tab and add the required code:
-
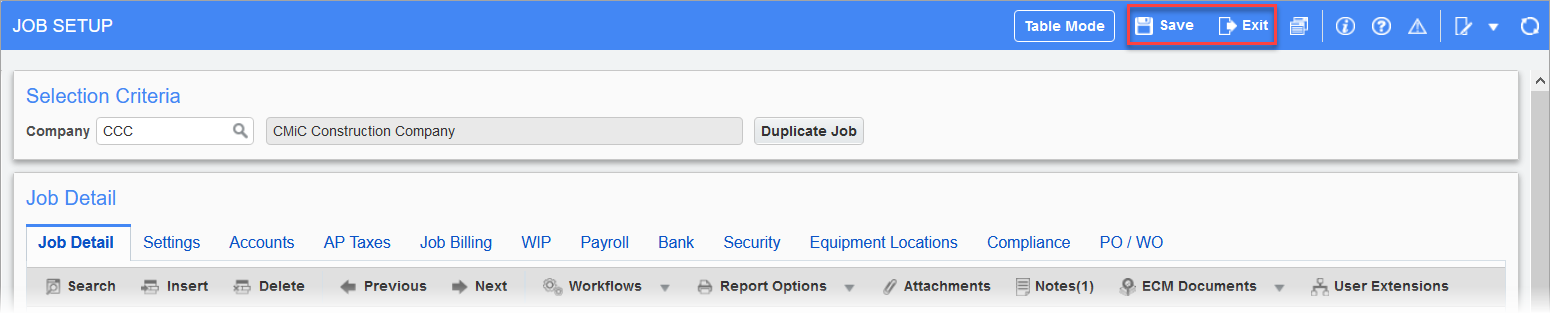
Once everything has been reviewed and/or modified, save the changes and then exit the screen:
-
Move along the train to assign cost codes and enter a budget.
Create a sub-job(s) to help split up the budget and make managing large projects simpler. First, the master job needs to be created. This follows the same procedure as setting up a normal job. Once the master job is created, proceed with the creation of sub-jobs.
Setup Sub-Job
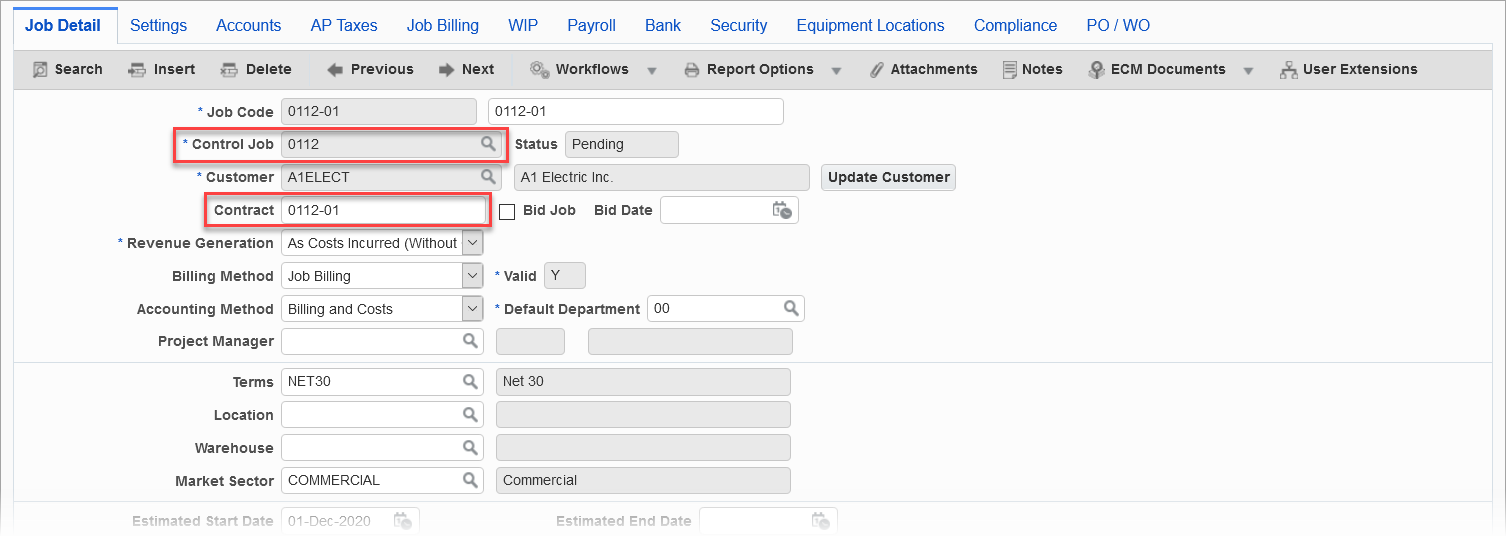
For this article, a master job, 0112, has already been setup and has been navigated to on the Job Setup screen. Press [Add New]. On the new record, enter in the new job code and name for the sub-job. To make it a sub-job, change the Control Job field from "ALL" to the job code for the master job. Enter the sub-job's department as well. Lastly, change the Contract field based on how the job will be billed. If all sub-jobs are to be rolled into the same billing, enter the master job's code here. Otherwise, leave it blank and press  :
:
Set Up Sub-Job Project (Optional)
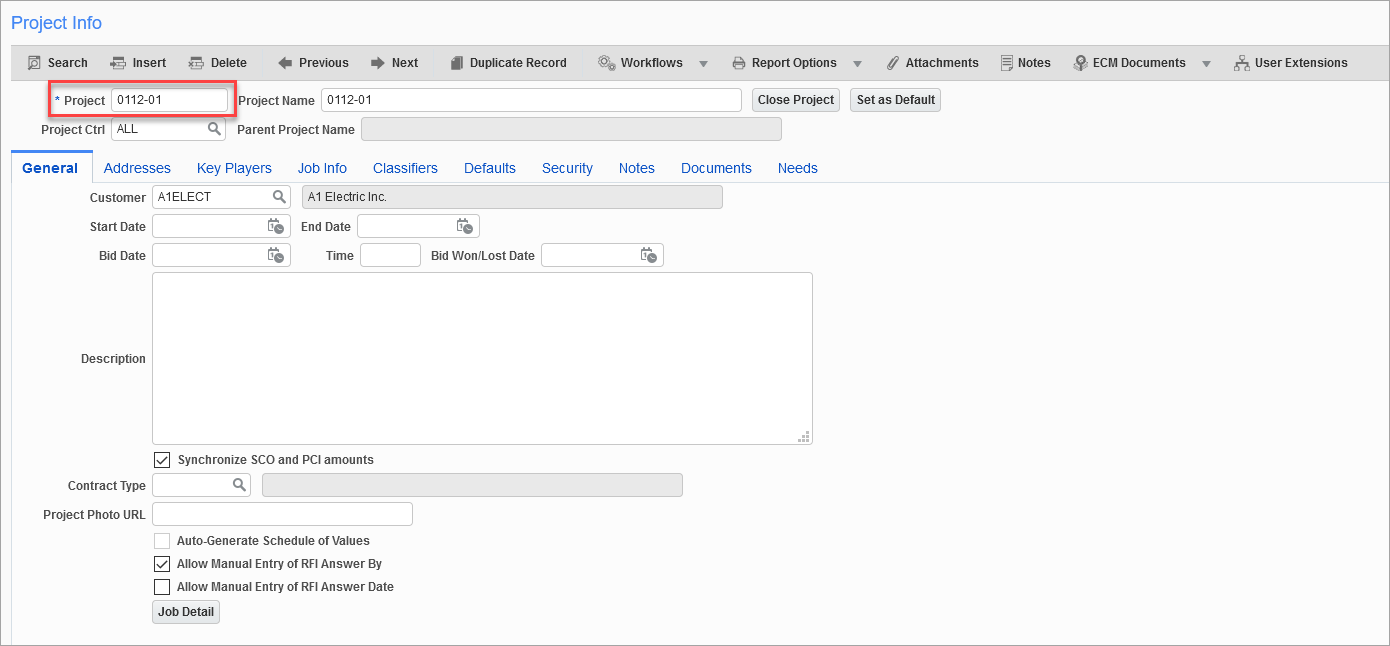
The next step is to set up projects for sub-jobs. Some companies do not set up projects for sub-jobs. However, it is useful in order that costs can be viewed in the cost status query. From the Project Maintenance screen, press  in table mode to make a new project. For the Project Code field, enter the same code that was entered for the sub-job. The Project Name field can be different if desired, but the code must be the same. Enter the same customer as the sub-job and press . This will create a new project for this sub-job and automatically tie it to the sub-job:
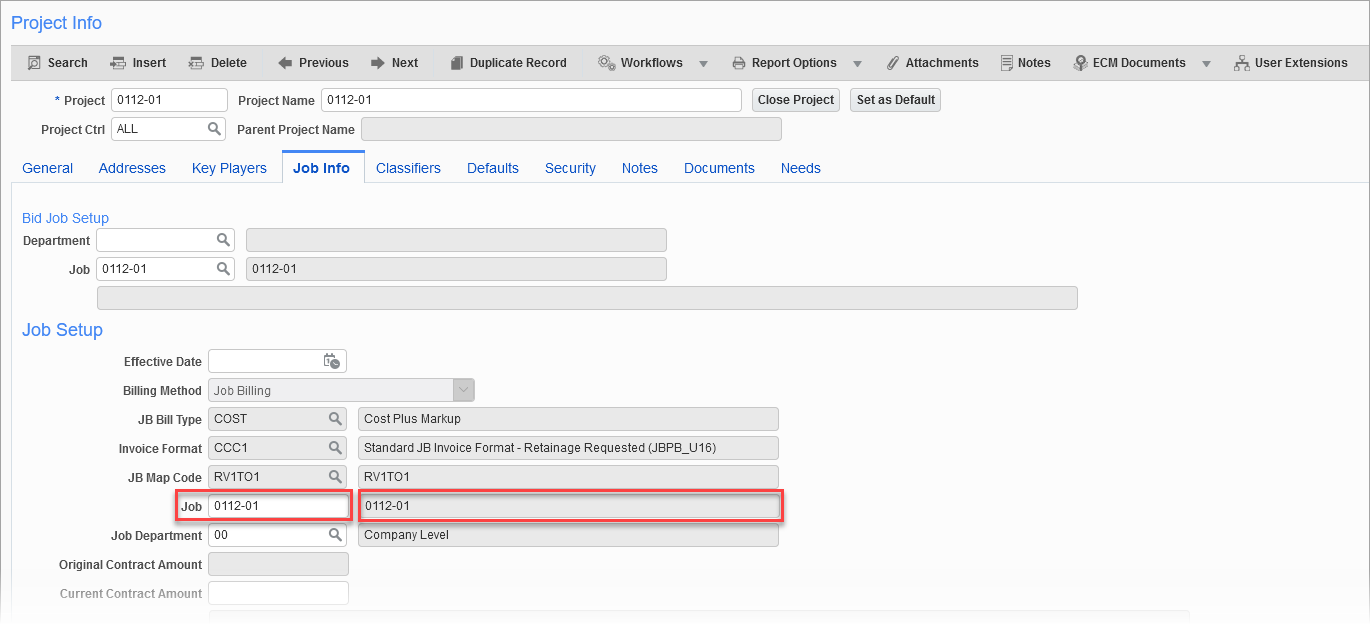
This can be confirmed by clicking on  and making sure that the job code and name is the same as the sub-job that was previously set up:
Now that the sub-job is set-up, continue adding as many sub-jobs to the job as necessary.
Things to Consider
-
When entering subcontracts and PCI's, it is important to enter them all against the master job. If a subcontract detail line allocates a commitment to a sub-job, you will choose the sub-job on the detail line.
-
Objects in CMiC Field, such as Issues and RFIs, can be tracked at the sub-job level or the master level. However, if an RFI is issued against the master job, it will not show up when you navigate to the sub-job's project and vice-versa. Determining strict processes for how these will be entered is critical to maintaining smooth project management.
-
Costs can be tracked via the Cost Status Query in CMiC Field. On the master job, it will show the costs for every sub-job that has been rolled up into the master job's contract. On the sub-job, it will only display budget lines associated with that sub-job.