Global Elements and Utilities
Table vs Fullscreen Modes
Overview
Exporting data enables you to use other software for data analysis and presentation purposes. Importing data can be an important time saver and can be done in many screens. If there is a specific screen to which you would like to add an import, let us know and we will see if the request can be accommodated.
Considerations
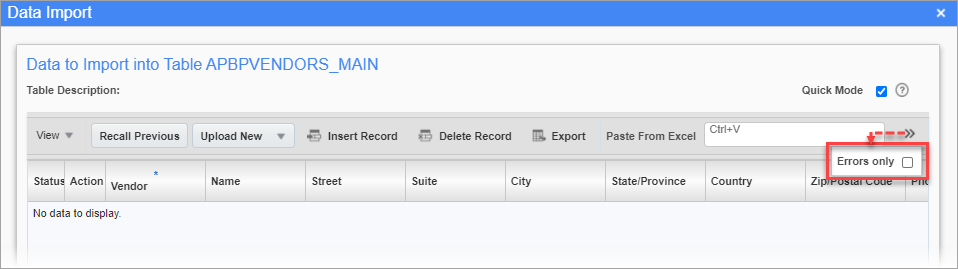
The 'Errors only' checkbox is used to only show rows that need to be corrected.
Exporting
-
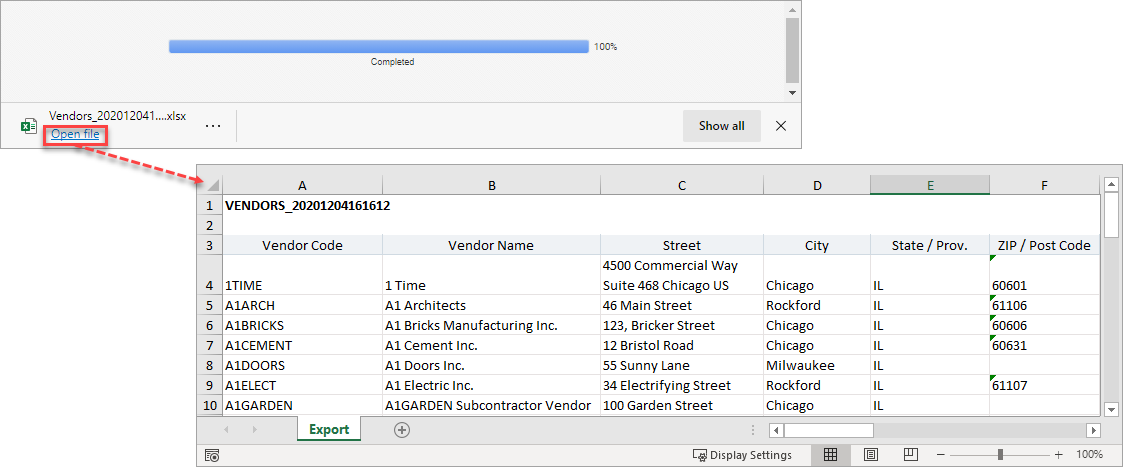
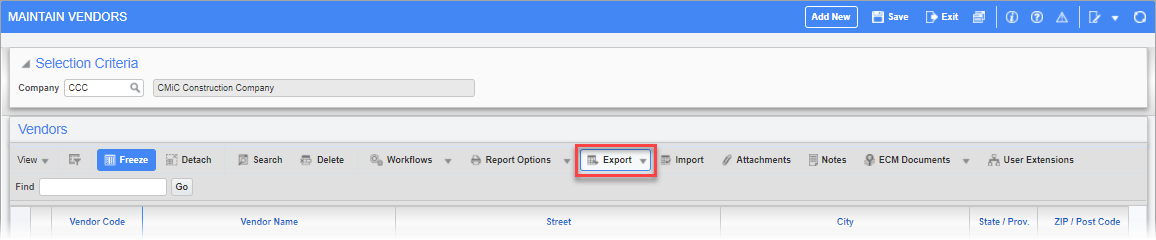
Press the [Export] button in the screen's Block Toolbar to export data.
-
A spreadsheet will be created.
Importing
-
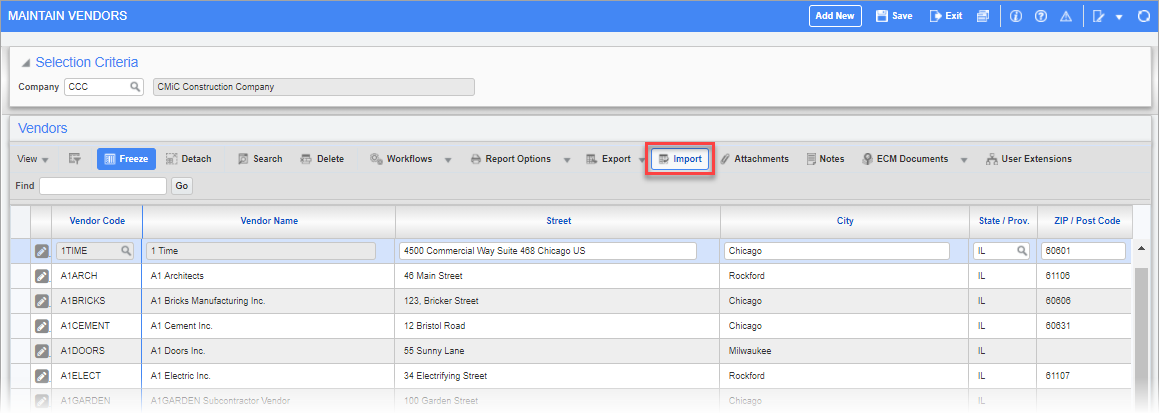
Press the [Import] button in the screen's Block Toolbar to import data.
-
In the Data Import pop-up window, download the template by clicking on the down arrow (
 ) in the [Upload New] button.
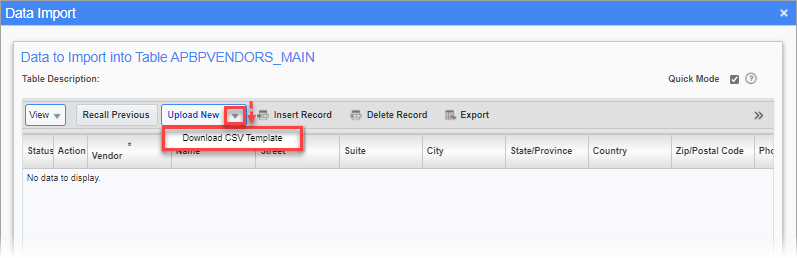
-
Fill out the template.
-
When pasting data, use Control-v and not right-click to paste, as that method will not work.
-
If you prefer to upload the file itself, use the [Upload New] button, which will launch the Upload New File pop-up window.
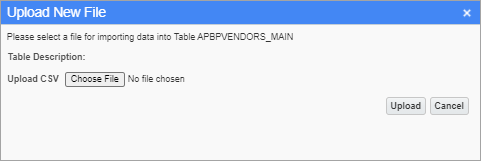
-
Choose the file to be imported. Once you have selected the file, press [Upload] in the Upload New File pop-up window. When using this method, do not remove or change the header/column titles from the spreadsheet and make sure to keep the file in CSV format.
-
Data must be validated before being imported. Press the [Validate and Import File] button to validate the data.
-
If a record is determined to be valid, the record is set to green. If validation fails, the status is red and the validation error is displayed below the data area.
-
You have the option of validating the current line, which is a way to save time. Alternatively, press [Validate and Import File] if you would prefer to try importing all data.
-
If there were invalid records, you can make the corrections directly on this screen. Records can be manually added or removed. When corrections are completed, press [Validate and Import File] to re-import. Once the data is successfully imported, exit the pop-up and refresh the screen.