Process Definition section
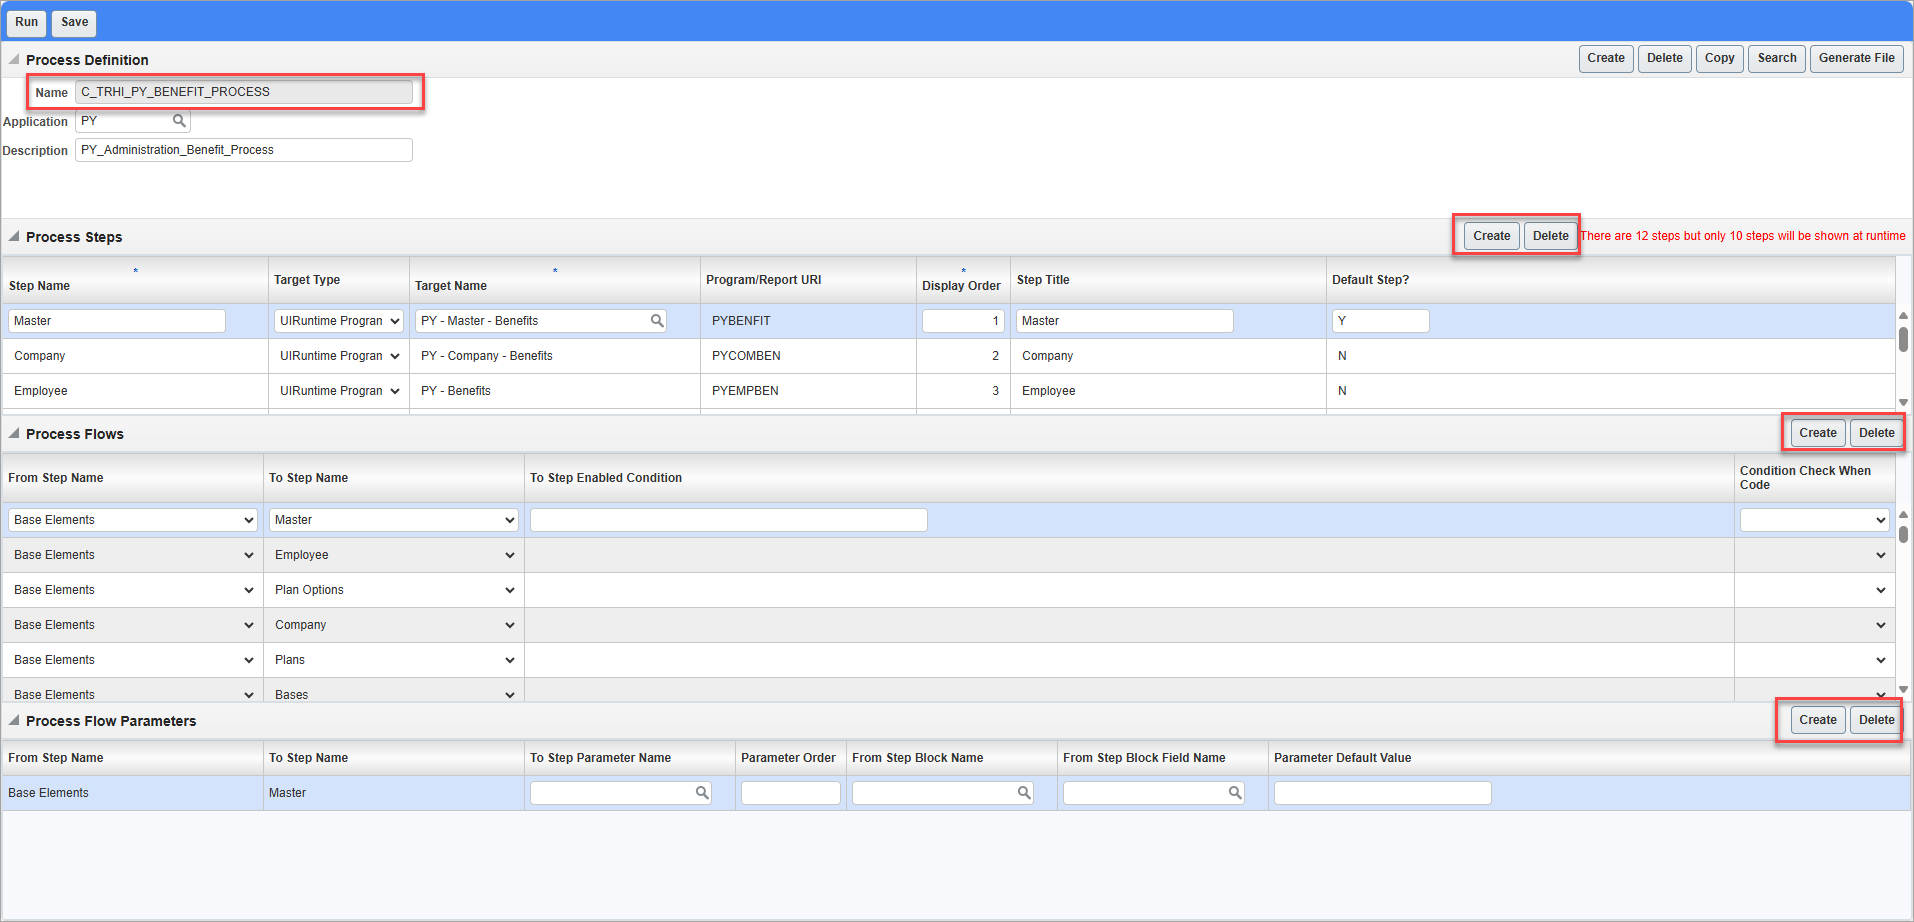
The Process Definition section of the Process Builder screen is used to create or edit a process’s definition. Press this section’s [Create] or [Copy] button to make the fields available for entry.
The following provides details about the fields of a process definition.
Name
A unique code to identify the new process; it is suggested that prefixes or suffixes be added to process codes in order to categorize them, and to distinguish user-defined processes from standard ones.
Application
Code of module for which the new process is being defined (e.g. AP, JC, PY); click the search icon (magnifying glass) next to this field to search for the code via a pop-up window.
Description
A description of the process being defined.
[Create] – Button
Press this button to make this section’s fields available for entry.
[Delete] – Button
Used to delete the process. This button is only enabled for custom added processes.
[Copy] – Button
This button is enabled if the displayed process is saved in the system. It is used to create a copy of the existing process to use as a starting point to create a customized version of it.
For details, refer to the following subsection, Copy Process to Create Customized Version.
[Search] – Button

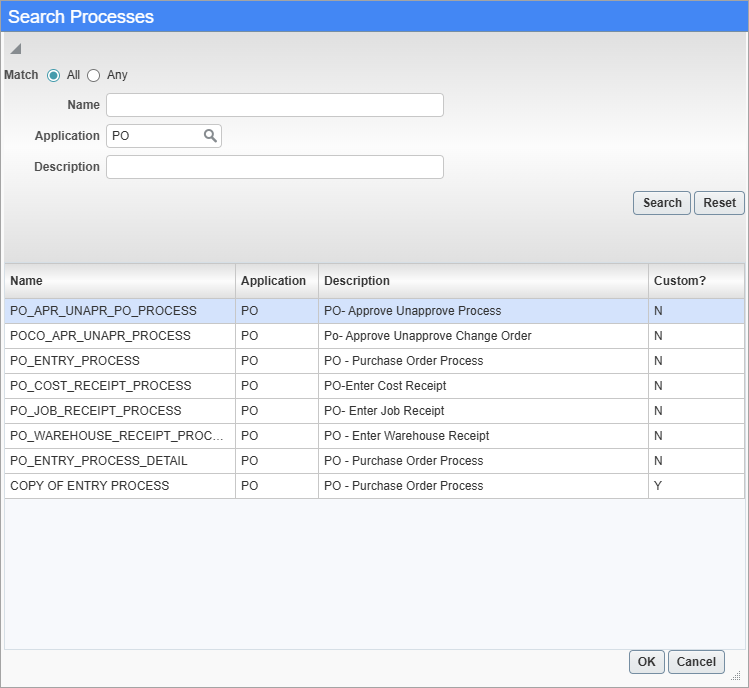
Used to search for and load an existing process. The Custom? field indicates if the process is user-defined (indicated by “Y”) or standard (indicated by “N”).
Copy Process to Create Customized Version
The [Copy] button is used to create a copy of an existing process, including CMiC’s standard processes (provided with system). This is useful if it is necessary to create a customized version of a standard process or of a user-defined process, by adding steps to, or removing steps from the copy.
NOTE: The system’s standard processes are not editable, however, they can be copied, and the copy will be editable.
![Screenshot of Copy Process pop-up launched from [Copy] button.](../../../Resources/Images/12cTOOLS_-_Process_Builder/PROC_Process_Definition3.png)
Copy Process pop-up
To create a copy of a process, load the Process Builder tool with the process to copy, then click this section’s [Copy] button.
Enter the name for the new process and click [OK], and the Process Builder tool will now be loaded with the new process in Edit mode, as shown below.

Sample copied process in Edit mode