Pre-Installation Check List
-
Do you know the Vertex installation path?
-
Do you know the SYSTEM user password?
-
Do you know the DA user password?
-
Have all processed payrolls been posted?
For example, the environment folder is D:\cm\v12\env1, and the Vertex path is D:\cm\v12\env1\V.
-
Go to the Vertex directory on the CD.
-
Start the program called setup.exe.
If Windows 2000 is running through Terminal Services, start setup.exe from the Control Panel > Add/Remove New programs.
Screen 1:
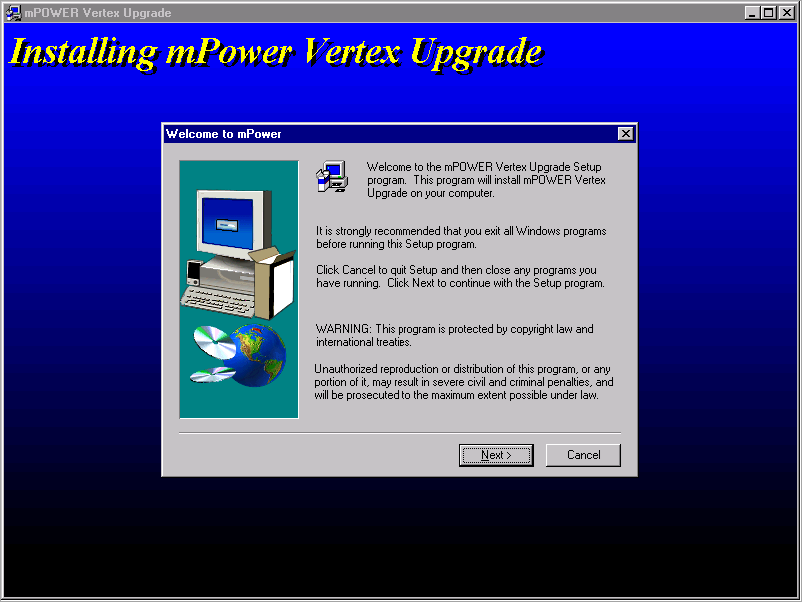
This is the starting screen, after reading this screen, press [Next] to continue or [Cancel] to quit the upgrade procedure.
Screen 2:

The screen will default the username and company code. Please ensure that they are correct and then click [Next] to continue.
Screen 3:
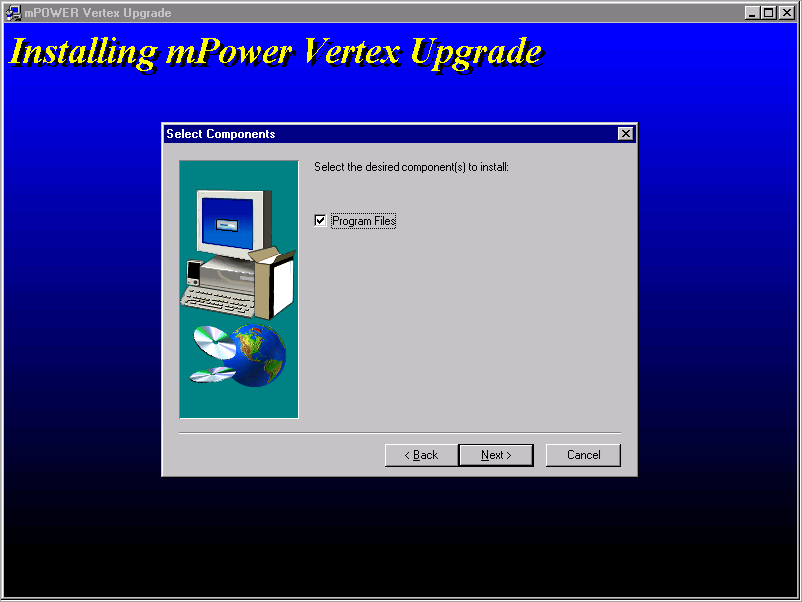
This screen allows the user to select the components required. For a Vertex upgrade there is only one option, the ‘Program Files’ checkbox, and it will automatically be checked. To continue to the next screen, click [Next].
Screen 4:
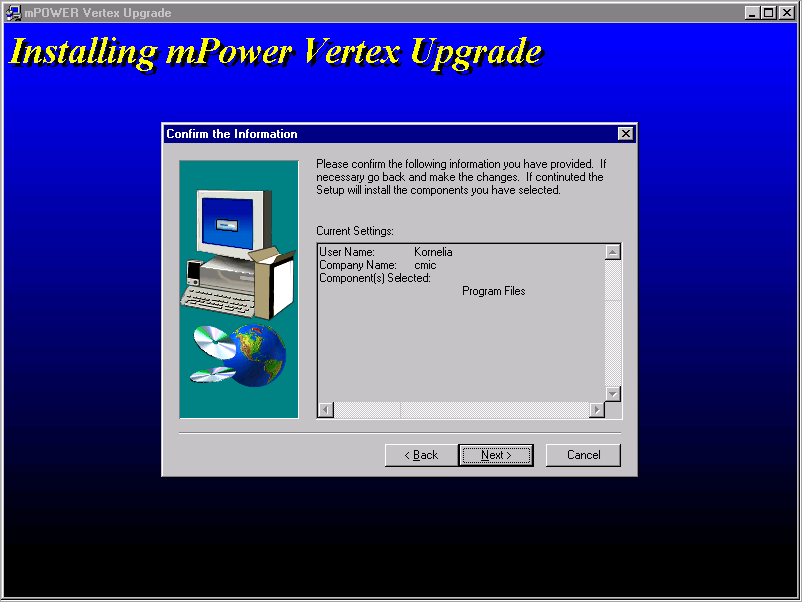
This is a confirmation screen. After confirming that the current settings are correct, click [Next] to continue.
Screen 5:

Enter the path where the Vertex forms are installed. Click [Next] when completed.
Screen 6:
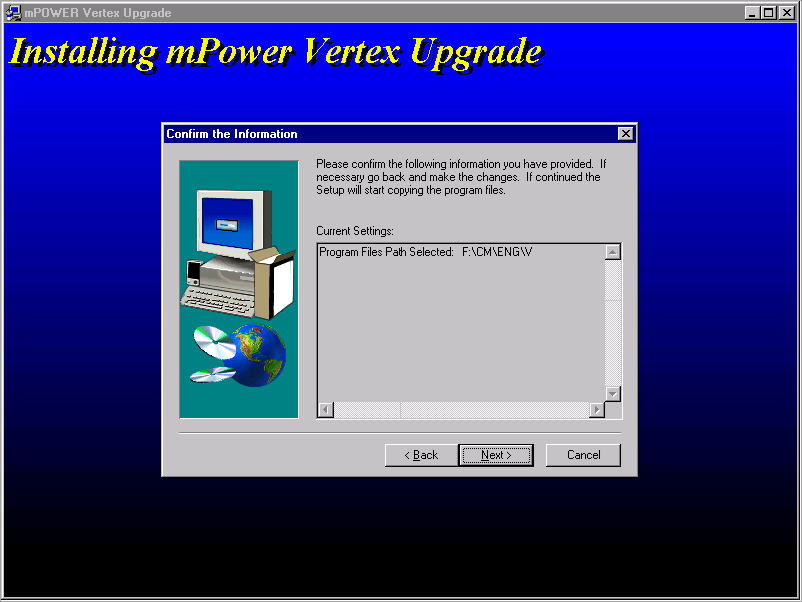
This is a confirmation screen of the Vertex path entered. Please ensure the setting is correct, then click [Next] to continue.
Screen 7:
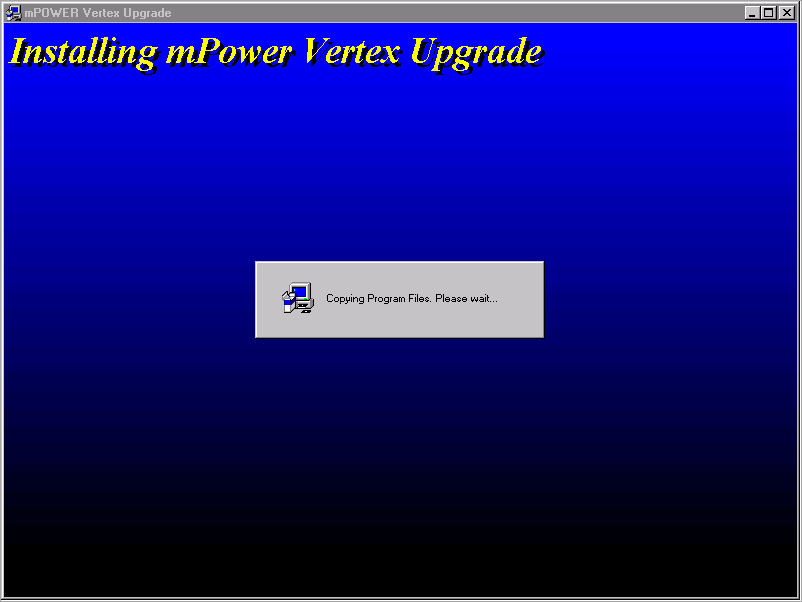
The install program will now copy the required files. This is not the end of the installation. After this step, further input is required.
Screen 8:
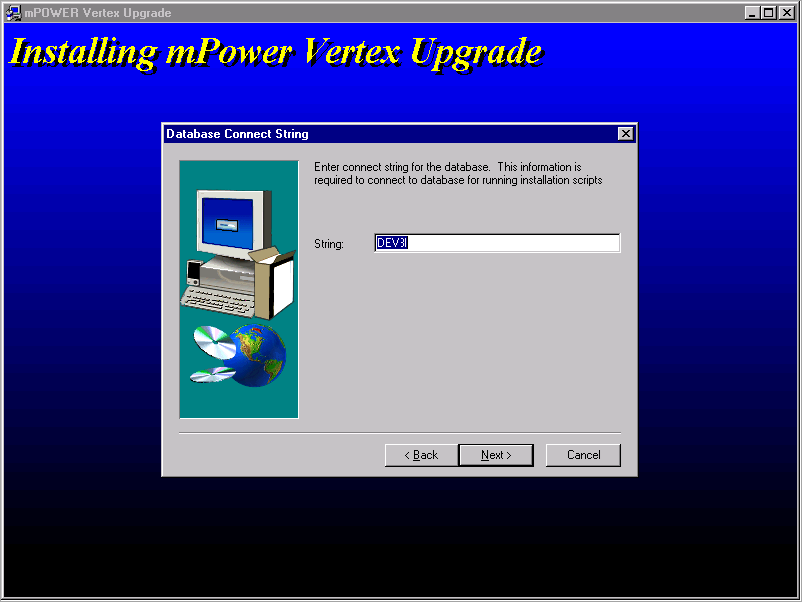
This screen is asking for the connect string for the database being upgraded. Please ensure that the correct connect string is entered. This is very important if you have both a Test and a Production database. Click [Next] to continue.
Screen 9:
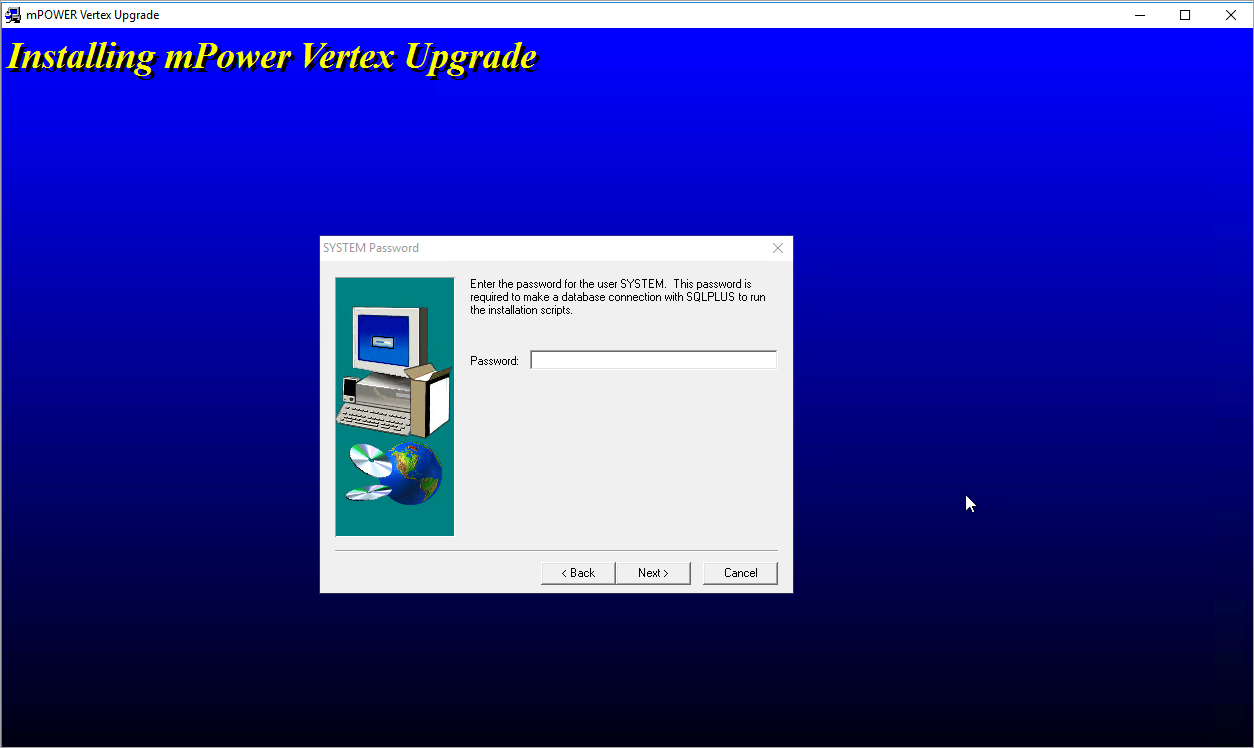
Enter the SYSTEM user password for the database entered on the previous screen. Click [Next] to continue. The install program will verify the password is correct. If it is incorrect, the program will display a message stating that the password is incorrect and will return the user to this screen.
Screen 10:
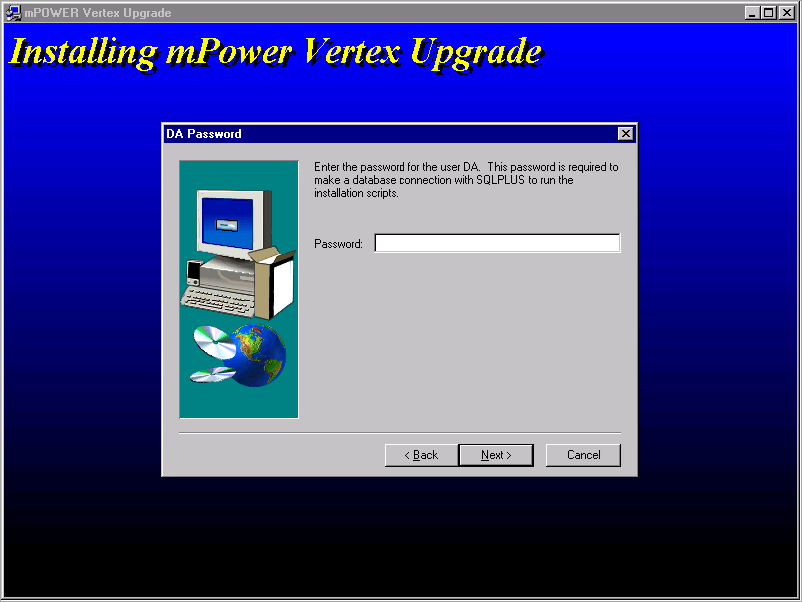
Enter the DA user password for the database entered previously. Click [Next] to continue. The install program will verify the password is correct. If it is incorrect, the program will display a message stating that the password is incorrect and will return the user to this screen.
Screen 11:
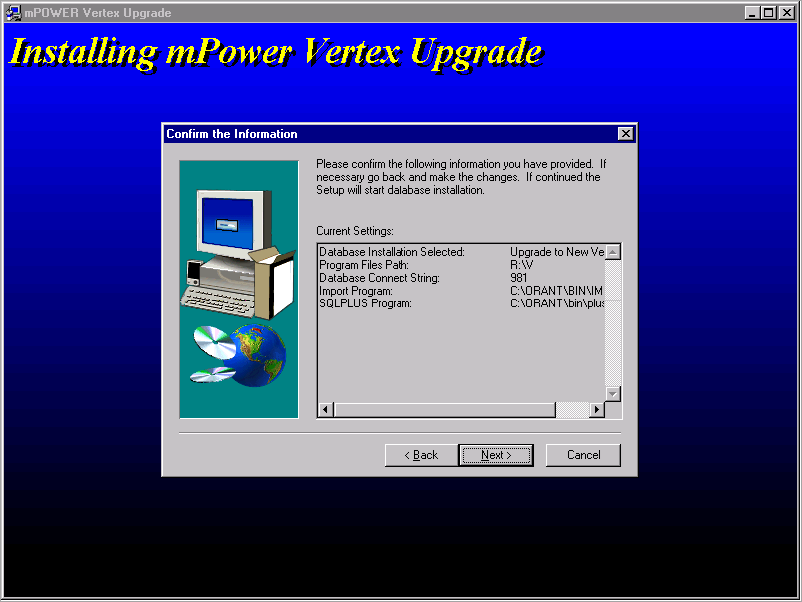
This is the last confirmation screen. Please ensure all information is correct before clicking [Next].
The installation program will continue with dropping and importing the new Vertex tables and perform other minor tasks.
Screen 12:
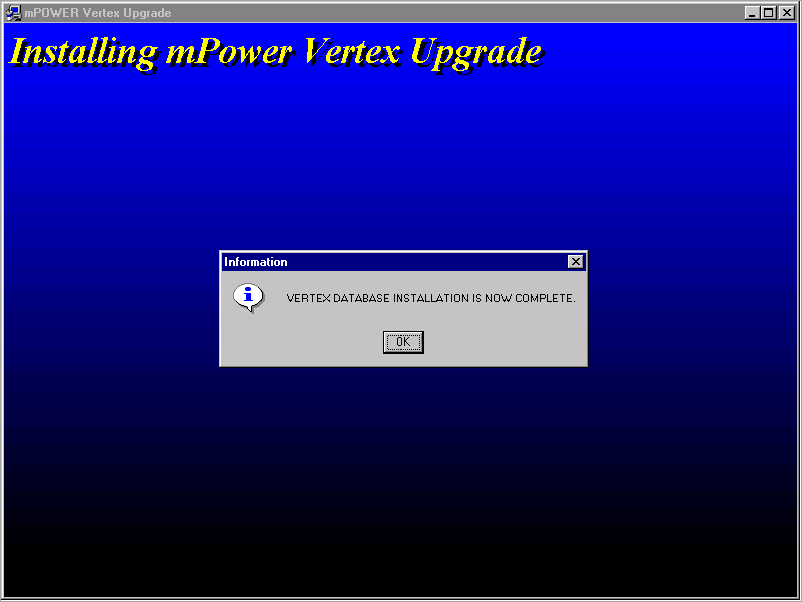
When the installation is complete this screen will appear. Click [OK] to exit the installation program.