Overview

There is a Logout ( ) icon in the CMiC application at the top right corner of the screen. Some older installations do not have this icon configured or functioning properly. This article describes the setup required to use the Logout functionality.
The setup is required to be done in two places:
-
On the OAM WebGate Agents.
-
Inside the CMIC Table where the Logout URL should be configured.
Process for OAM Changes
The following are steps to configure the Logout URL on OAM.
-
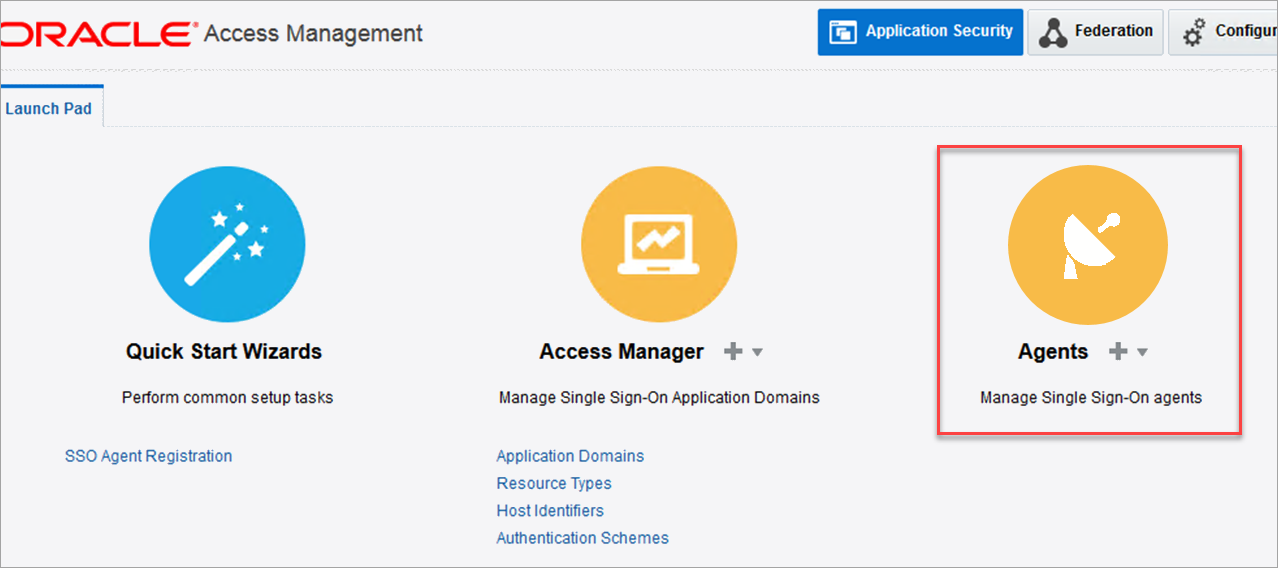
Connect to the oamconsole of each OAM Server that you have.
The URL is typically: http://INFRA_SERVER:7012/oamconsole
-
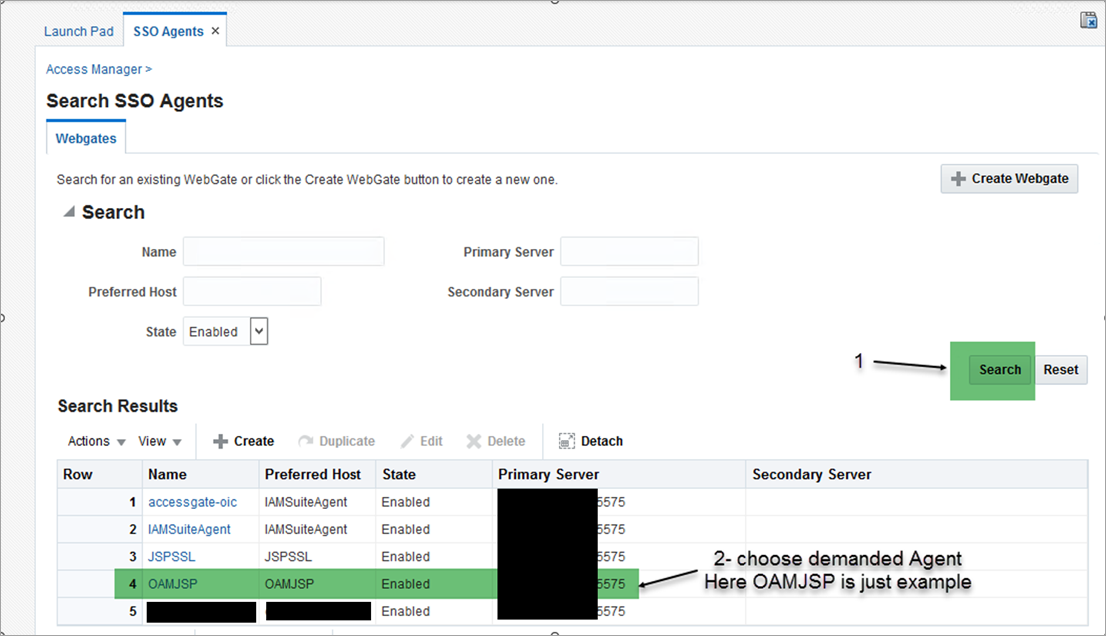
Select SSO Agent(s) to update. For example, OAMJSP in the screenshot below.
-
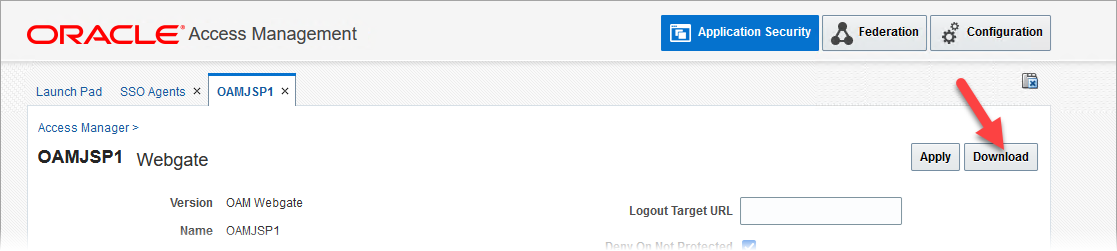
For this agent, modify the value of the Logout Redirect URL field.

This depends on how your networking is setup.
During initial installation, this would be a non-SSL URL of OHS in front of OAM. It would look like the following:
Copyhttp://INFRA_SERVER:14100/oam/server/logoutor
Copyhttp://INFRA_SERVER:7793/oam/server/logoutWe would assume that you would have some sort of Load Balancer setup for your Login/OAM page. Please see How to Find the Load Balancer SSL URL (for NON AZURE AD Integrated Environments) for details.
If the Load Balancer has the following mapping:
Copyhttp://INFRA_SERVER:7793 --> https://LB_Infra_URL:443change this value to:
Copyhttps://LB_Infra_URL:443/oam/server/logoutThen click [Apply].
-
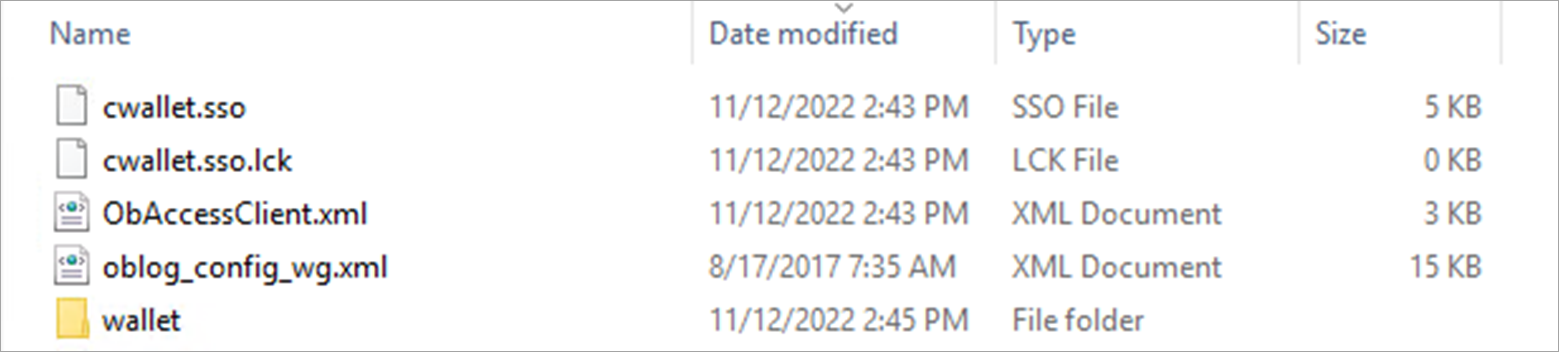
Artifacts for WebGate Agent must be recreated or recopied. Use the [Download] button on the WebGate Agent screen to download artifacts for the WebGate agent.
The same files can be obtained from the INFRAOAM oracle Domain Home which would be similar to the following:
CopyINFRA_OAM_DOMAIN\output\<Agent_Name>Example:
CopyD:\oracle\infraoam\user_projects\domains\infraoam\output\<Agent_Name>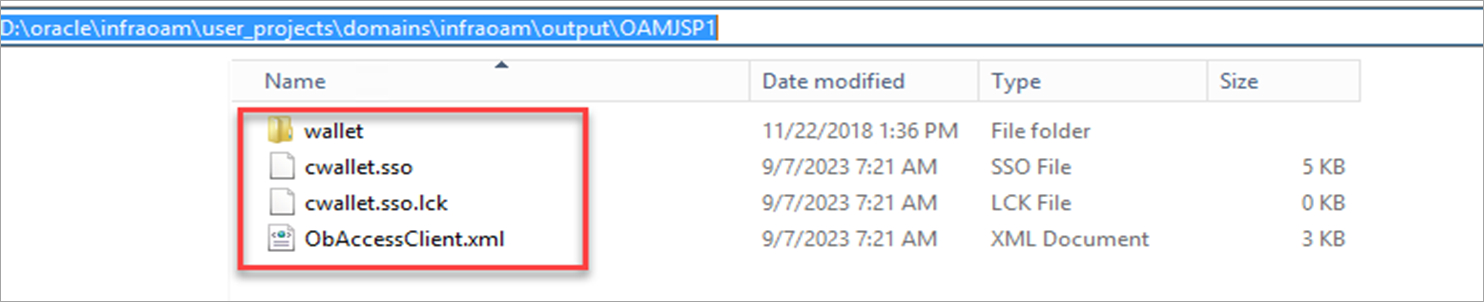
-
Copy the artifacts to the client side where OHS with WebGate is installed.
For example, OHS as the front end of JSP domains:
The copy to path of the OHS instance:
CopyOHS_DOMAIN\config\fmwconfig\components\OHS\instances\ohs1\webgate\configExamples:
CopyD:\oracle\midtierjsp\user_projects\domains\ohs\config\fmwconfig\components\OHS\instances\ohs1\webgate\configCopyD:\cm\ias\domains\jsp\ohs\config\fmwconfig\components\OHS\instances\ohs1\webgate\If you are going to be making a backup of this folder, please make a backup similar to the following:
CopyOHS_DOMAIN\config\fmwconfig\components\OHS\instances\ohs1\webgate\config_dateExamples:
CopyD:\oracle\midtierjsp\user_projects\domains\ohs\config\fmwconfig\components\OHS\instances\ohs1\webgate\config_dateCopyD:\cm\ias\domains\jsp\ohs\config\fmwconfig\components\OHS\instances\ohs1\webgate\config_dateThe copy to path of the OHS stage folder:
CopyOHS_DOMAIN\config\fmwconfig\components\OHS\ohs1\webgate\configExamples:
CopyD:\oracle\midtierjsp\user_projects\domains\ohs\config\fmwconfig\components\OHS\ohs1\webgate\configCopyD:\cm\ias\domains\jsp\ohs\config\fmwconfig\components\OHS\ohs1\webgate\configIf you are going to be making a backup of this folder, please make a backup similar to the following:
CopyOHS_DOMAIN\config\fmwconfig\components\OHS\ohs1\webgate\config_dateExamples:
CopyD:\oracle\midtierjsp\user_projects\domains\ohs\config\fmwconfig\components\OHS\ohs1\webgate\config_dateCopyD:\cm\ias\domains\jsp\ohs\config\fmwconfig\components\OHS\ohs1\webgate\config_date -
Compare the old and new artifacts to make sure no file is missing. Make sure you copy the “oblog_config_wg.xml” file from the old artifacts (if it exists) as it is not generated by the OAM agent.
-
The following stops the OHS from the command line as Administrator.
Copycd /d OHS_DOMAIN\bin
stopComponent ohs1Examples:
Copycd /d D:\oracle\midtierjsp\user_projects\domains\ohs\bin
stopComponent ohs1Copycd /d D:\cm\ias\domains\jsp\ohs\bin
stopComponent ohs1To clean the cache folder, delete all files from the following folder:
CopyOHS_DOMAIN\servers\ohs1\cacheExamples:
CopyD:\oracle\midtierjsp\user_projects\domains\ohs\servers\ohs1\cacheCopyD:\cm\ias\domains\jsp\ohs\servers\ohs1\cacheThe following starts the OHS from the command line as Administrator:
CopystartComponent ohs1 -
If there are additional JSP servers, repeat Steps 1-7 for different OAM WebGate/JSP Server combinations until all OAM WebGate/JSP Servers are configured with the appropriate Logout Redirect URL in the OAM WebGate setup .
-
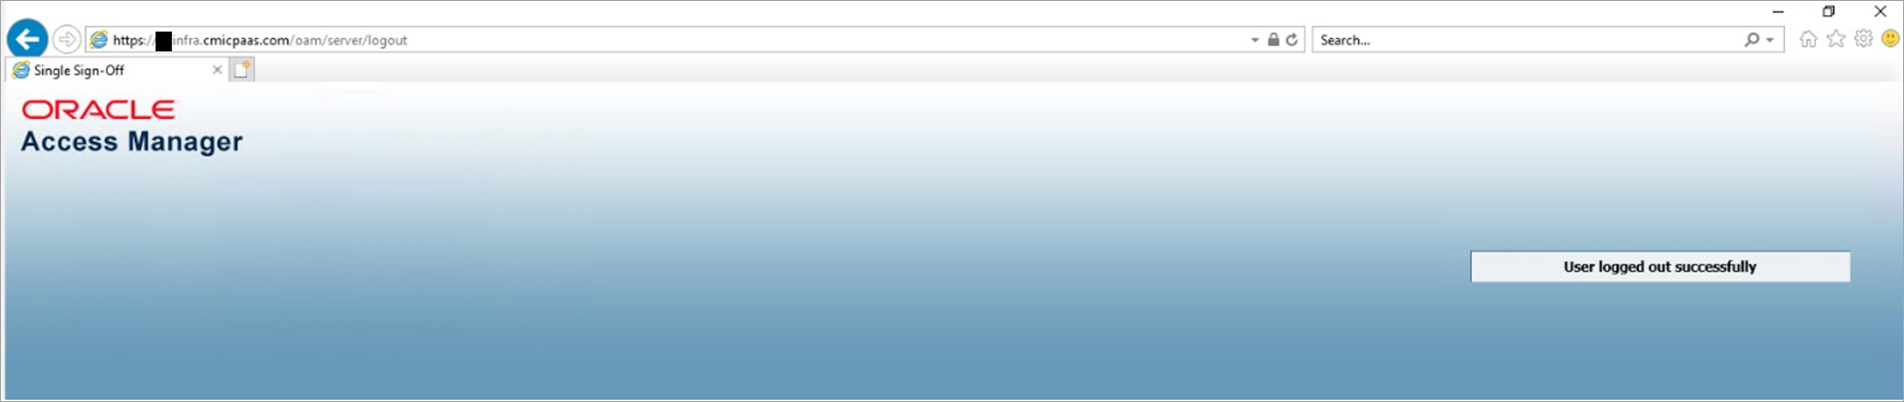
Verify the Logout URL works from the browser.
Example: Enter the following URLs identified in the previous steps in a browser.
https://LB_Infra_URL:443/oam/server/logout
https://IDENTIFIERinfra.cmicpaas.com:443/oam/server/logout
You should see the following screen if successful:
Application Setup
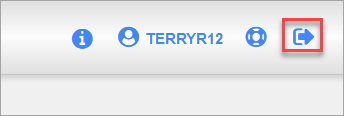
Make sure the Logout () icon on the top-right corner of the screen is present.
If the Logout () icon is not present, check the value using the below query. It would be empty causing the icon not to be displayed.
SQL> select LDAPS_LOGOUT_URL from DA.LDAPSERVERS;Populate the column and refresh the screen, the Logout () icon should be visible now.
SQL> update DA.LDAPSERVERS set LDAPS_LOGOUT_URL='../SdMenu/cmicLogout';
SQL> Commit;
Testing
-
Log in to the application.
-
Click on the Logout (
) icon.
-
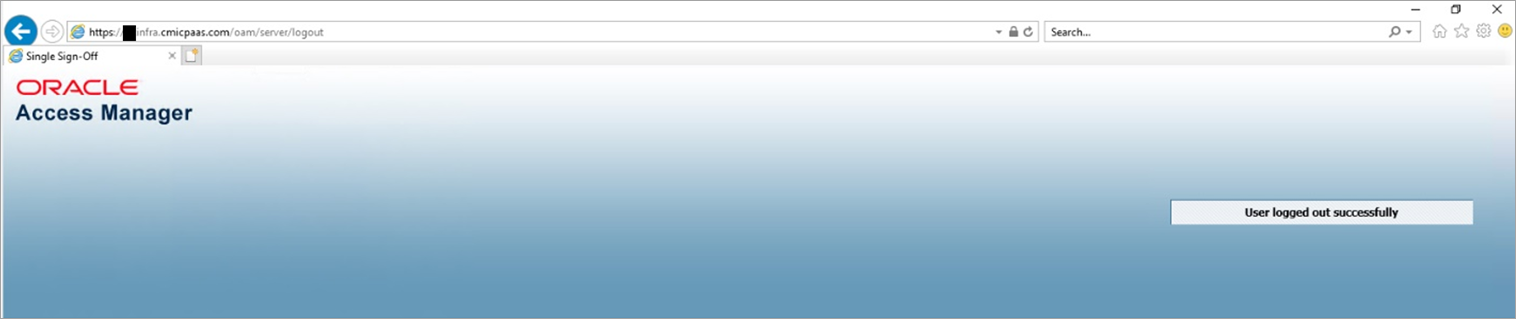
It will take you to the Logout URL.
The Logout URL will look similar to the following:
https://IDENTIFIERinfra.cmicpaas.com:443/oam/server/logout
Example:
-
The CMiC system is integrated with the Azure AD Integration.
If you have the Azure AD integration, instead of the OAM Logout URL (https://IDENTIFIERinfra.cmicpaas.com:443/oam/server/logout), you would be prompted with the Microsoft Azure AD screen to select which user to log out from Azure AD.
The implementation of the Logout (
) icon in CMiC is identical, but you will see different screens for Login and Logout as they will be replaced with Azure screens.
How to Find the Load Balancer SSL URL (for NON AZURE AD Integrated Environments)
-
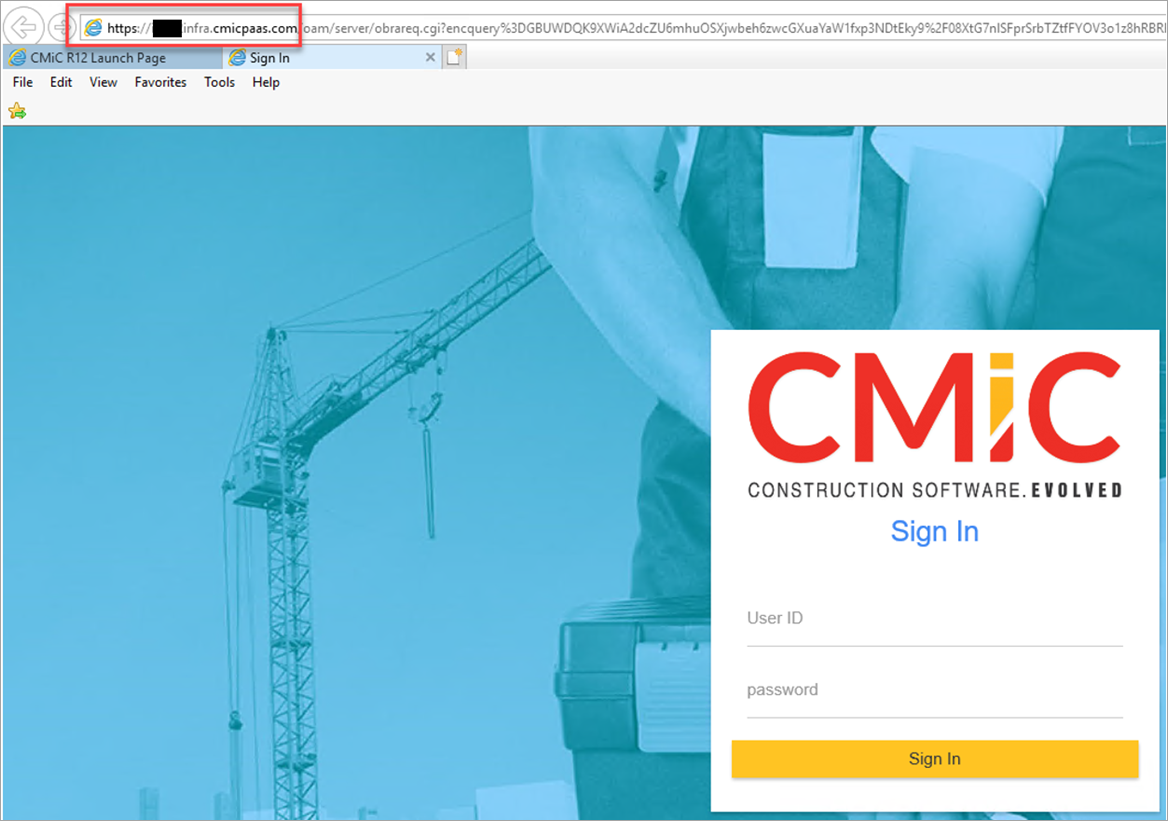
Open the CMIC Launch Page to login into enterprise. You will arrive on the Custom OAM page.
-
The URL on the browser will give you the correct LB SSL URL.
https://LB_Infra_URL/oam/ server/obrareq.cgi?encquery%3DGBUW..........
For example:
https://IDENTIFIERinfra.cmicpaas.com/oam/server/obrareq.cgi?encquery
-
The Logout URL will then be:
https://IDENTIFIERinfra.cmicpaas.com:443/oam/server/logout