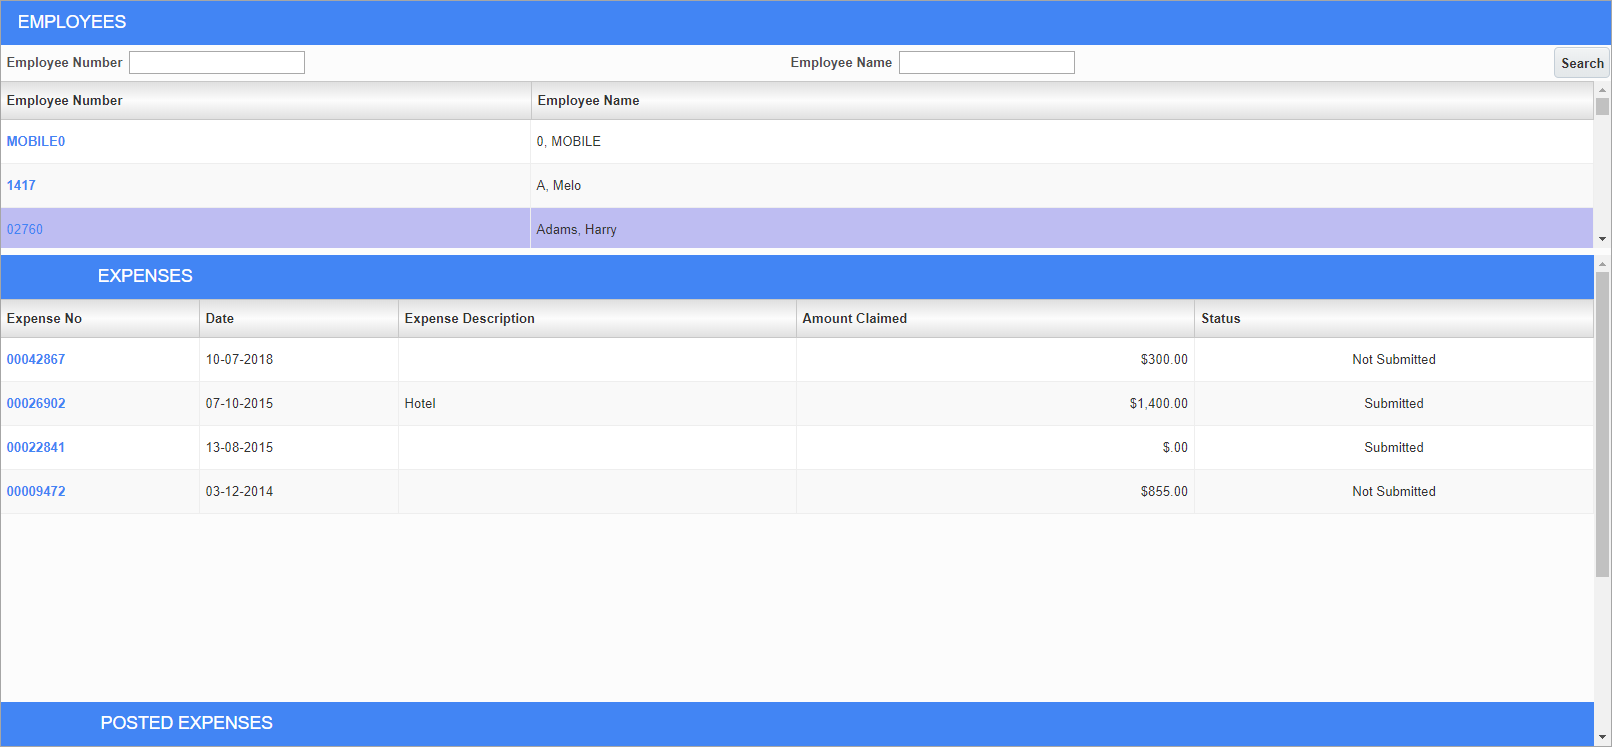
Expense Entry; standard Treeview path: E-Time > E-Expense > Expense Entry
This screen can be used to enter basic information regarding expenses charged by employees. To view the expenses for an employee, press the blue link provided by their employee number in the Employees section. The selected employee is highlighted, as shown in the screenshot above. To view an expense’s details, press the blue link provided by its expense number in the Expenses section.
Expenses can be added by pressing the [New Expense] button.

Expense Entry; standard Treeview path: E-Time > E-Expense > Expense Entry – [New Expense] button – Expenses tab
This screen can be used to enter details for individual expenses. Expenses can be saved by pressing the [Save] button. Once expenses have been saved, they can’t be edited.
Date
Enter/select the date the expense was made.
Exp.Code
Enter/select the expense code. These codes can be set for individual companies in the Expense Categories screen (standard Treeview path: US Payroll > Setup > Company > Expense Categories).
Quantity
Enter the quantity associated with the expense code. This value could be, among other things, the number of miles travelled in a rental car or the number of days spent at a hotel.
Rate
Enter a rate associated with the expense code if a rate has not defaulted from the expense set-up in Enterprise. For example, the rate for the mileage on a rental car may be set at 20 cents a mile. If a standard rate has been set it will default into this field, but may be changed.
Amt Claimed
Enter the monetary amount claimed on the expense. This defaults as the rate multiplied by the quantity but may be changed.
Currency
Enter/select the currency code of the expense. These codes can be set in the Currencies screen in Enterprise (standard Treeview path: System > Global Tables > Banking > Currencies).
Conversion Rate
Enter the currency code conversion factor at the time of the expense.
Charge Type
Select whether the expense is a job or an overhead charge. If it is a job charge, enter/select the appropriate values in the Company, Job, Phase, and Category fields.
Company, Job, Phase, Category
Enter/select the codes for the company, job, phase, and category for which the expense was charged.
Region
Enter/select the region in which the expense was made.
Tax1, Tax2, Tax3
Enter/select up to three tax codes for each expense. If codes are entered into any of these fields, the number entered in the Amt Claimed field includes taxes. For example, if $1150 is entered as the expense amount and 0 7% and 0 8% are entered in the Tax1 and Tax2 fields respectively, the system will calculate $1000 as the net expense amount, after taxes.
These codes can be made available for expense entry in the Taxes By Region screen.
NOTE: These tax fields are available only if the 'Allow E-Expense Posting Through Timesheet Posting' box is checked on the Payroll Control screen.
Customer
Enter the code for the customer of the job.
Adv.Pay
Enter the amount of the expense to be paid in advance.
Project
Enter the code for the project on which the employee was working.
Comments
Enter a brief description about the expense entered. If the 'Comments – E-Expense' box is checked in the Company Control screen, this is a mandatory field.
Once the details have been entered and saved, press the [Submit] button to mark the record as ready for approval. Once an expense report has been submitted it may only be changed by an approver. If the Expense Approver E-Mail field has been assigned a value in the Access Codes screen, then the owner of that e-mail address receives an e-mail whenever an expense is awaiting approval.

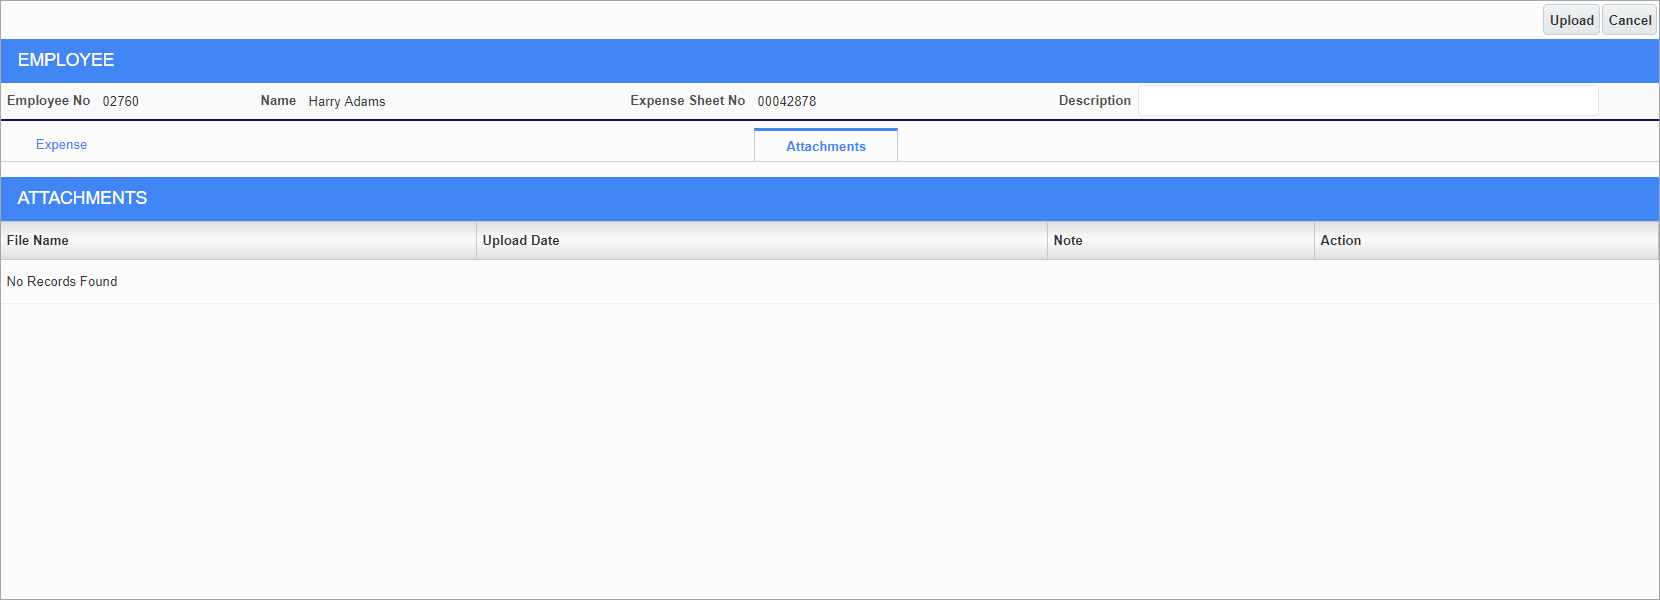
Expense Entry; standard Treeview path: E-Time > E-Expense > Expense Entry – [New Expense] button – Attachments tab
This tab can be used to upload any documents that may be useful or pertinent to the expense being entered. Documents can be attached to the expense record by pressing the [Upload] button.