E-Time - Registering for E-Time
Overview
Employees with access to the E-Time module are able to enter timesheets for themselves and their team members. With the release of patch V12-014-1, CMiC has revised the E-Time registration process: there is no longer a menu to create access codes and instead, employees are automatically assigned an access code after they receive a email containing a link which completes the registration process.
Registration for Existing and Non-Existing CMiC Users
Employee Profile
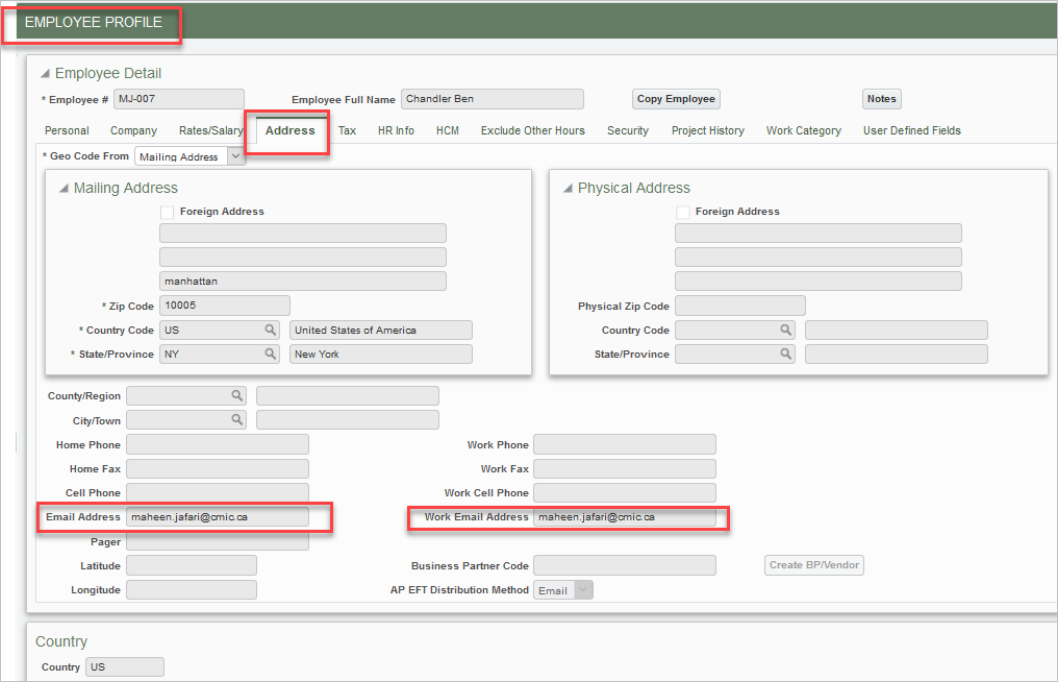
First, users should set up an Employee Profile and enter their email address in the Address tab, as shown above.
Human Capital Management
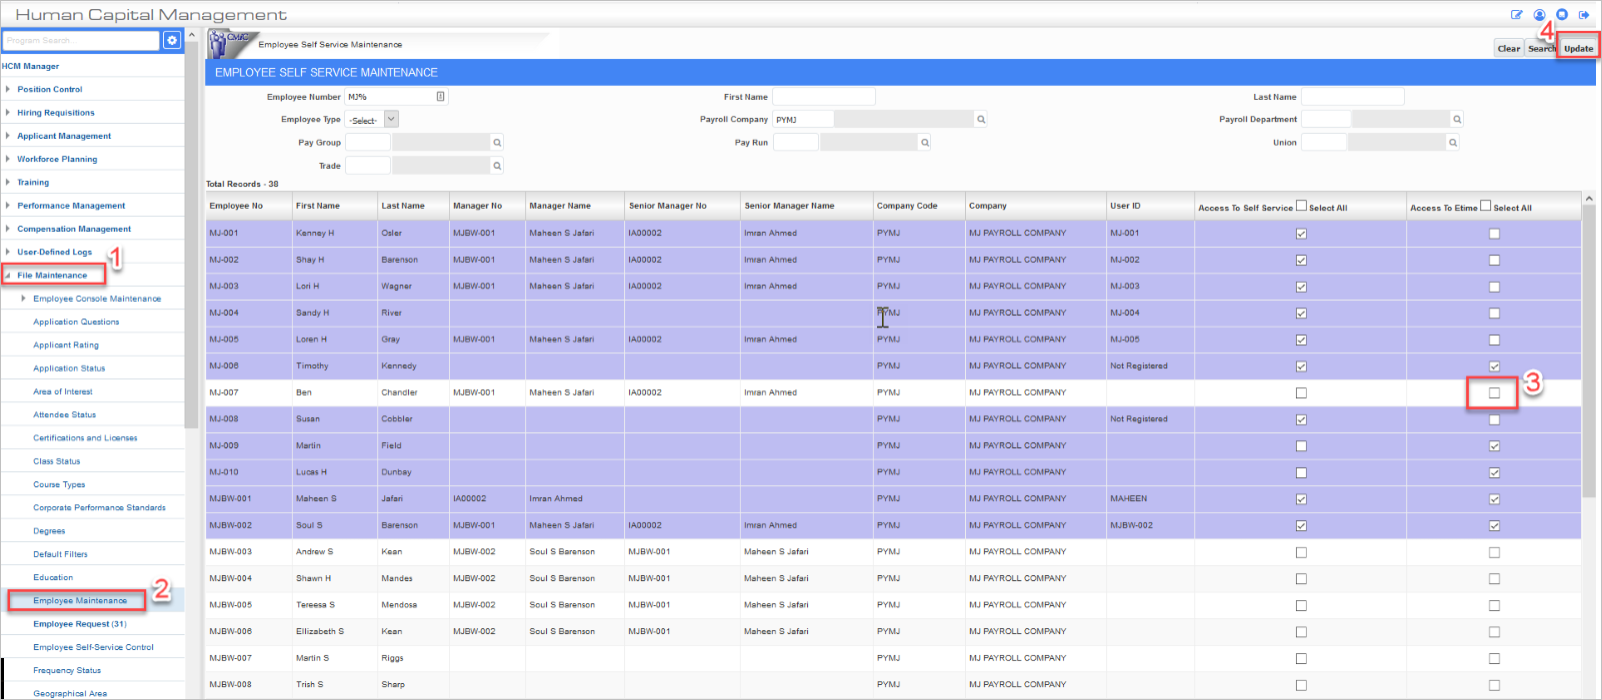
Next, open the Employee Maintenance screen in the Human Capital Management module. To assign the E-Time module to an employee record, select that record, check the 'Access to ETime' box, and press the [Update] button.
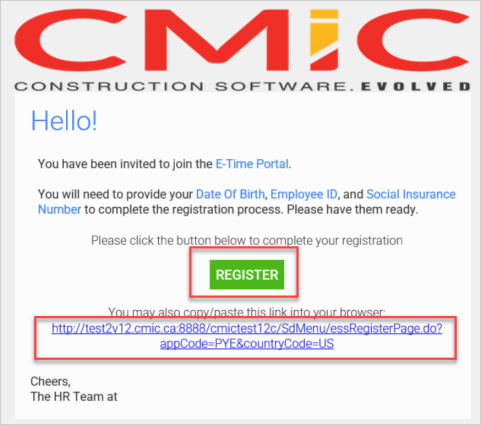
The email shown above is then sent to the email address associated with that employee record. Either press the green [Register] button or copy the URL below it into your browser.
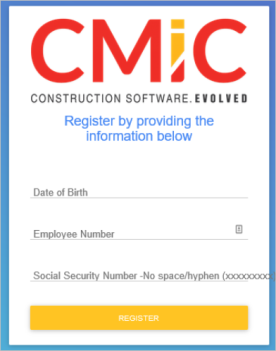
The user will then be prompted for their date of birth, employee number, and Social Security Number, as shown above. Please note that the SSN should be given as one number with no spaces or hyphens.
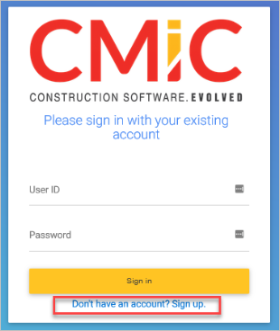
Once registered, the employee will be prompted to sign in with their Enterprise User ID and password as shown above. If the user already has Enterprise log-in credentials then they can enter those here and press the [Sign In] button. They will then receive an email indicating that their account has been linked with E-Time and providing a link for them to log in.
If the user does not already have Enterprise log-in credentials then they can press the link highlighted in the above screenshot to create them in the screen shown below.
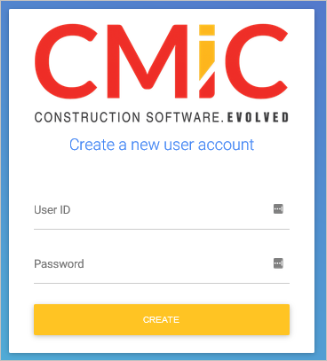
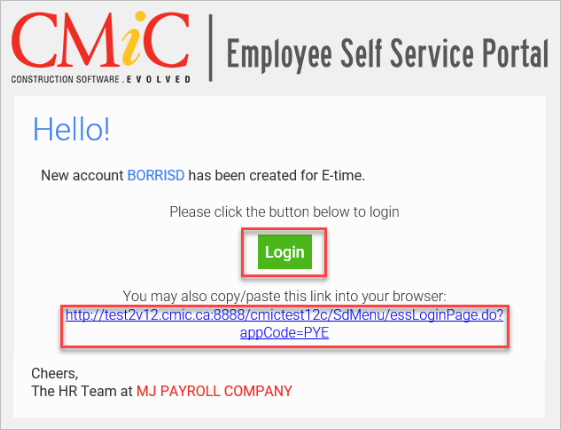
After entering the new User ID and password, press the [Create] button to create the Enterprise user account. The employee will then be send an email prompting them to login, as shown below.
User Maintenance

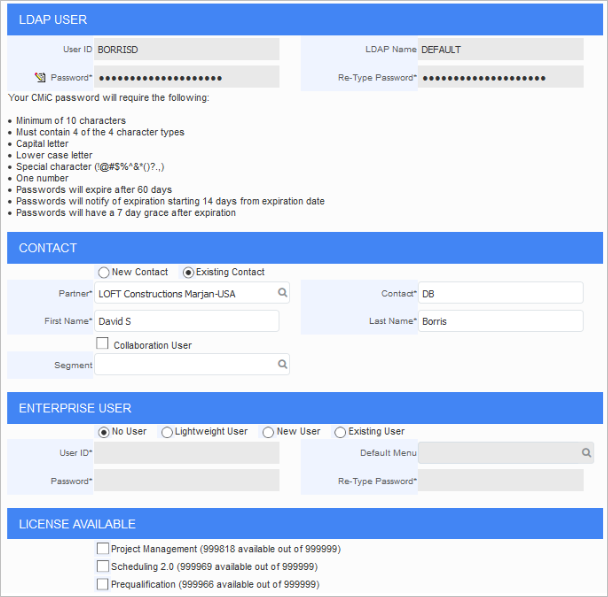
After logging in, the user ID will appear in the User Maintenance screen with LDAP credentials, as shown above. The user will be created as an LDAP user with no Enterprise access.
Access Code Administration
The new user account is automatically assigned to an E-Time access code. These codes can be viewed and modified in the Access Code Administration screen.
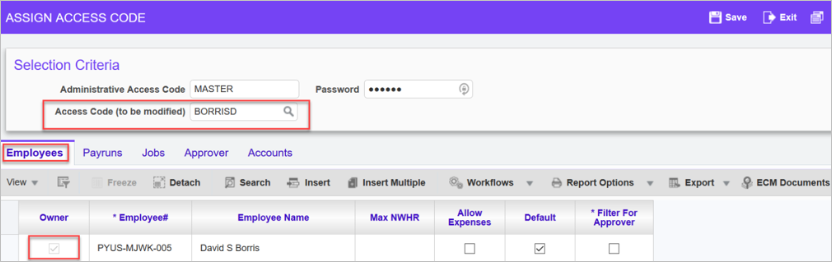
Employee - Tab
The access code is directly linked with the employee number. If the 'Owner' box is checked then the employee is the owner of the specified access code. Please note, that this box cannot be edited.
Pay Runs - Tab
This tab usually remains empty as the employee is only responsible for their own timesheets. However, if the employee is required to enter time for others then the pay run tab can be edited.
Jobs - Tab
The employee is granted access to all jobs, cost codes, and categories for their assigned companies. This can be edited depending on the employee's responsibilities.
Approver - Tab
Accounts - Tab
This tab can be edited depending on the access the employee has to company departments.