Steps for Setup
Basic setup (creation of document types, flysheets, and mapping to object oraseq) is done through file installation, but the steps are described below if they need to be done manually in the future for other screens (will require CMiC consultation).
Define Screens Allowing Image Upload
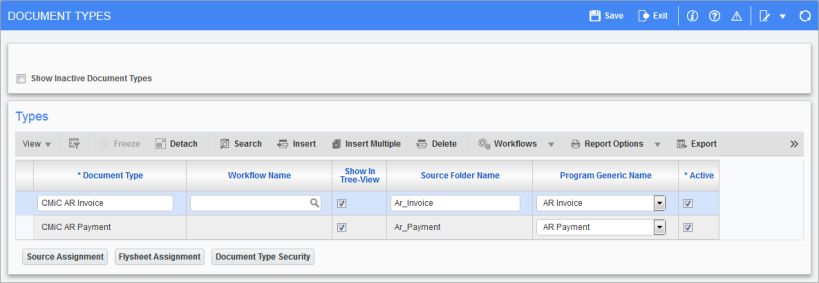
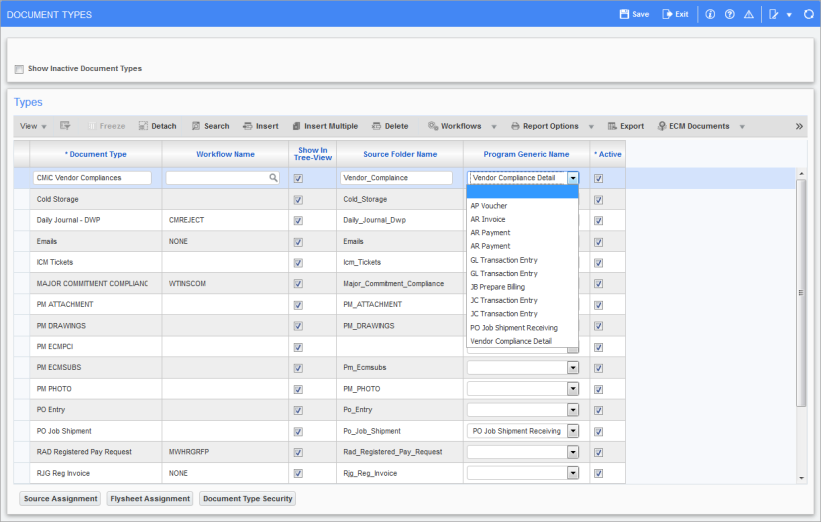
Use the Program Generic Name column to define the screens which will allow image upload. This can be found on the Document Types screen of Imaging (Setup > Document Types).
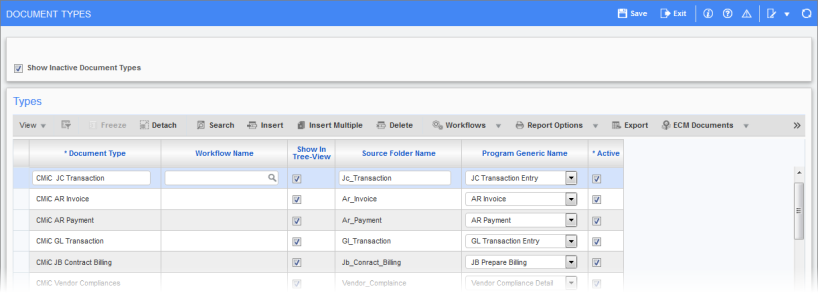
Examples are shown below for GL, JC and AR.


Those for GL, AR, JC, and JB have already been set up as part of the basic setup.
Create Imaging Document Types
Create imaging document types for each screen that will have the image upload, and assign the program generic name accordingly.


The flysheet definitions for these document types are initially inactive and must be activated in order to be used. Check that the flysheets are assigned to the appropriate document types.

Remember to assign source and imaging security for each document type.

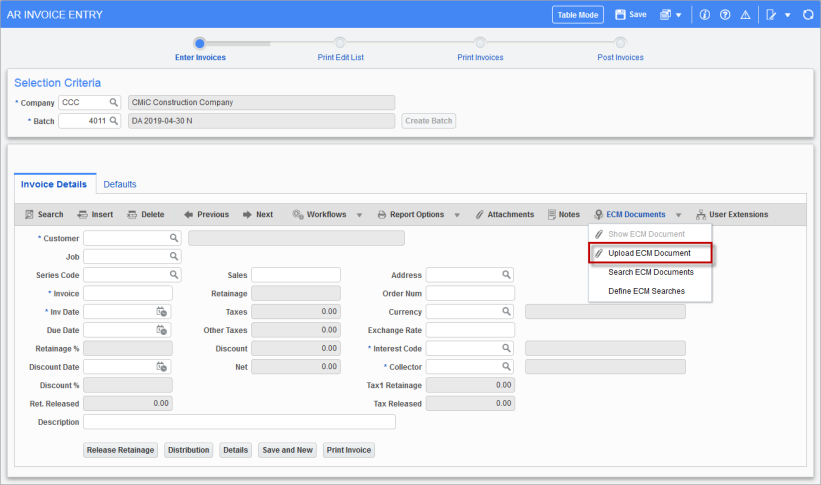
Pgm: ARINVFM – AR Invoice Entry; standard Treeview path: Accounts Receivable > Invoice > Enter Invoices – [ECM Documents] button – Upload ECM Document option
The “Upload ECM Document” option will only respond when clicked if the form has been defined in the Program Generic Form column and the object OraSeq matches.