Imaging - Defining the Document Types
This step is very simple: a document type and the workflow name associated with the type needs to be defined. A document type is an image type. For example, it could be an AP invoice, a subcontract pay request, or a legal document such as a contract. Document types are unlimited and they do not have to relate to a CMiC object. CMiC provides pre-defined document types for most of the key objects within the Enterprise system. These pre-defined objects are all prefixed with "Std" and will always be displayed with view-only attributes. These objects cannot be modified at all. The standard object must be copied and then the copied object must be adjusted.
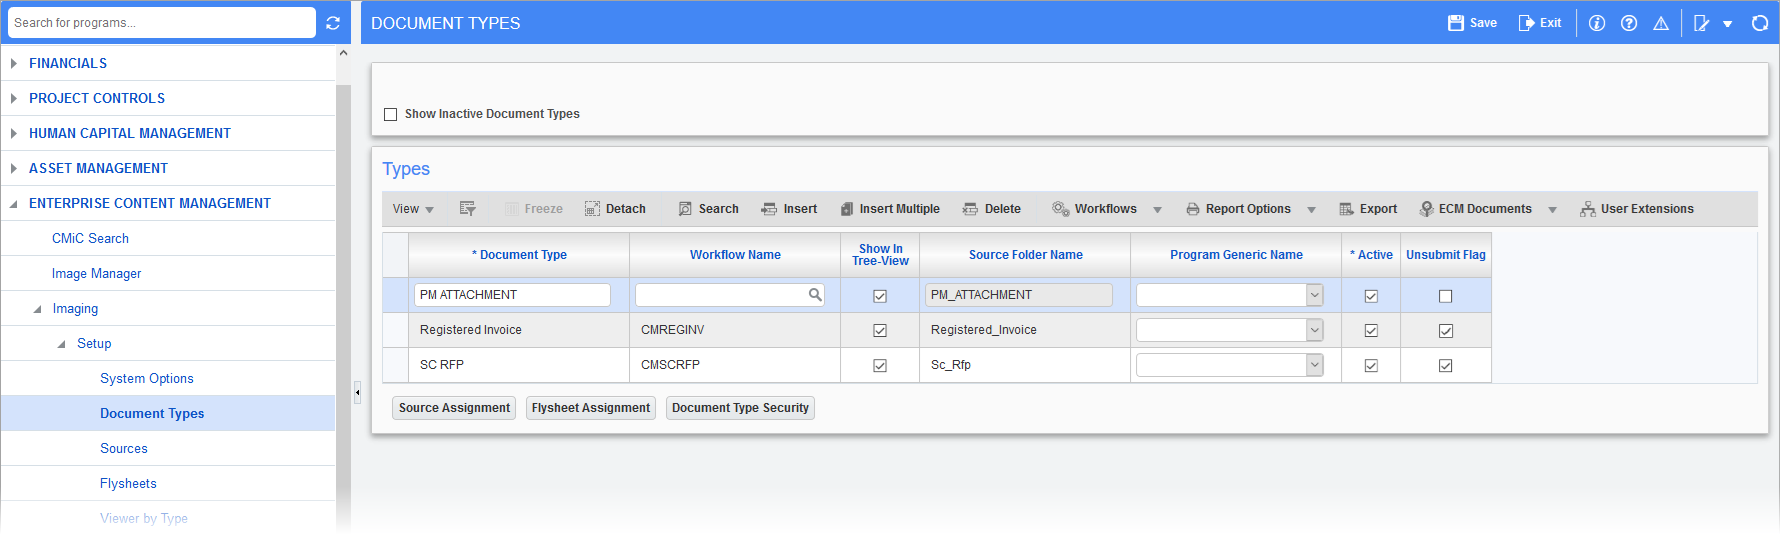
Pgm: IMGDOCTP – Document Types; standard Treeview path: Imaging > Setup > Document Types
Copy a Standard Document
Select the 'Show Inactive Document Types' checkbox then query the details. A button called [Copy Standard Object] will display at the bottom of the screen. Move the cursor to the required object then press the [Copy Standard Object] button. This will display a dialog box asking the user to confirm the copy. When confirmed the system will make a copy to the object replacing the prefix "Std" with "New". The user may then change the name and other related items.
When copying a standard CMiC object, all related information such as flysheet tables, fields, etc. are also copied.
Document Type
Enter a document type. This must be a unique document name, it cannot be duplicated. This is the name that will be used in further setup of the Imaging module and will be seen by the users when they enter flysheet data.
NOTE: The document type, called "Uncategorized Document", is system-defined and not updateable. This type represents all documents that have come into the system, but have not yet been assigned a document type.
Workflow Name
Enter the name of the workflow procedure that has been defined in CMiC Workflow to handle this type of document. This is the internal name of an item type in the Workflow module.
If this document type is to be eventually imported into CMiC tables, this workflow package must contain the import workflow procedure.
If the document type does not require workflow or the CMiC Workflow module is not being used, this field can be left blank. There is not a list of values available from the Workflow module so this type of data will have to be known beforehand. The Workflow Name field may be changed at any point in time and the same workflow may be used for multiple document types.
This is the workflow package that will be invoked when the user presses the [Submit] button on a related flysheet.
Show In Treeview – Checkbox
The 'Show In Treeview' checkbox is used to control whether or not the document type is visible in the Image Manager Document Types drop-down list.
Source Folder Name
This is the name of the lowest level folder used by default as the source directory for new documents of this type. It will be concatenated with a root path determined by the source to obtain the full path. By default, this name is derived from the description of the document type, but it can be changed.
Program Generic Name
Active – Checkbox
If the box is checked, the document type is active. If a document type is marked as inactive it will not be able to be viewed in any of the other setup screens, nor in the Flysheets screen. When creating a new document type make sure this field is checked.
Unsubmit Flag – Checkbox
Checking this box enables the [Unsubmit] button. It can only be enabled if the document type has a master flysheet assigned to it.
The [Document Type Security] button allows the user to apply the user and group security to the type as the type is created. Security can also be applied from the Utilities menu.
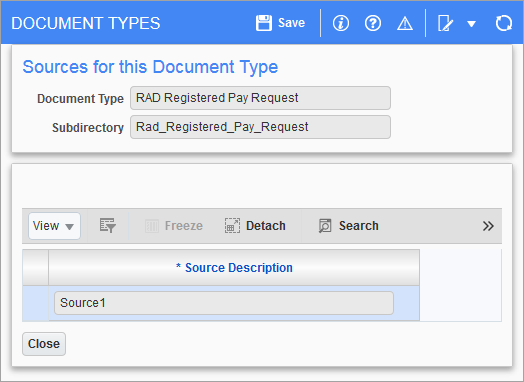
The [Source Assignment] button opens a window that allows the user to apply already defined sources to a document type. Once the flysheet is added and finalized, the source is created for the document type. The flysheet structure is created once the Flysheet Builder is finalized, then the source is automatically added in the backend.
The [Flysheet Assignment] button opens a window that allows the user to apply already defined flysheets to the document type.
