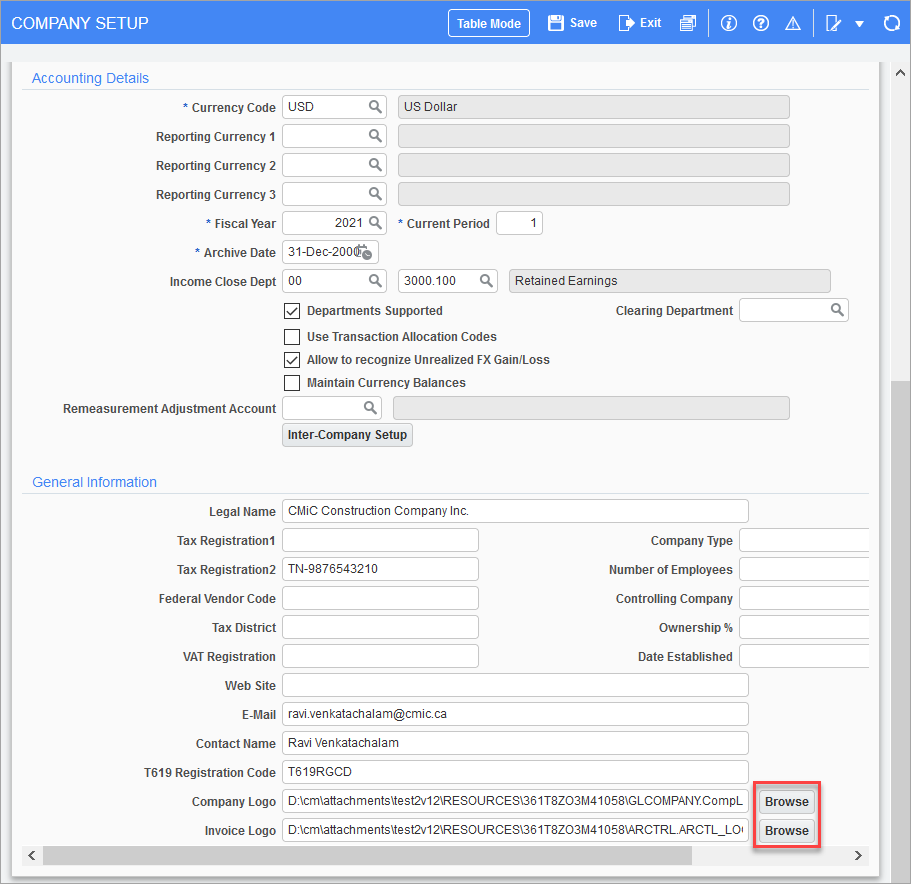
Within your CMiC system, each of your companies can have its own logo for printing reports. Also, should it be required, a different logo can be set for invoices and for reports.
Resizing
It is important to resize large logos. Otherwise, the loading of reports will take more time than necessary. This article will use SnagIt, a popular screenshot and markup tool, to demonstrate how to resize and trim logos. Contact us if you would like assistance with re-sizing your logo.
Here is a large image of the CMiC logo. It has a white, non-transparent background:

To start off, we need to make it smaller. To do that, we go to resize the image:

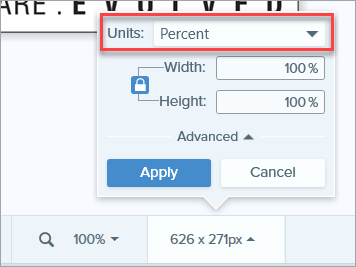
In this case, we are going to resize the image to be a quarter of its width and height, which means that it is one sixteenth of the size:
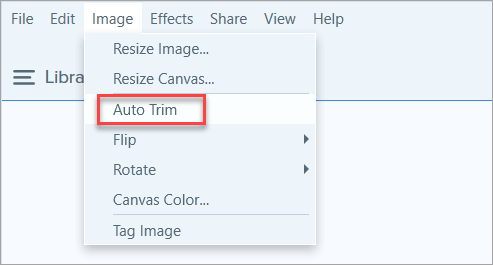
Lastly, we trim the image to eliminate any extra border:
Transparency
By making a logo transparent, you can ensure that no matter what a report header looks like, your logo will not stand out due to a different background.
If your logo is simple, send it to us and we will help out if we can. If your logo is more complicated, it will be necessary to rely on your marketing department or find a vendor online to provide this as a service.
Reports and Invoices
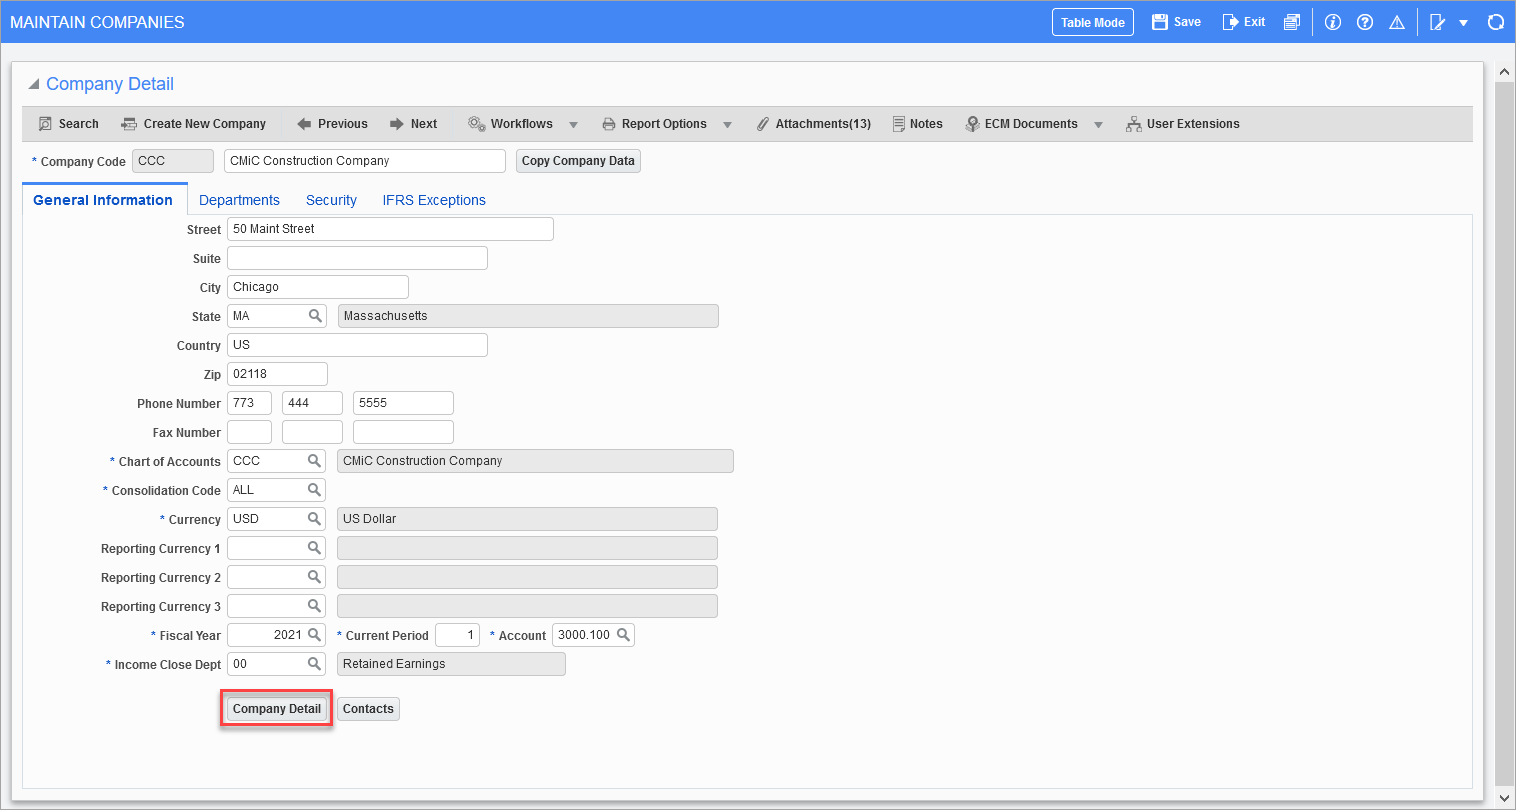
The place to set the logo that appears on reports and invoices is in the Company Detail pop-up window. First, go to the Maintain Companies screen, and go into the Company Detail pop-up window:
The logo for reports and the logo for Accounts Receivable and Job Billing invoices are set at the bottom of the General Information section. The logo will show on any reports that were designed to display a logo:
