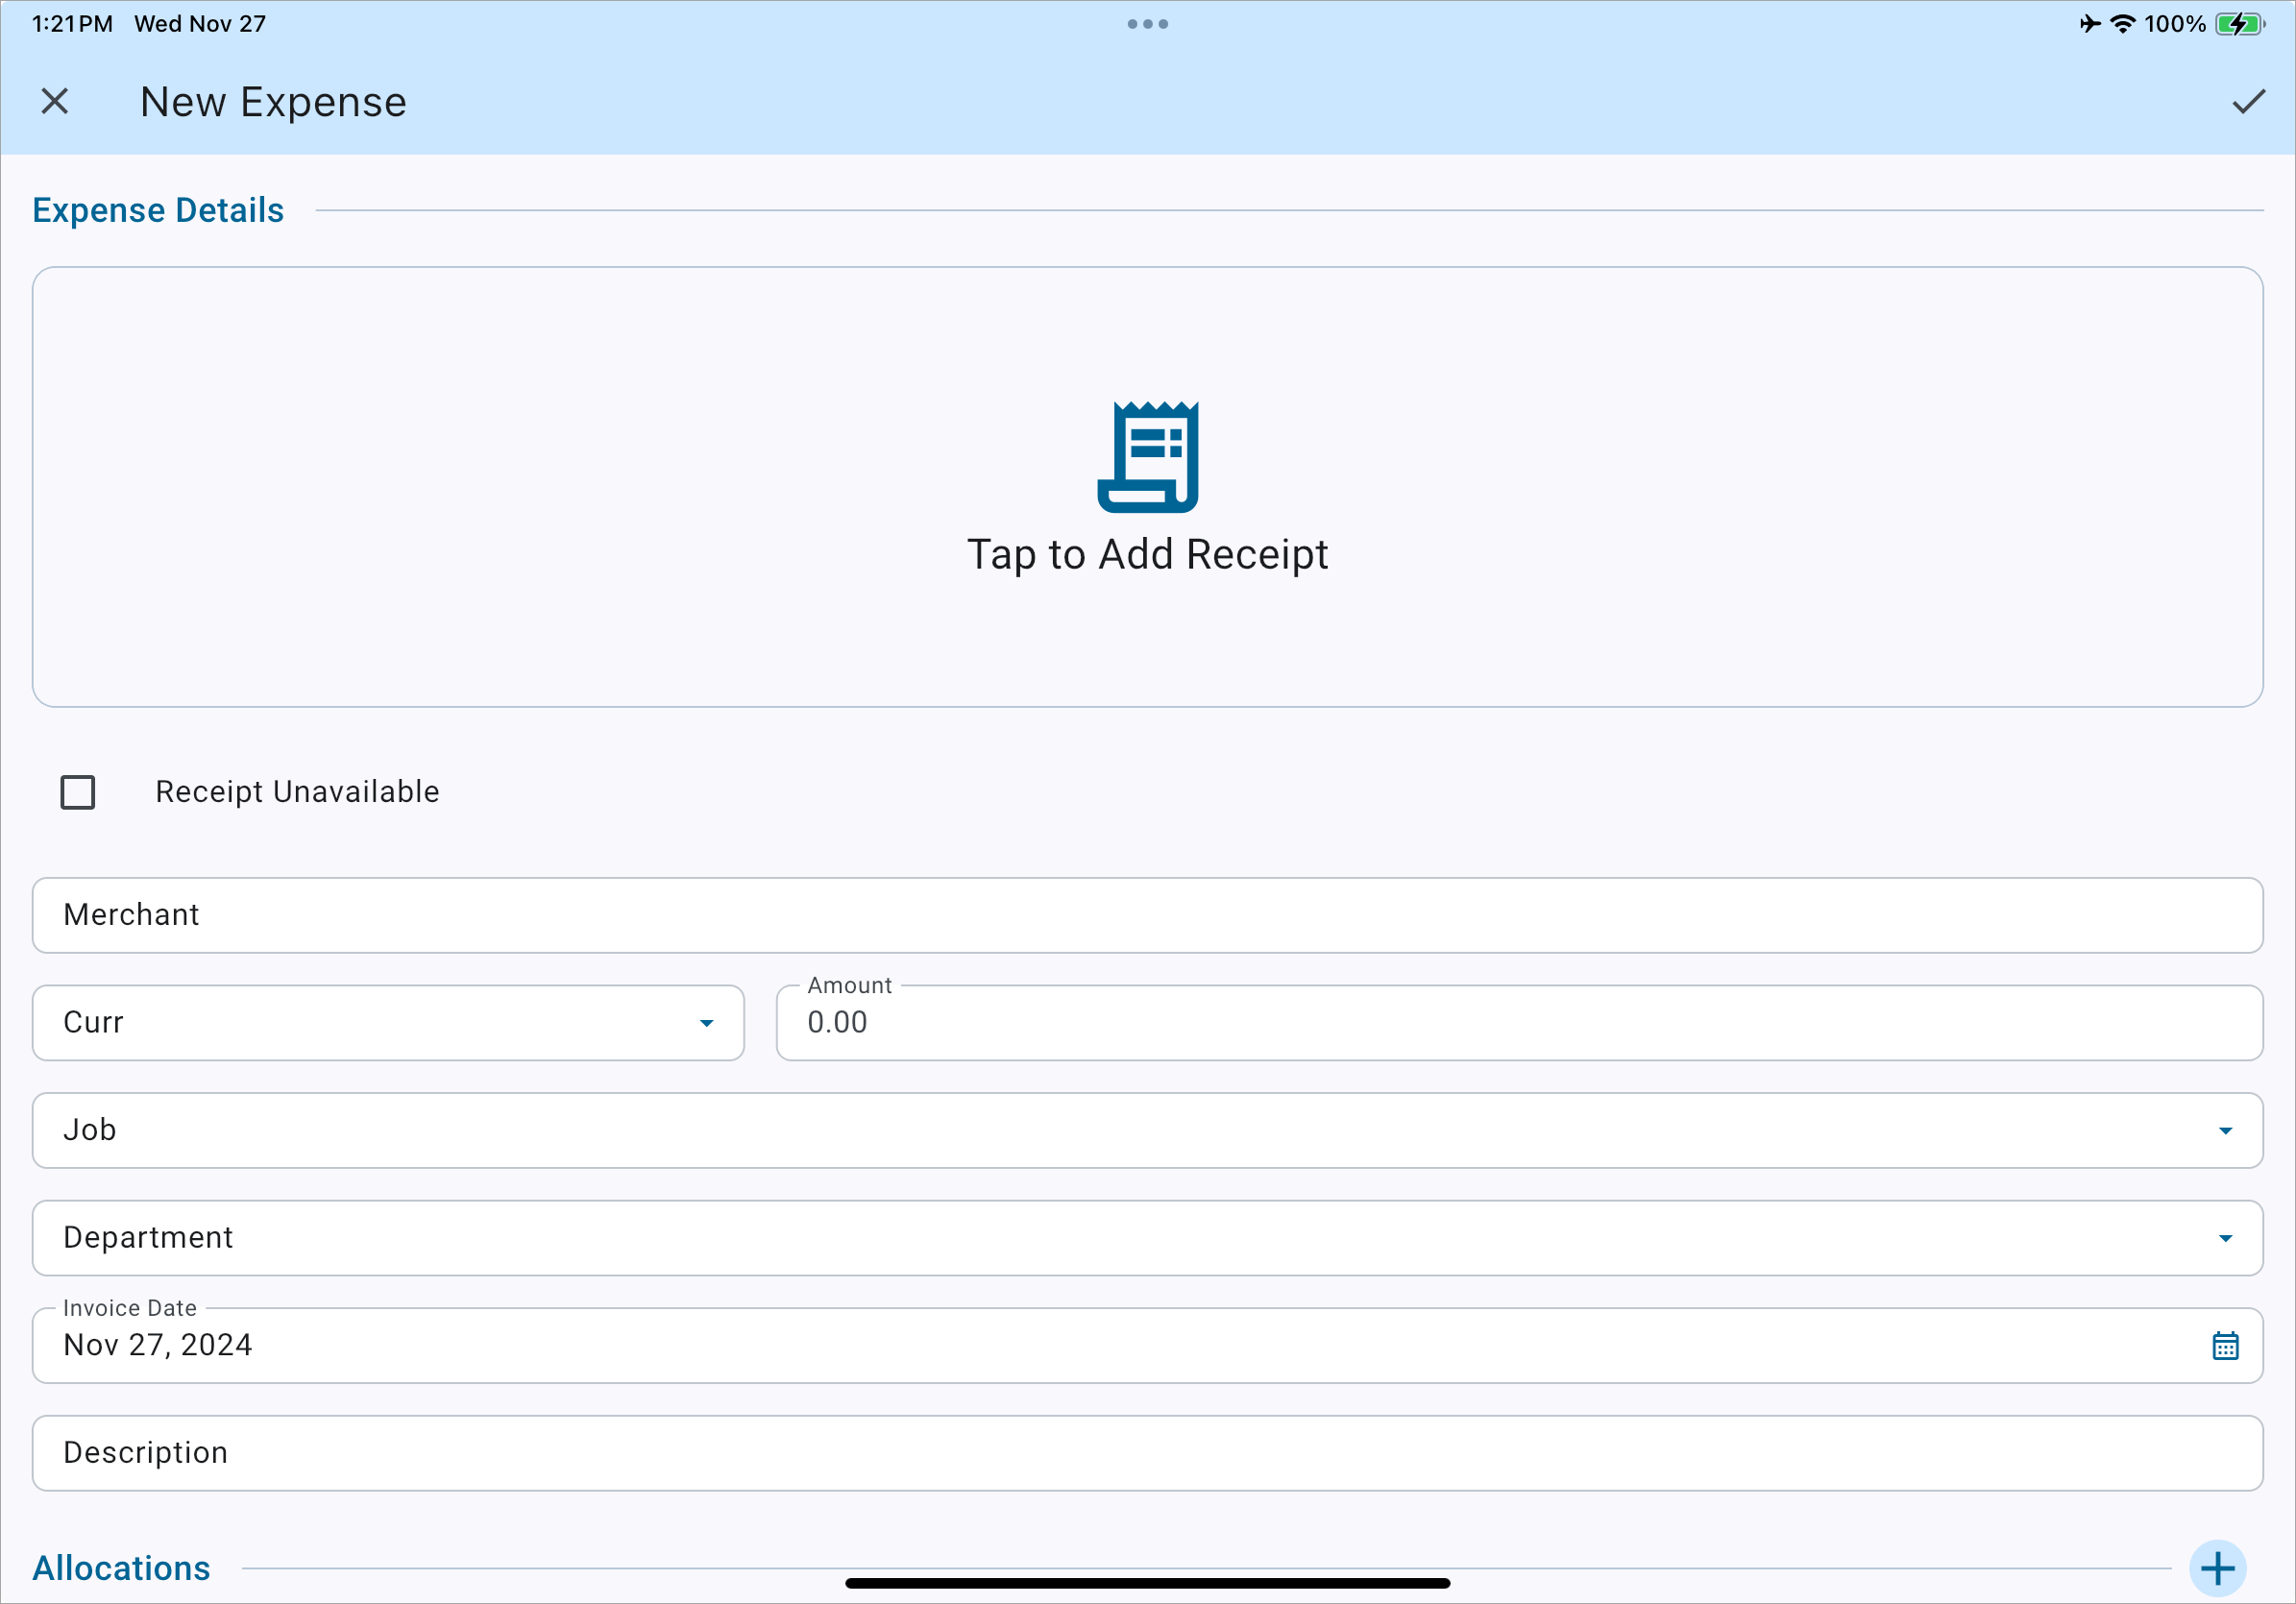
The New Expense screen opens when the user selects the "Manual Expense" option after tapping the Add New ( ) icon on the Main Screen. From here, users can upload a picture of their receipt by selecting the Tap to Add Receipt icon (alternatively, the Receipt Unavailable box can be checked if it is unavailable) and enter the expense details. The following are fields that are required before the expense can be submitted:
-
Merchant
-
Amount
-
Job
-
Department
-
Description
Once the details have been entered, click the Submit ( ) icon found on the top-right corner of the screen to submit the expense or the X (
 ) icon to save it as a draft.
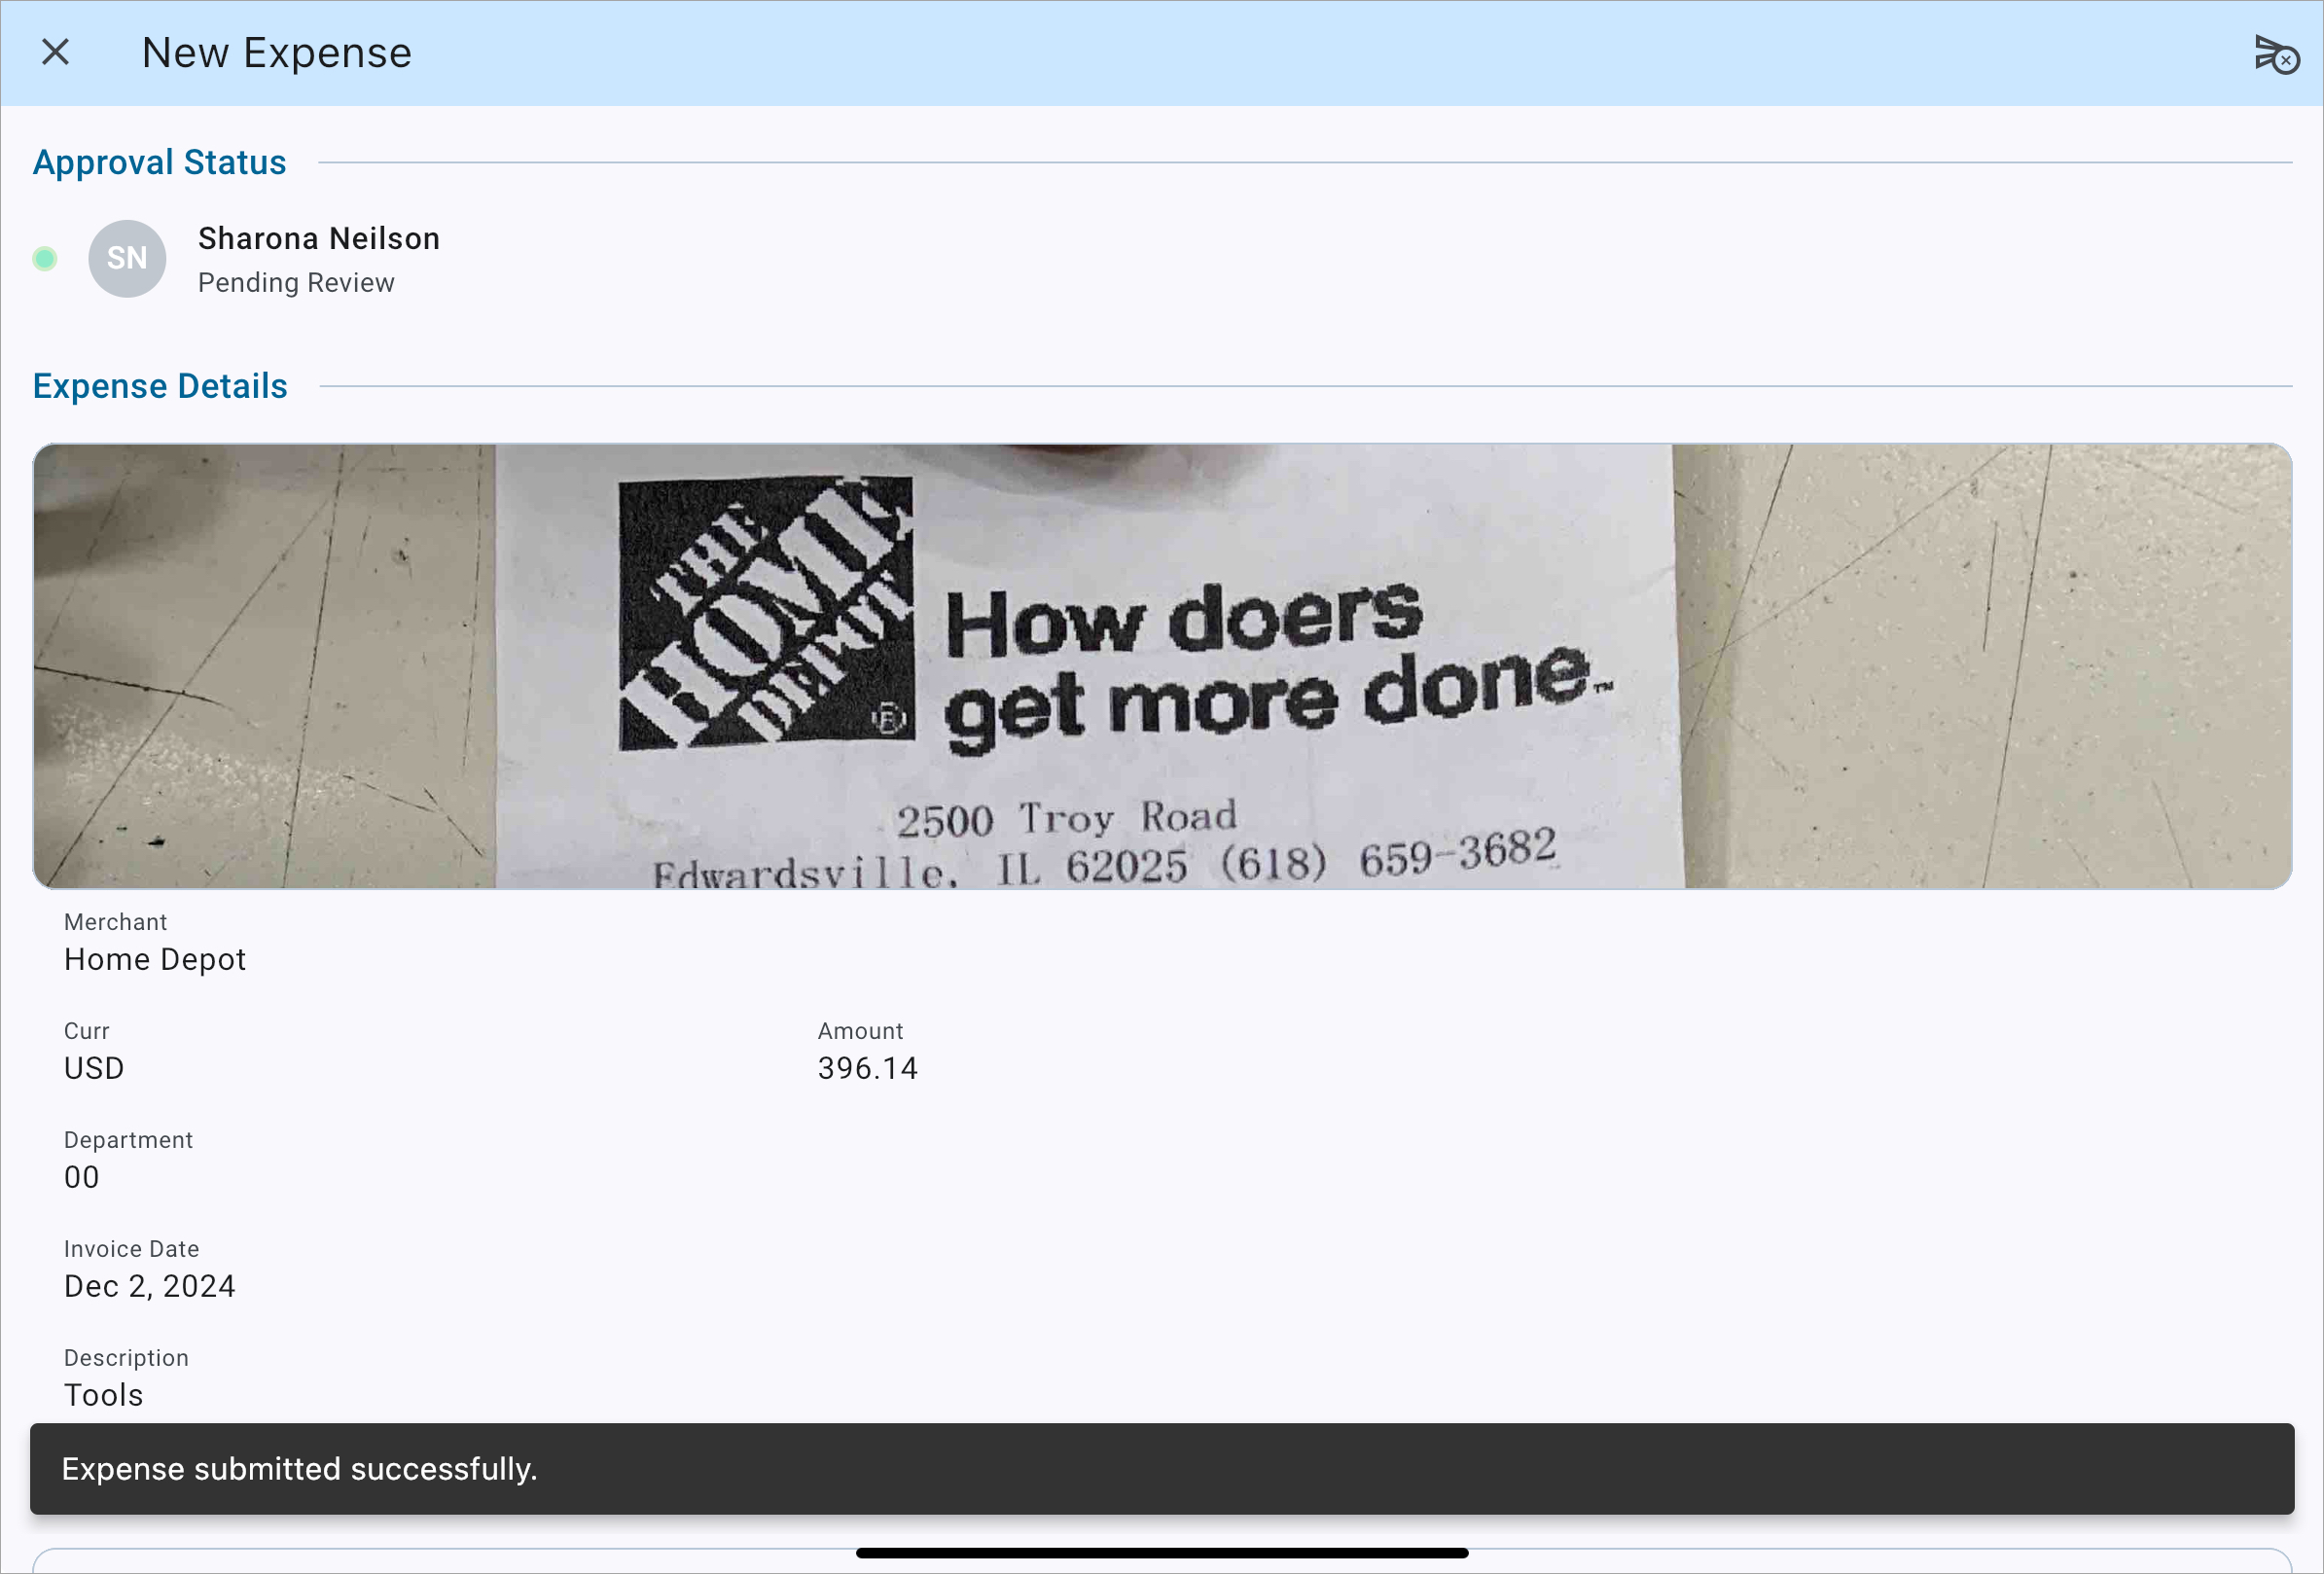
After submitting the expense, a message displays that the expense has been successfully submitted and the status of the expense is displayed under the Approval Status field, as shown in the screenshot below.
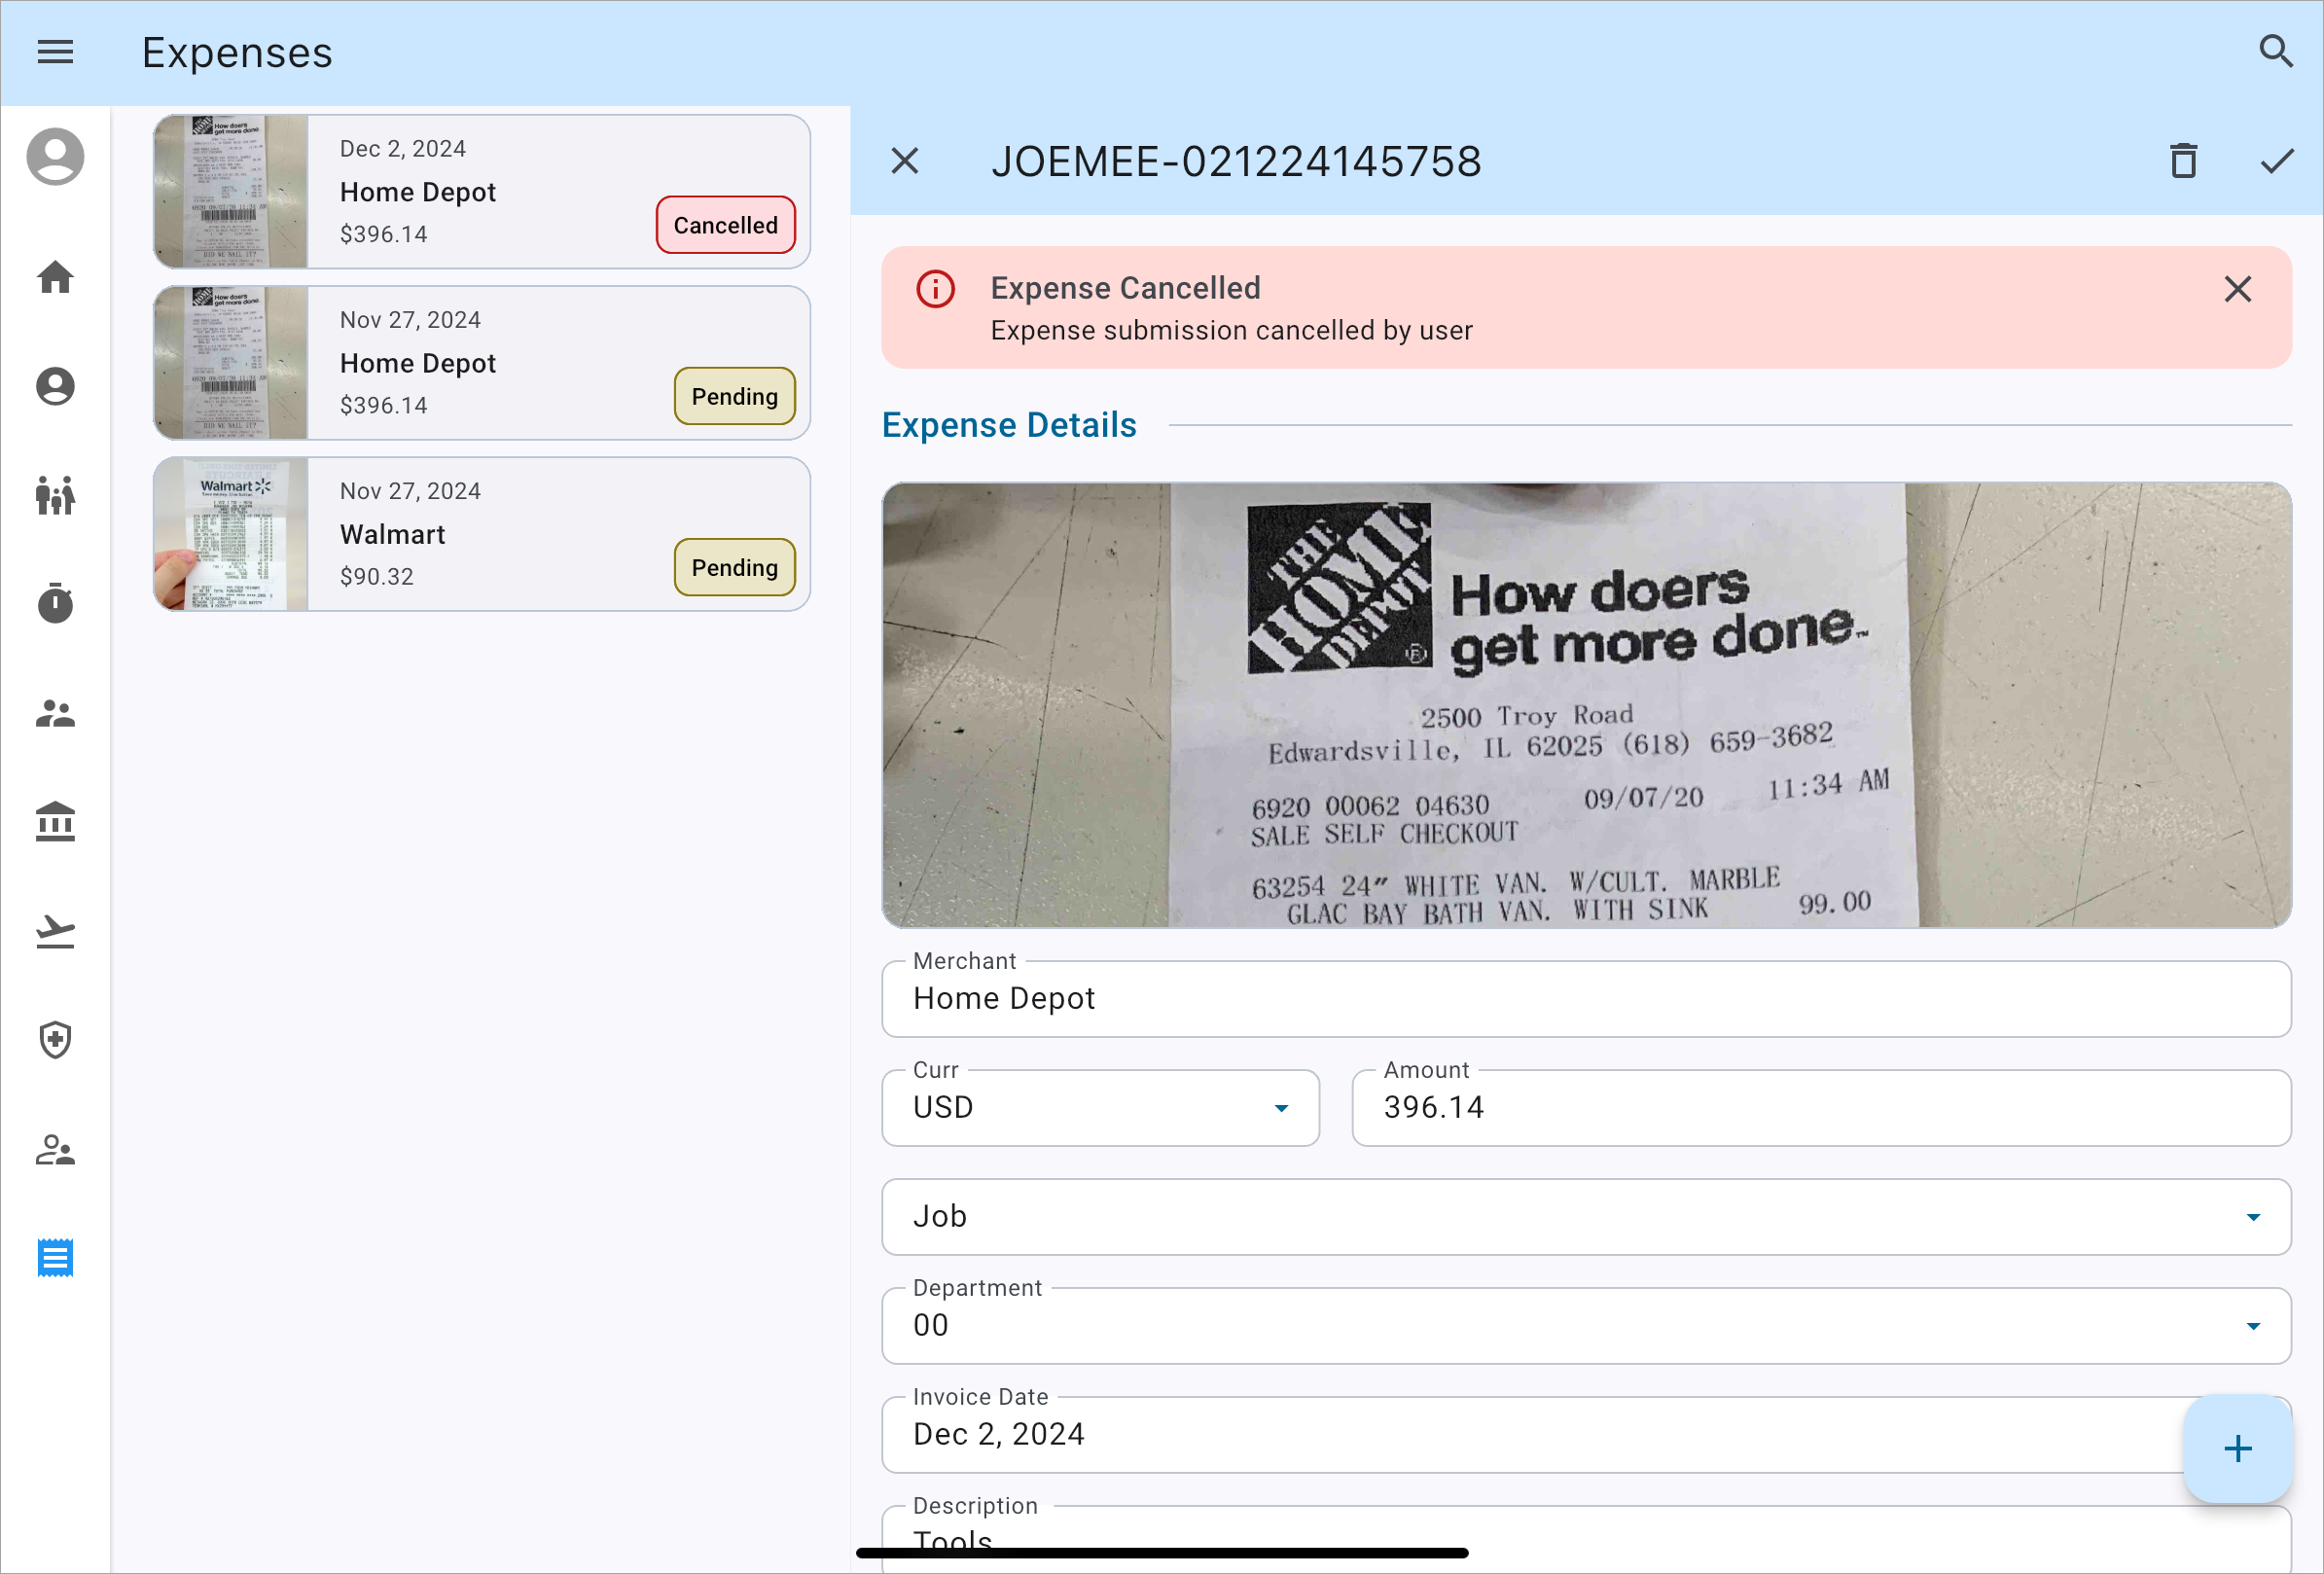
After submitting the expense, users only have the option to cancel the expense by clicking on the Cancel Submission ( ) icon on the top-right corner of the screen. Once cancelled, the status of the expense will change from "Pending" to "Cancelled" and users can tap on the details to either edit and resubmit the expense, or delete the expense using the Delete (
 ) icon, as shown in the screenshot below.