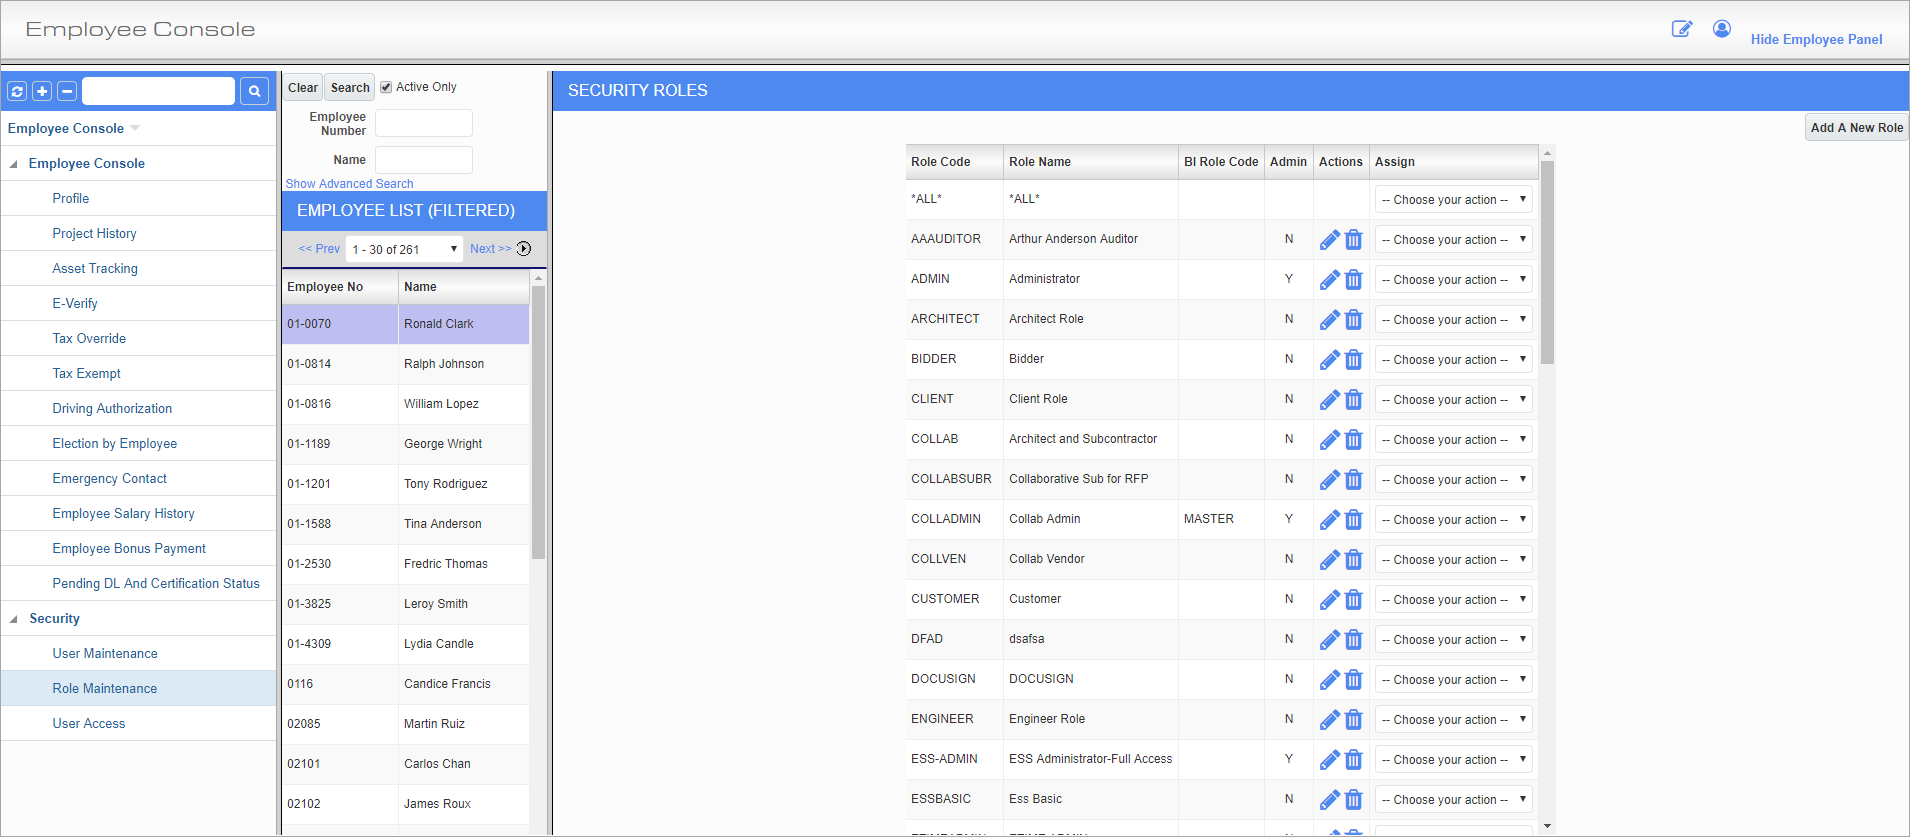
Security Roles; standard Treeview path: Employee Console > Security > Role Maintenance
This screen can be used to define and edit security roles within the Employee Console.
For further details about this screen, please refer to the Project Management screen.
Actions
Press the Edit icon ( ) to view a role or press the Delete icon (
![]() ) to permanently remove the role.
) to permanently remove the role.
Assign
For a given role, select whether to assign it users, programs, menu items, privileges, or field securities. Selecting an option for the Assign field brings up a new screen, where the relevant qualities can be assigned to the role. When all the desired boxes are checked, press the [Update] button to commit the changes.
To assign a user ID access to the Employee Console, select the Assign Programs option for the role to which the user is assigned, check the ‘Employee Console’ box, and press the [Update] button.
To ensure that all the screens documented in this guide appear for the user assigned to this security role, select the Assign Menu Items option for the role, check every ‘Employee Console’ checkbox, and press the [Update] button.
[Add A New Role] – Button

Add A New Role; standard Treeview path: Employee Console > Security > Role Maintenance – [Add A New Role] button
Role Code, Role Name
Enter the code and name for the role.
BI Role Code
Enter/select the BI role code
Admin – Checkbox
Check this box to grant the role administrator privileges.
Admin Req. to Assign – Checkbox
If a security role has this box checked, then any users without the 'Admin' role checked on their assigned security role will be prevented from assigning the selected security role to other users.
Internal – Checkbox
If a security role has this box checked, the role can only be assigned to internal users (i.e., C-type).