The following are instructions on how to define auto cold storage triggers to automate the generation of a report, using the CMiC Field module’s RFIs as an example:
Step 1: Enter the Report’s Cold Storage Information
-
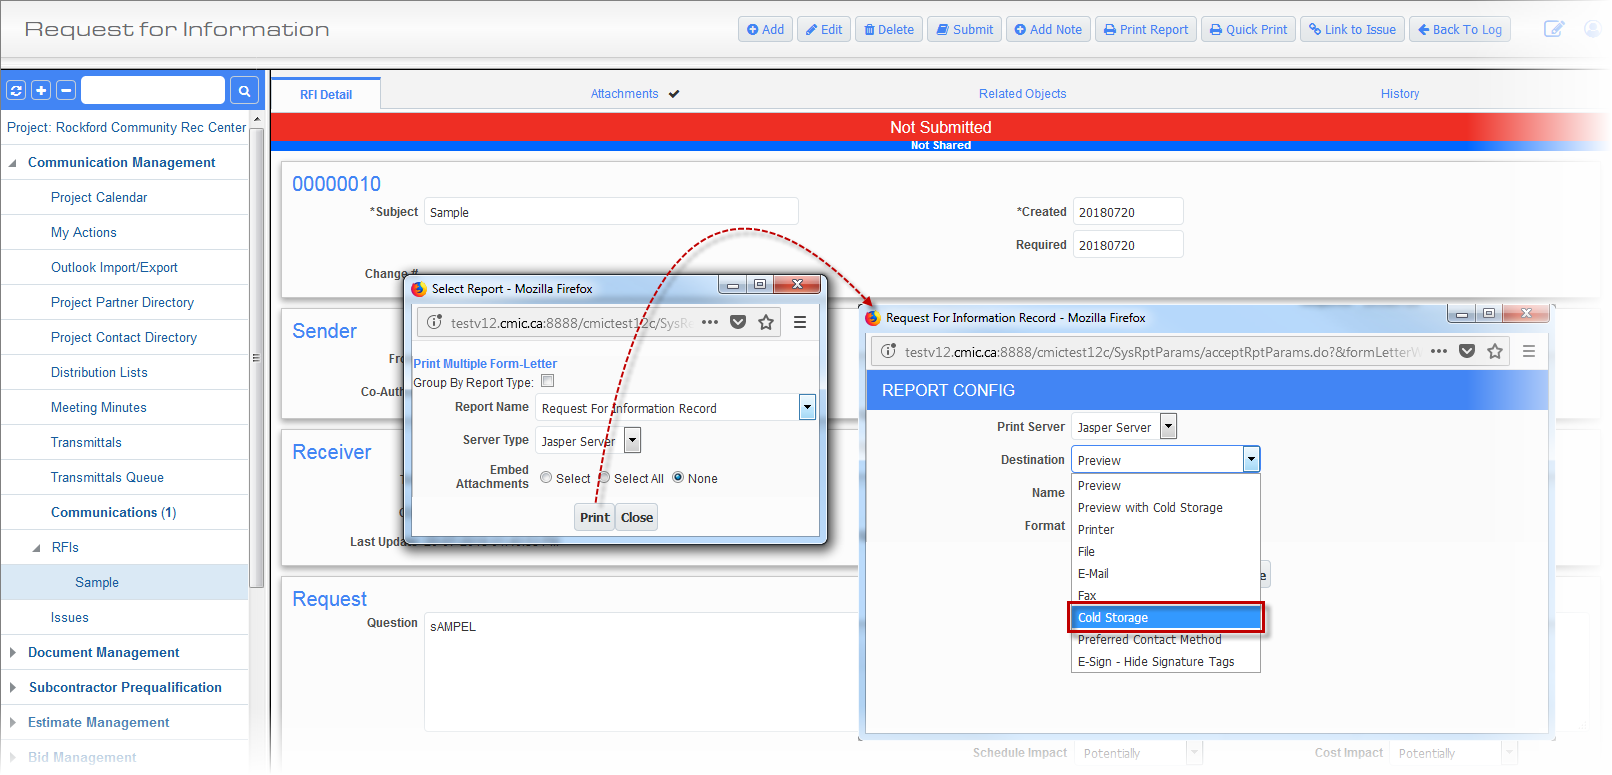
Run the desired report, and in the Report Configuration pop-up, select “Cold Storage” for the Destination field, as shown in the above screenshot, and click [Run Report].
-
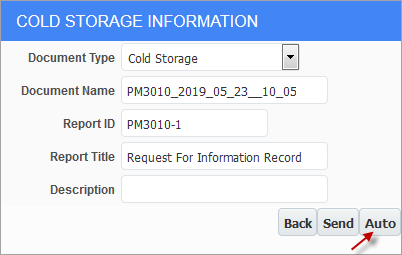
In the Cold Storage Information pop-up window, as shown above, fill out the required information for the report and click the [Auto] button.
Step 2: Define Triggers to Generate Report
-
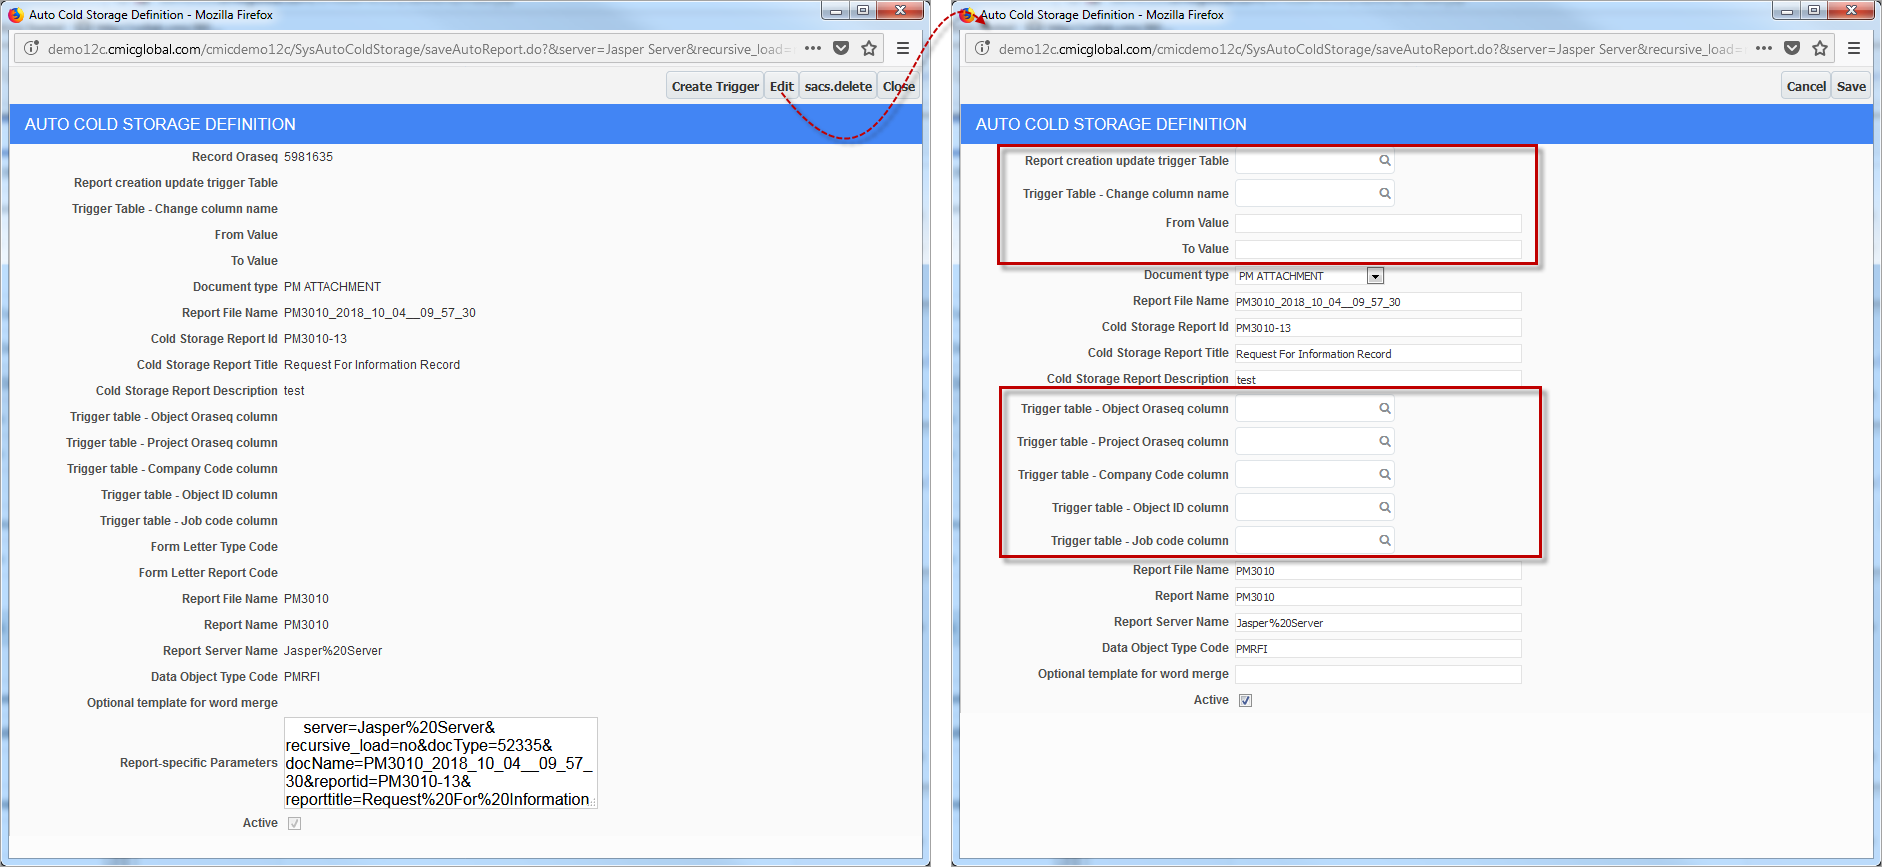
Click [Edit] in the Auto Cold Storage Definition pop-up window to switch it to edit mode. With the window in edit mode, as shown on the right, fill in the required configuration fields (surrounded by red boxes) to define the trigger for automatic report generation. The following are descriptions for the required configuration fields:
Report creation update trigger Table
Select the table where updates are to trigger the generation of the report.
Trigger Table - Change column name
Select the column to trigger the report’s generation when its values change.
From Value, To Value
This range is optional. When the value for the specified column changes, within this specified range, the report will be generated. Refer to the following sub-section, How Auto Cold Storage Definition Affects Trigger Logic for further details.
Trigger table - Object Oraseq column,
Trigger table - Project Oraseq column,
Trigger table - Company Code column,
Trigger table - Object ID column,
Trigger table - Job code columnIf applicable, selections may also be required for these configuration fields. Refer to the following screenshot for an example of selected values for these fields.
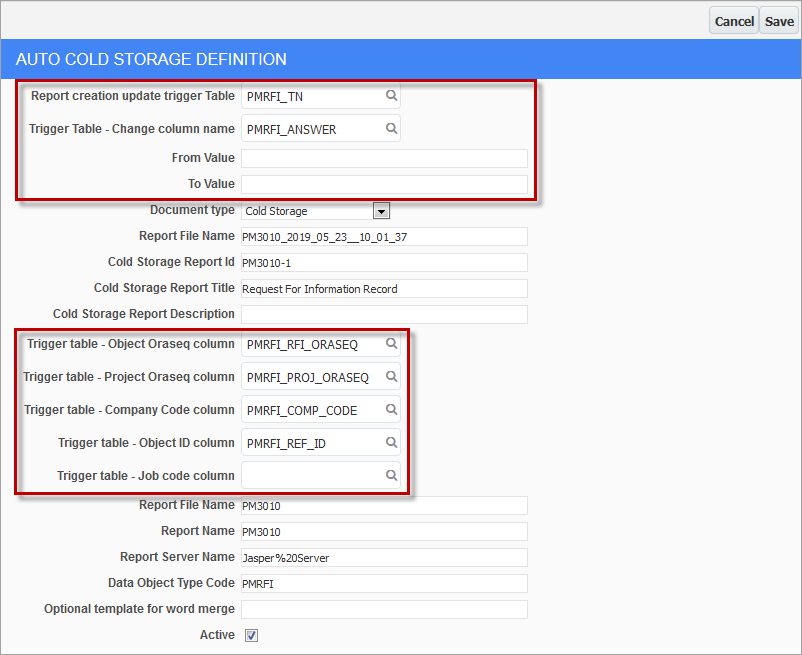
The following screenshot illustrates an example of a trigger definition that generates the specified report when an RFI gets marked as answered:
How Auto Cold Storage Definition Affects Trigger Logic
|
Auto Cold Storage Trigger Column Definition |
Values of the Column in the Updated Table |
||
|---|---|---|---|
|
Old Column Value |
New Column Value |
Launch Workflow When Old Column Value Is |
New Column Value Is |
|
Null |
Null |
Null |
Not null |
|
Null |
Specified value |
Null |
Specified value |
|
Null |
Specified value |
Anything except the specified value |
Specified value |
|
Old value |
New value |
Old value |
New value |
Please note that the assumption in the last case is that the old and new values specified in the setup are different. If they are the same, any update to the table will launch the workflow. This is clearly not desirable, so we may add validation logic to prevent such a setup. There is currently no way to trigger a workflow when a column becomes null.
-
Click [Save] and then click the [Create Trigger] button. The following confirmation message appears:
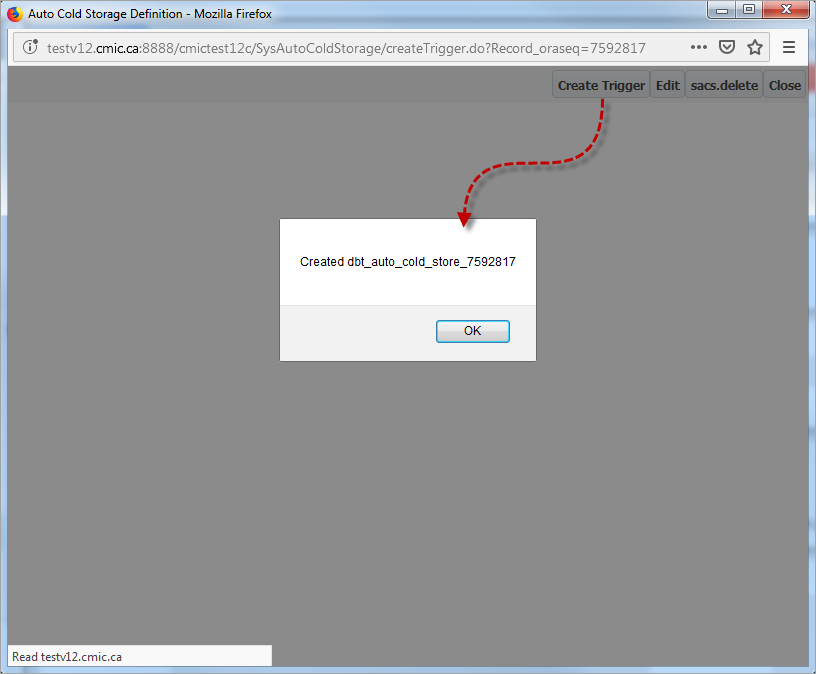
Upon clicking [OK], a new trigger definition record appears in the Auto Cold Storage Definitions log screen, in the File Maintenance menu of the Treeview, as shown in the left pane of the below screenshot. To customize the column headers, their order and visibility, the Auto Cold Storage Definitions screen is used. Please refer to the following Log Builder for Auto Cold Storage Definitions section for additional details.
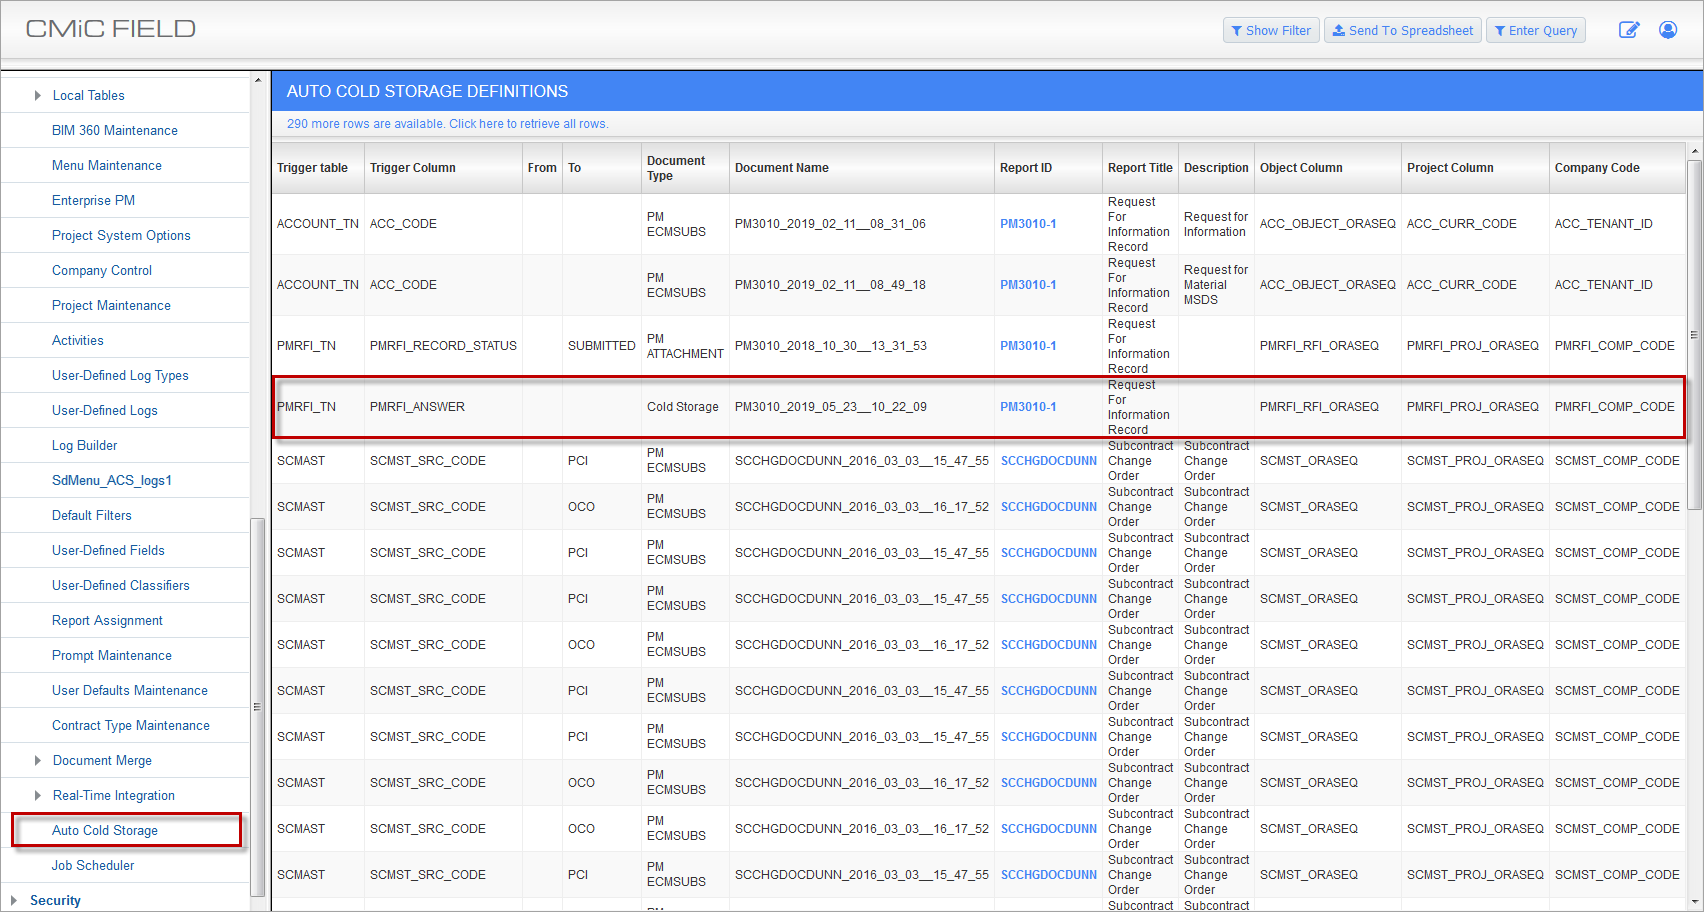
Auto Cold Storage Definitions log screen containing entries for each newly created trigger.
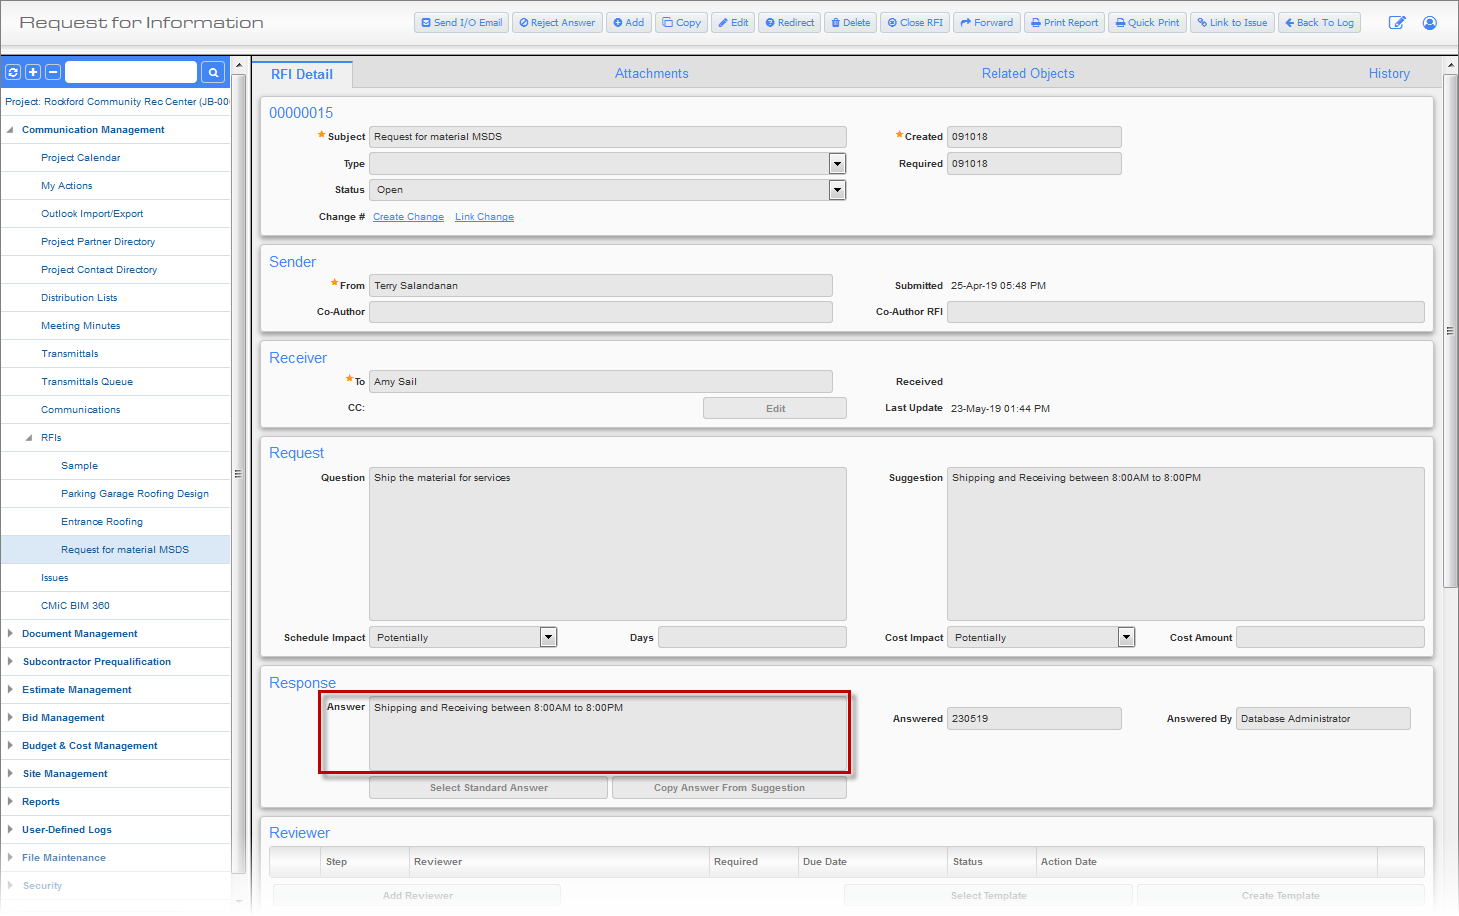
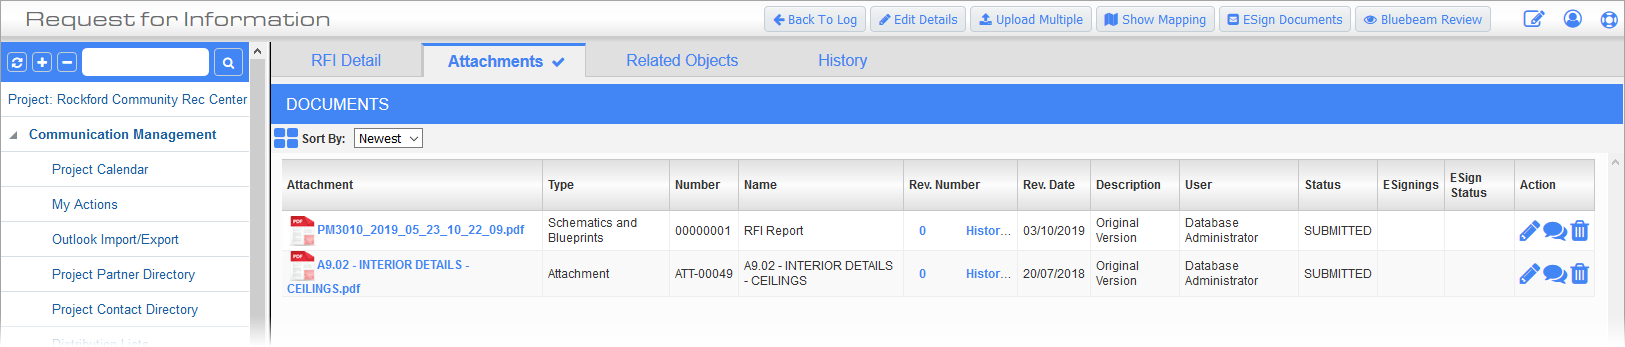
At this point the trigger is set and when a RFI is answered, the report will be generated automatically and it will appear on the Attachment tab, as follows:
The report, as an RFI document, is added to the Attachments tab in the specified folder:
The RFI document is also added to the specified document type log:
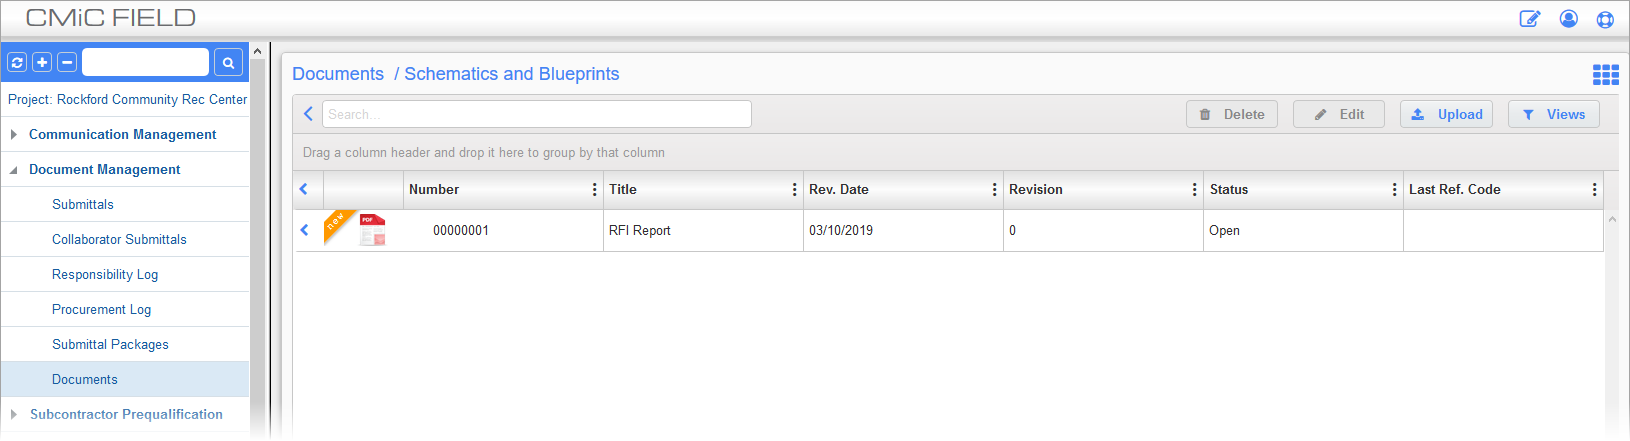
Documents Log; standard Treeview path: CMiC Field > Document Management > Documents