DocuSign Integration - Enabling ESign for Purchase Orders
This
For PO records without a job, setup is not needed.
Esigners for PO Records Without a Job
If there is no job linked to a PO record, then there is no setup necessary.
You can select signers (system contacts) when sending a document for ESigning.
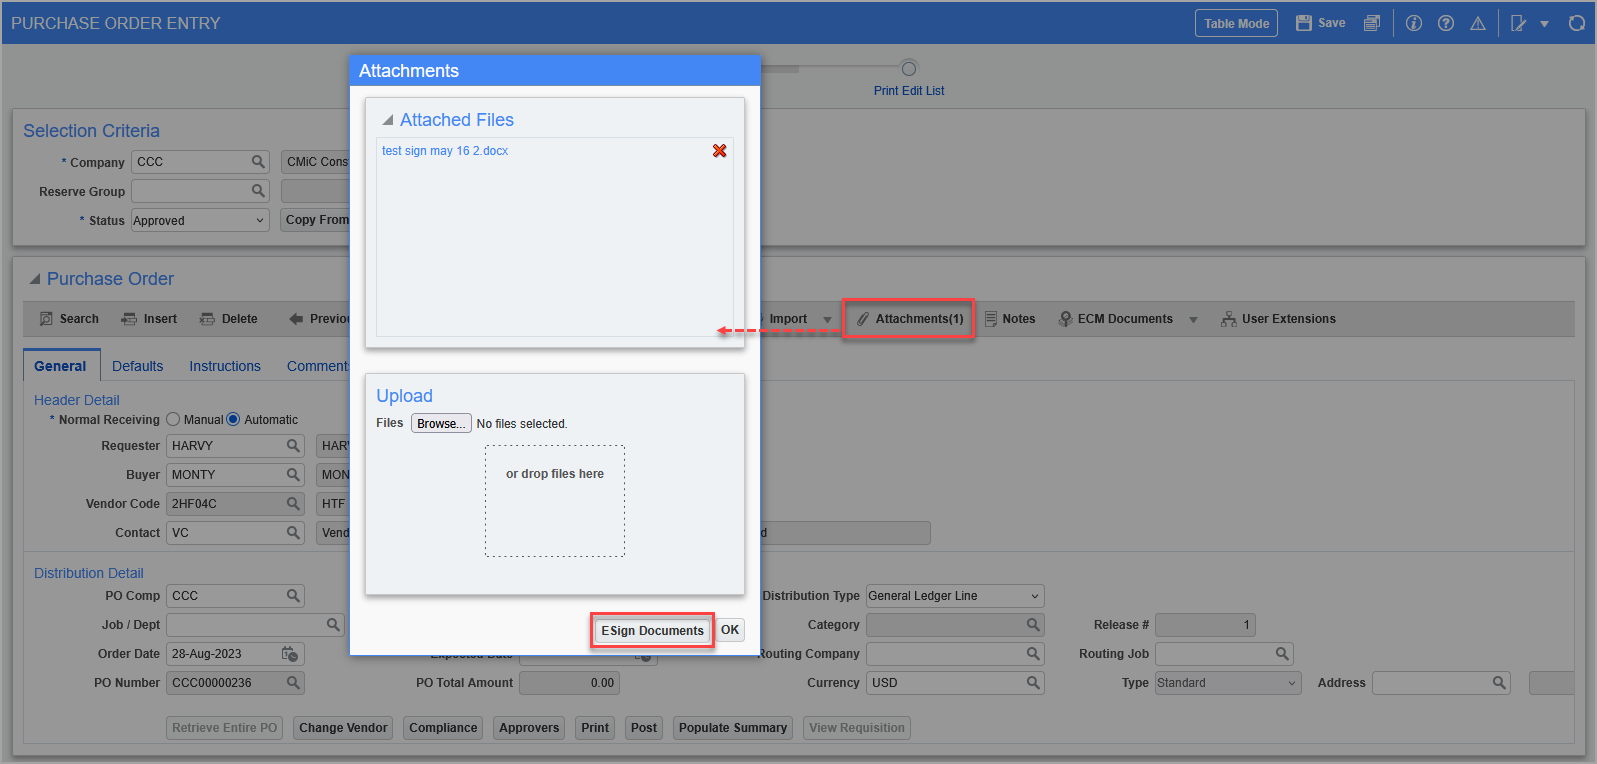
To send for ESigning, click on the [Attachments] button on the Block Toolbar, then the [ESign Documents] button in the Attachments pop-up window.
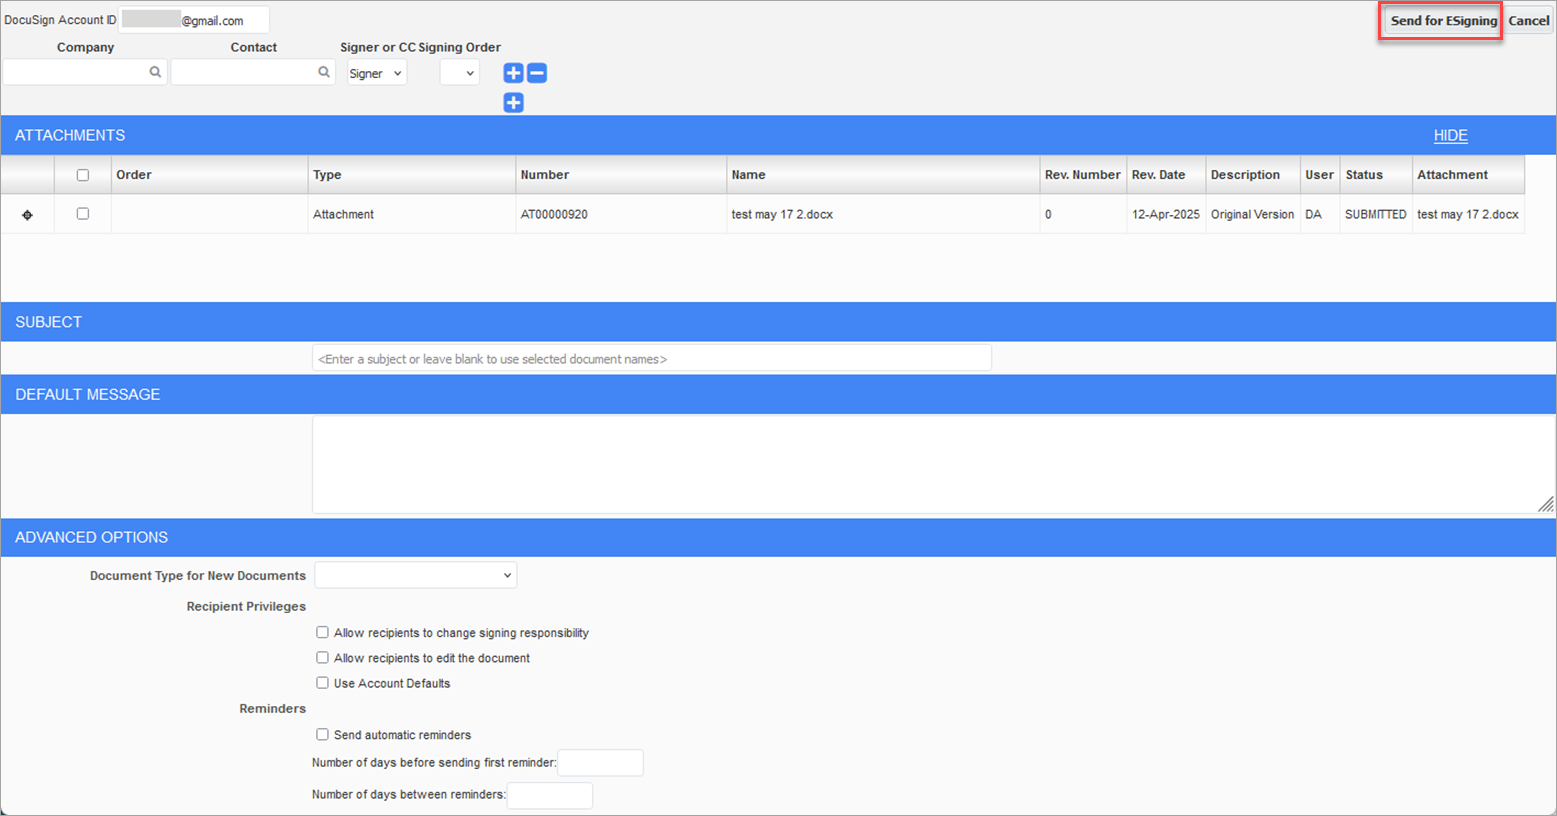
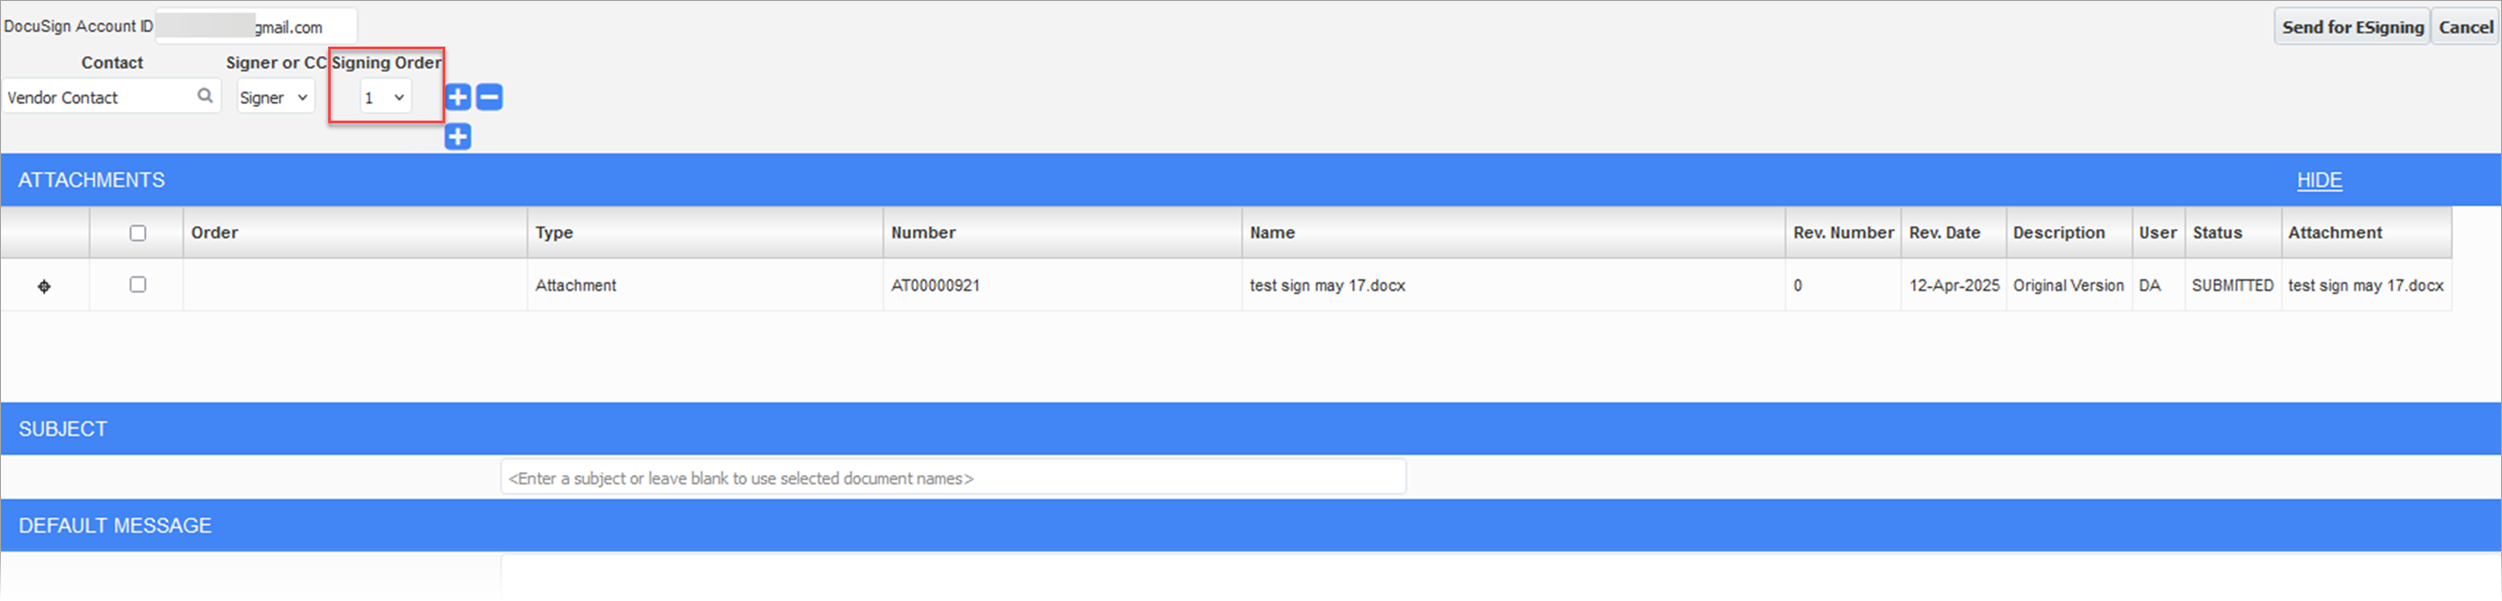
In the following screen, select your signers and click the [Send for ESigning] button.
Setting Up Esigners for PO Records Linked to a Job
When there is a job linked to a PO record, then ESigners can be set up to be automatically slotted. If this setup is not done, then the program will proceed as usual to the Signer Selection screen.
Prerequisites
-
The job (or the controlling job) must be linked to a project.
-
The job (or the controlling job) must have cost codes and categories assigned to it.
-
The PO record must have a vendor contact.
-
This vendor contact must be assigned to the project.
-
-
The buyer must have a project contact set up in the project’s ESign Maintenance tab.
Setting Up a Vendor Contact
-
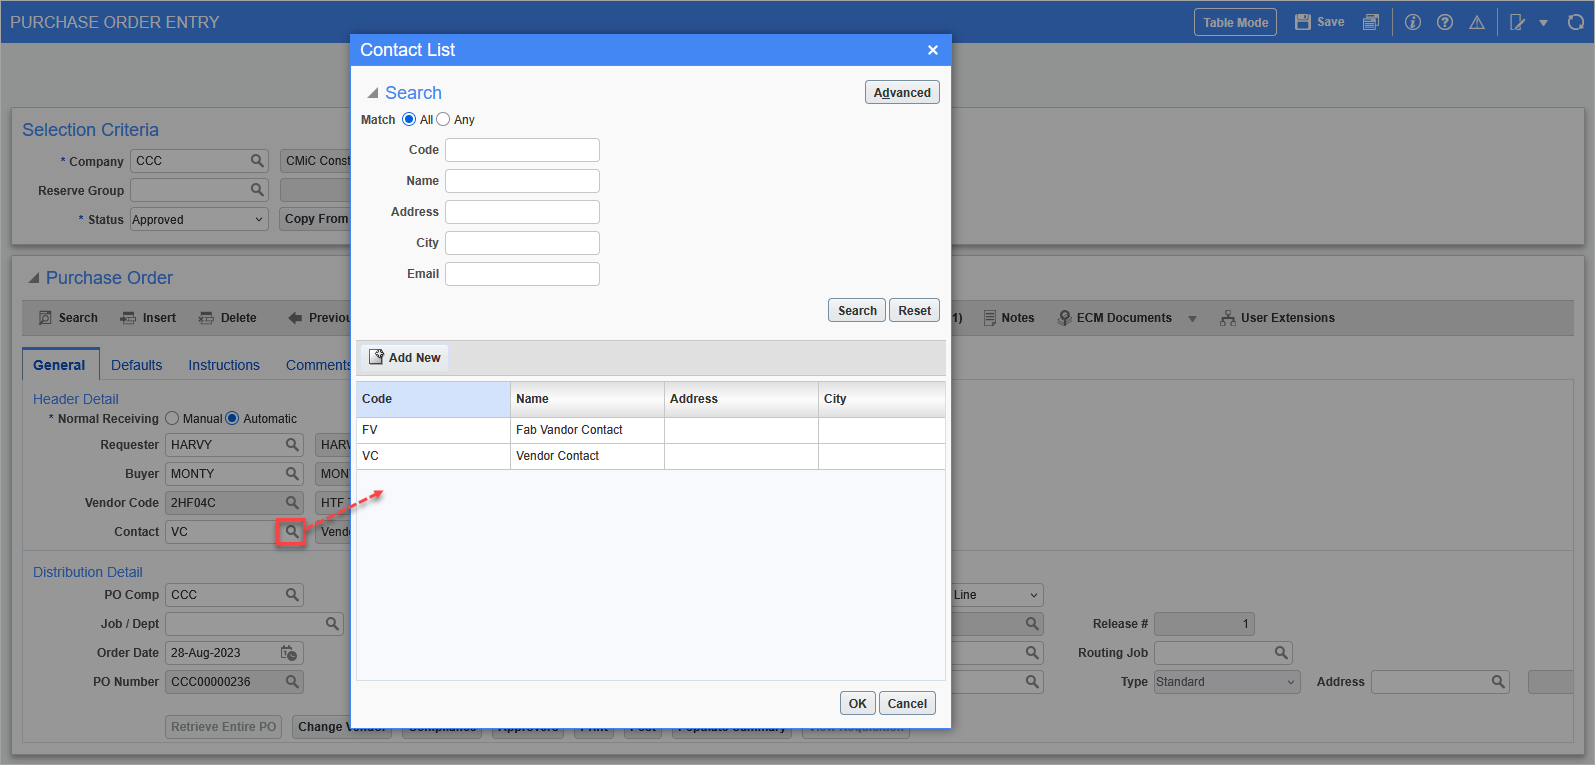
For the PO record, select a vendor contact.
-
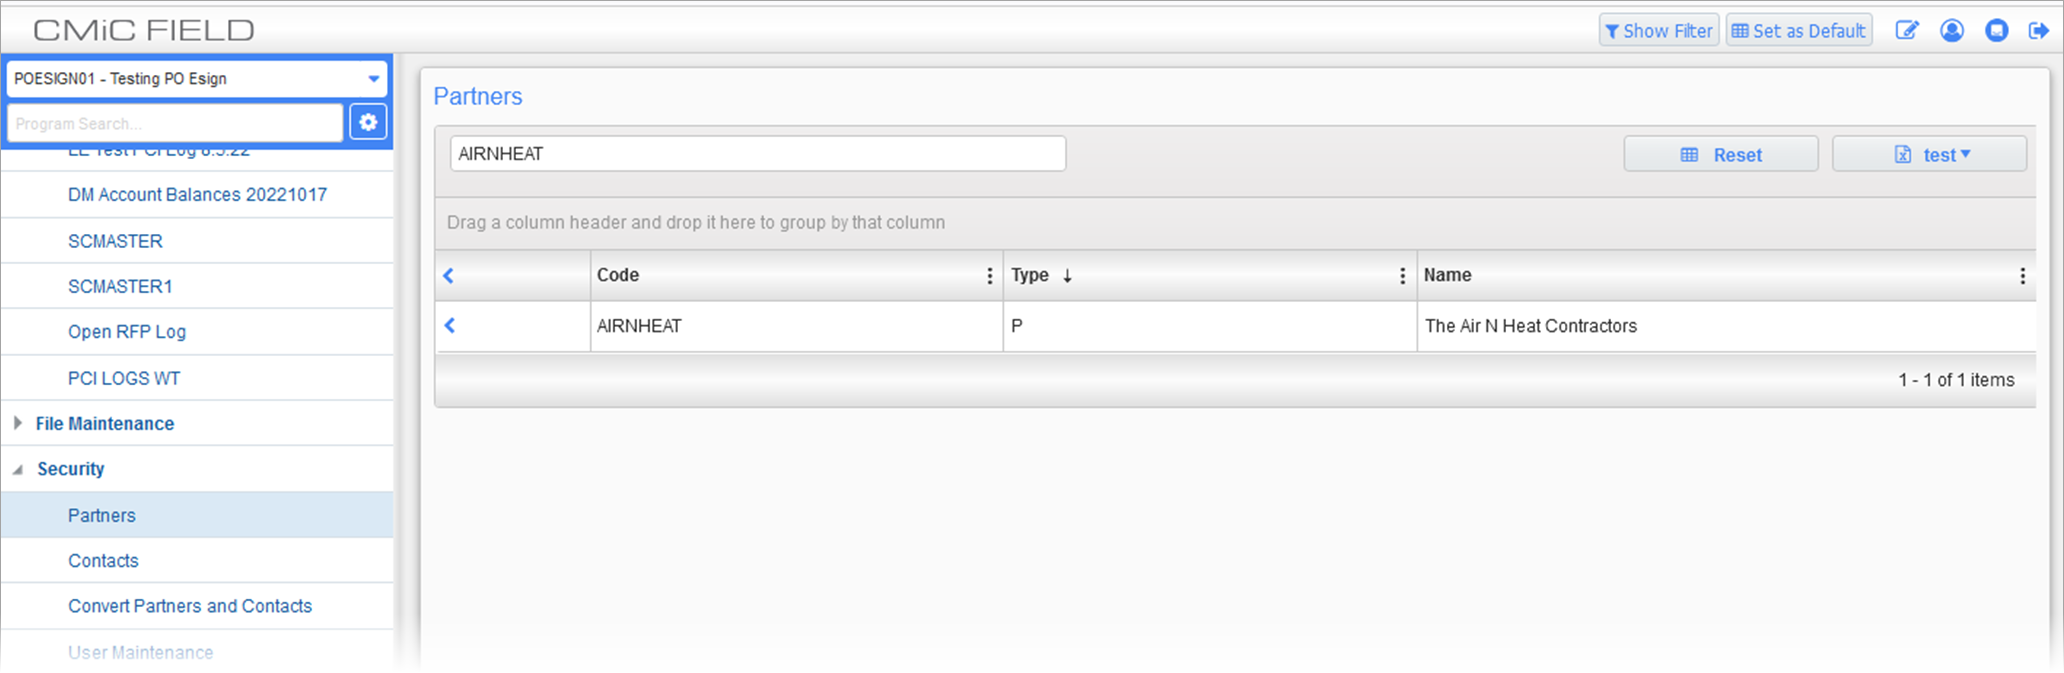
If the vendor contact has not been created yet, then create the contact under the appropriate vendor. For example, if the vendor is AIRNHEAT, navigate to the Partners screen under the Security sub-menu of CMiC Field, select the partner, and create the contact under the partner, as shown in the screenshot below.
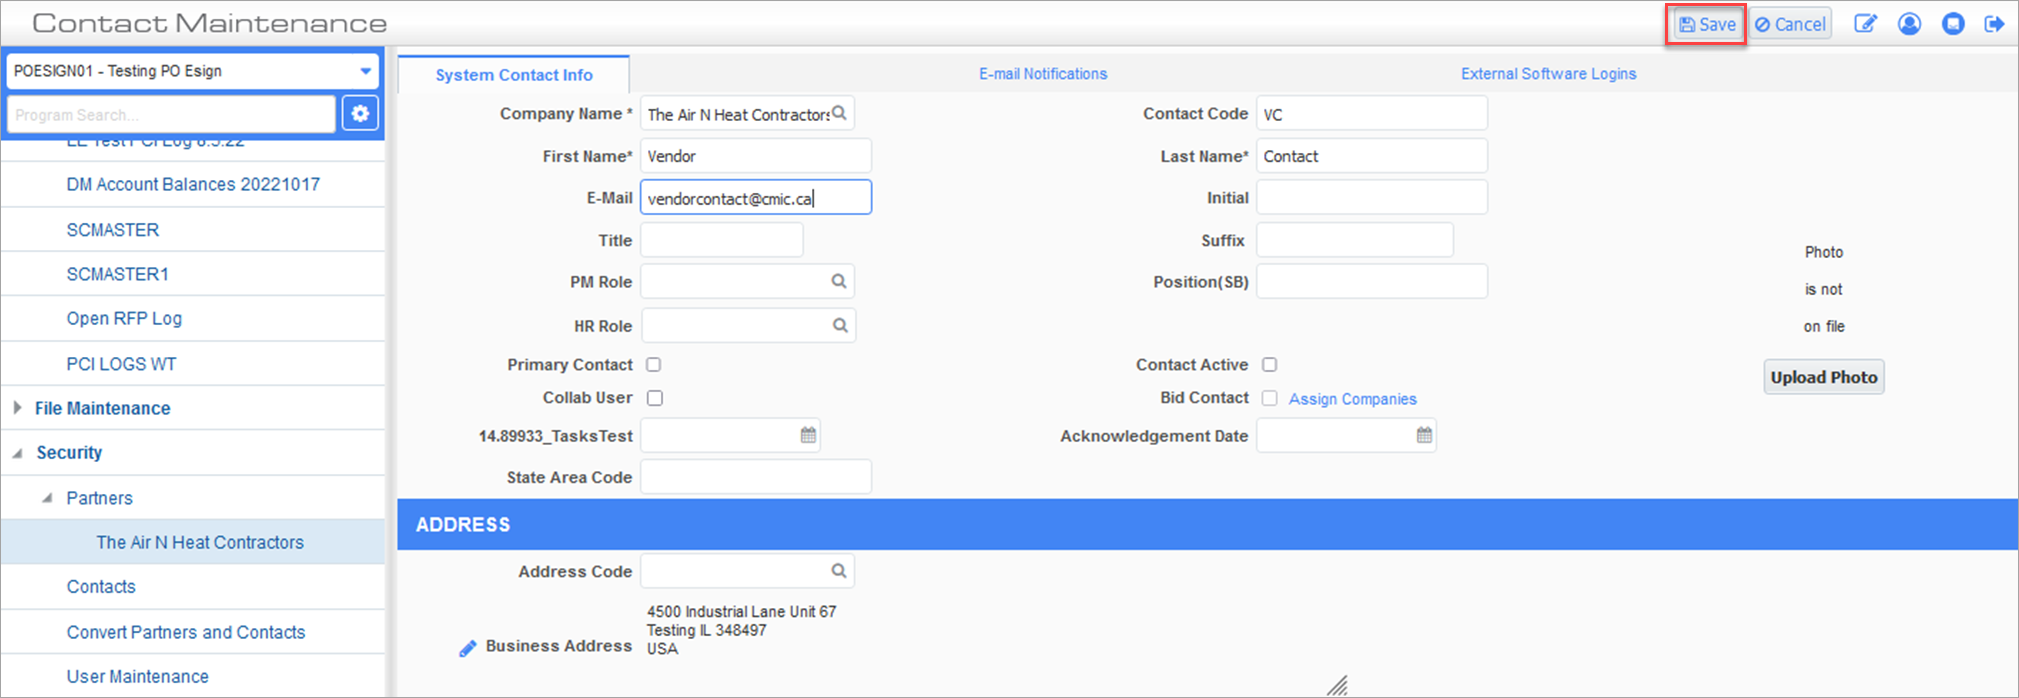
On the Contact Maintenance screen, click on the [Add Contact] button.
![[Add Contact] button on the Contact Maintenance screen](../../../Resources/Images/DocuSign_Integration_v12c_-_TrackingOff/ESignforPO5.png)
After adding the necessary details, click [Save].
-
Assign the vendor contact to the project. If you are already in the project for the job that the PO is under, then you can select your contact and click on the [Assign to Project] button in Security > Partners:
![The [Assign to Project] button on the Contact Maintenance screen](../../../Resources/Images/DocuSign_Integration_v12c_-_TrackingOff/ESignforPO7.png)
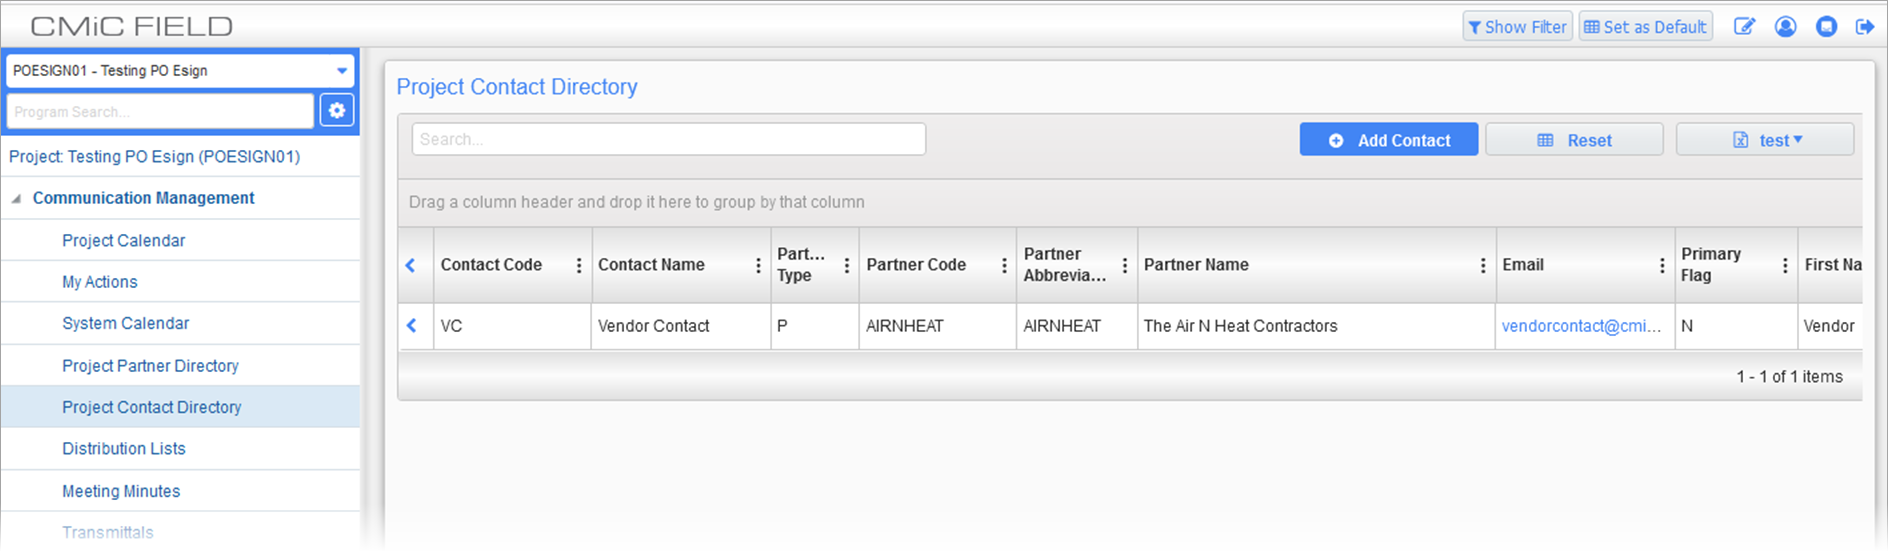
Otherwise, you can go to the project’s Project Contact Directory under Communication Management and add the contact.
-
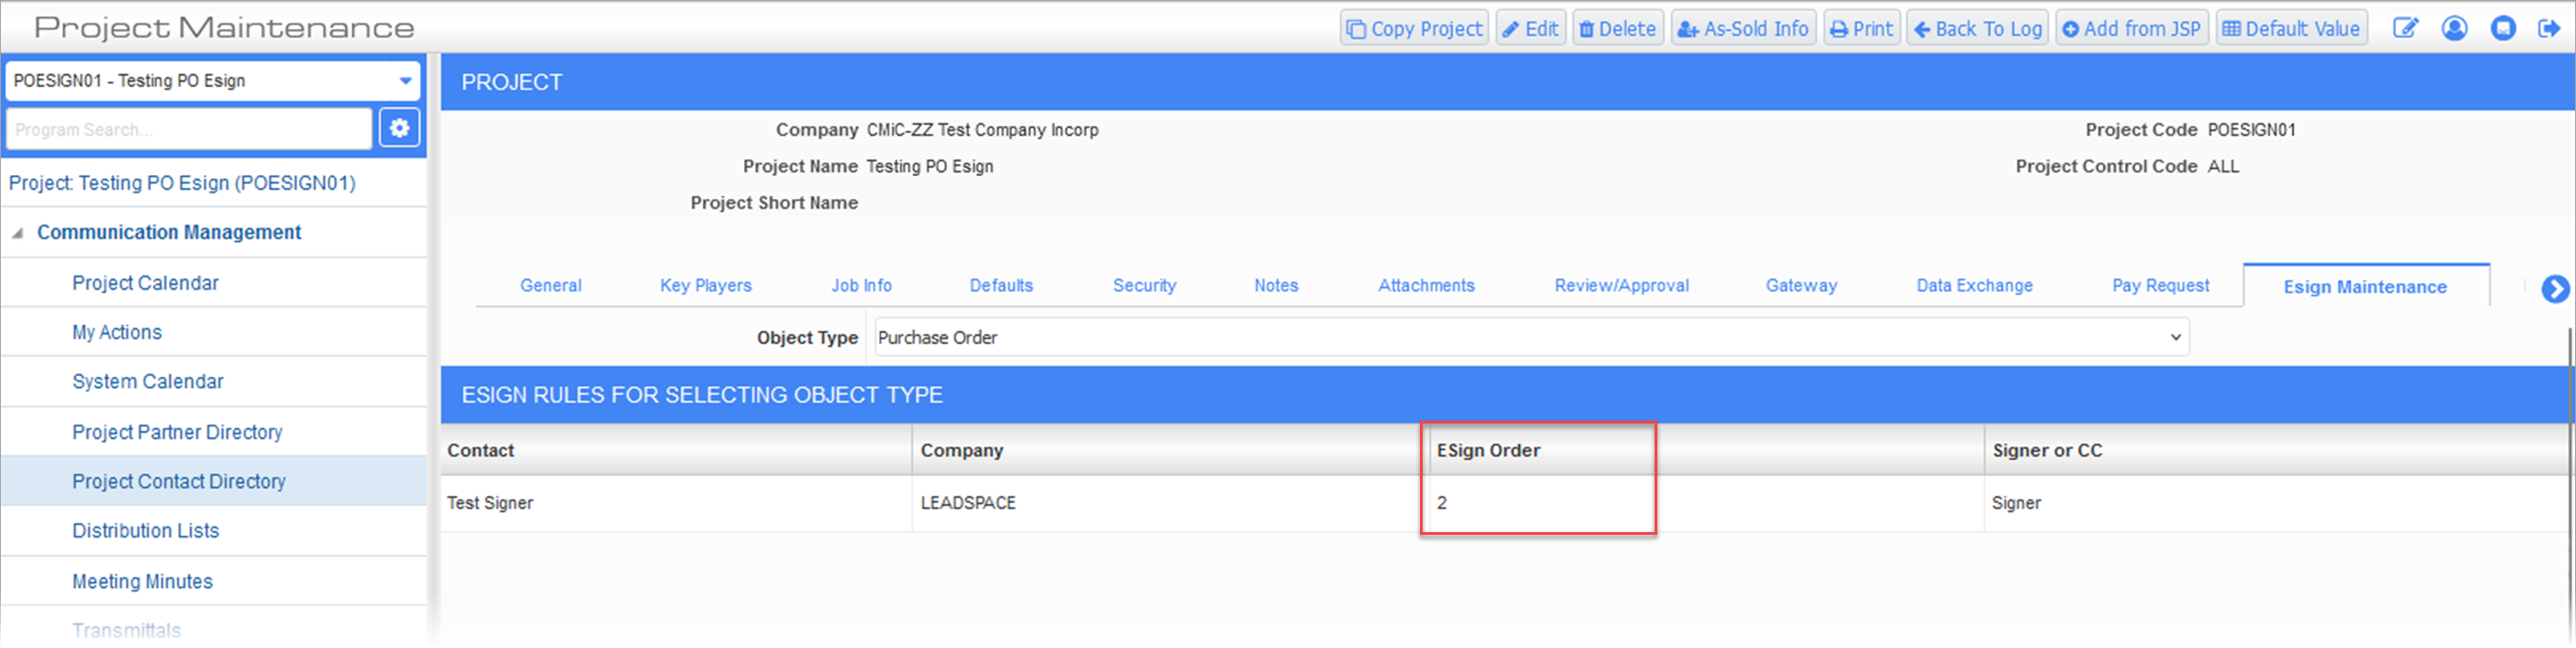
You do not need to set up the vendor contact in the Esign Maintenance tab. The vendor contact will be automatically slotted wherever there is space available.
-
For example, if you already have a signer set up with an ESign Order of "2", then the vendor contact will be automatically slotted with an ESign Order of "1".

-
If no signers are set up, then the program will proceed as usual to the Signer Selection screen with the vendor contact automatically slotted with an ESign Order of "1".
-
Setting Up a Buyer Contact
This process is similar to the vendor contact setup. Create a contact for the buyer and assign the contact to the project. The buyer must be set up on the ESign Maintenance tab of the Project Contact Directory screen for the project.
Once this is set up, the buyer will also be slotted when sending the PO for ESigning.

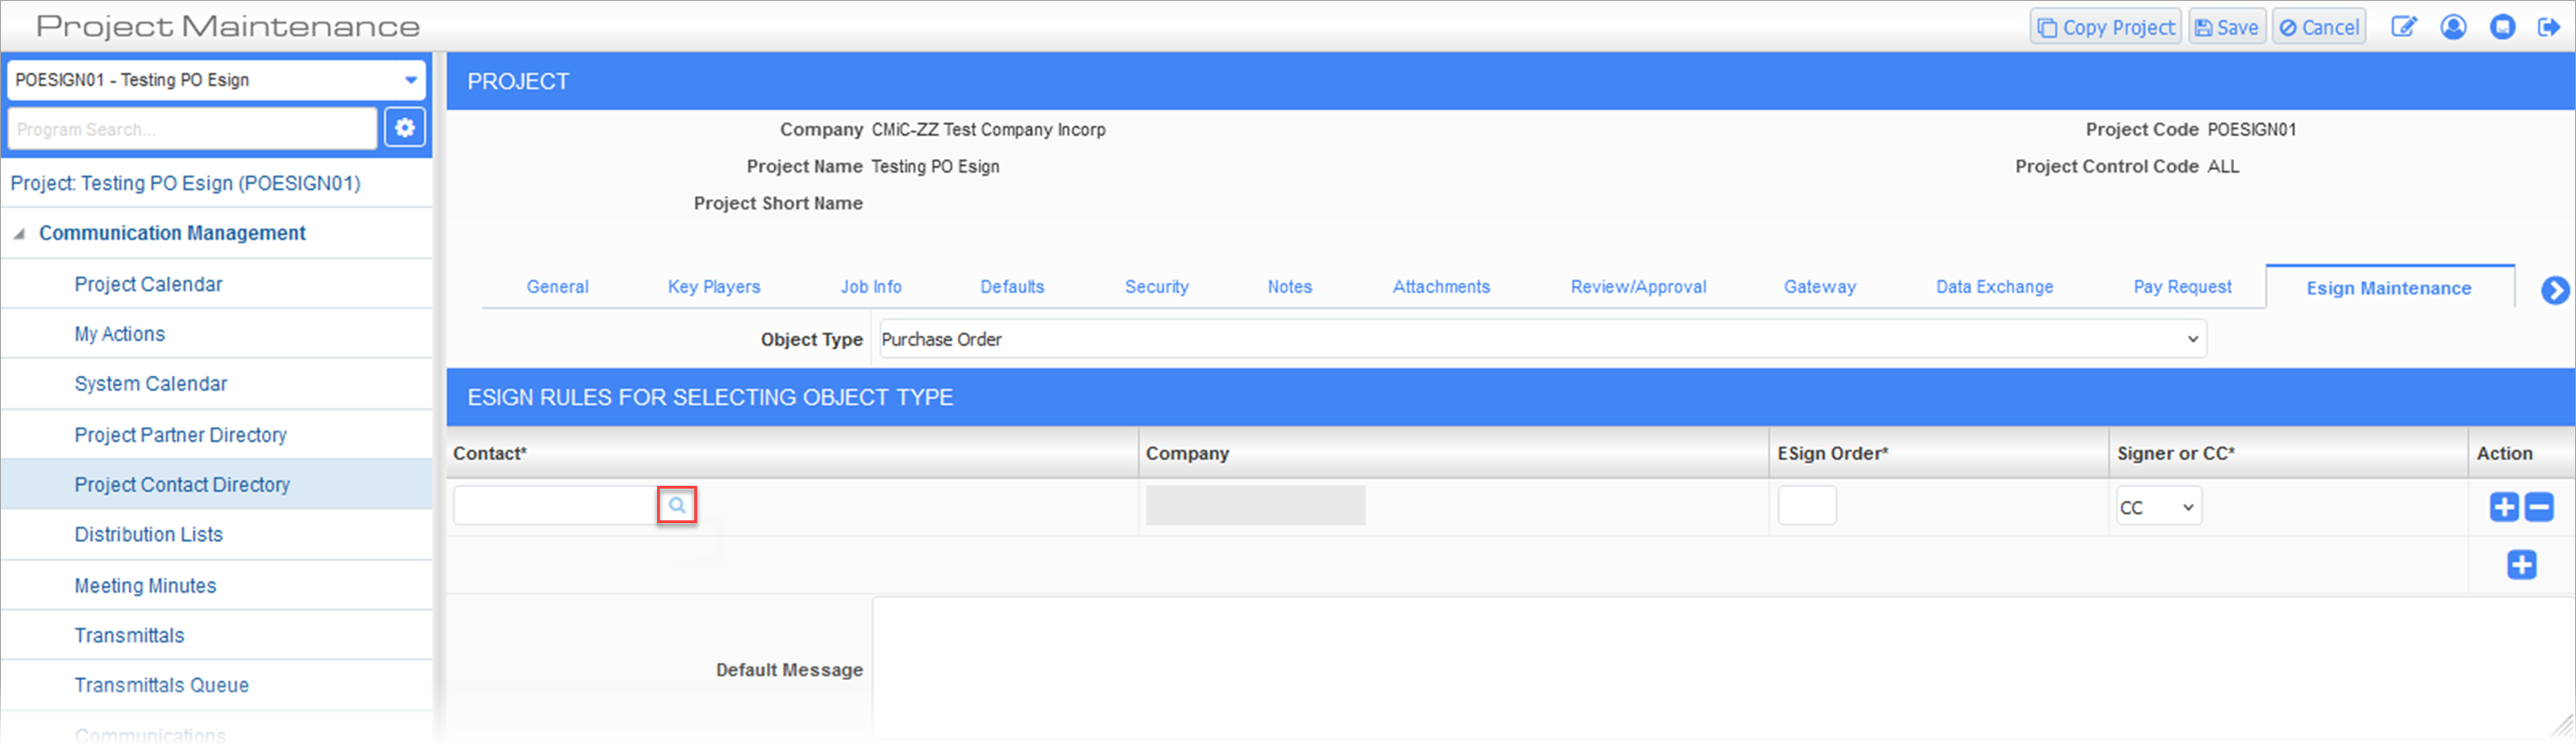
Adding a Contact as a Signer for the PO in ESign Maintenance
-
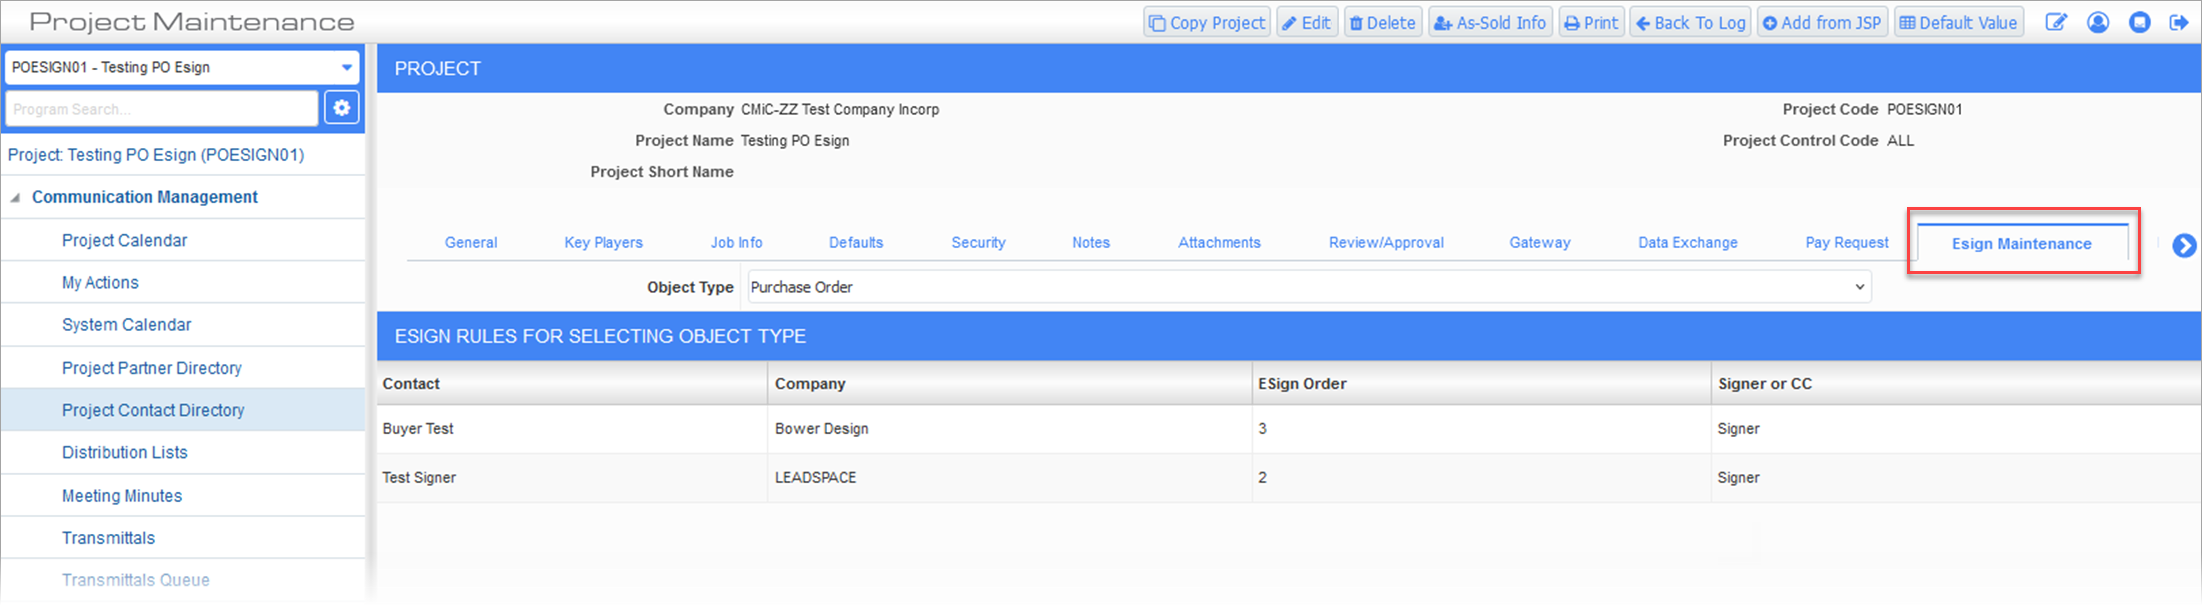
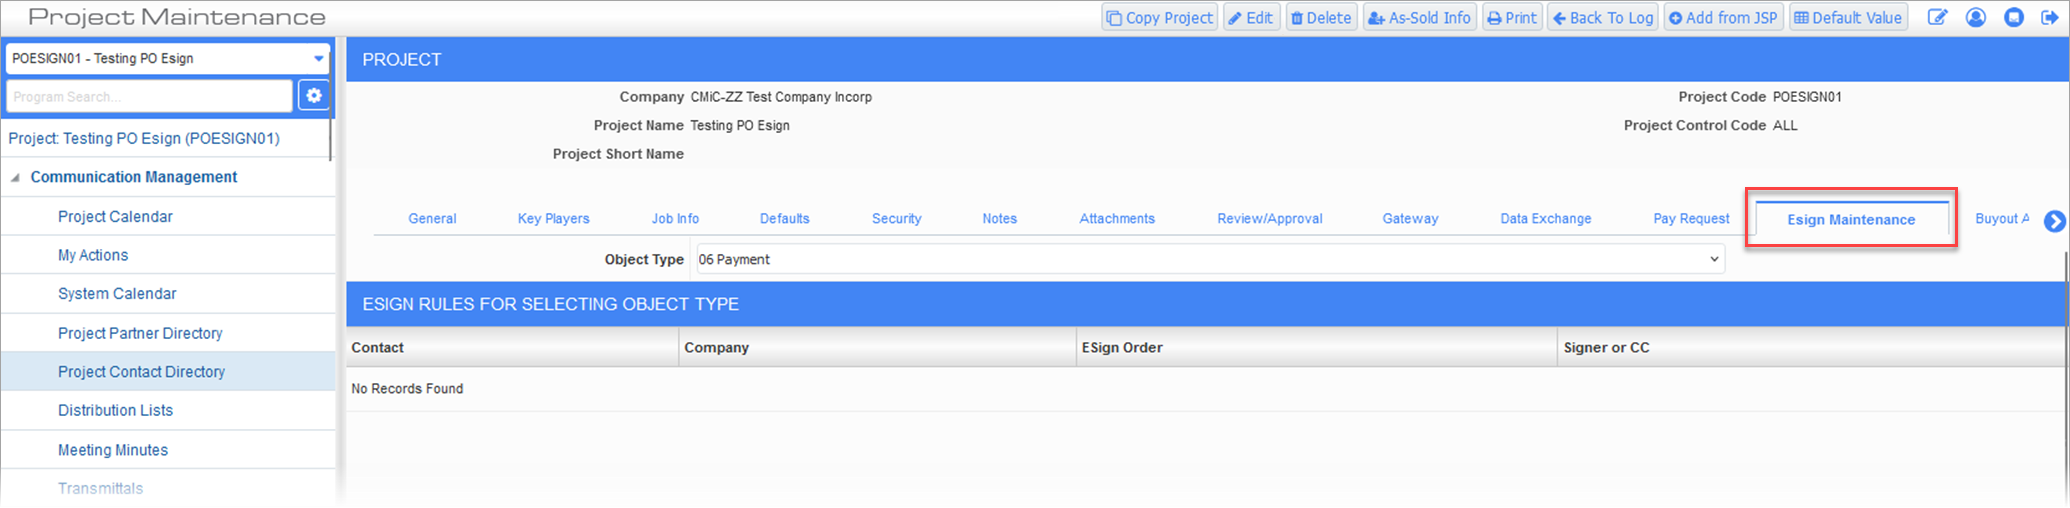
Select the project and go to the Esign Maintenance tab of the Project Contact Directory screen.
-
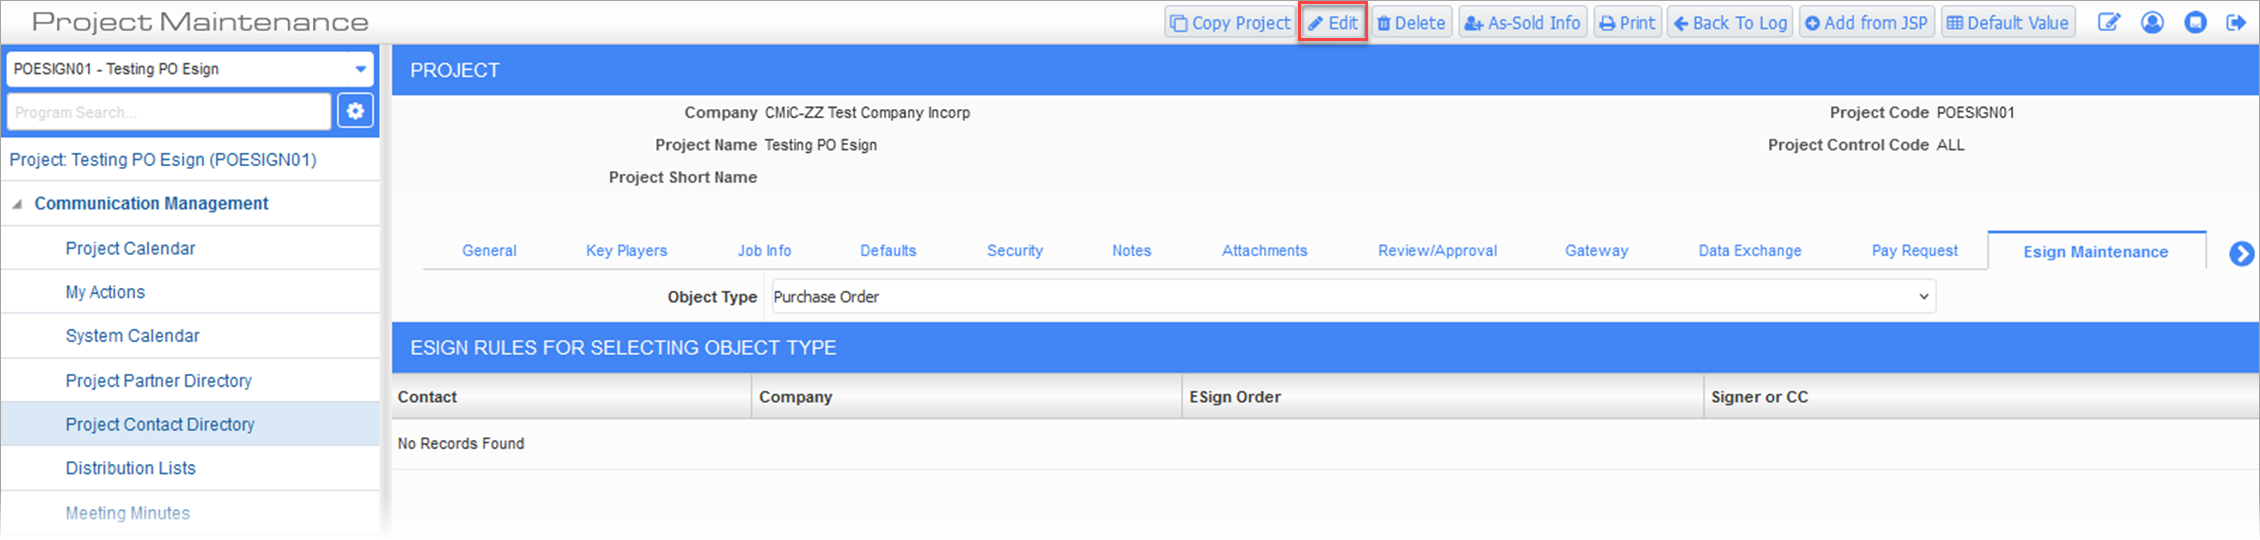
Under the Object Type field, select the "Purchase Order" option.

-
Click on [Edit].
-
Click on the Plus (
 ) icon.
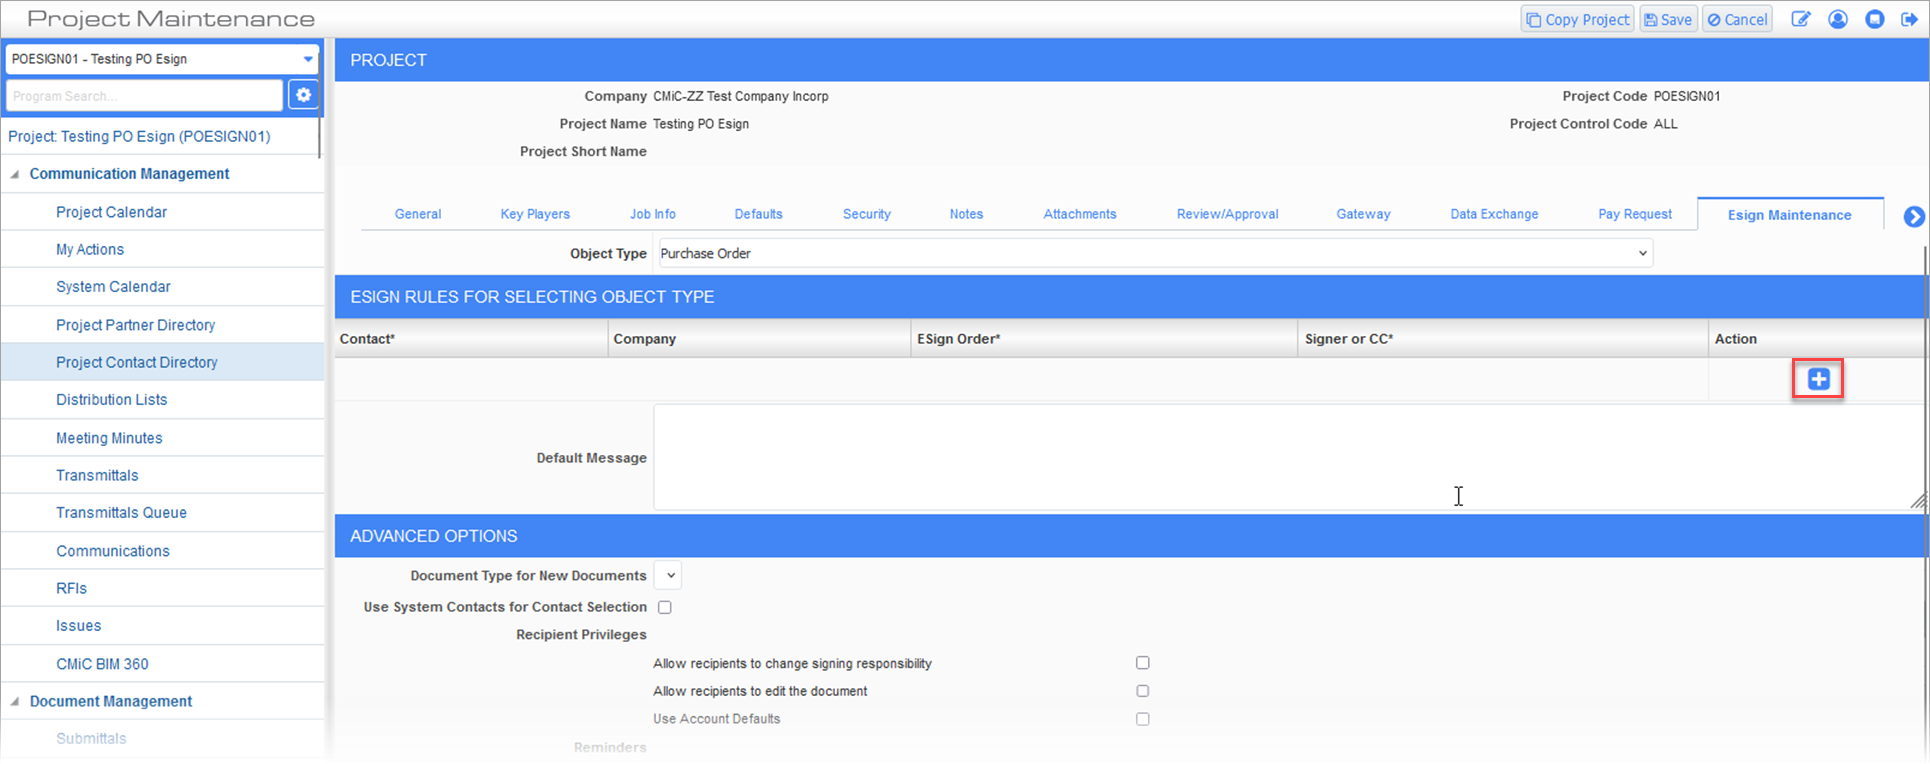
-
Click on the Contact LOV and select the contact.
-
Enter the ESign Order and choose "Signer" for the Signer or CC field.

-
Click [Save] to complete setting up the contact as an ESigner under the project for the PO’s job.
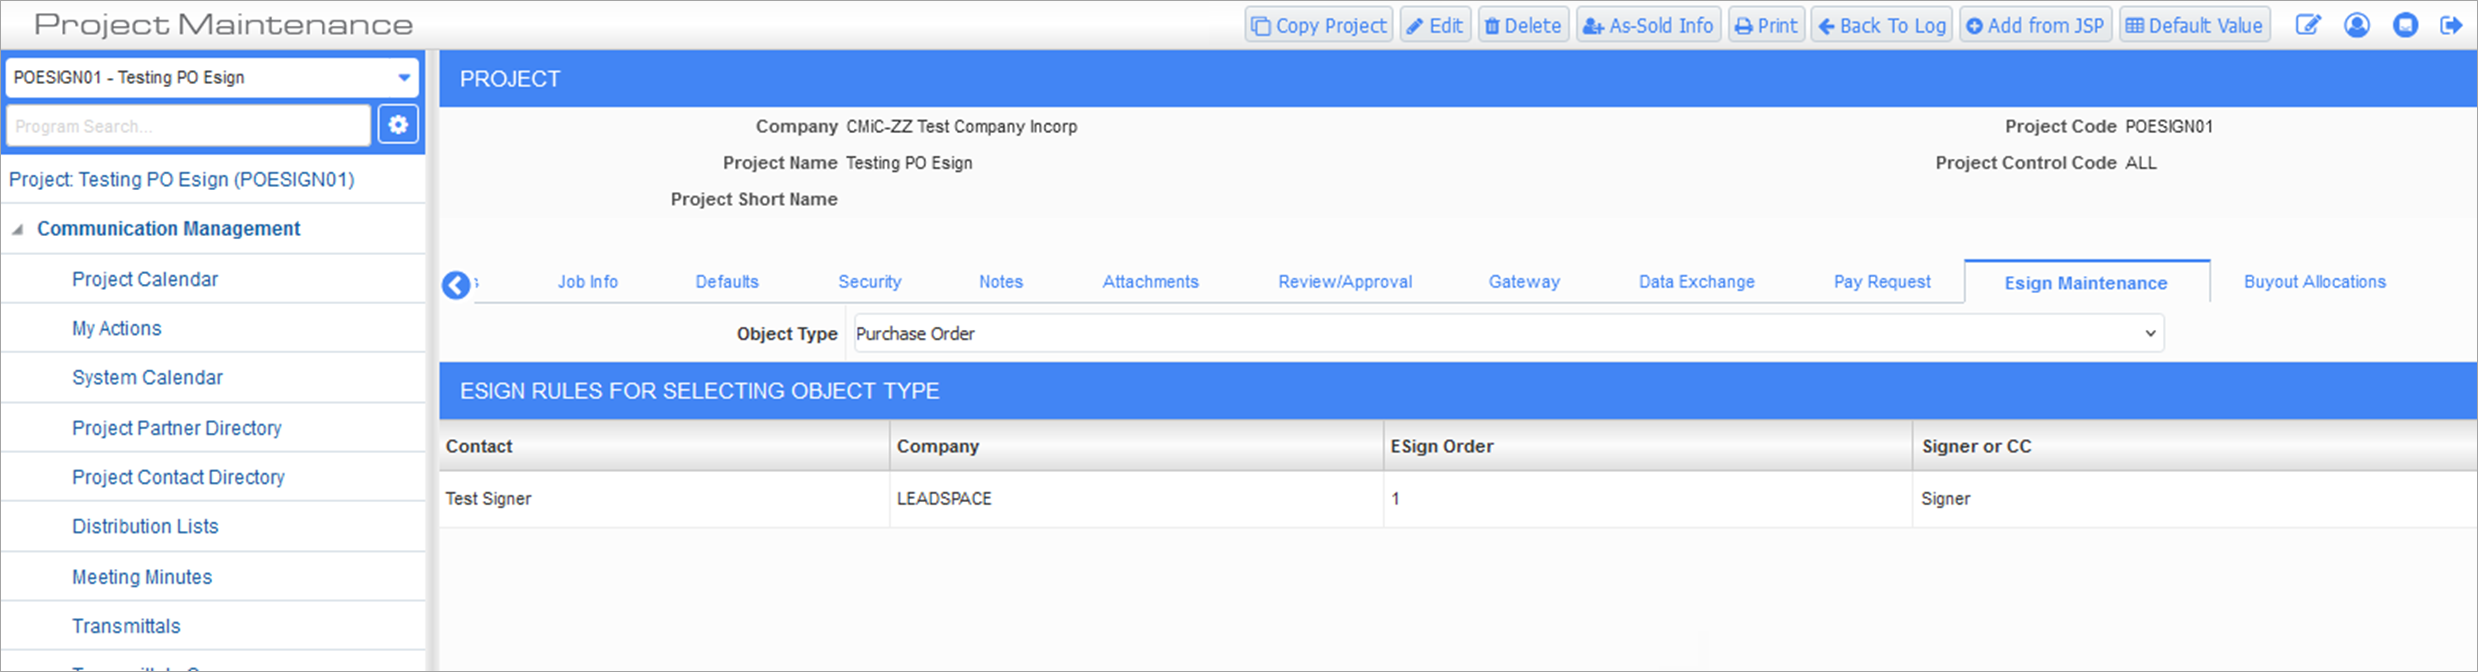
-
When you send a document for signing for that PO record, you will see the contact as a signer slotted with the ESign Order you selected.
