CMiC API and OAuth 2.0 Integration - Register the Web API App in Azure
-
Sign into the Azure portal: https://portal.azure.com/
-
Ensure you are using the directory containing your Azure AD tenant.
-
Select Portal > Settings > Directories + subscriptions in the portal toolbar.
-
On the Directories and Subscriptions page, find your Azure AD directory in the name list and select Switch.
-
Search for and select your tenant.
-
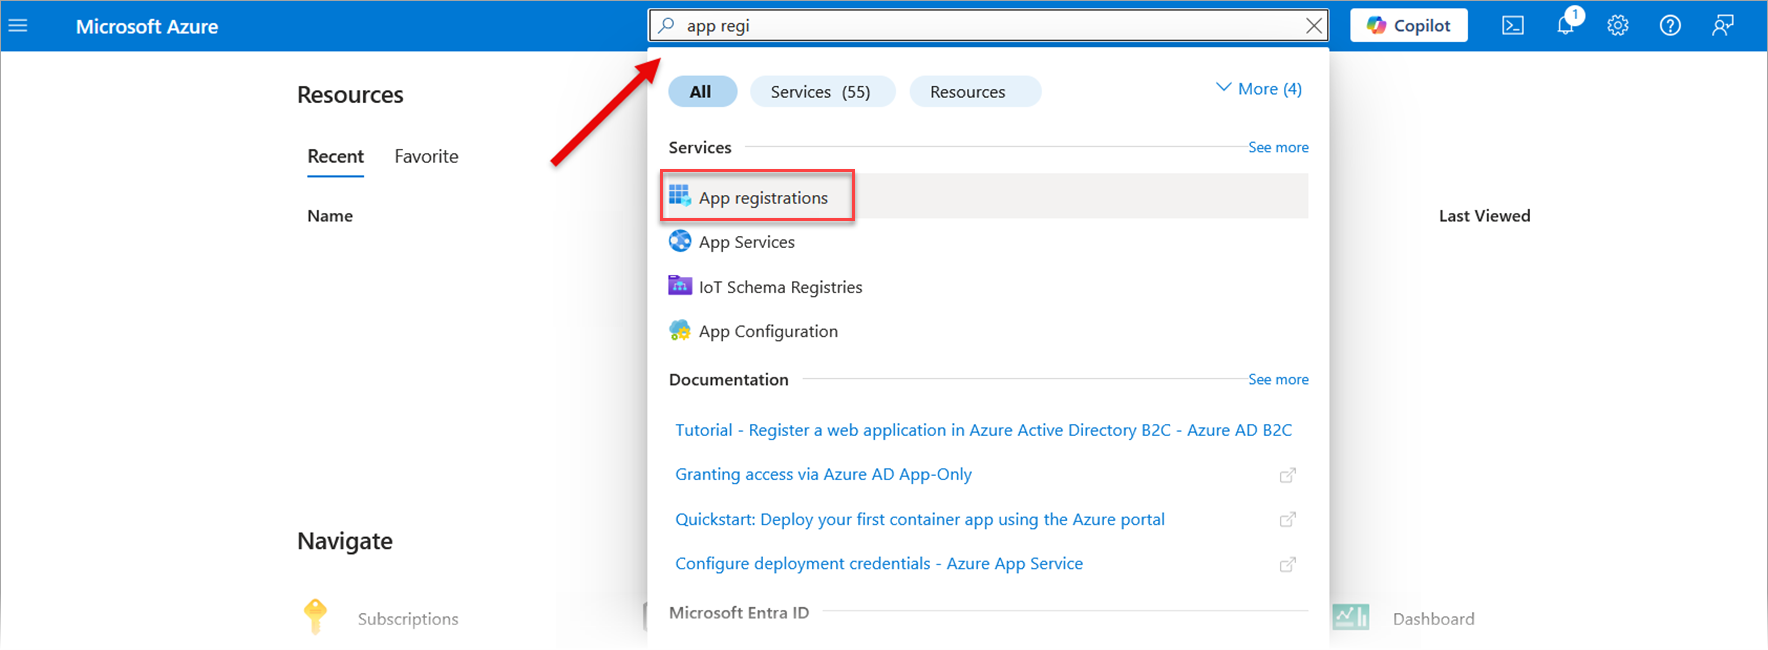
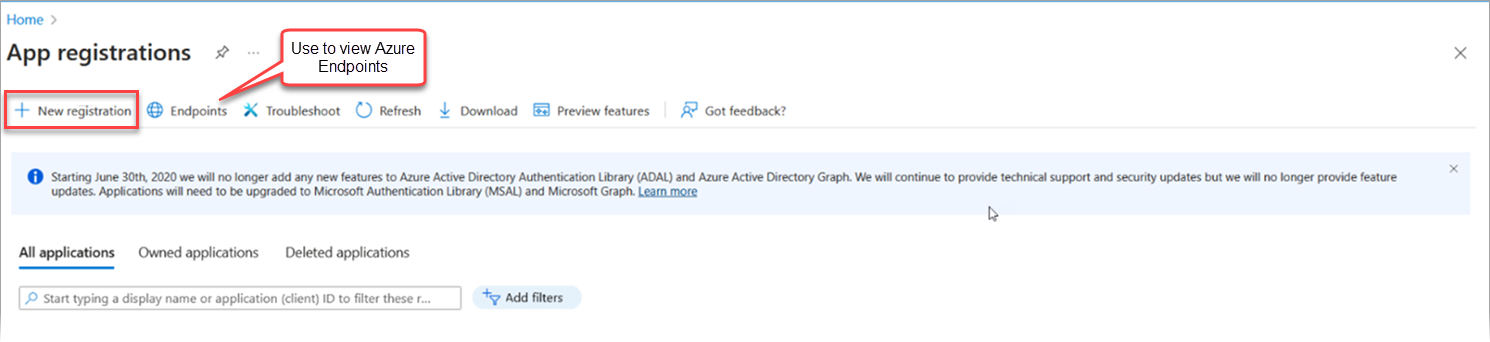
Select "App registrations" under the Services section of the drop-down menu, then click on the [New Registrations] button. This is also where you can visually see Azure endpoints, for example obtaining the token and authorization for both OAuth and OAuth2 configurations. These endpoints serve as Azure-based examples for sending requests to CMiC and can be used as a reference for simulating additional endpoint configuration in tools like Postman.
-
Enter a name for the application, for example, "CMiC API". Leave the default values for redirect URI and supported account types.
-
Select Register.
-
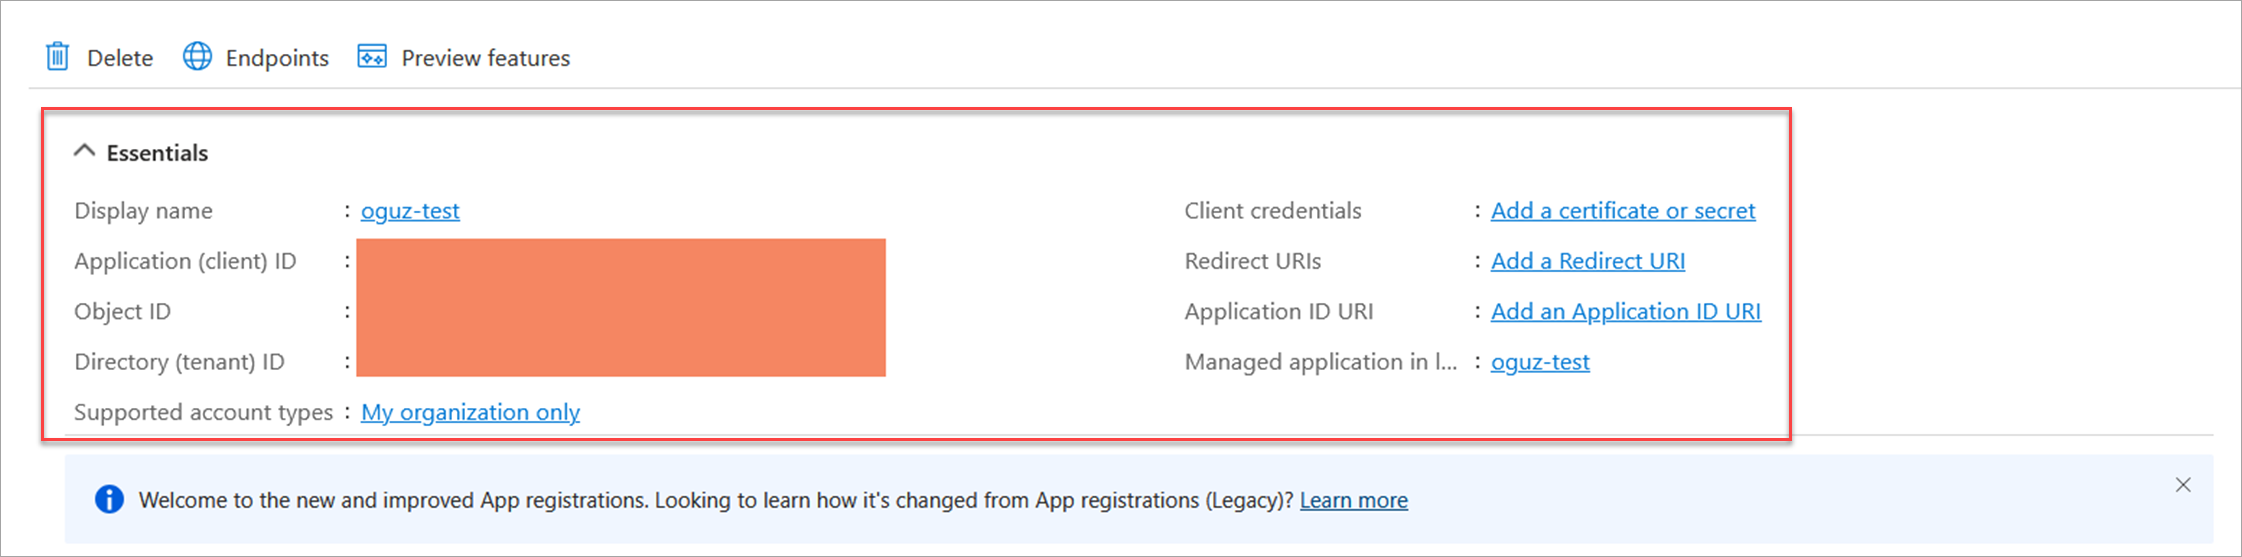
After registration, select Overview.
-
Go to the main page of the application you’ve just registered. You can see this information under the Essentials section.
-
Record the Application (client) ID, Tenant ID, and Application Secret value for later configuration.