Access Training and Online Help
To supplement the following documentation about Bluebeam Studio sessions, the following Bluebeam training video and online help can be referenced:
Training Video
Online Help
Create a Bluebeam Review Session
-
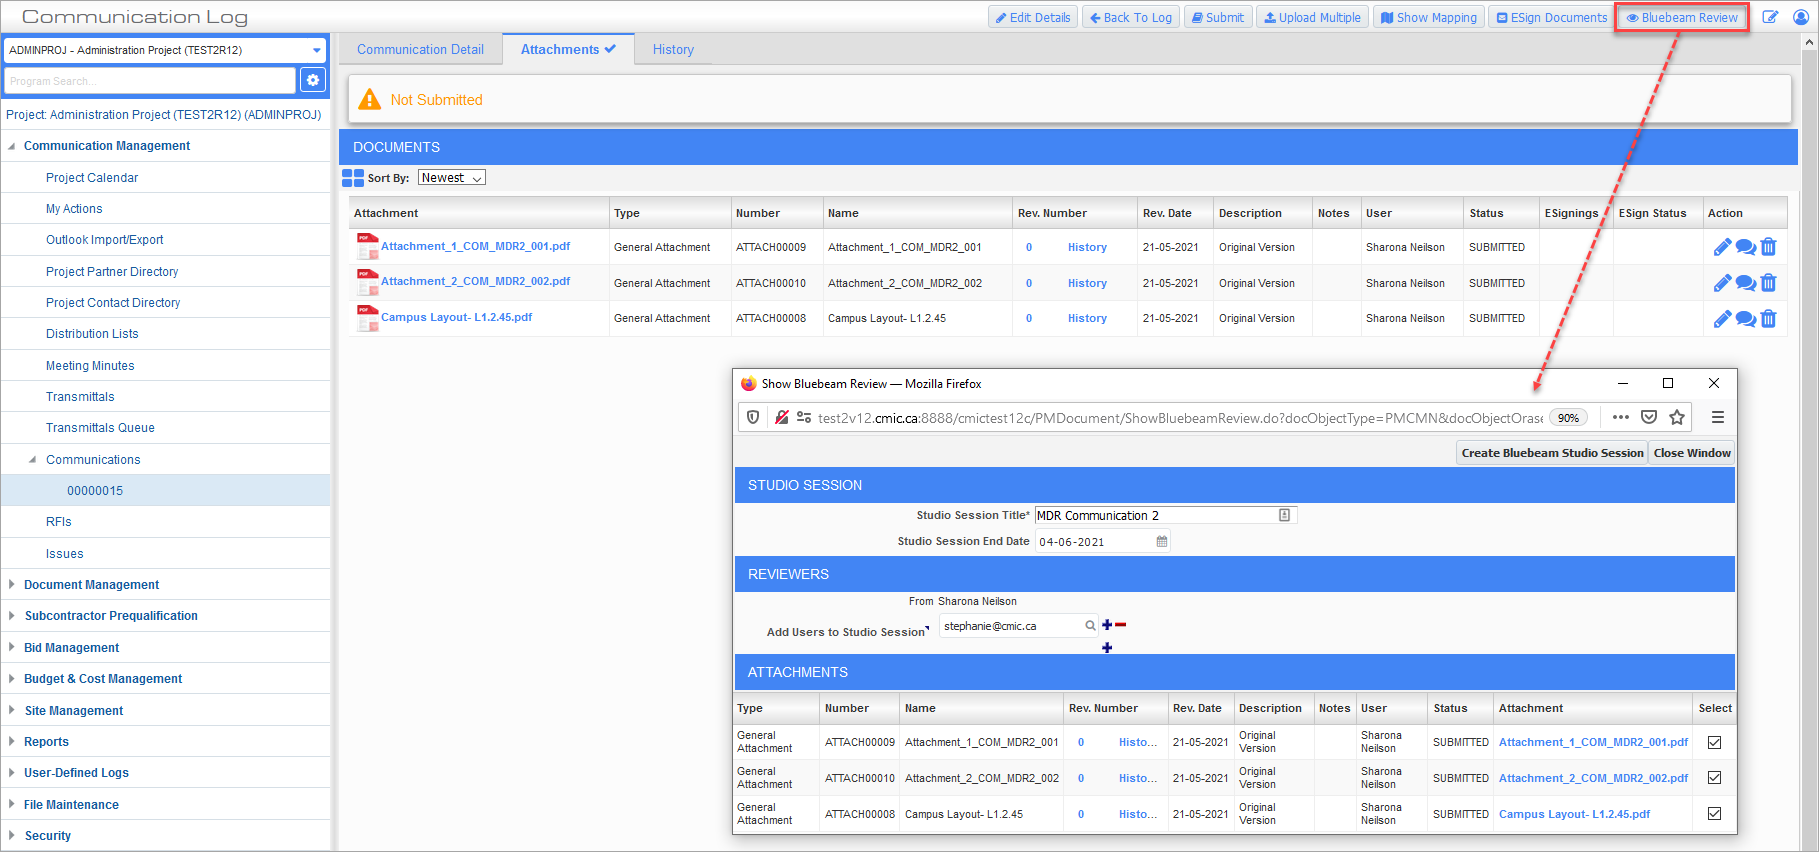
To create a Bluebeam session, click the Bluebeam Review button, which is accessible on the Attachment tab of a PM Object, such as a Communication.
-
In the launched pop-up window, enter a title for the Studio Session (if change is required), invite collaborators to the session by entering their emails or selecting contacts from the LOV, and select the document(s) to be reviewed during the Studio Session. When finished completing the fields in the pop-up window, click [Create Bluebeam Studio Session] button.

-
Upon clicking the Create Bluebeam Session button, shown in previous screenshot, a green status bar appears as shown below, to indicate that the Bluebeam Studio Session has been created.

If more users are required to participate in the Studio Session, click the 'Add Users to Bluebeam Session' link in the green status bar, which launches a pop-up window to add more users to the session.

-
Press the 'Click here to launch Bluebeam Studio Session' link in the green status bar to start the process of joining the user to the Bluebeam Session.

You may be prompted to select the application if a compatible version is not found on the computer.

-
If the current CMiC user created the Bluebeam Studio session within the last 60 days, move on to the next step; otherwise, upon clicking Open Link, the Bluebeam pop-up window appears, prompting you for your credentials.
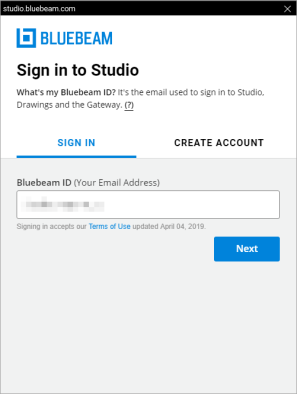
Enter your Bluebeam ID (your email address) and click on Next.
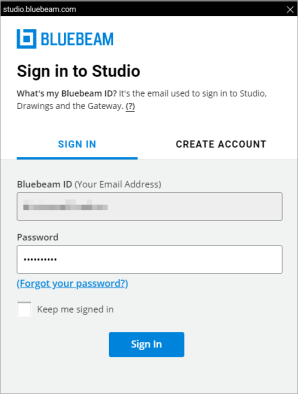
Enter your password and click on Sign In.
NOTE: Users may also need to accept the terms of use agreement.
-
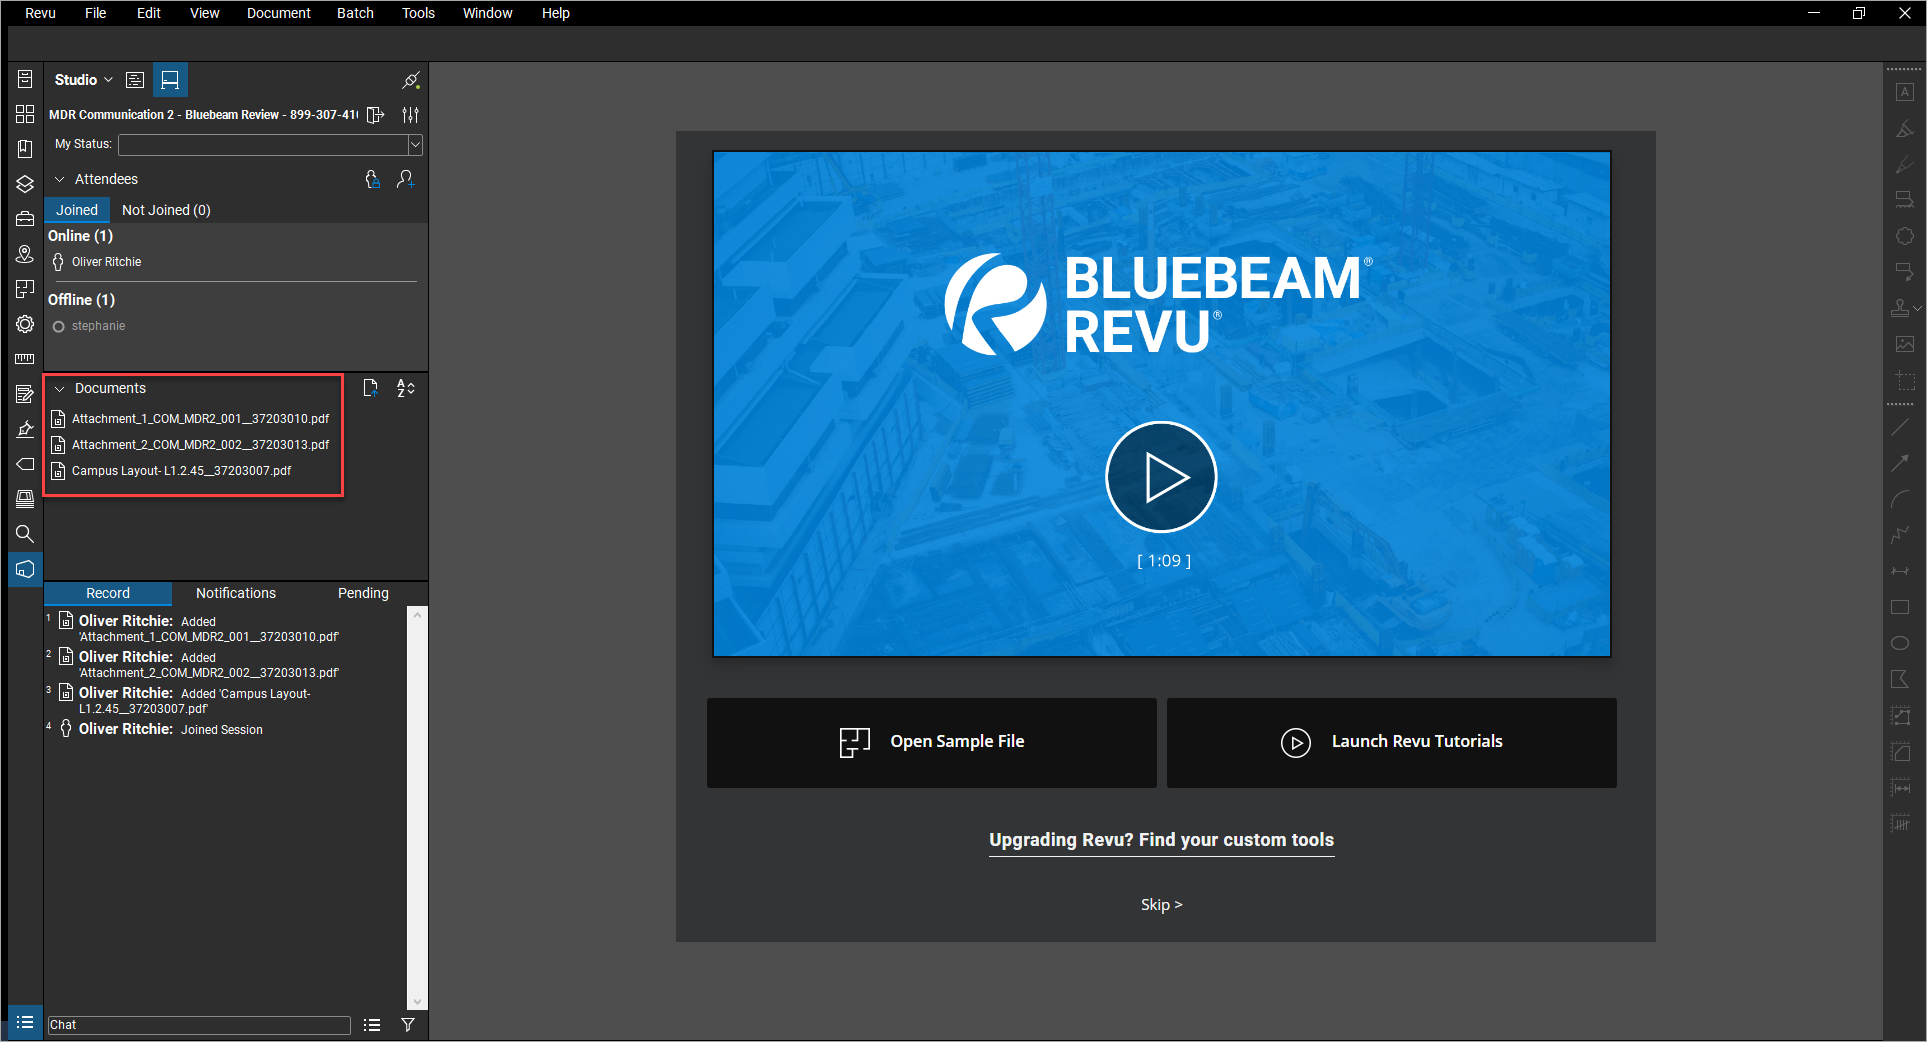
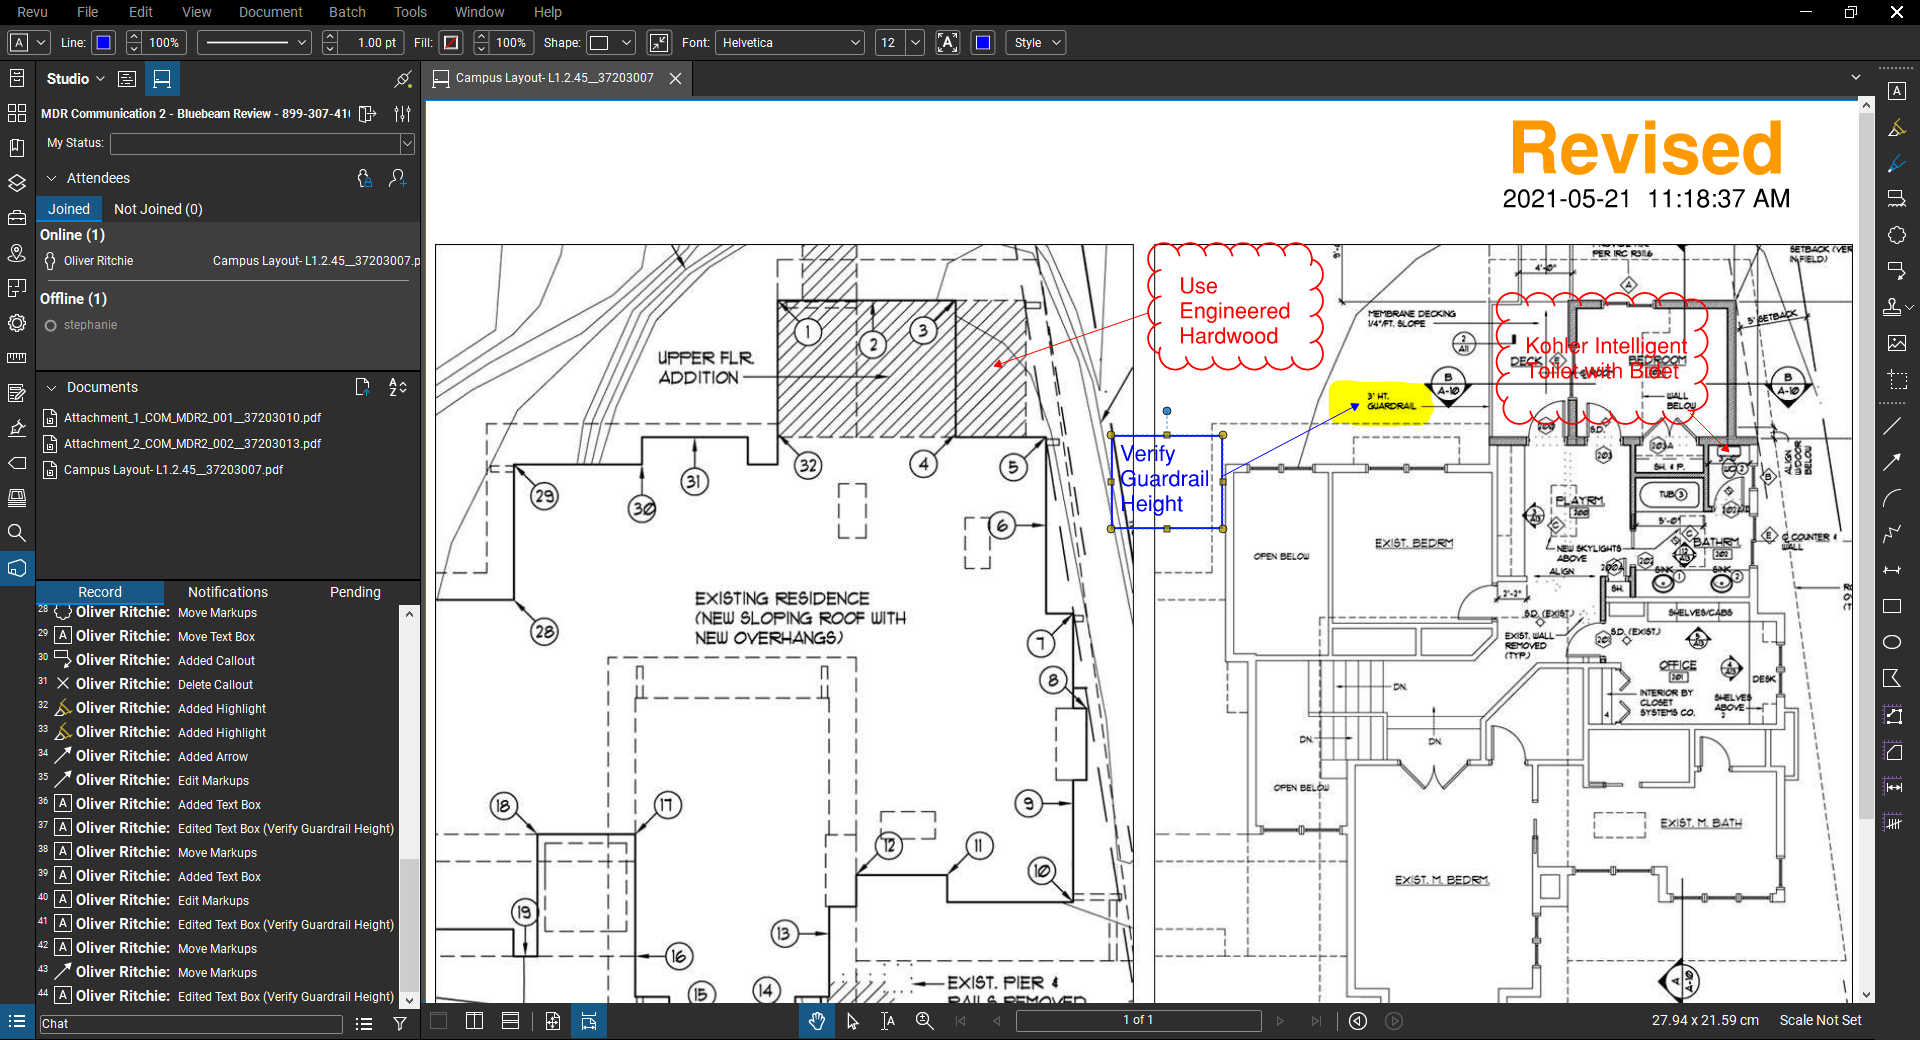
Once the user joins the session, documents selected for the Studio Session appear on the screen.
-
Documents can be opened and reviewed using the Bluebeam Studio markup tools. When all modifications are complete and the session is over, click Revu/Exit to close the program.
-
To save the changes made to the documents in Bluebeam Studio and create a new revision in CMiC Field, click the 'Finalize Studio Session' link in the green status bar to start the finalization process.
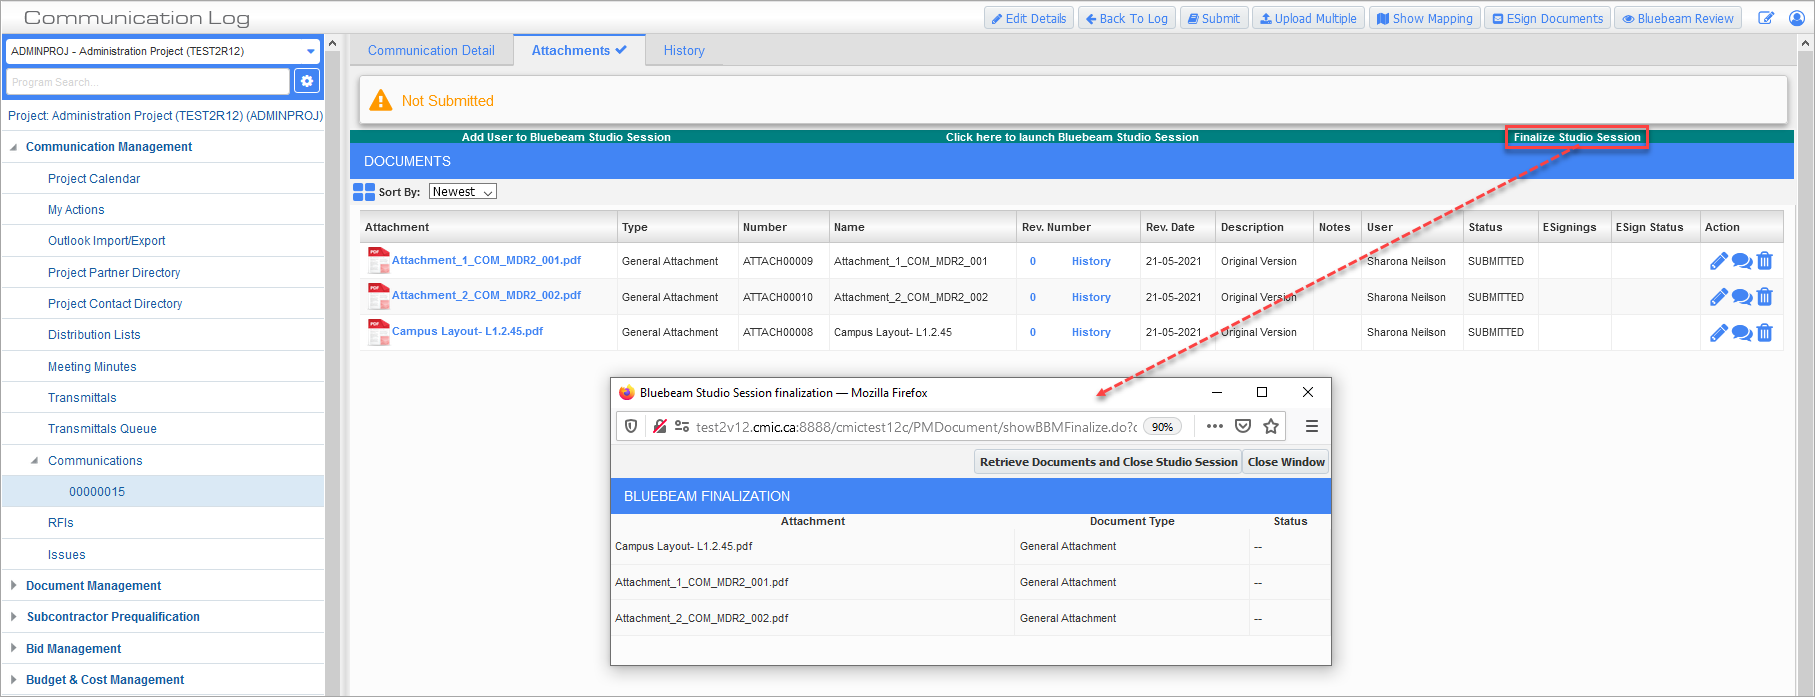
The finalization pop-up window contains the following buttons:
[Retrieve Documents and Close Session] - Button
Creates new revisions of documents (which appear in the current PM object), and closes the Bluebeam session.
[Close Window] - Button
Closes the finalization window.
-
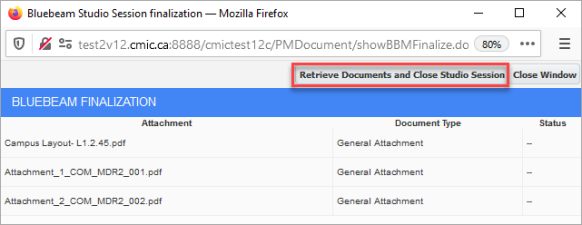
Click the Retrieve Documents and Close Session button to save the changes and create the new revisions of the documents.
-
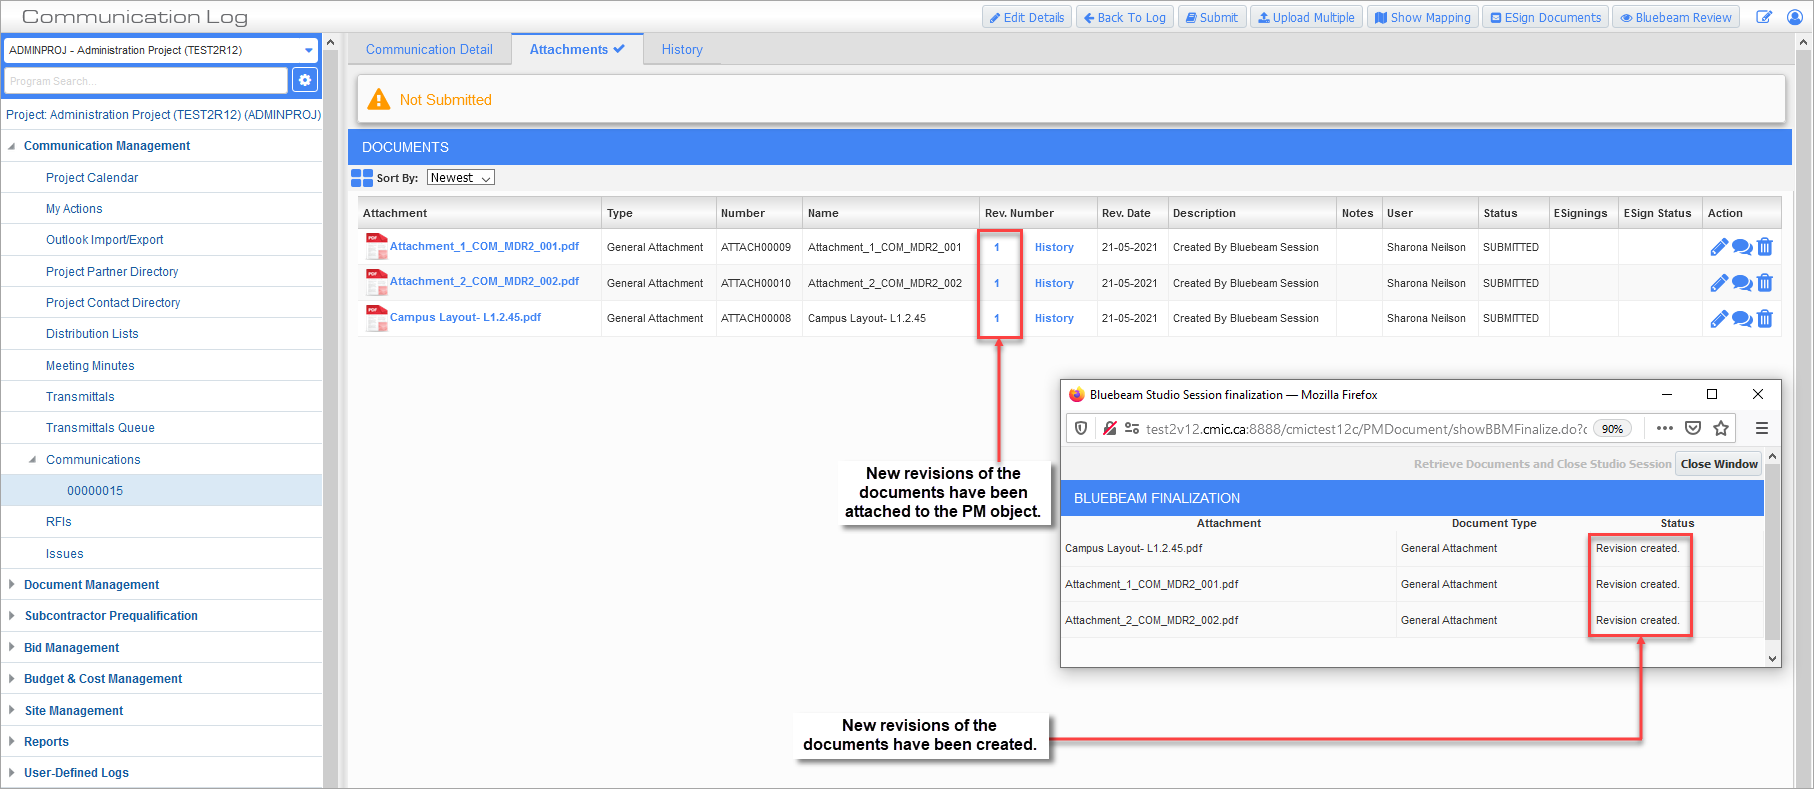
When finished, the result of the finalization will be displayed in the Status column, and new revisions will be attached to the PM object.
-
Attachments that have been modified in the Bluebeam Studio session can be launched from the PM object.

Join the Bluebeam Studio Session as an Invited Collaborator
-
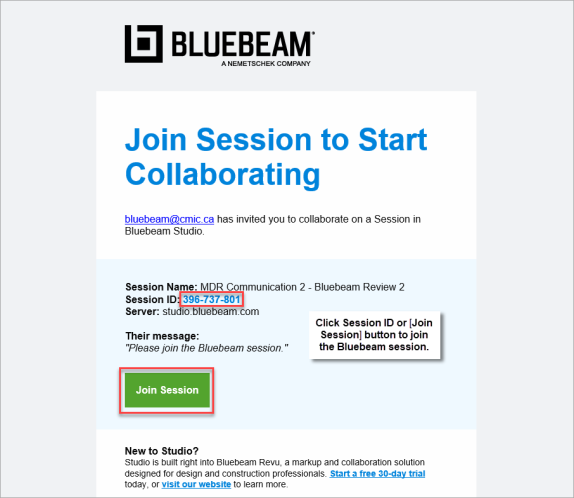
When invited, the participant receives an email. They can either click the Session ID number or click the [Join Session] button to join the Bluebeam Studio session.
-
After clicking the Session ID or [Join Session] button from the invitation email, the Bluebeam Studio is launched and the collaborator is required to enter their Bluebeam credentials to join the session.

Enter Bluebeam ID (your email address) and click [Next].

Enter your password and click [Sign In].
-
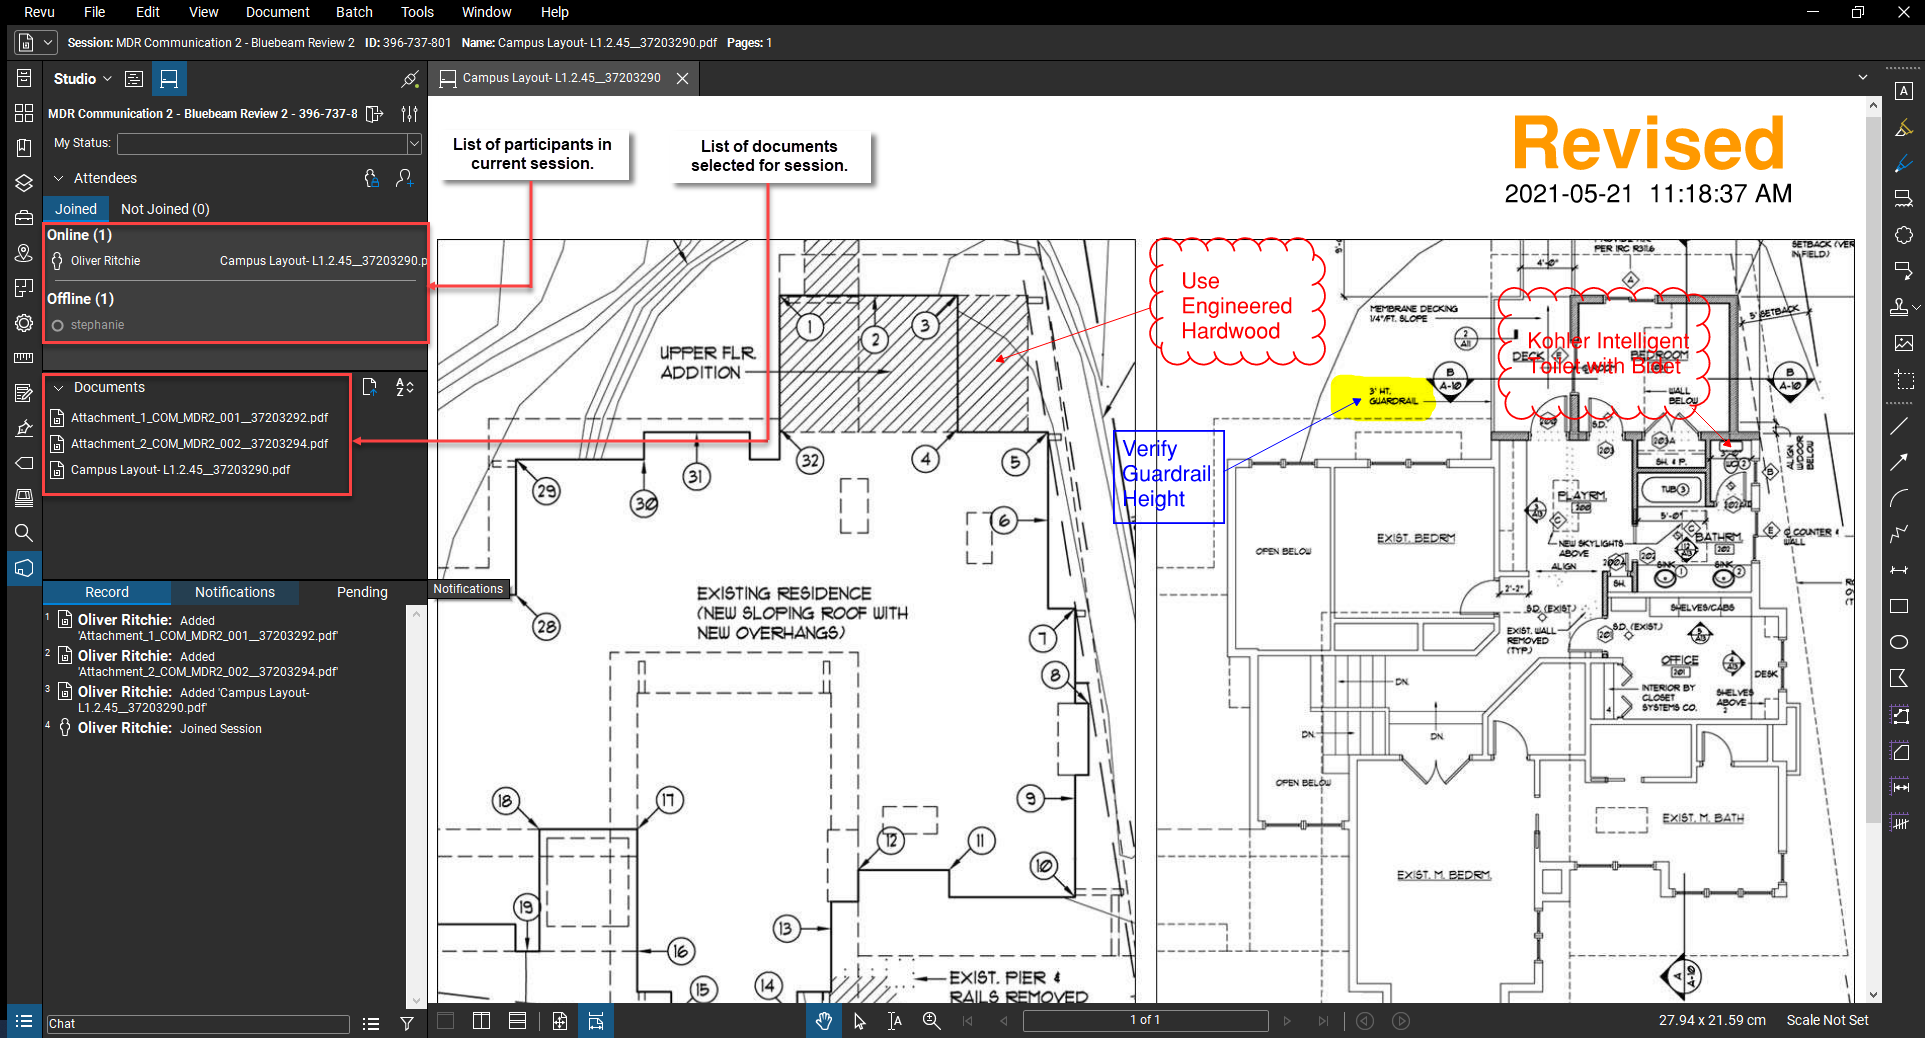
The user joins the session and documents selected for the session appear on the screen.
Add Files to Studio Sessions to Import into CMiC Enterprise
When a Bluebeam Studio Session is created, the documents selected to be reviewed during the Studio Session are uploaded from your CMiC Enterprise system to that of Bluebeam, which hosts the session.
When the session is ended, the documents will be imported back into your CMiC Enterprise system with an incremented revision number.
During the Studio Session, if a new file is added to the session, when the session is ends, the new file will be imported into your CMiC Enterprise system with a revision number of 0, and linked to the PM Object.
For details about adding files to a Studio Session, please refer to the following Bluebeam documentation:
http://support.bluebeam.com/online-help/revu2016-5-1/Default.htm#RevuHelp/00--Command-Bar/06--Studio/Studio-Host--M.htm#kanchor332 (relevant Bluebeam online help path: Host a Studio Session > Managing a Session > Managing Documents > Adding a File)