Part 2: Create Business Areas
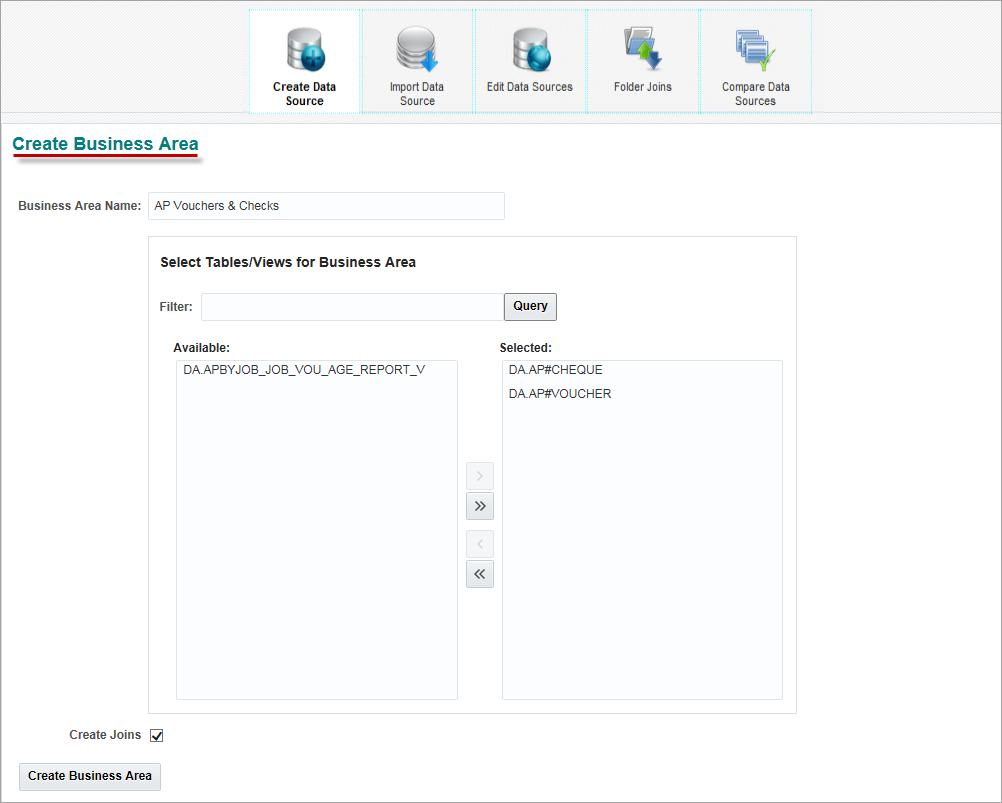
The Create Business Area screen is used to define the subsets of a data source, known as business areas, which are pertinent to dashboards to be created in the BI Dashboard Builder tool.
Screen’s Fields & Buttons
Business Area Name
Name for business area being created.
Filter
Used to filter database objects listed in the Available field’s list. The following wildcard characters can be used:
-
% (any string of characters)
-
_ (any single character)
Click [Query] to filter objects in the Available field’s list according to entered filter expression.
[Query] – Button
If filter expression is changed, click this button to refresh the filtered results for the Available field’s list.
Available
Lists all database objects contained in data source, and that satisfy the entered filter expression.
Selected
Lists database objects selected for business area being created; use arrow buttons to add or remove objects from this list - single arrows move one selected object, and double arrows move all objects.
Create Joins – Checkbox
If checked, all existing joins between the tables/views of this business area (listed in Selected field’s list) will automatically be created, based on constraints defined in the database. Please note that this will create some, but not all, of the required joins. Use the Modify Folder Joins screen to review the current joins, and to create additional joins.
NOTE: This process creates joins for tables using their foreign keys definitions and creates joins for views using existing joins in the Default Data Source.
[Create Business Area] – Button
Once a new business area is defined, click this button to save it, which brings up the following pop-up:
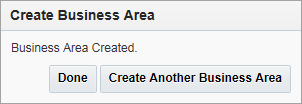
Click [Done] if another business area does not need to be created, or [Create Another Business Area] to create another one.